How-To
Top 4 Ways to Fix Chromebook White Screen Issues
Does your Chromebook get stuck on a white screen (with or without the Chrome logo) during startup? This post will...
Does your Chromebook get stuck on a white screen (with or without the Chrome logo) during startup? This post will...
Your Chromebook might shut down without warning if it’s overheating, has a faulty battery, or runs an outdated operating system....
VirtualBox lets you run multiple operating systems on your computer in virtual machines. The virtualization software supports Windows, Linux, macOS,...
Do you need to use an application only available for Windows on your Chromebook? We’ll show you how to use...
You can play videos on Chromebooks using the built-in file manager, gallery app, or third-party multimedia software. The built-in media...
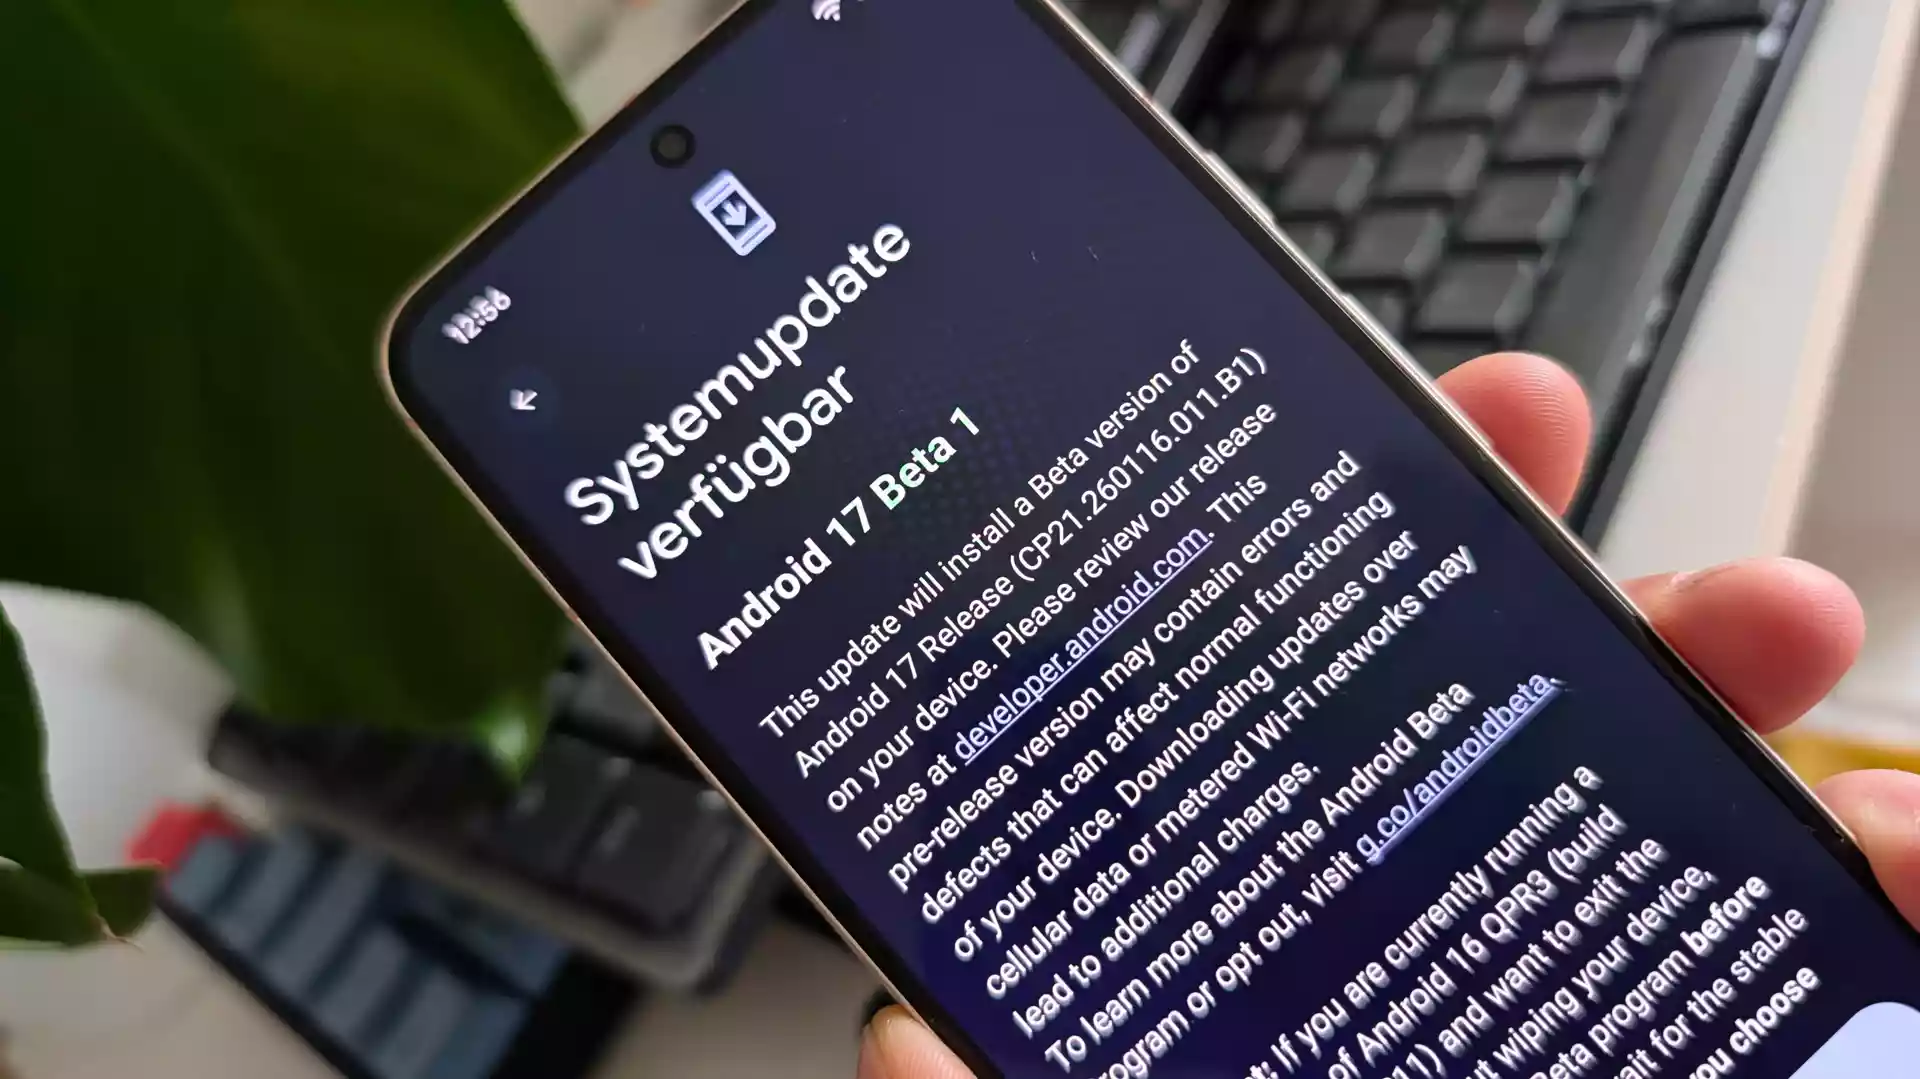
Google has begun rolling out the next major update cycle for the world’s most popular and widely used smartphone operating...
Do you see a “Download English US Update – Waiting for network connection” error related to Speech Services by Google...
Google Assistant is helpful, but if you’re uncomfortable with an always-listening AI, you can turn it off on all your...
Most people don’t bother with latitude and longitude to identify a location. However, it’s still a sure-fire way to note...
Even if you use the Google app daily, you might be missing one of its most brilliant features. Google Assistant...
Is Linux crashing your low-end or budget Chromebook? Does running Linux apps slow your Chromebook’s performance or cause other glitches?...
Running a virtual machine on Linux allows you to use other operating systems and software without dual boot or partitioning...
Linux, the open-source operating system darling, has long captivated the hearts of developers, programmers, and tech enthusiasts alike. Its versatility...
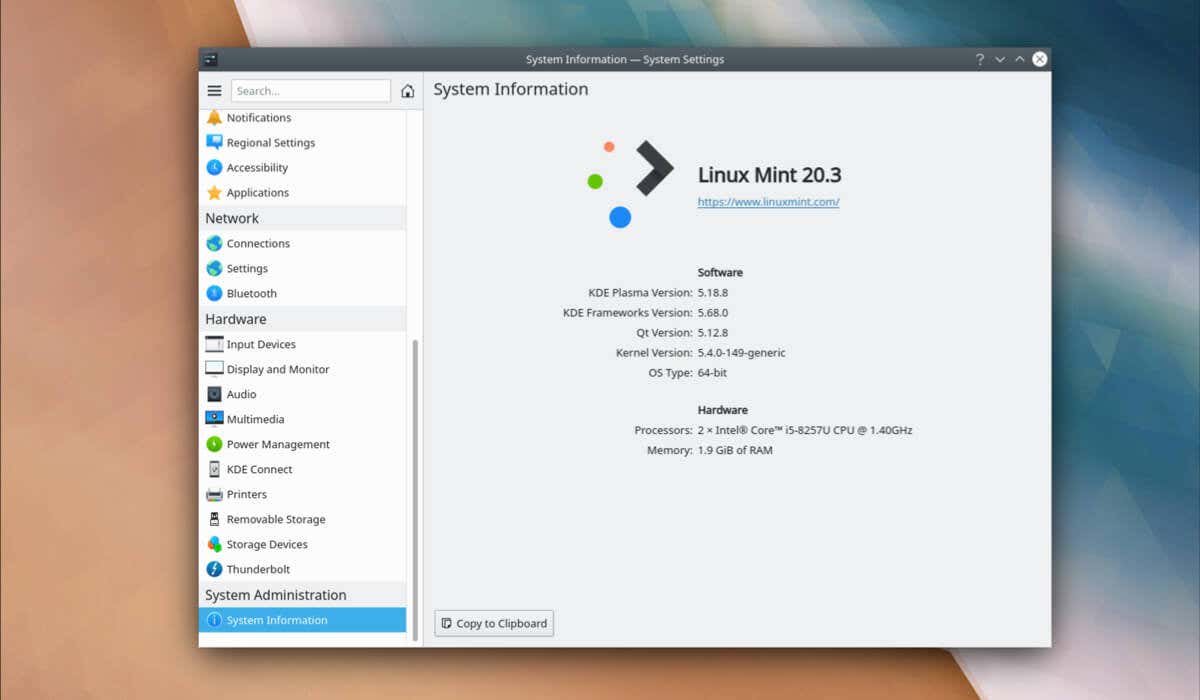
Linux Mint is a popular, user-friendly Linux distribution that provides a variety of features to make your computing experience more...
Microsoft OneDrive is a popular cloud storage service that allows you to store and access your important files from any...
Recently, on Jan 26, 2026, Microsoft rushed out a high-severity out-of-band update for a zero-day in Microsoft Office that allows threat actors...
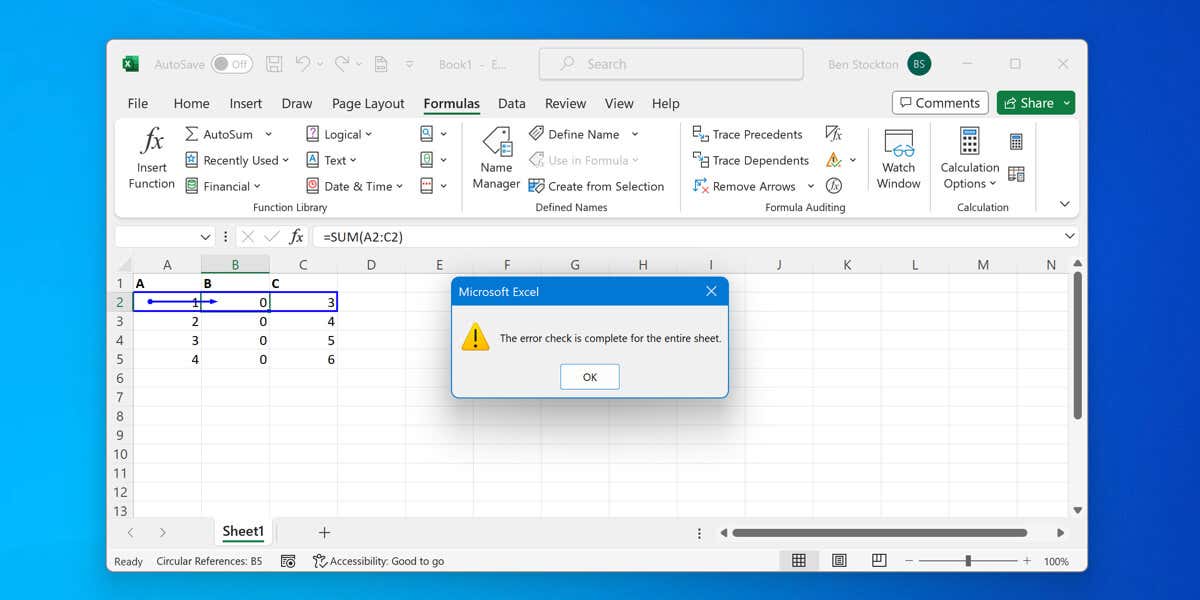
There’s no point going around in circles with your data. In Excel, any attempt to create a loop with your...
Headers and footers in Word documents are great places to store extra document information that also allows for easy navigation....
Phishing emails are scams that try to get you to hand over personal information by pretending to be from a...
Not many Excel users name their cells, constant values, or formulas inside the worksheet. However, there’s a purpose to Excel...
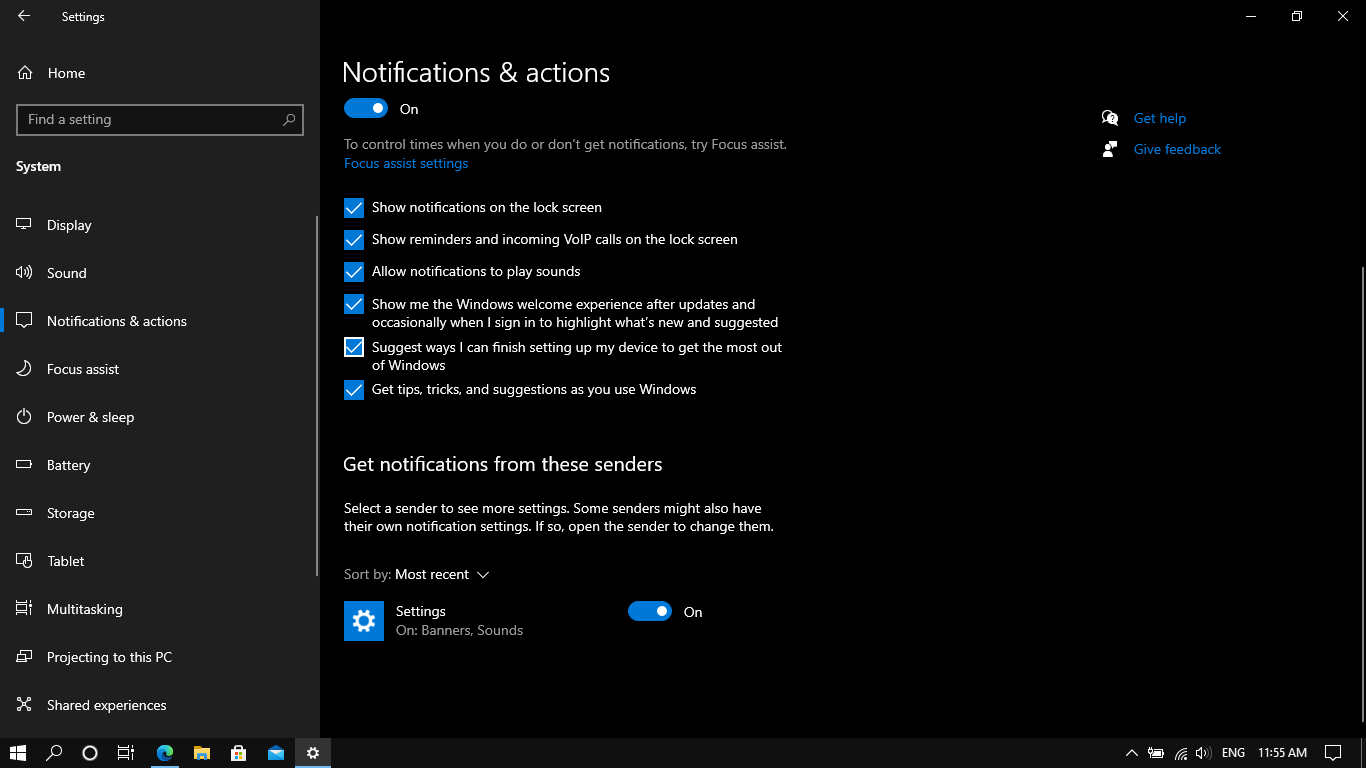
Are you not getting email notifications, missing WhatsApp pop-ups, or Calendar not showing up? Guess what? You are not alone....
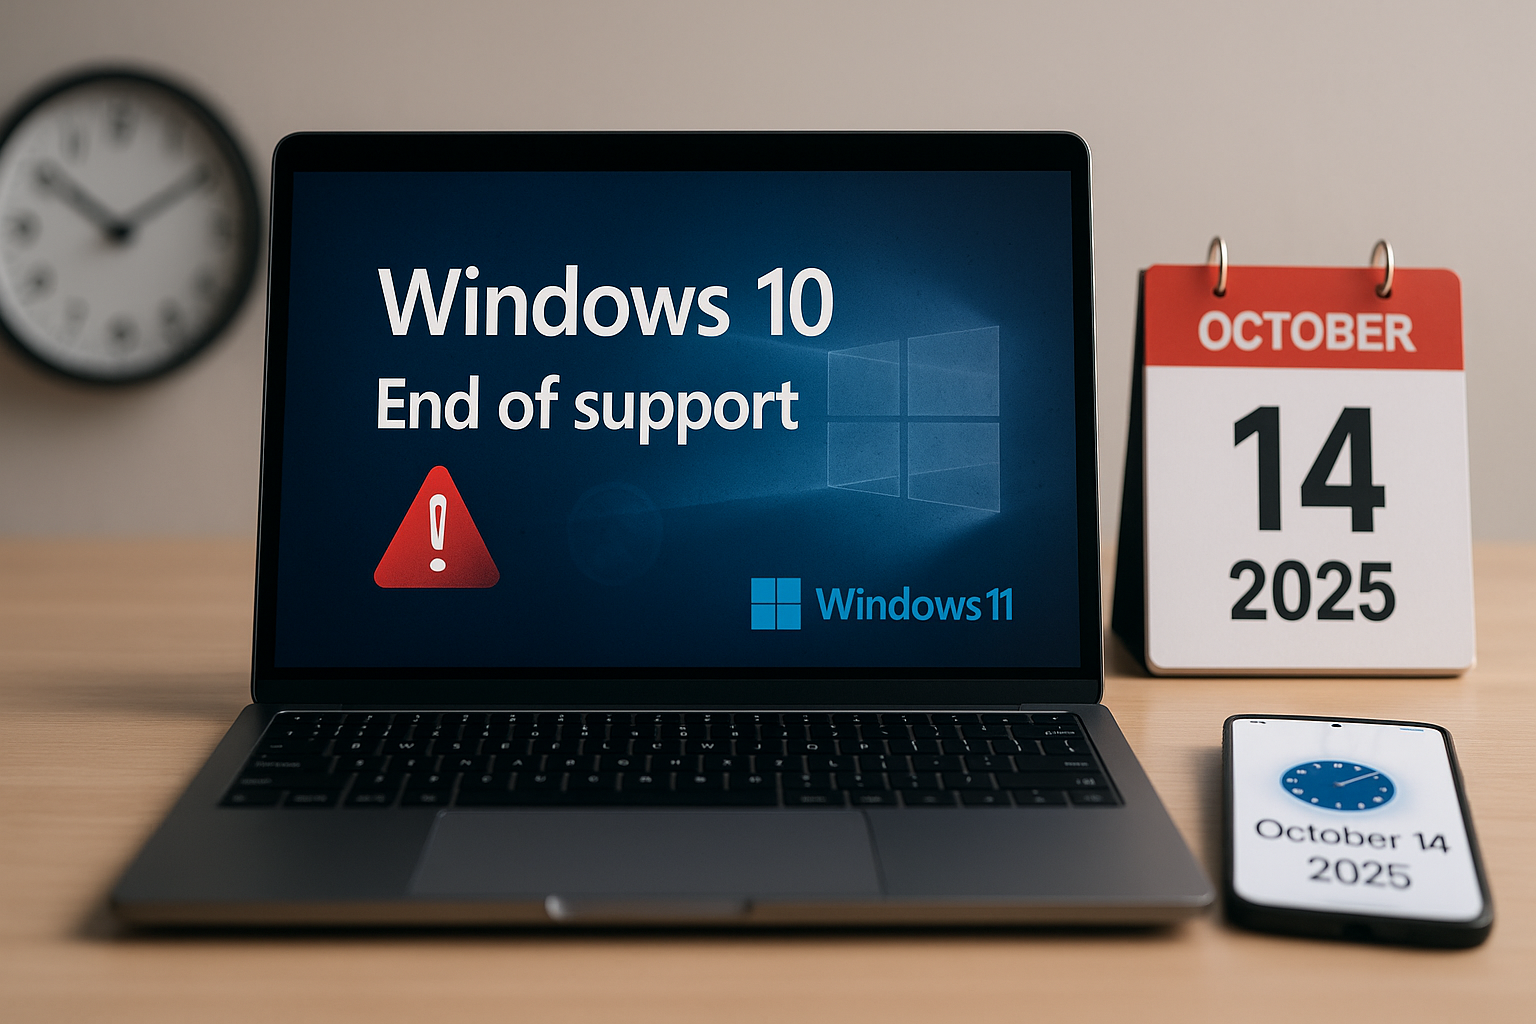
The clock is ticking for Windows 10 users! On October 14, 2025, Microsoft will end support for Windows 10, meaning...
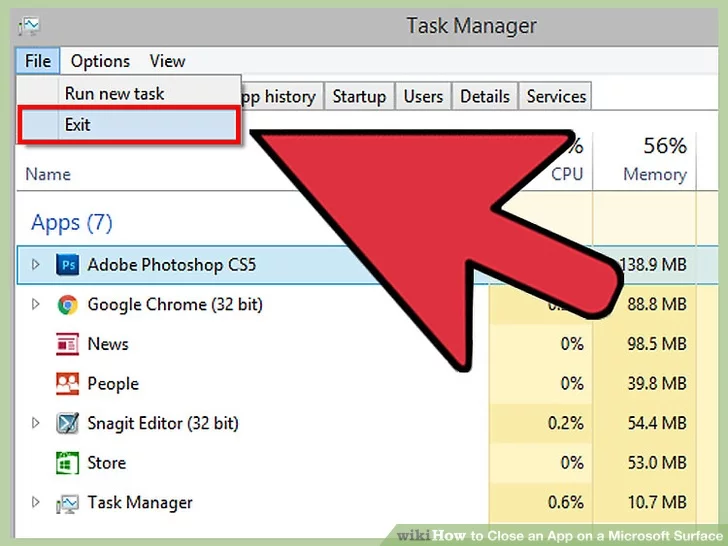
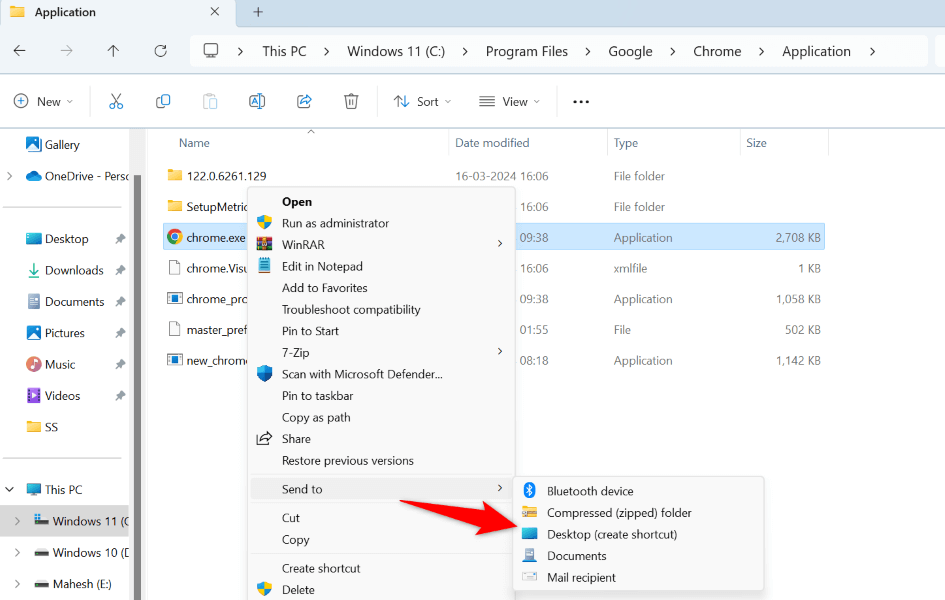
Are you trying to launch an app, game, or file but keep getting a “This file does not have an...
Both Windows 11 and Windows 10 display an update error 0x800705b4 when a system update fails to install. If this...
If you’ve run into an “A JavaScript error occurred in the main process” notification while installing or launching an app,...
Microsoft says Recall is protected by Windows Hello — and researchers showed local access can still read it. Both are...
Getting 'Windows cannot connect to this network' in Windows 11? Here are 9 proven fixes, from forgetting the network to...
In case you are someone who is struggling while searching for essential features, this guide breaks it down clearly and...
If you are one of the frustrated users who is looking for a way to clean up your system, then...
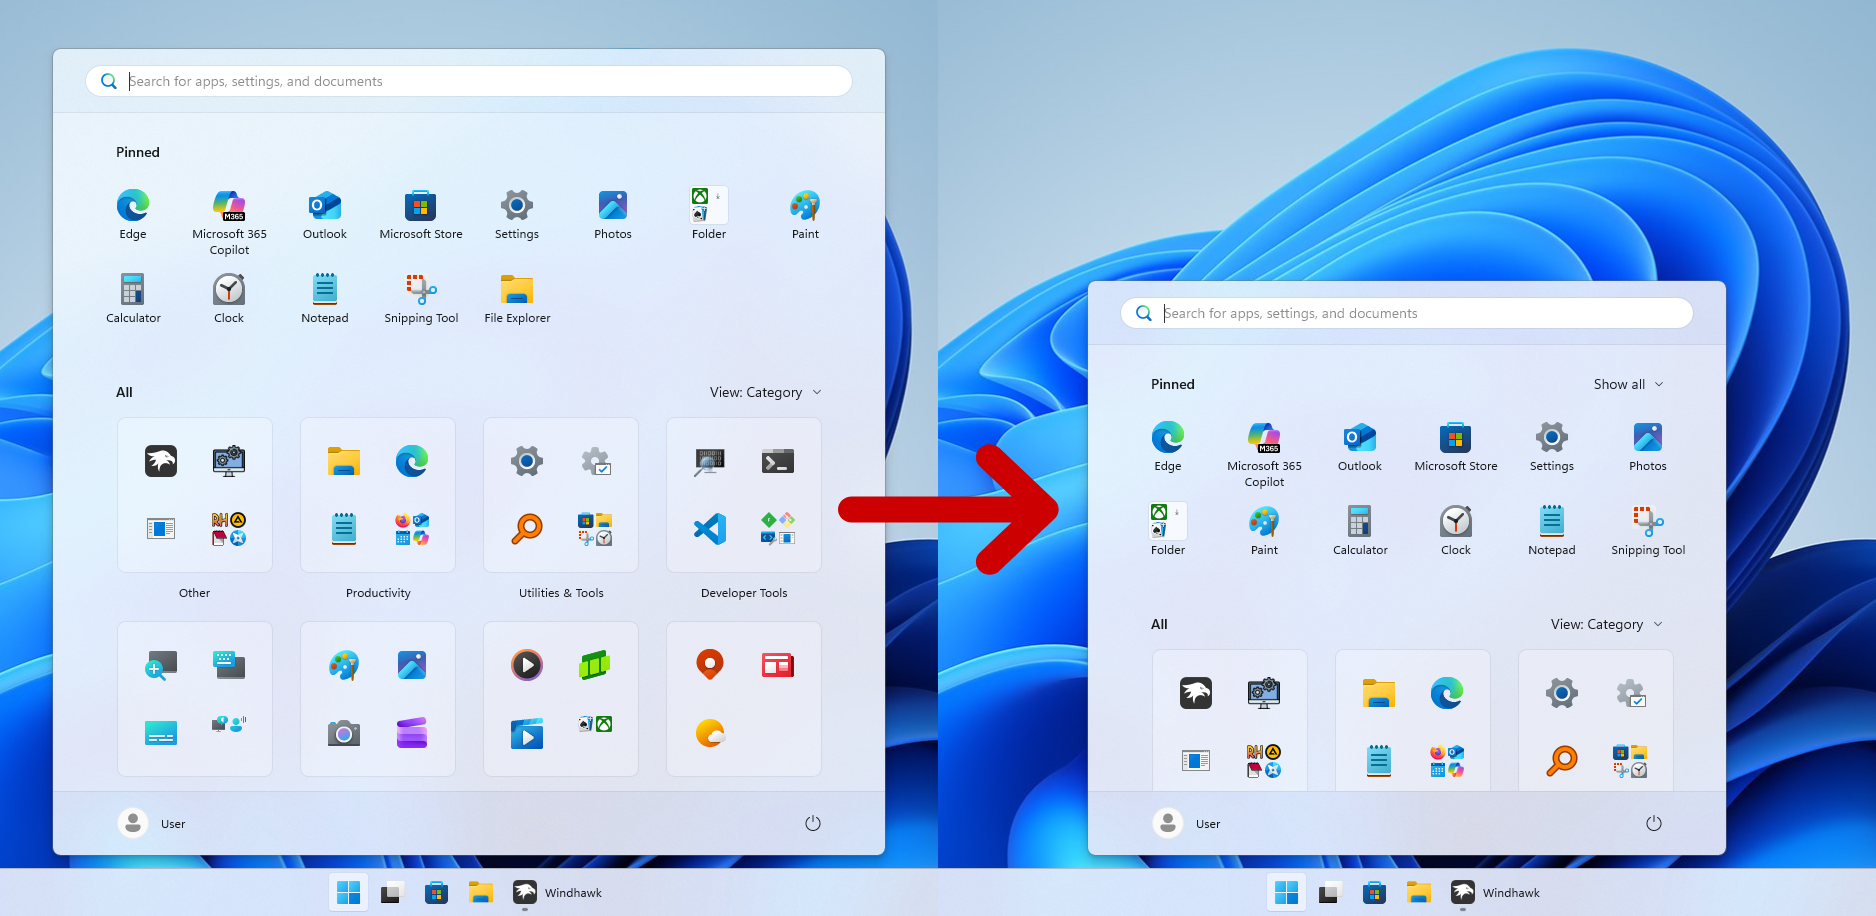
After a long wait, Microsoft redesigned the Start Menu in Windows 11, adding a few much-needed enhancements, such as the...
Learn the only methods that actually work for updating Xbox Series X/S firmware without internet in 2026 — plus which...
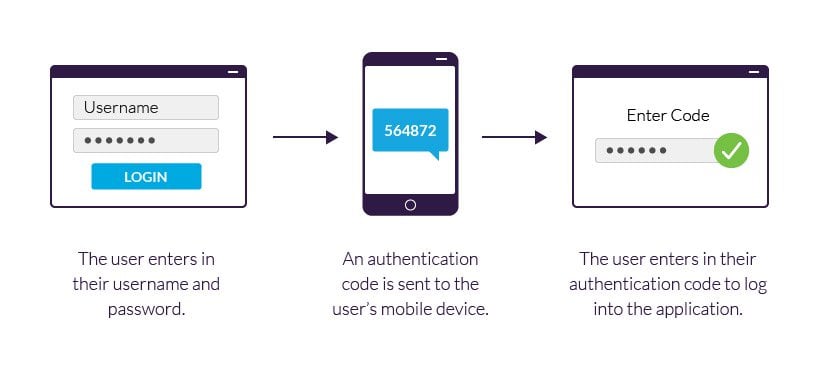
This guide will walk you through 5 smart account security settings that you can enable immediately if upgrading the device...
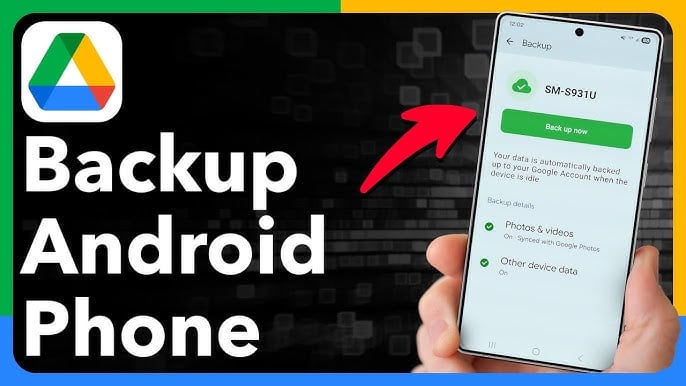
With the February Google Play System update, this process requires no manual uploads, no third-party applications, and no reminders.
In this guide, we will walk you through the step-by-step solutions or fixes for Windows and macOS.
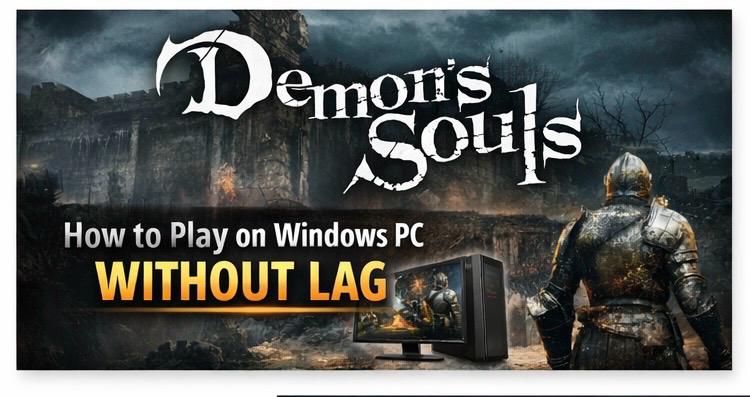
Let’s have a look at what is currently happening in the gaming industry before we dive into the performance tips.
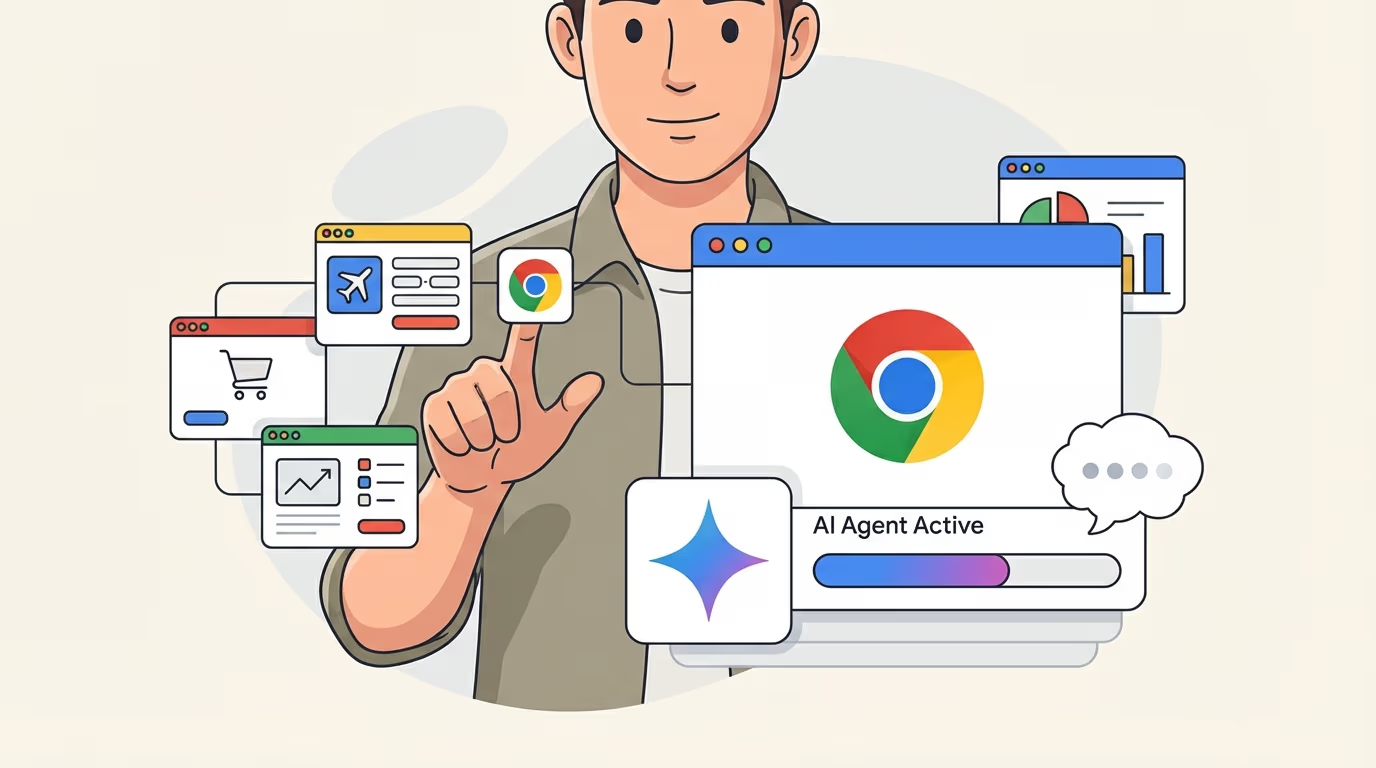
In this guide, we will walk you through the definition of Auto Browse and show you how to enable the...
If you are unable to access docs.google.com on your Windows 11 PC and are encountering errors like blank pages or...
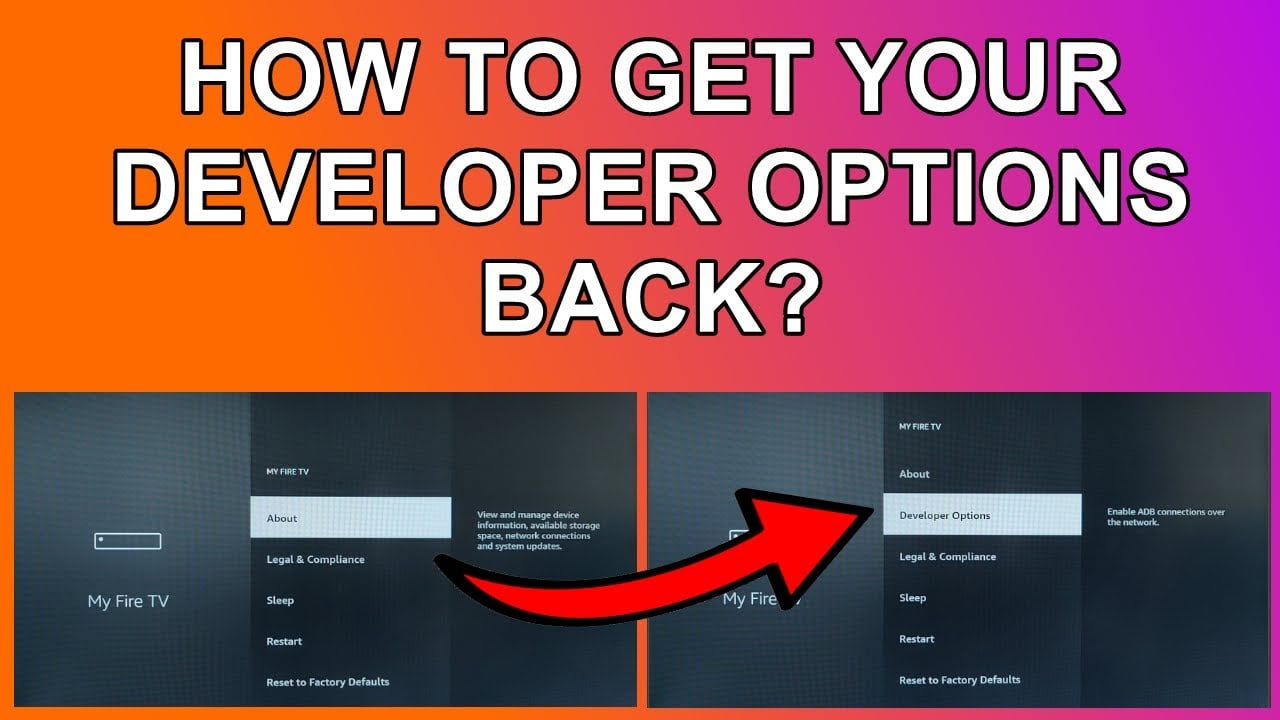
In this guide, we will walk you through the steps to turn on Developer Options on your Firestick easily.
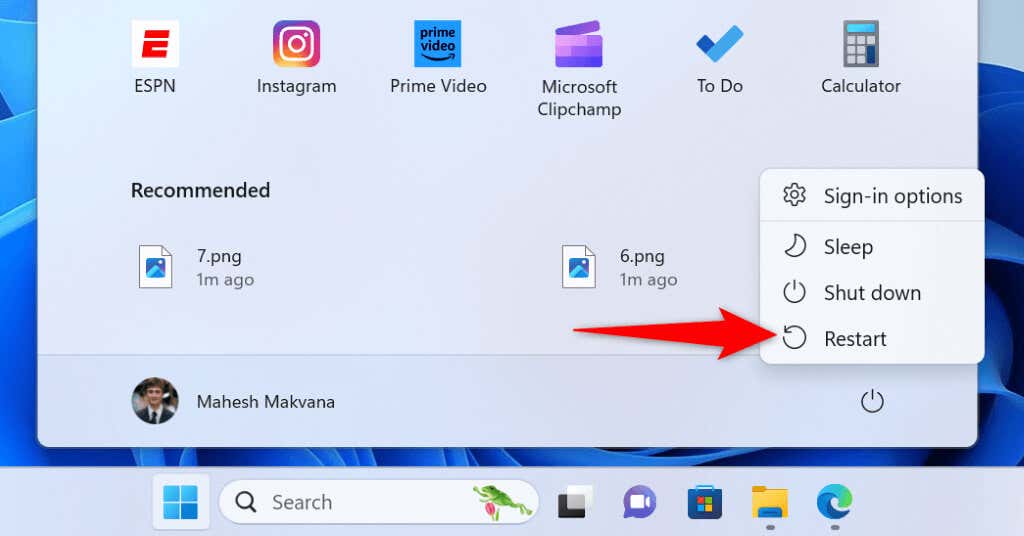
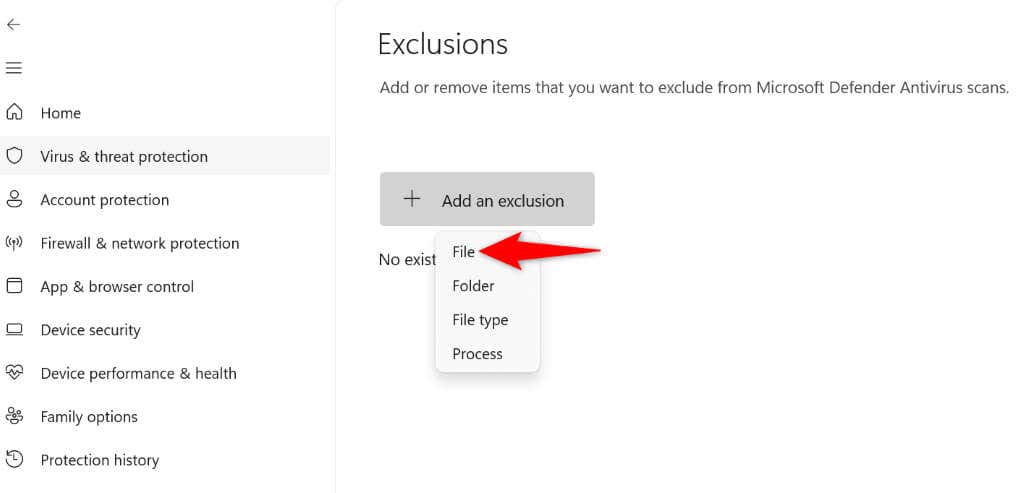
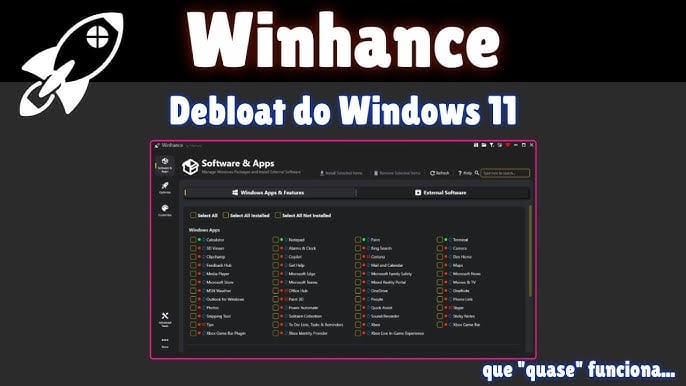
You can easily debloat your Windows 11 without compromising safety or breaking system stability. In this guide, we will walk...
Factory reset itself sounds stressful and makes one feel like everything will be wiped out. Users might lose their photos,...
Apple is prominently known for its privacy and security, whether it’s iPhone or macOS. But no system is immune. Due...