
If you work in IT or offer your own IT services, you probably install and reinstall operating systems for clients quite often. Traditionally, operating system installs have been deployed directly from an OS install disc, but because discs get scratched or damaged so easily, most people in IT use USB drives. This is a more effective method, but it still has one con, similar to using discs.
Mainly, USB drives are more reliable and effective than discs, but like discs, most USB drives are singularly purposed. Because each client may have a different operating system preference, you may have to deploy several different operating systems at random times. For example, one client may want a clean install of Windows 7 Ultimate and another client may want you to install Ubuntu for them.
Usually, this involves owning several USB drives, you may have a Windows 7 boot drive, a Ubuntu boot drive, a CentOS boot drive, etc… If you want to cut down on all of the drives, you can consolidate your bootable OSs into one USB drive that can be used to deploy multiple, different operating systems.
Create Multi OS Bootable Flash Drive
There are a few ways that you can setup a USB drive to boot multiple operating systems, but one of the simplest ways is to utilize the program YUMI. So, to get started, jump to the YUMI downloads page and proceed to download the most current version.
Once the download is complete, proceed to launch the software. You will be presented with the following screen:
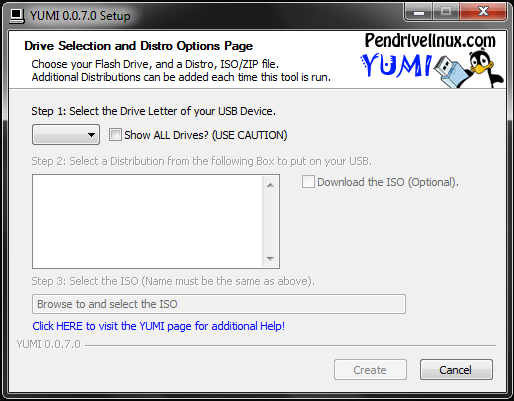
As described, the first step is to select the drive letter for your USB device. In Windows, you will usually want to select the E: drive, but this can differ depending on how you have your Windows drives structured. So, start by plugging in your USB drive to your computer and navigating the path Start > Computer. This will give you a view of all your active drives, in which you can simply determine the drive letter for your USB drive.

As you can tell from the above screenshot, Windows has detected the USB drive as Removable Disk (E:). Again, your USB drive may be assigned a different drive letter, depending on your Windows setup and the other devices that you use (external hard drives, USB drives, etc…).
Given the above information in the Computer pane, you can now select your USB drive from the YUMI Step 1: Select the Drive…
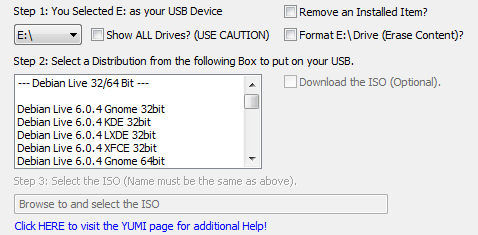
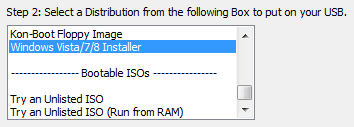
Next, under the Step 2: listing, you will need to select your first distribution to add to the USB drive. The YUMI software comes configured with several distributions, anything from standard Linux installation ISOs to specialty utilities. For this tutorial, we will simply be choosing a standard Windows 8 install:
Once you’ve selected a distro from the list, you will need to navigate to the actual ISO file (Step 3) for that distro. This may be an ISO that you’ve downloaded, or an ISO file that you’ve created or ripped from a disc. For this tutorial, I’ve selected a Windows 8 Consumer Release ISO.
![]()
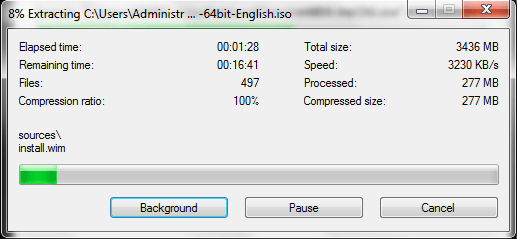
Finally, click the Create button to begin making the ISO bootable and storing it to the USB drive. From here, the YUMI app will process and begin creating the bootable distro.
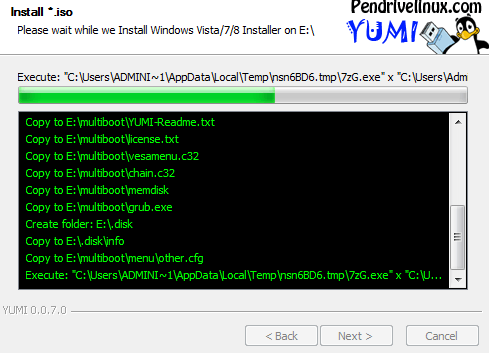
Once the process completes, click the Next button which will prompt the following window:
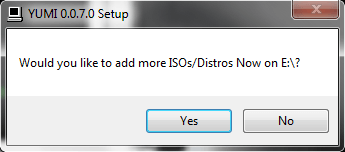
From here, you can simply click the Yes button, which will return you to the YUMI start page, where you can add another bootable distro, using the above steps.
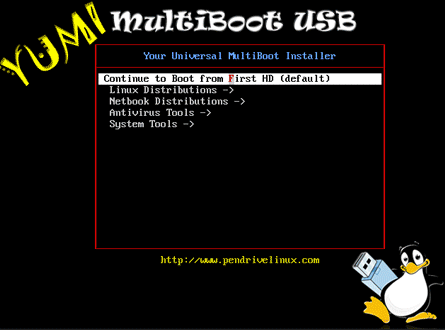
Once you’ve completed configuring your USB drive with all of your boot options, you will need to simply restart your computer and boot from the USB drive. From there, you will be presented with the YUMI interface, which will allow you to select a distro to boot into.
That’s basically all there is to it. Now you can utilize one USB drive that is capable of booting multiple distros and programs! Although this tutorial is purposed for creating a bootable USB drive capable of booting multiple operating systems, the YUMI program can also be used to boot offline antivirus programs, disc cloning utilities, diagnostic and other utilities. Thank you for stopping by the site for today’s post. If any of our site visitors know of any similar programs to YUMI, feel free to link to them in the comments section. Enjoy!