
Prevents redacted text from being revealed
When sharing a Word 2007 document, you may need to delete or hide confidential information. You can search for the data and remove it manually, but this can be error prone and time consuming. If you often need to hide confidential data in a Word 2007, there is a free add-in for Word 2007, called the Word 2007 Redaction Tool, that can be used to hide text within Word 2007 documents easily and much more efficiently.
Redacted text appears in a new copy of your original document as a solid black bar. Text beneath the bar is converted to vertical lines (|||||), preventing the redacted content from being retrieved under any circumstances, even if the party with whom you are sharing the document views the redacted document in a text editor, such as Notepad.
Table of Contents
Download Word 2007/2010 Redaction Tool from
http://redaction.codeplex.com/releases/view/32251.
The following items are required to install the Word 2007 Redaction Tool:
- The .NET Framework 3.5 Service Pack 1
- The VSTO 3.0 Runtime Service Pack 1
However, you do not need to install these separately. If either of these items are not installed on your system, the Word 2007 Redaction Tool setup program will download and install them automatically. Installation of these two items may cause a reboot.
To install the add-in, double-click on the .exe file you downloaded. Read through the license agreement for the .NET Framework Client Profile and click the Accept button to continue.

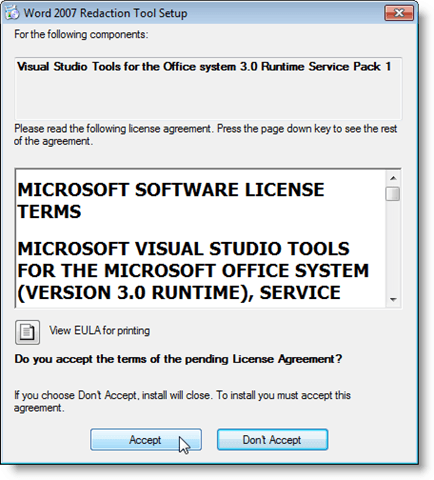
Read through the license agreement for the Visual Studio Tools for Office and click the Accept button to continue.
The WinZip Self-Extractor opens and automatically starts the installation process.

The necessary files are downloaded.
The .NET Framework and the Visual Studio Tools are installed.

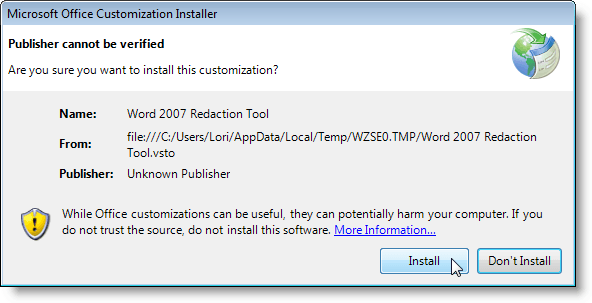
The Microsoft Office Customization Installer displays asking if you are sure you want to install this customization. Click Install to continue.
A dialog box displays when the installation has successfully finished. Click Close.
NOTE: If you get an error at this point, run the installation file you downloaded again. We got an error when we first installed the add-in. Running the installation again seemed to work.
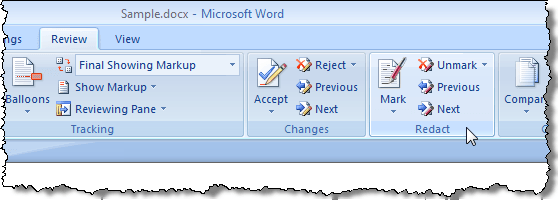
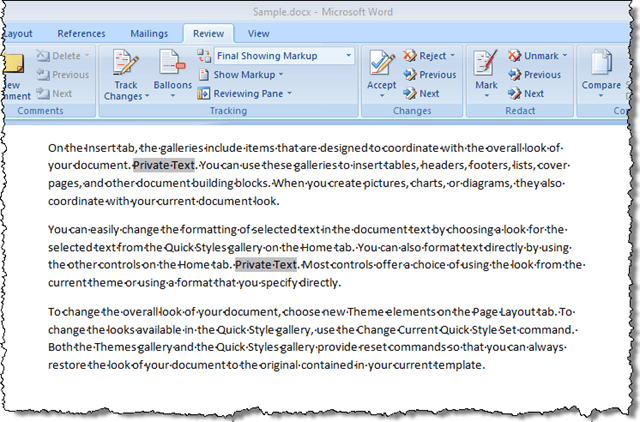
Once you have installed the Word 2007 Redaction Tool, a Redact group is added to the Review tab.
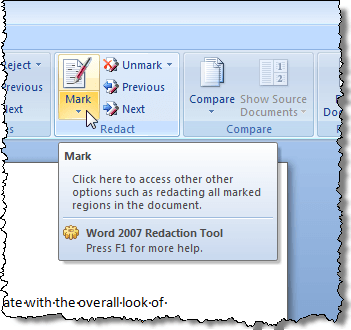
To redact, or black out, private text in your document, you first need to mark the text to be redacted. To do this, highlight the desired text and click the Mark button.
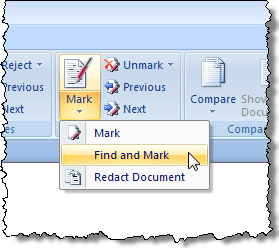
If you want to mark the same text in multiple places in the document, click the arrow on the Mark button and select Find and Mark from the drop-down menu.
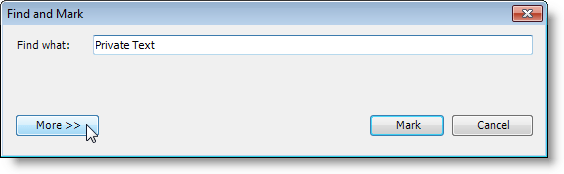
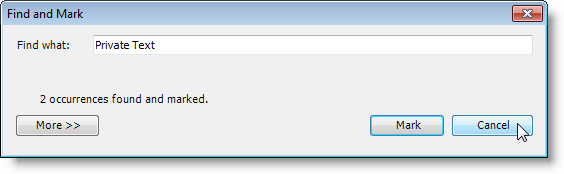
The Find and Mark dialog box displays. Enter the text to find in the Find what edit box. To see more options, click the More button.
Search Options display under the buttons on the dialog box and the More button becomes a Less button. Select any desired options. To hide the extra options again, click the Less button. Click Mark to find and mark the entered text.

The dialog box displays how many occurrences of the specified text were found and marked. To close the dialog box, click Cancel.
The marked text appears highlighted in gray in your document.
If there is any text you have marked that you don’t want to redact, you can select that marked text again and select Unmark from the Unmark button’s drop-down menu to prevent that text from being redacted.

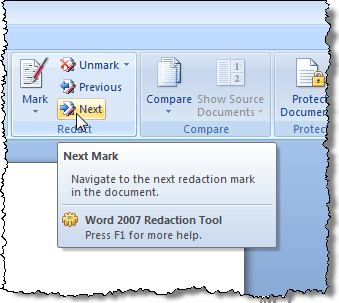
To move among the redaction marks in your document for final checking, use the Next and Previous buttons.
Once you are sure you have all the text marked that you want redacted, select Redact Document from the Mark drop-down menu to black out the marked text.

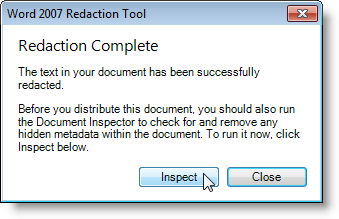
A new redacted version of your document is created with the marked text replaced by black bars. A dialog box displays when the process is complete asking you to run the Document Inspector to check for and remove any hidden metadata within the document before it is distributed. Click Inspect to run the inspection or click Close to skip the inspection.
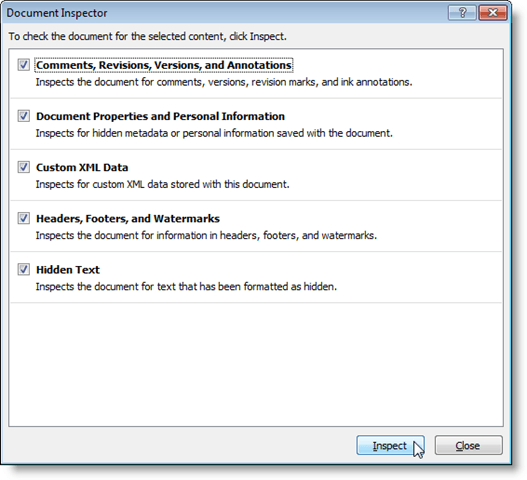
The Document Inspector dialog box displays. Different types of metadata is listed in the dialog box with a check box beside each item. Select the check boxes for the items you want inspected for metadata. Click the Inspect button to start the inspection. To close the dialog box at this point without doing an inspection, click Close.
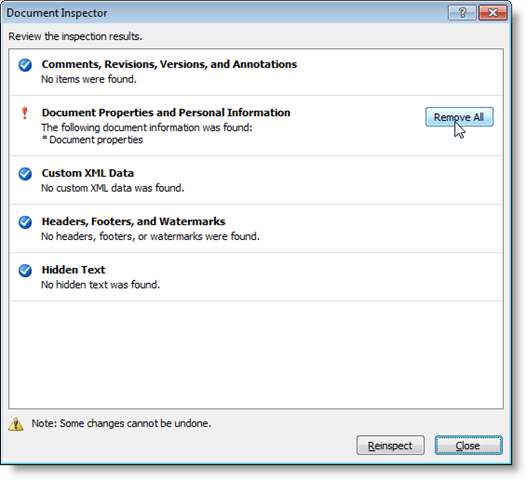
The results of the inspection are displayed on the Document Inspector dialog box. If any metadata was found, an exclamation mark displays to the left of the item that was found. To remove the metadata from the document, click the Remove All button to the right of the item.
NOTE: The Document Inspector notes at the bottom of the dialog box that some changes cannot be undone. Be sure you want to remove the metadata before clicking the Remove All button.
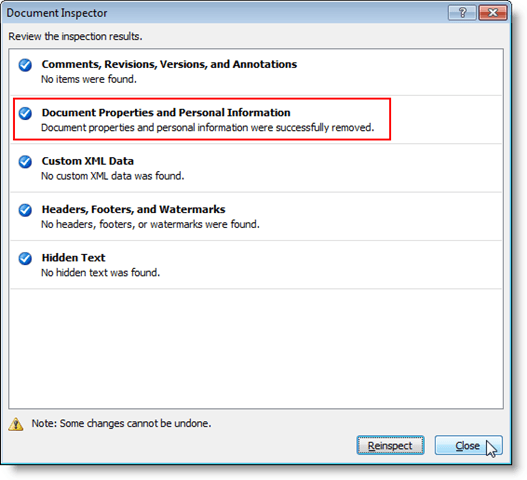
The Document Inspector dialog box informs you of the changes made. Click Close.
In the new document, black bars are inserted over all the private text you marked.
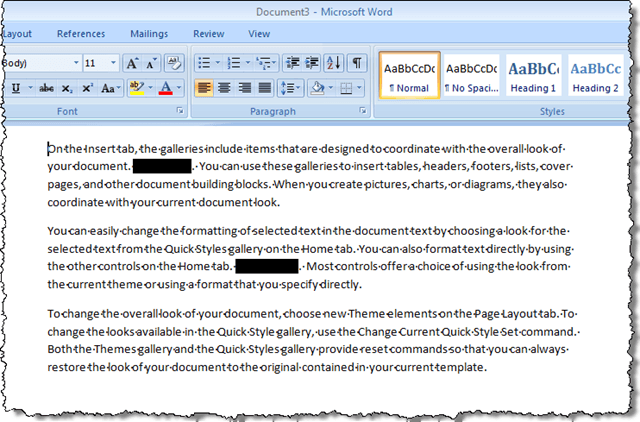
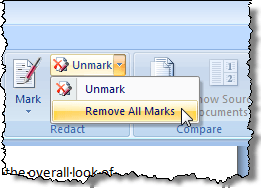
Remember that you cannot remove the black marks from the text in the new document. Be sure you save the file with a different name than the original and share the new document, not the original. You can go back to the original document and select Remove All Marks from the Unmark button menu to clear your marked text, if desired.
To further secure your redacted document, you can choose to protect it from modification when saving it as a new document. This allows you to distribute a document that cannot be changed.
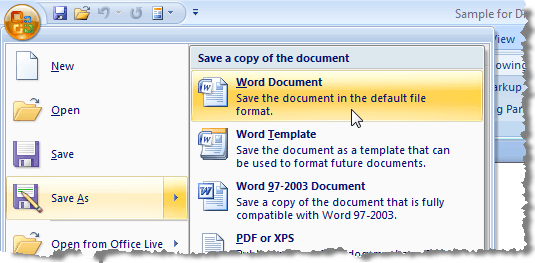
To do this, select Save As | Word Document from the Office menu.
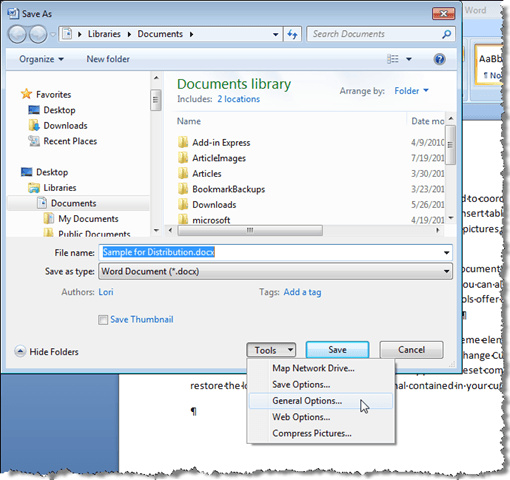
On the Save As dialog box, enter a new name for the redacted copy of the document int he File name edit box. Click the Tools button at the bottom and select General Options from the drop-down menu.
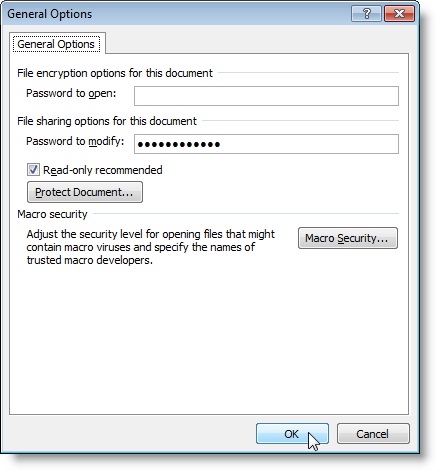
On the General Options dialog box, enter a password in the Password to modify edit box, and select Read-only recommended, if desired. Click OK.
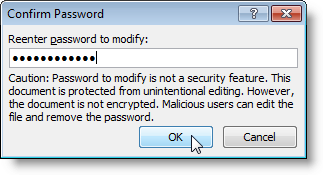
The Confirm Password dialog box displays. Enter your password again and click OK.
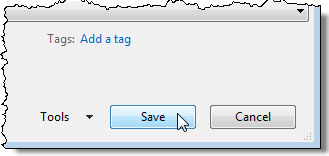
You are returned to the Save As dialog box. Click the Save button to save your new redacted, secure document.
By using the Word 2007 Redaction Tool and protecting the document from modification, you can protect your confidential information and preserve your document when you must distribute it. The Redaction Tool works just as well in Word 2010. Enjoy!


