
Swap out your favorite programs or apps
Each file in Windows, has an extension as part of its filename, such as .txt, .doc, etc. These extensions are used to identify the default program with which to open this file when you double-click on the file.
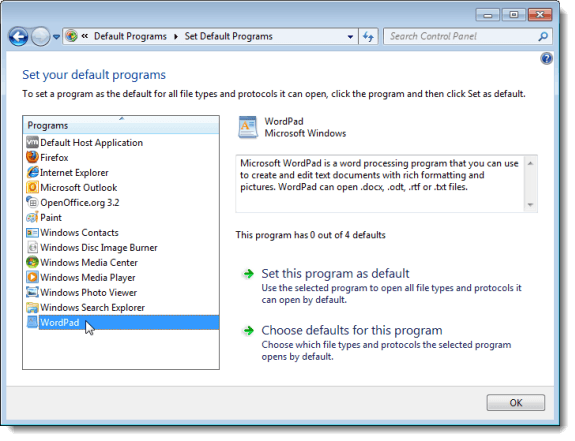
You can set or change these file type associations in Windows 7. In Windows XP, this capability was available in Folder Options. However, it was removed from that location in Windows 7. It is now available as Set Default Programs in the Default Programs tool available in the Control Panel in Windows 7.
Table of Contents
You can also right-click on the file whose association you want to change and select Properties from the popup menu. Then, click the Change button on the General tab.

On the Open with dialog box, you can choose a program from the lists of recommended programs or other programs. You can also select a custom program using the Browse button.
NOTE: By default, the program you choose on this dialog box will always be used to open other files of the same type as the selected file. The Always use the selected program to open this kind of file cannot be unchecked.

If you accidentally associate a file type with a specific program and you want to remove that association and return to using the default, global association for that file type, the Set Default Programs tool does not provide an easy, graphical method for doing this. We found a free tool, called Unassociate File Types, that allows you to easily remove a file type association in Windows 7.
NOTE: Unassociate File Types requires administrative privileges to work correctly.
Download Unassociate File Types from
http://www.winhelponline.com/blog/unassociate-file-types-windows-7-vista/
Unassociate Files Types also works in Windows Vista. We display examples from Windows 7 in this post.
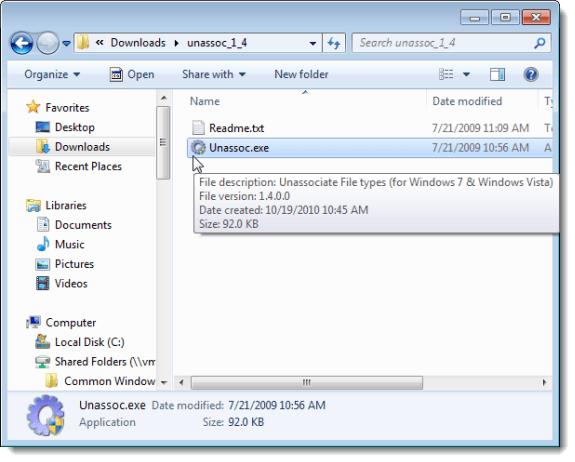
The utility does not require installation. Simply unzip the file you downloaded and double-click on the Unassoc.exe file to run the utility.
Click Yes on the User Account Control dialog box that displays.

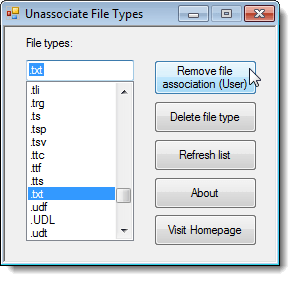
On the Unassociate File Types main window, select the desired file extension from the File types list. To remove the user-specific, custom association, for the chosen file type, click the Remove file association (User) button. This changes the default program used to open the file when you double-click on a file of that type.
NOTE: The Remove file association (User) button is not available until you select a file extension from the File types list.
Once you click the Remove file association (User) button, a dialog box displays telling you that the custom file association has been removed from the registry. Once you remove a file type association the Unassociate File Types tool, Windows will use the default, global file association settings for that file type.

To close the Unassociate File Types tool, click the X button in the upper, right corner of the dialog box.
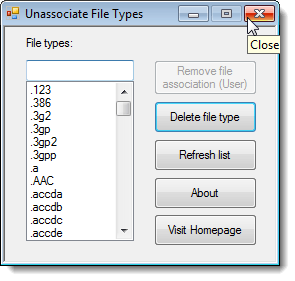
You can use the Delete file type button to remove a file type completely from the registry. Be careful when choosing to use this option, because it removes both the user-specific and the global associations for the chosen file type. Try not to use this option for common file types, such as .txt and .doc, and use it sparingly in general.
If you have added or changed file associations using the Windows tools while the Unassociate File Types tool has been open, click the Refresh list button to refresh the list of available Files types. Enjoy!


