
So you can run older applications
So far, Windows 7 has proven itself to be a good overall operating system. It has brought several needed improvements, and even some new technological features.
However, Windows 7 can have some problems with backwards compatibility, which is to be expected with any new operating system. Microsoft anticipated this and decided to add XP Mode to Windows 7.
Table of Contents
XP Mode allows you to run Windows XP inside a virtual machine within Windows 7. In turn, you will be able to run older applications and programs if need be. The following tutorial will guide you through adding XP mode to your Windows 7 installation.
Install XP Mode on Windows 7
Before you get started installing XP Mode, you should first check to see if your computer supports virtualization. Use this tool, directly from Microsoft, to check your computer’s compatibility.
The file is only 1MB max (depending on selected components), so it should not take much time to download. After you get it downloaded, install the file and run the check. If it say’s that you’re good to go, than continue on.

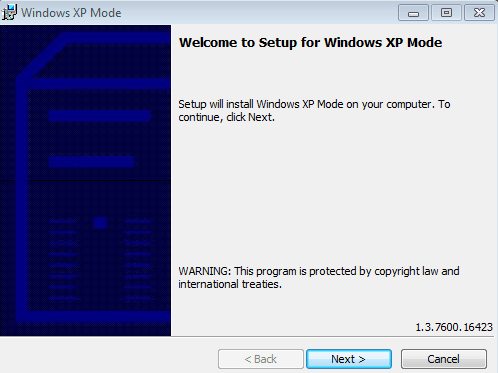
Now, you can download the actual XP Mode file here. After the download has completed, go ahead and double click the installer file to install XP Mode to your computer.


Install Windows Virtual PC
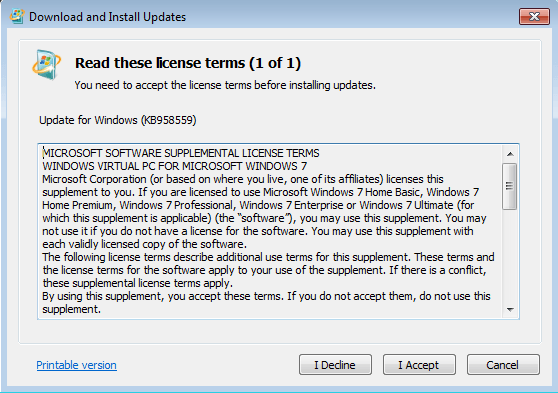
Now that you have the XP Mode file ready, you need to install the Windows Virtual PC framework. Jump back to this page and click on the Download button.
Save the installer file to your computer, and double click to run it. Install Windows Virtual PC and any updates to your computer. You will need to restart your computer after the installer finishes.


After your computer gets done restarting and installing the new files, you should be able to launch Windows XP Mode. Click the Start Menu and use the path Start > All Programs > Windows Virtual PC > Windows XP Mode.
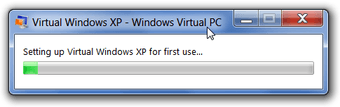
Type a password into the pop up box to use for your virtual machine, type again to verify, and click next. On the second screen, select the option to turn automatic updates on, and click next. Windows Virtual PC will now set up your XP Mode machine. This could take a couple of minutes to complete.

After setup completes, Windows XP will startup automatically within the virtual machine window.
From here, you can setup your XP Mode virtual machine the same way that you would setup an actual computer with a normal XP install on it. You can add or delete accounts, add or remove programs, change desktop themes, etc.
You can make your virtual machine full screen by hitting the maximize window button (the same button that you would use to maximize any window). Alternatively, to go back to normal view, just click the restore down button.

That’s all there is to it. You now have Windows XP Mode installed and ready to use within Windows 7. Now, you can simply install any older programs that do not work with Windows 7, into your XP Mode virtual machine.


