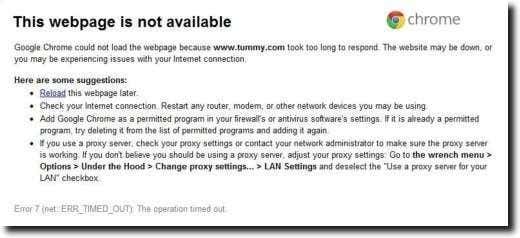
For many computer users who have complaints about their ISP’s Internet speed, one factor they may not be considering is the quality of their ISP’s DNS servers. DNS stands for Domain Name Servers, and is what your web browser uses to convert the web address you type into the URL bar of the browser into that website’s actual IP address.
For instance, if I want to visit ESPN.com to see today’s basketball scores, I would type espn.com into my web browser. You’ll notice that the address changes to espn.go.com, and eventually the website loads. However, you can also access espn.com by typing 68.71.216.176 into the URL bar. Of course, espn.com is a lot simpler to remember than 68.71.216.176 (imagine having to remember the IP address for dozens of websites you visit), so DNS servers are used. Whenever someone types in a website address, the browser checks with a DNS server to find the actual IP address (which is hidden from the user), and uses it to access the website.
Often, when websites or the Internet itself is under “attack” what is actually happening is that DNS servers are being bombarded with millions of requests, so they slow down to a crawl. The “Internet” is still out there, and if you knew the IP address of the website you wanted to visit, you could, but without DNS servers to quickly convert espn.com to 68.71.216.176 you can’t.
Some Internet Service Providers don’t have the world’s greatest DNS servers, so you may want to use something like OpenDNS, or Google Public DNS, for better performance. This will help speed up the loading of web pages, not by making your Internet faster, but by hopefully speeding up the DNS response time. This, in turn, allows your web browser to start loading the web page more quickly.
Here’s how to do that in Windows.
First, open up the Control Panel by clicking the Start orb in the lower left hand corner of the screen, then selecting Control Panel from the right sidebar of the Start Menu.

Next, click on the Network and Internet section.

Once it loads, click on Network and Sharing Center.

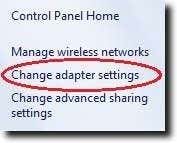
From the left sidebar, click Change adapter settings, which will show you a list of all network adapters (Ethernet, WiFi, Bluetooth), you have installed on your computer.
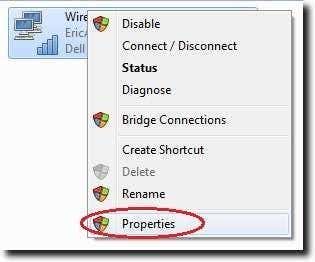
No matter which you wish to change (you might want to do both Ethernet and WiFi, for example, even if you usually use one over the other), right-click and choose Properties from the dropdown menu.
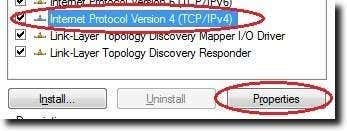
Now, click on the Internet Protocol Version 4 (TCP/IPv4) from the list, then click the Properties button.
The radio box we want to choose on the new window is the option to Use the following DNS server addresses (located below Obtain DNS server address automatically).
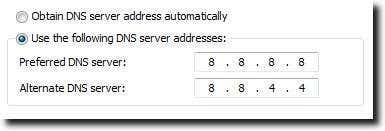
Now, there are numerous options available. As mentioned, OpenDNS is free, as is Google Public DNS. If you want OpenDNS, there are two servers: 208.67.222.222 and 208.67.220.220 (you can use both or either). Google Public DNS uses 8.8.8.8 and 8.8.4.4 as its DNS servers. There are other free public DNS servers, of course (just use Google to search for them), but OpenDNS and Google Public DNS are among the standards.
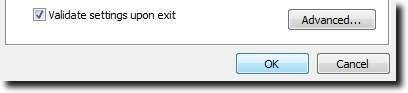
When you’re finished, simply click the Validate Settings Upon Exit checkbox (if you want), then the OK button, and you’re finished.
Now, there’s no guarantee that Google Public DNS or OpenDNS will be faster than your ISP’s default DNS servers. To check this, the best bet is a program like DNS Performance Test (available here) or Namebench (located here). Of course, a one-time test may show different results from what you experience in real-life usage, so your own experiences and instincts may give you a different result. Regardless, if you do decide to try out a new DNS server, you now know the steps to take to put that in motion.