A sharp increase in remote working has led many employers to move to cloud-based software solutions. That means more people than ever have access to the Microsoft Office 365 suite of applications, including Microsoft Forms. Microsoft Forms is an online-only app you can use to create quizzes, surveys, and other kinds of forms.
If you don’t have a premium Office 365 account, you can still use Microsoft Forms by signing up for a free Microsoft account. Below, we’ll walk you through how to use Microsoft Forms, including: how to create a form, collect responses, and access the results.

How to Create a Microsoft Form
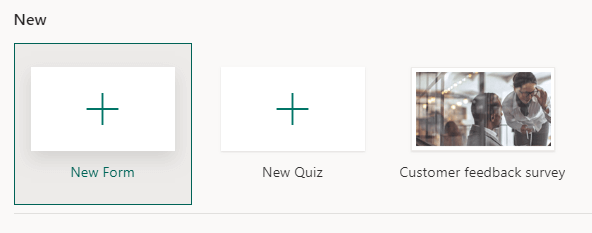
Begin by logging into forms.office.com. From the dashboard, you can choose to create a form or quiz, or you can use one of the free or premium templates provided by Microsoft.
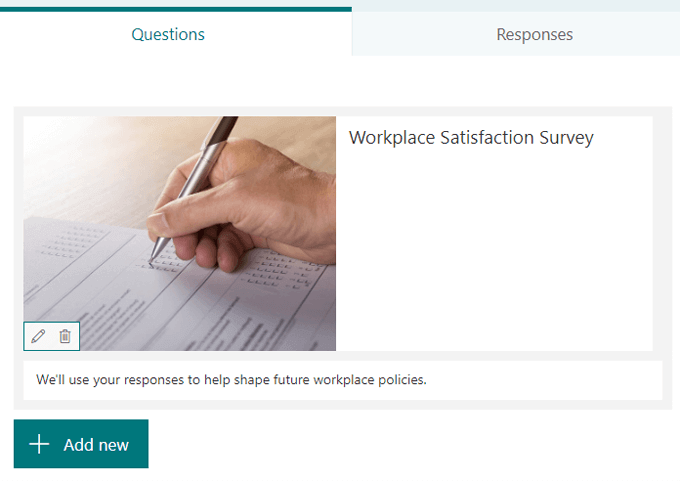
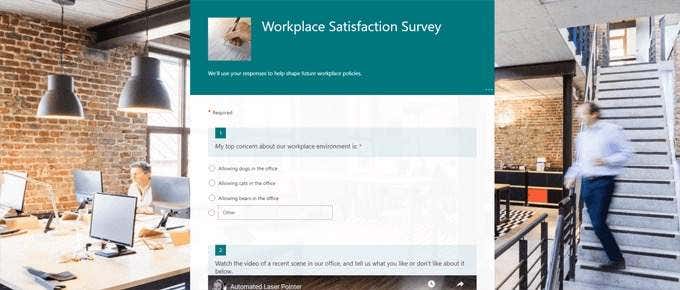
Start by creating a New Form and giving it a title and description. If you like, add an image to the form’s header.
Question Types
Select the Add new button and choose a question type. Microsoft Forms offers a variety of question types. Note: You can copy, delete, move, add a subtitle, or require a response to any question.

Choice. Use this question type for standard multiple choice questions. Options include shuffling answers, adding an image or video, and displaying answers as a drop-down list, radio buttons, or checkboxes for multiple answers.
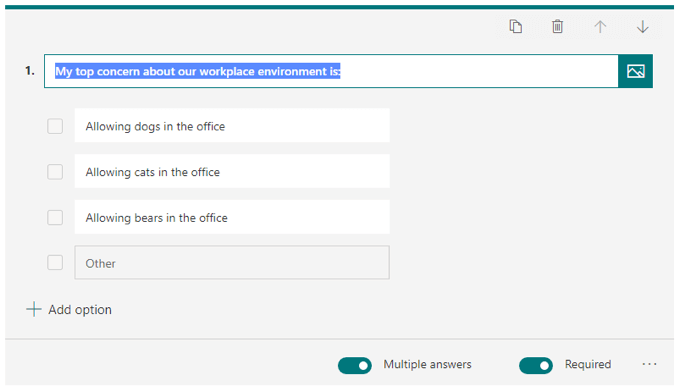
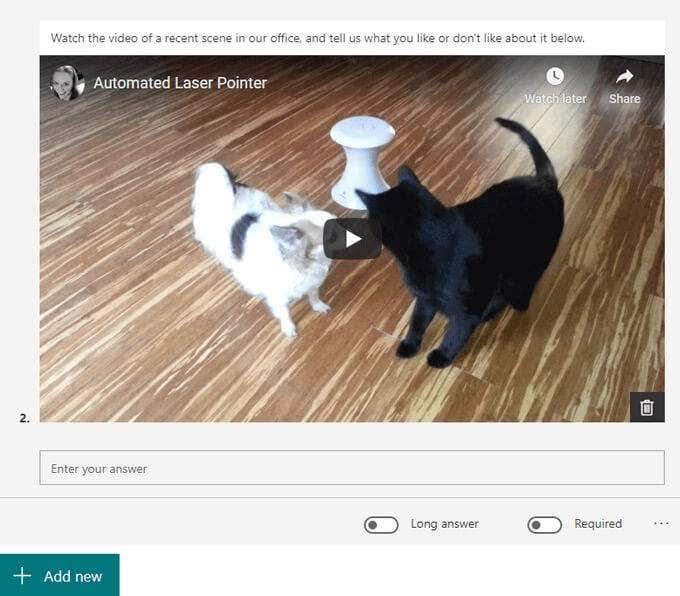
Text. Use this type for questions requiring a written answer. Options include allowing long answers and adding an image or video.
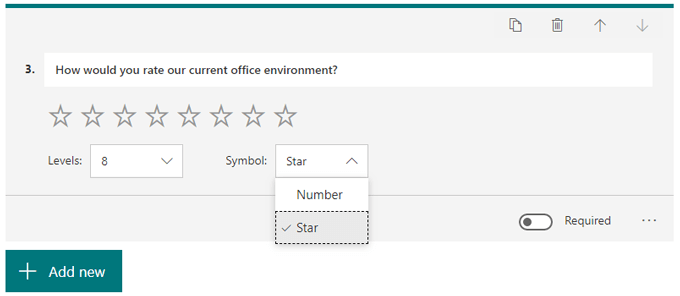
Rating. This question type asks respondents to provide a rating on a scale. Options include adding an image or video. The scale can include between two and ten levels, and you can choose between a number scale or the star symbol.
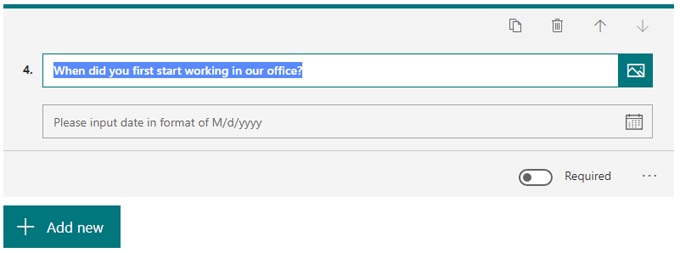
Date. Use this question type when the answer is a date.
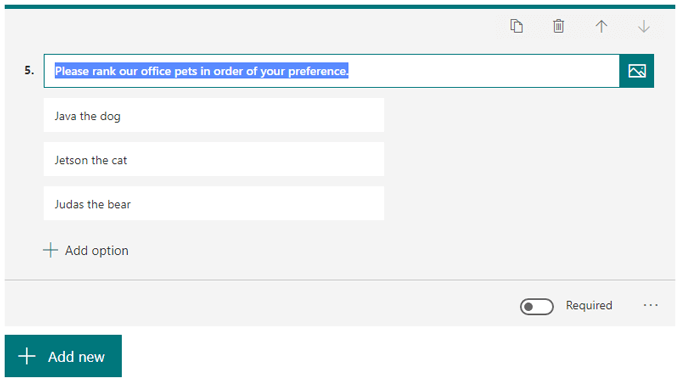
Ranking. The ranking question type allows respondents to rank the options you provide by dragging and dropping. You can add an image or video and up to ten options.
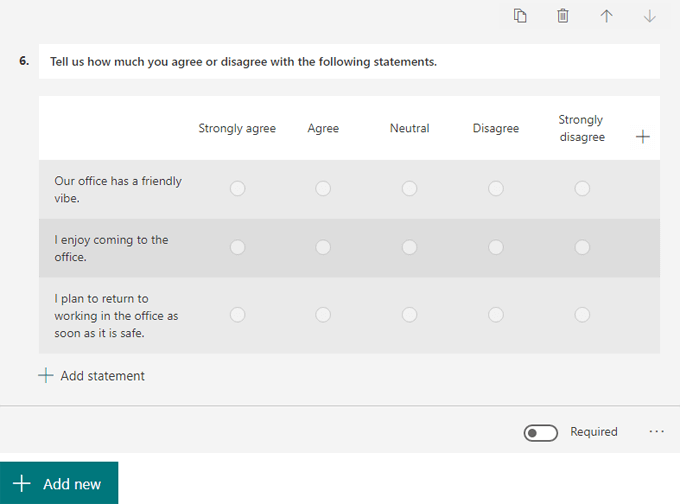
Likert. This question type is similar to Rating. A Likert question asks respondents to indicate how much they agree or disagree with a statement.
File Upload. This question type is only available to users who have a OneDrive for Business account. Choosing this question type will cause a new folder to be created in your oneDrive for Business, and respondents will upload their files to that folder.

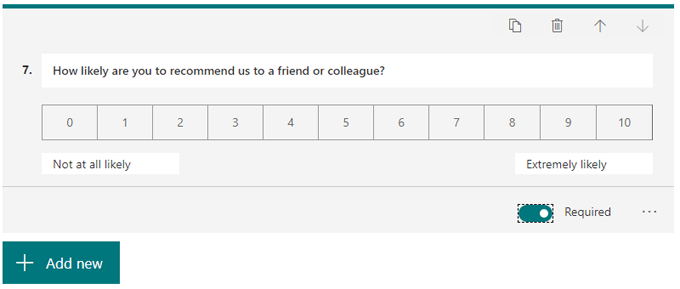
Net Promoter Score®. Also similar to the Rating question type, Microsoft says questions of this type are “pre-set with NPS standards, but you can customize them if you have special requirements. If you use this question type, you’ll have access to a summary page showing overall scores and distribution.”
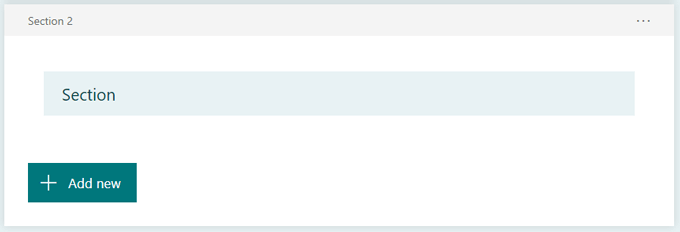
Add a new section. Choose this if you want to create sections within your form. You can add, delete, and move sections just like you can questions.
At any time, you can see what your form will look like to respondents by clicking on Preview.

Branching
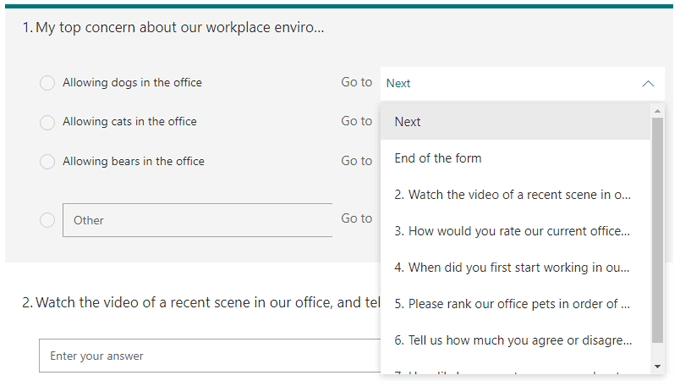
Microsoft Forms also lets you apply question logic (they call it “branching”). Click the more options icon and select Add branching. Navigate to the question to which you want to apply branching, and for each possible answer, you can specify which question the respondent will be directed to next.
Making Your Microsoft Form Look Good
Select Theme to see some options for spicing up the look and feel of your form.

You can:
- Choose from one of Microsoft’s suggested Theme ideas
- Choose a main color for elements of your form
- Search for or upload a background image of your choice
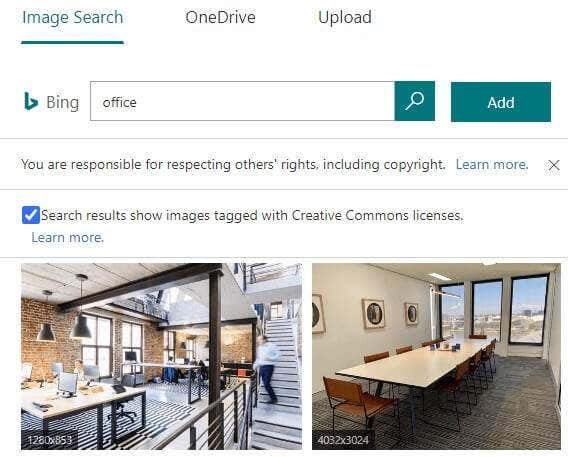
If you choose the third option, you can either search Bing for an image or upload your own image from from your OneDrive account or your computer. You can also choose to restrict image search results to only those tagged with Creative Commons license, which is really handy. Click the Add button to set the image you have chosen as the background image for your form.
Remember, you can always select Preview to see what your form will look like to respondents on computers or mobile devices.
Sharing Your Form and Getting Responses
Click the Send button to prepare your form for distribution. From there, you can copy the link to the form, generate a QR code, copy the embed code, share the form link via email, or post to Facebook or Twitter.
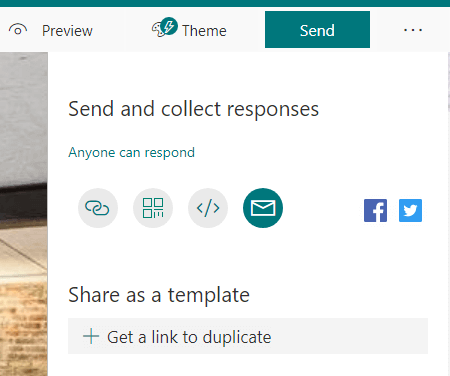
If you’re logged into a premium Microsoft account, you’ll see additional ways to limit who can respond to your form.
Options include:
- Anyone can respond
- Only people in my organization can respond
- Specific people in my organization can respond
You can also generate a link to share your form with someone else as a template.
To print your form, select the More options icon and Print form.

Viewing Responses
View the Responses tab to view a dashboard of responses. Microsoft gives you some basic data, like how many responses you have, the average time it took respondents to complete the form, and whether the form is active or closed.
If you select the More options icon, you can delete all responses, print a summary, or create a summary link to share with others.
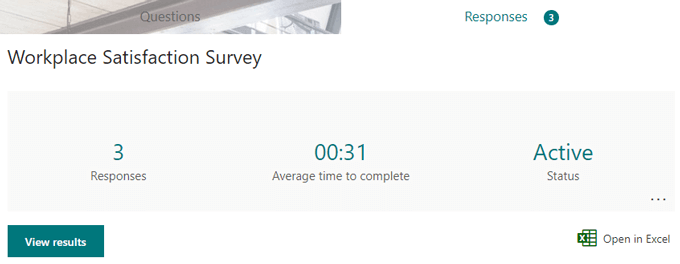
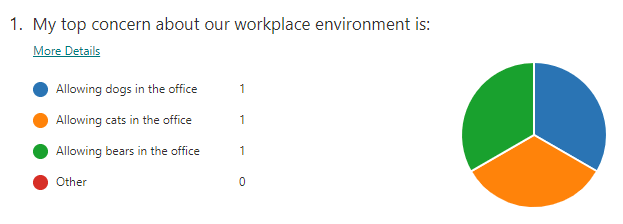
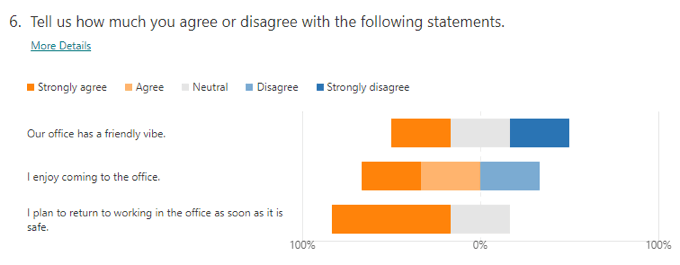
Select the View results button to click through each individual response. Alternatively, select Open in Excel to export the form responses to a spreadsheet. The Responses dashboard also summarizes responses to each question, often displaying results in a chart.
Other Tools for Creating Forms
Microsoft Forms is robust enough for most workplace and personal uses, but it’s not the only player in town. You can read our comparison of other tools such as SurveyMonkey vs. Google Forms or learn about the 10 best Google forms templates, or even how to make a fillable Google Docs form with tables.
Related Posts
Maggie Marystone is a freelance technology writer, human rights worker, and storyteller based in Chicago. Read Maggie’s Full Bio
