Even though OS X can read Windows formatted hard drives just fine, the opposite is still not true, even with Windows 10. Granted, OS X can’t write to a Windows formatted disk, but at least it can read the contents of the drive and you can copy the data to your Mac computer.
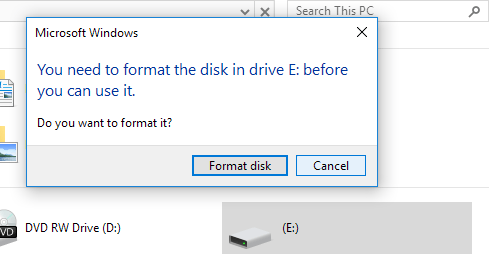
Windows has absolutely no support for the Mac hard disk file format (HFS+). This means that if you connect a Mac formatted drive to Windows, you’ll simply get a blank drive letter and a message asking to format the disk.
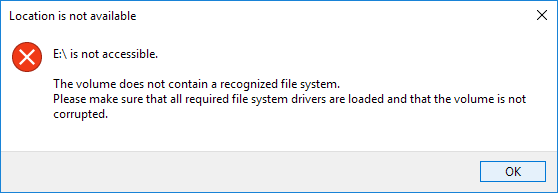
If you click Cancel, you’ll just get a message stating that the volume does not contain a recognized file system.
I’ve already written about how, if your external USB drive is not recognized by Windows, you might have to use the exFAT file format, which both Windows and Mac support, however, this requires formatting the drive and copying all the data back on.
Another solution is to enable file sharing on your Mac and access files from Windows that way, but this requires a decent amount of setup. So are there any other options? Well, thankfully yes. If you use Macs and PCs heavily in your setup, it might be worth spending some money on a program called MacDrive.
MacDrive
MacDrive is a great program that allows you to use Mac formatted disks on your Windows PC like a normal drive. Using the program, you can read and write data to HFS+ drives just like a normal Windows formatted drive.
You can then disconnect the drive from Windows, plug it into your Mac and access everything normally. If you find yourself having to copy data back and forth between Macs and PCs fairly often, this program is a great investment.
The Standard version is $49 and the Pro version is $69. You can see the difference between the two versions here. For me, the Standard version was more than enough. If you need to mount Mac formatted RAID sets on your PC or create ISO Mac images in Windows, then the Pro version will be necessary.
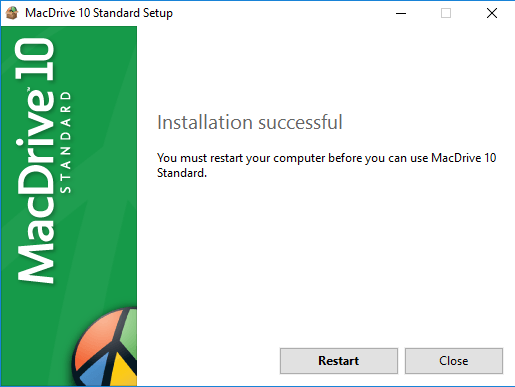
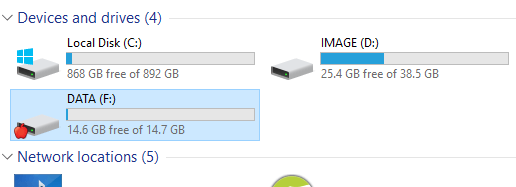
You can try out the program using the five-day free trial. Once you install it, you’ll have to restart your Windows PC. Once you log back into Windows, everything should automatically be good to go. If you connect a Mac formatted disk to your computer, it’ll instantly show up in Explorer with a little Apple icon on it.
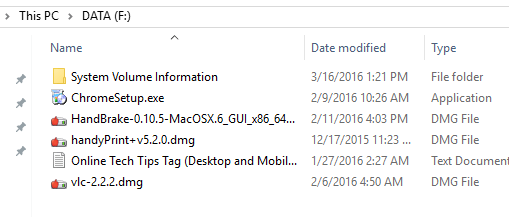
If you double-click on the drive, it will open just like a normal Windows drive. If there is any file that is Mac-specific, it will also show an apple icon next to it.
Now you can copy data from the Mac formatted drive to your Windows PC and vice versa. It works perfectly and I didn’t run into a single issue. I was able to copy DMG files to my Windows PC and EXE files over to my Mac without any issue.
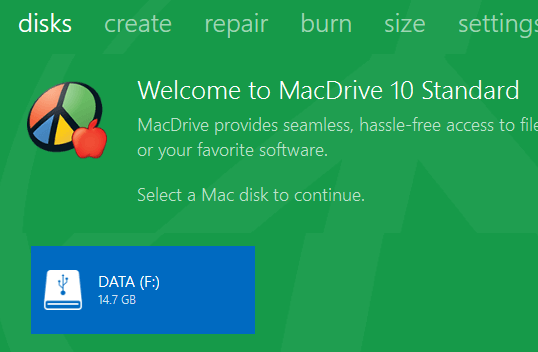
If you open the MacDrive app, you’ll see the main screen lists out the Mac drives the program has recognized already for you.
Click on the drive and you’ll get some options like opening the drive, removing it, getting a size breakdown and checking for errors.
I really like the fact that Disk Aware is part of this program because it allows you to quickly see what is taking up the most space on your hard drive, just like TreeSize does for Windows.
MacDrive also has other tools, which you can see across the top: Create, Repair, Burn, etc. Using Repair, you can connect a Mac drive to your Windows PC and fix it so that the data can be accessed. This is a great tool if you are a PC technician and someone brings you a Mac formatted hard drive that is corrupt or unreadable by OS X. You can use Mac Drive to try and repair it and access the data right on your PC.
Using the Create tab, you can create, delete or format partitions on a Mac disk. The Burn tab allows you to burn a CD/DVD for your Mac.
Overall, it’s an excellent program that is well worth the cost if you work with both operating systems on a regular basis. There is no other program out there that lets you access Mac files on a PC as easily and seamlessly as MacDrive. If you have any questions, feel free to comment. Enjoy!
Related Posts
- Preparing for Windows 10 End of Support: Upgrading to Windows 11
- How to Fix a “This file does not have an app associated with it” Error on Windows
- How to Fix an Update Error 0x800705b4 on Windows
- How to Resolve “A JavaScript error occured in the main process” Error on Windows
- How to Fix the Network Discovery Is Turned Off Error on Windows
Founder of Help Desk Geek and managing editor. He began blogging in 2007 and quit his job in 2010 to blog full-time. He has over 15 years of industry experience in IT and holds several technical certifications. Read Aseem’s Full Bio
