
Assigning a drive letter to a frequently used folder makes it appear as its own drive in File Explorer, which is handy for deep paths you navigate to constantly or for legacy software that only accepts a drive letter. The built-in subst command still works on Windows 10 and 11, and two other options cover you if you need something more permanent or more visual.
Quick note on “what you actually need”: If you just want faster access to a folder, pinning it to Quick Access in File Explorer is simpler and doesn’t consume a drive letter. The methods below are best when you specifically need a drive letter, for a legacy app, a script, or a workflow that expects one.
Method 1: Use the subst Command (Built-in, No Install Required)
subst is a built-in Windows command that maps any local folder to a drive letter instantly. The mapping is temporary by default, meaning it disappears when you restart or log off. Method 2 covers how to make it persistent.
Step 1: Open Command Prompt or Windows Terminal
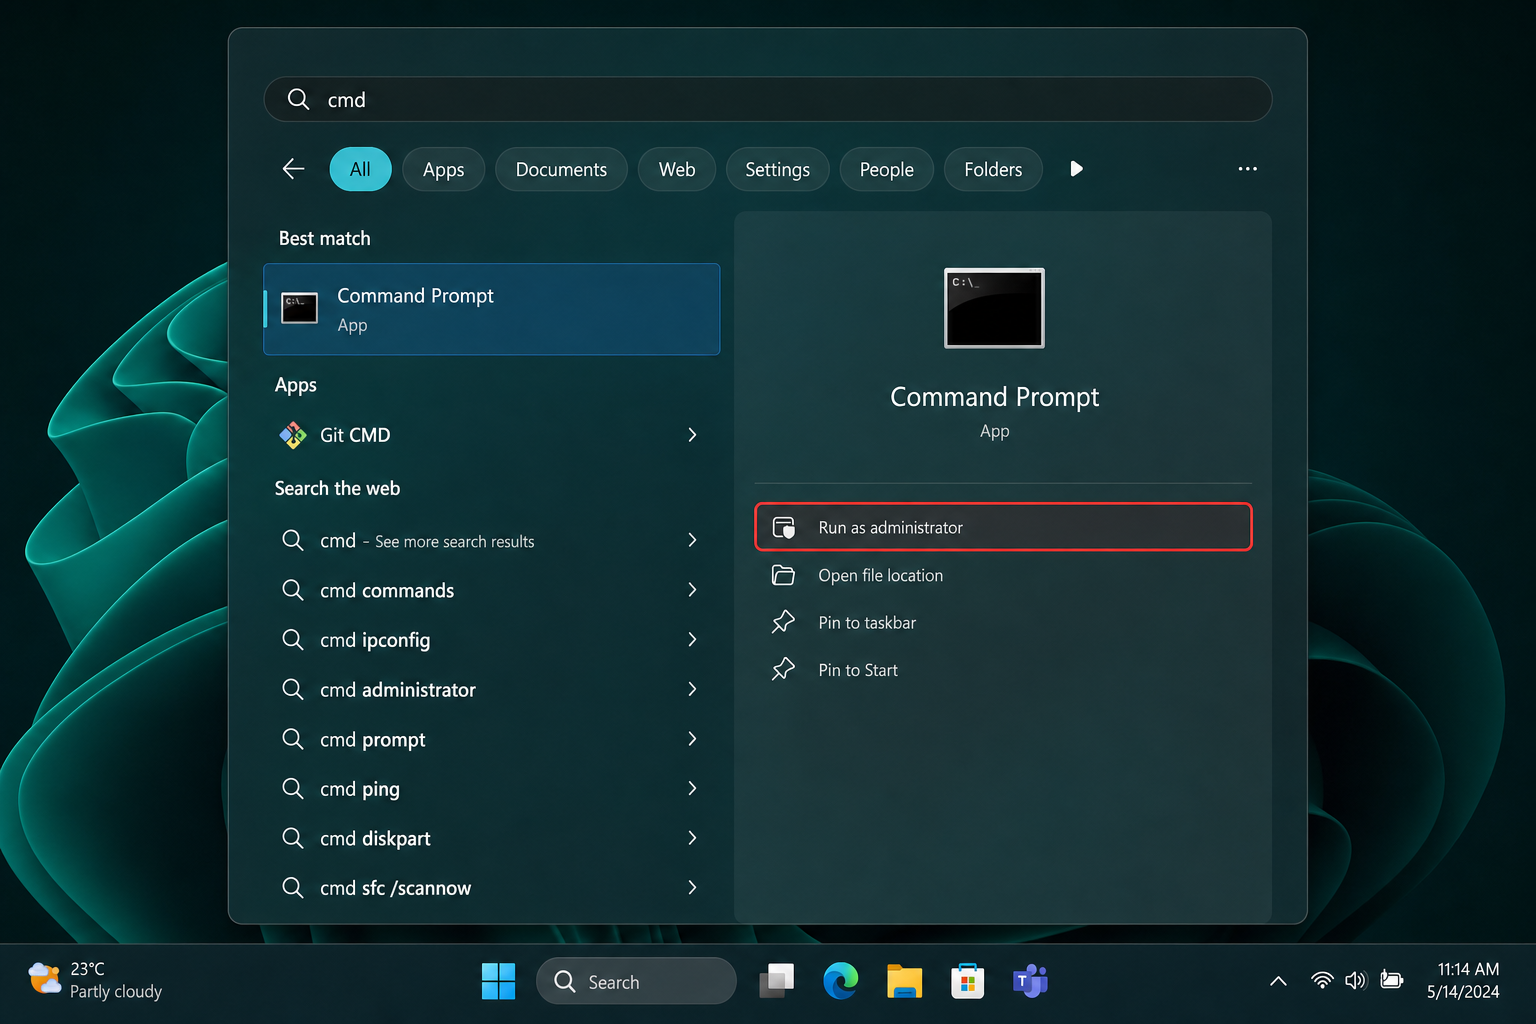
- Press
Windows + Sand type cmd. - Click Command Prompt in the results. (You don’t need to run it as administrator for
subst.)
Step 2: Run the subst command
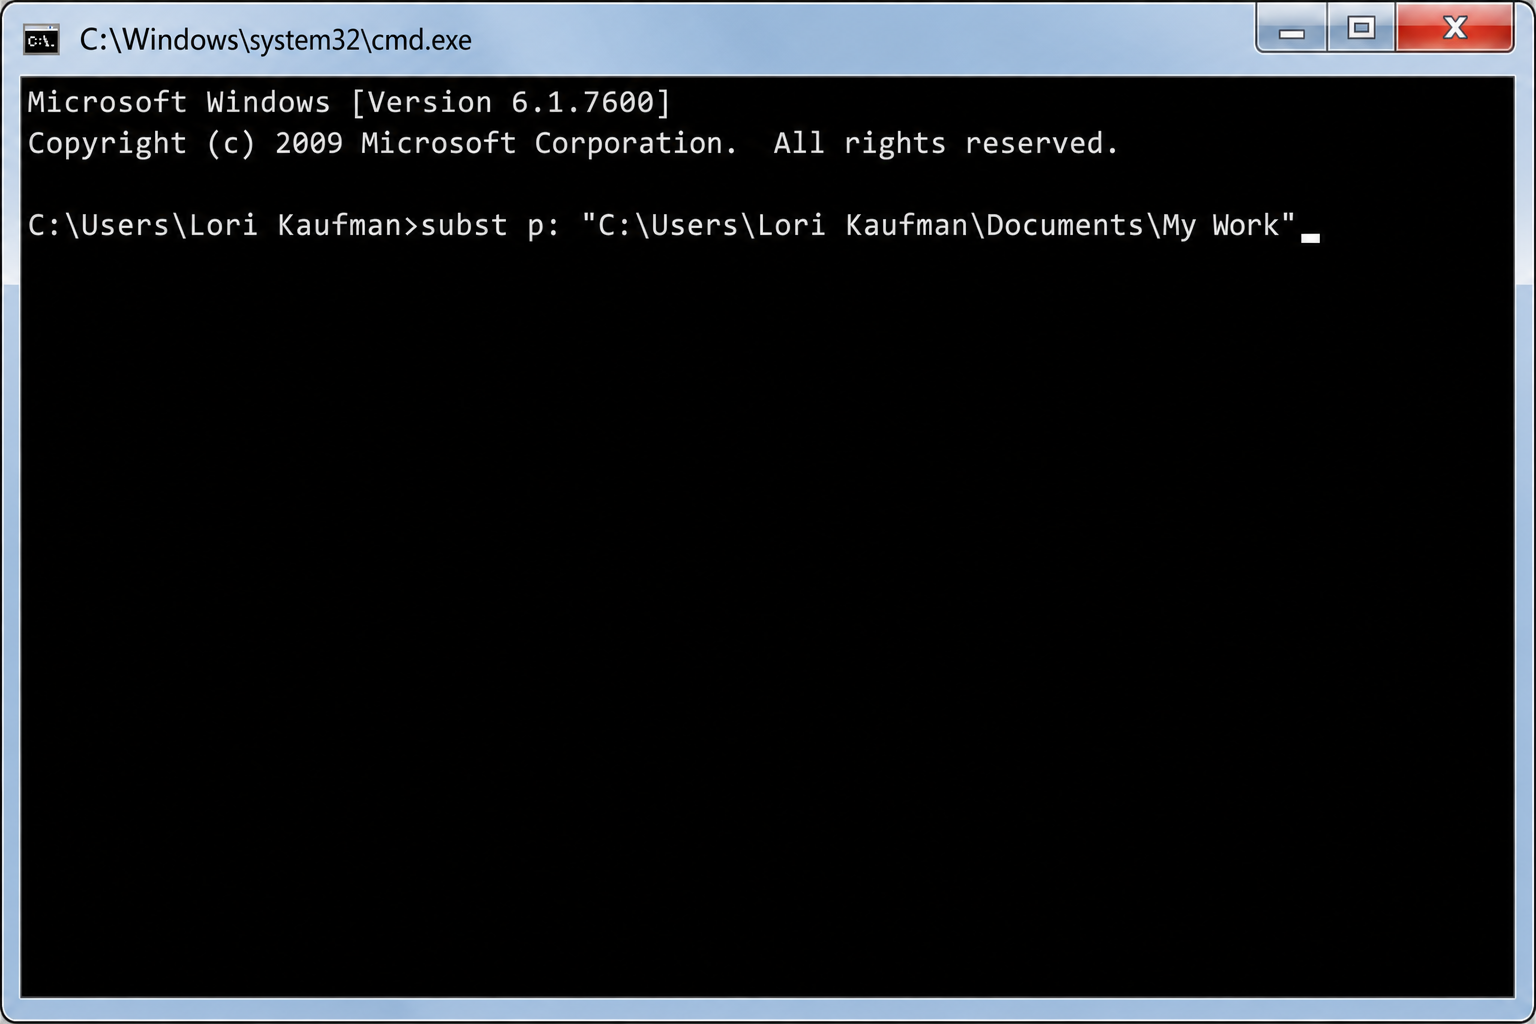
- Type the following, replacing the drive letter and path with your own:
subst Y: "C:\Users\Lori Kaufman\Documents\My Work"- Press Enter. No confirmation message appears, which is normal.
Note: Always wrap the path in quotes if it contains spaces. Use a drive letter that isn’t already assigned. You can check in File Explorer under This PC.
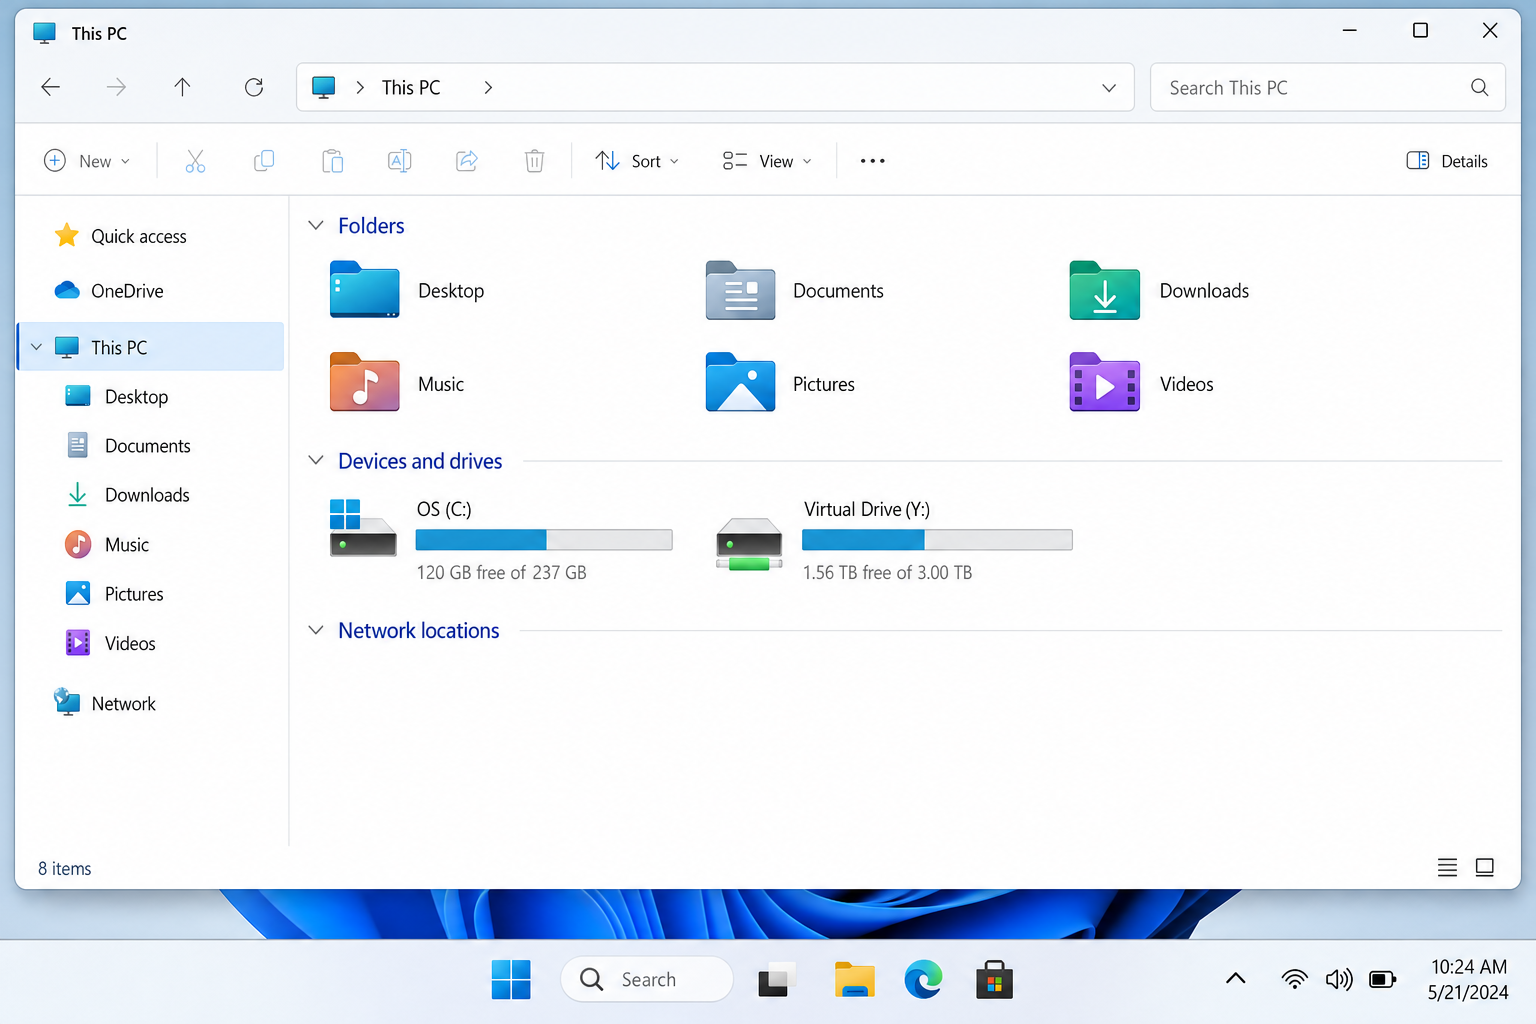
Step 3: Confirm the mapping in File Explorer
- Open File Explorer and click This PC in the left sidebar.
- You should see Y: listed under Devices and drives. Double-clicking it opens your mapped folder directly.
Step 4: Remove the mapping when you no longer need it
- In Command Prompt, run:
subst Y: /d- The Y: drive disappears from File Explorer immediately.
To see all current subst mappings at any time, just run subst with no arguments.
Method 2: Make the Mapping Persistent with a Scheduled Task
Because subst mappings don’t survive a reboot, the most reliable way to restore them automatically is a scheduled task that runs at logon. This keeps the drive letter available every session without any third-party software.
Step 1: Open Task Scheduler
- Press
Windows + S, type Task Scheduler, and open it.
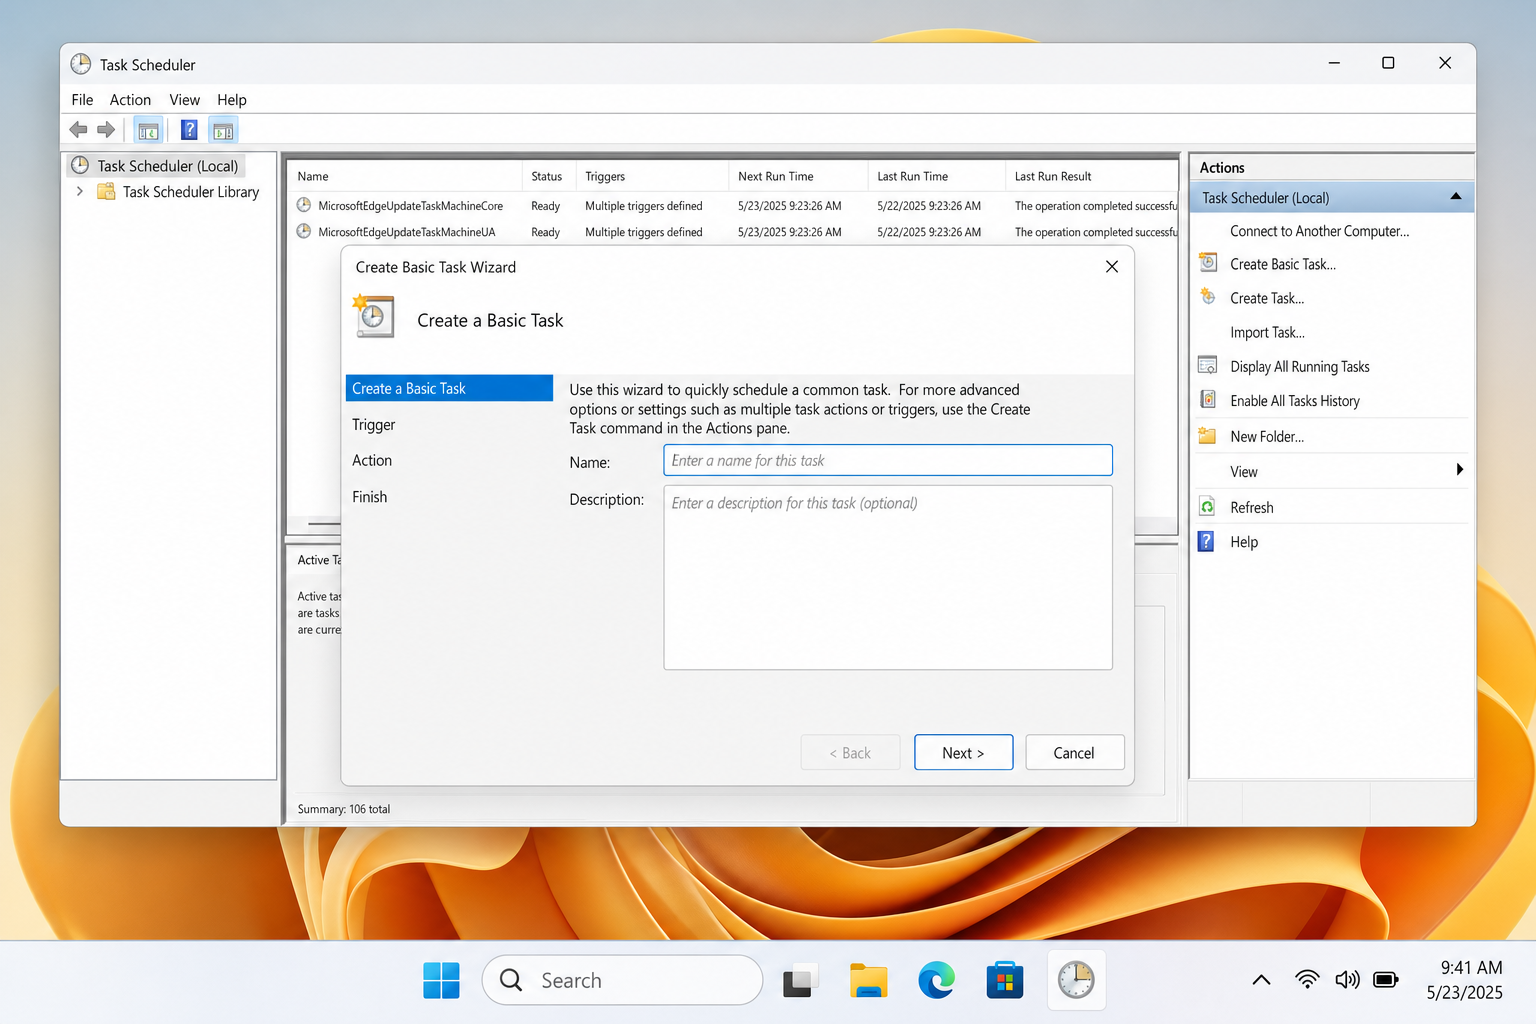
Step 2: Create a new basic task
- In the right-hand Actions panel, click Create Basic Task.
- Give it a name like Map Y to My Work folder and click Next.
- Set the trigger to When I log on and click Next.
- Set the action to Start a program and click Next.
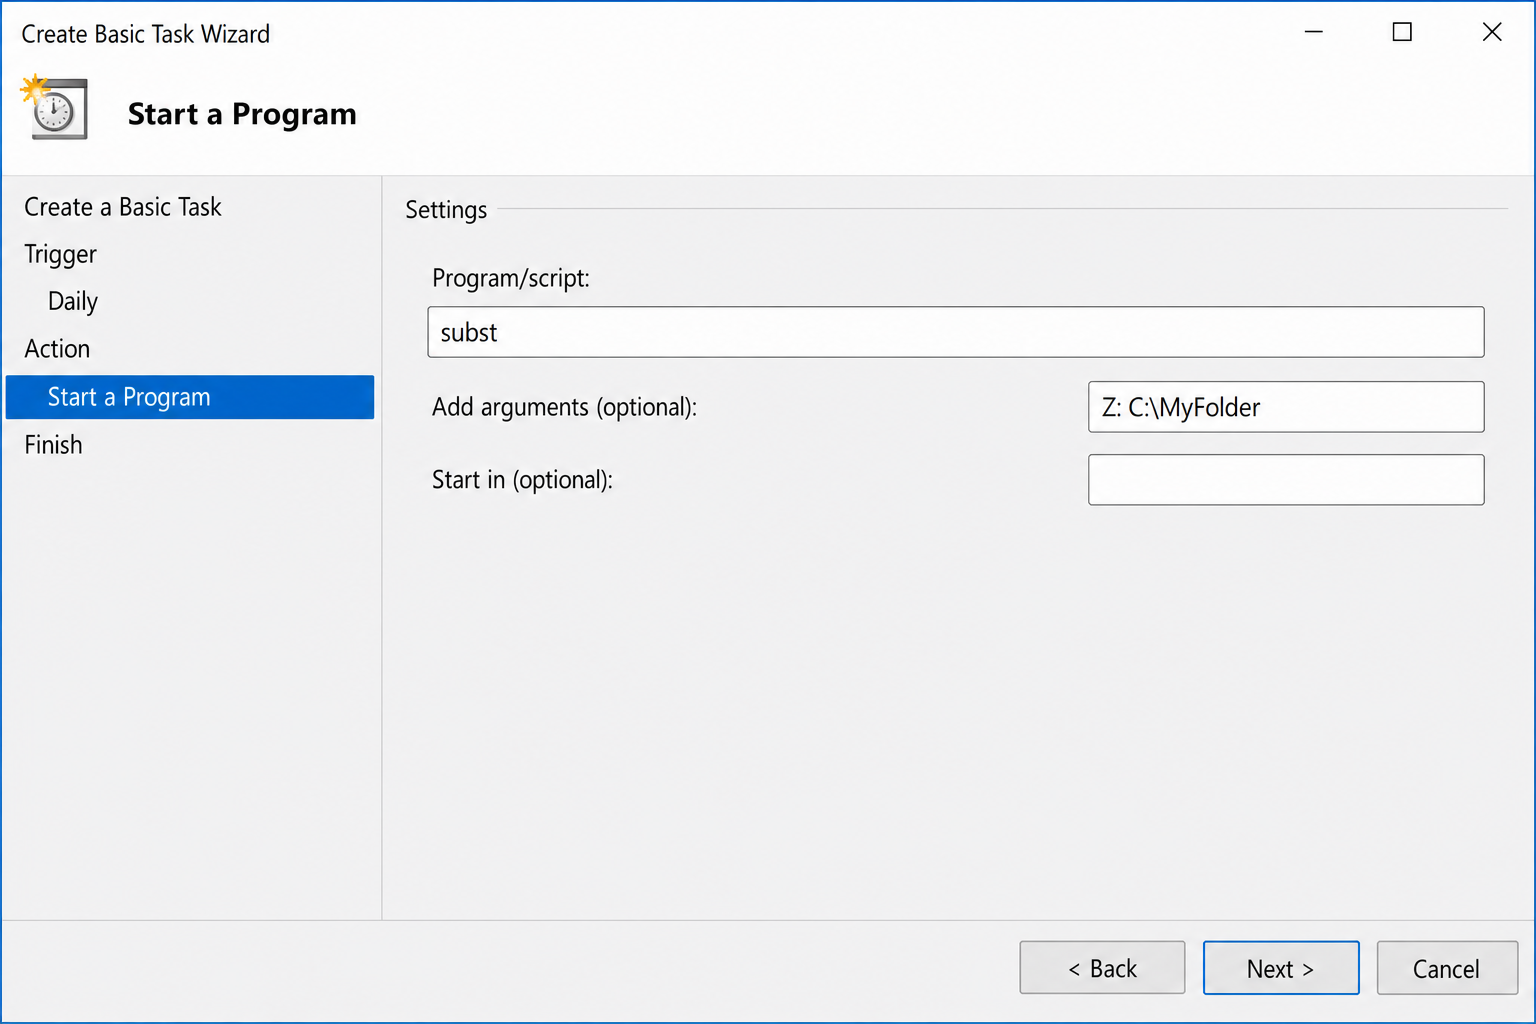
Step 3: Point the task at subst
- In the Program/script field, enter:
subst- In the Add arguments field, enter your mapping, for example:
Y: "C:\Users\Lori Kaufman\Documents\My Work"- Click Next, then Finish.
The drive letter will now be available automatically each time you log in.
Method 3: Use Visual Subst (GUI Tool)
Visual Subst is a free, lightweight GUI that wraps the subst command and adds a startup option so mappings persist across reboots, with no command line required. It’s still actively maintained and works on Windows 10 and 11.
Step 1: Download and install Visual Subst
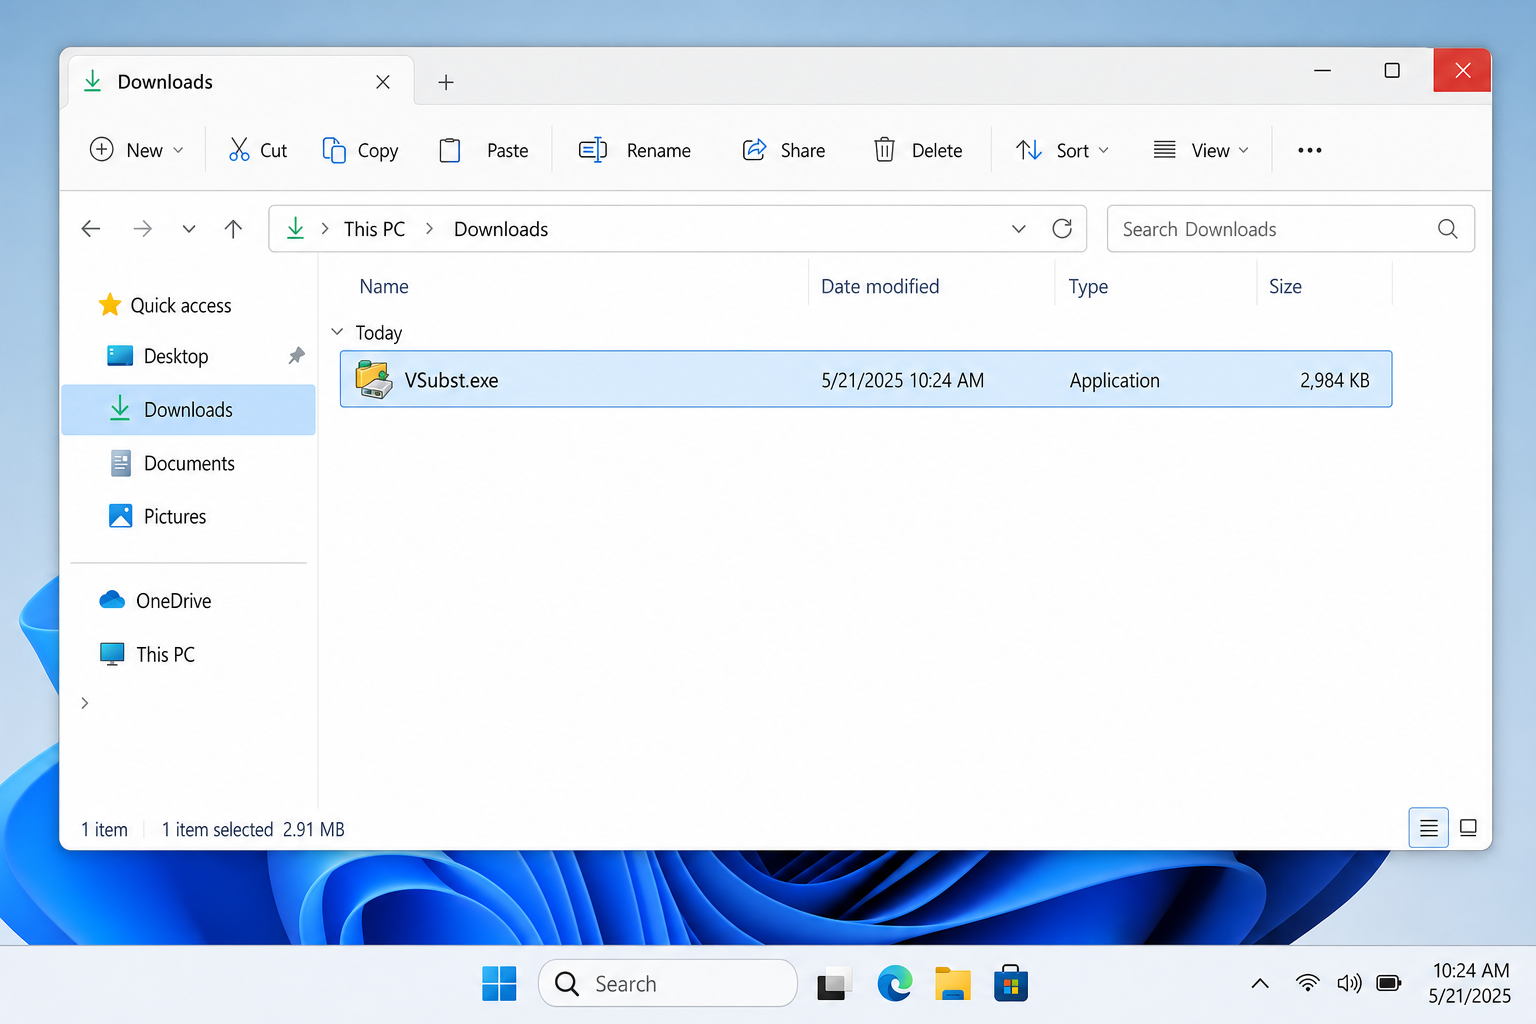
- Download Visual Subst from the developer’s site: ntwind.com/software/visual-subst.html.
- Double-click the downloaded .exe file to start the installer.
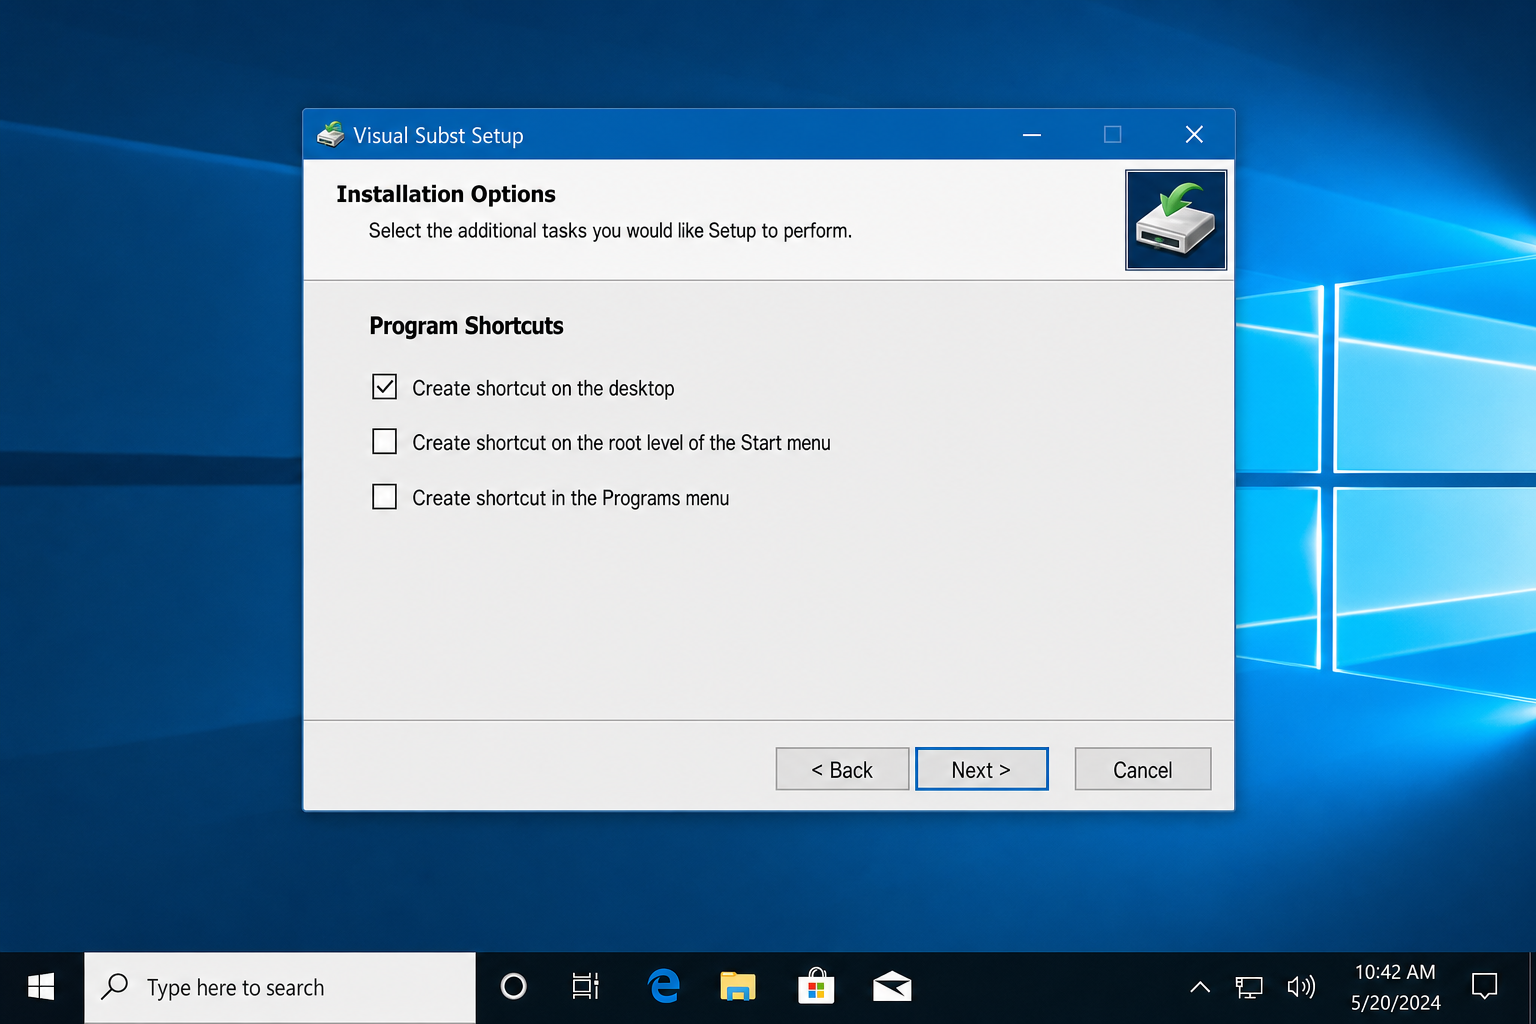
- On the Installation Options screen, select the shortcuts you want and click Next.
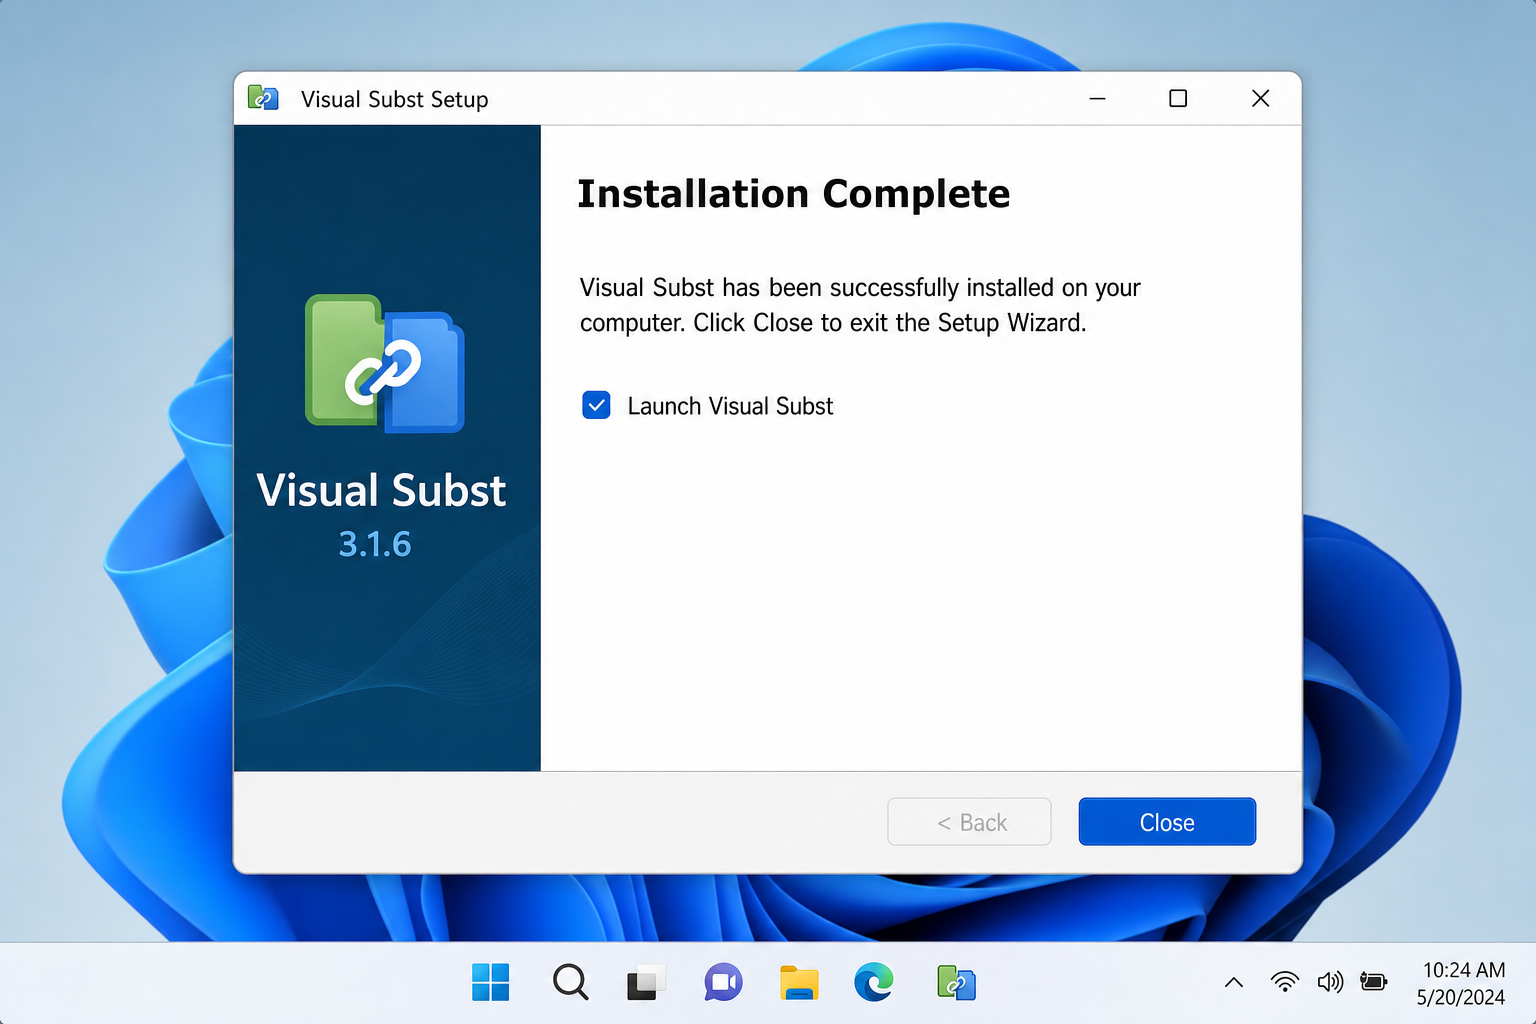
- When setup finishes, click Close.
Step 2: Add a virtual drive mapping
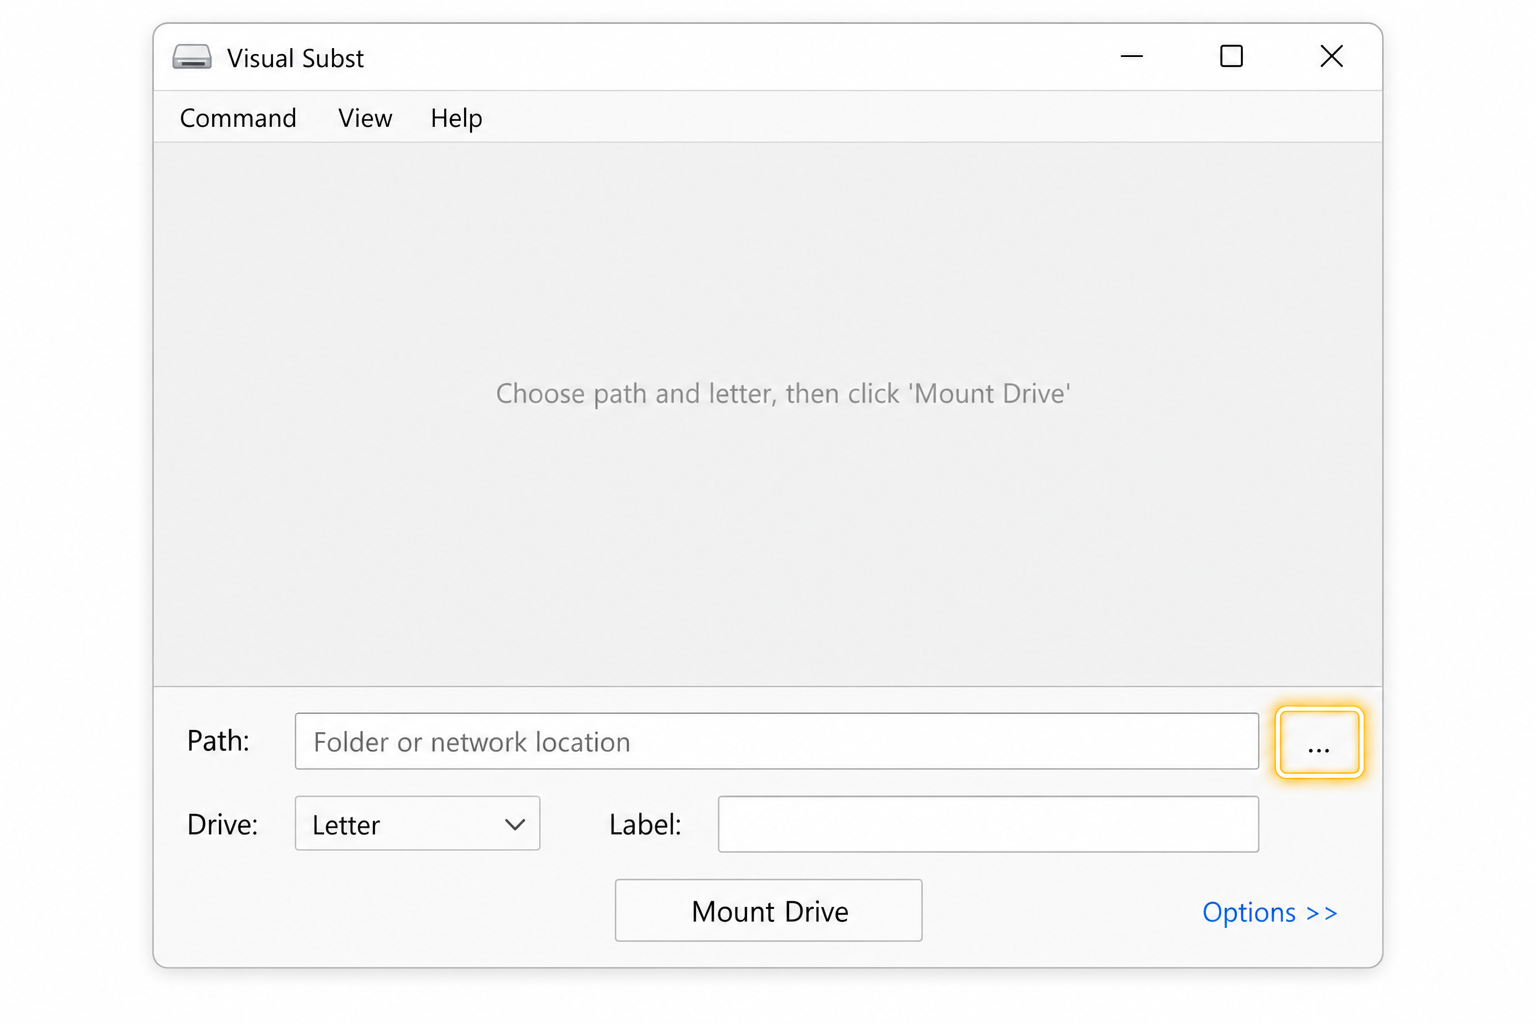
- Open Visual Subst from the Start menu or desktop shortcut.
- In the main window, select a free drive letter from the drop-down list.
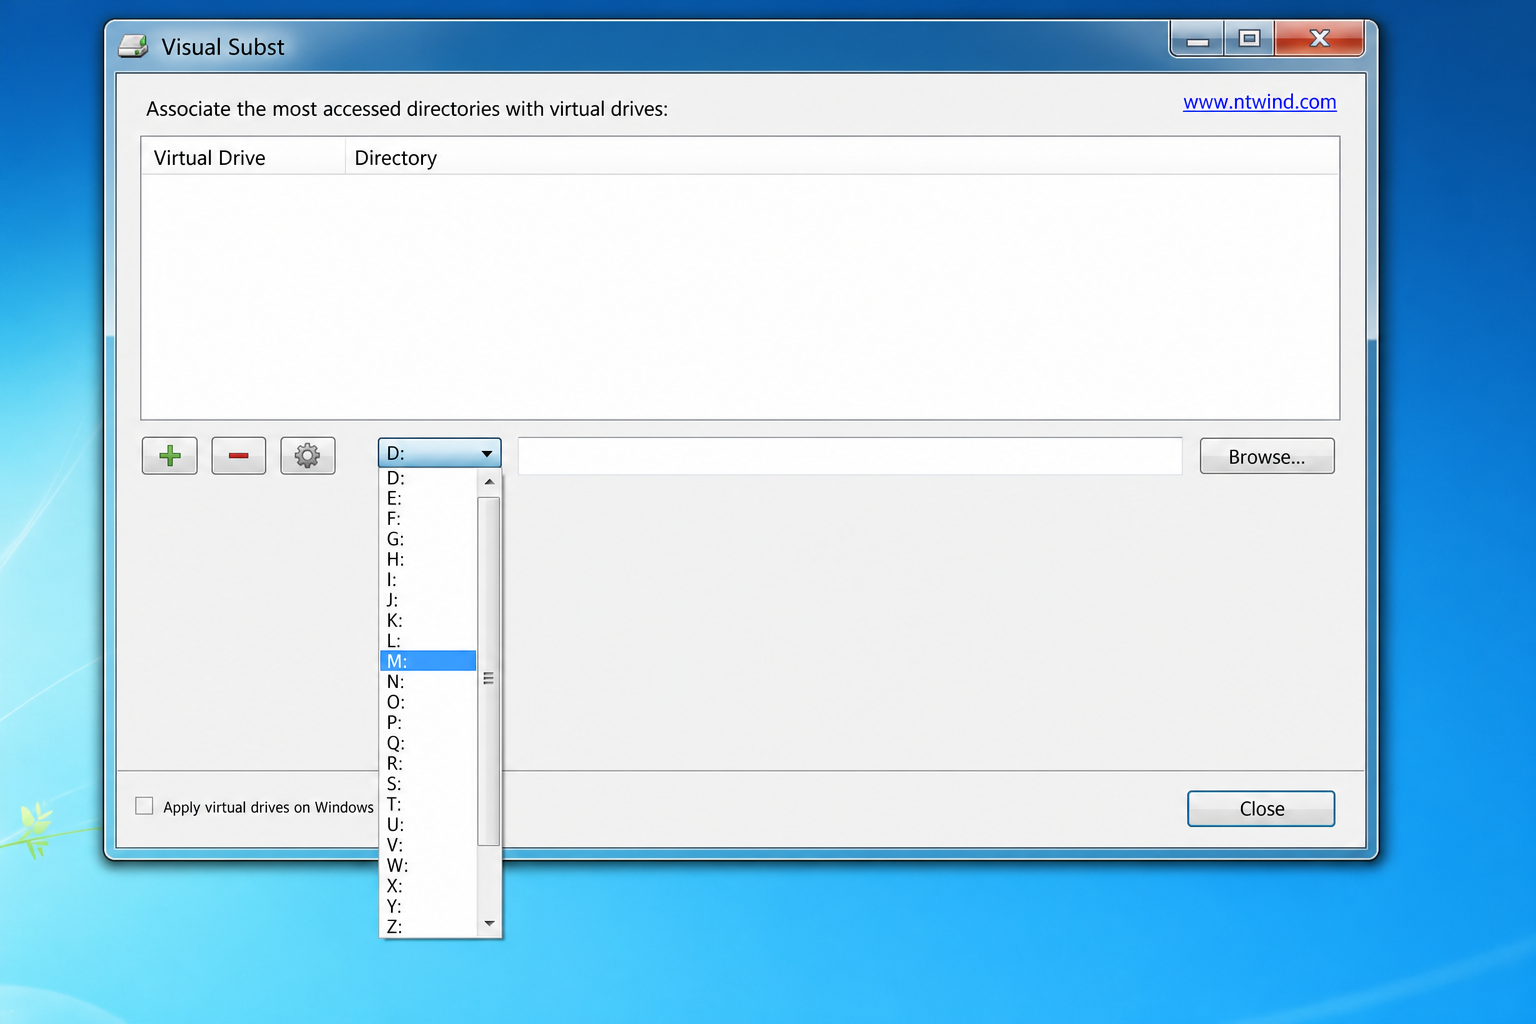
- Click the Browse button next to the path field.
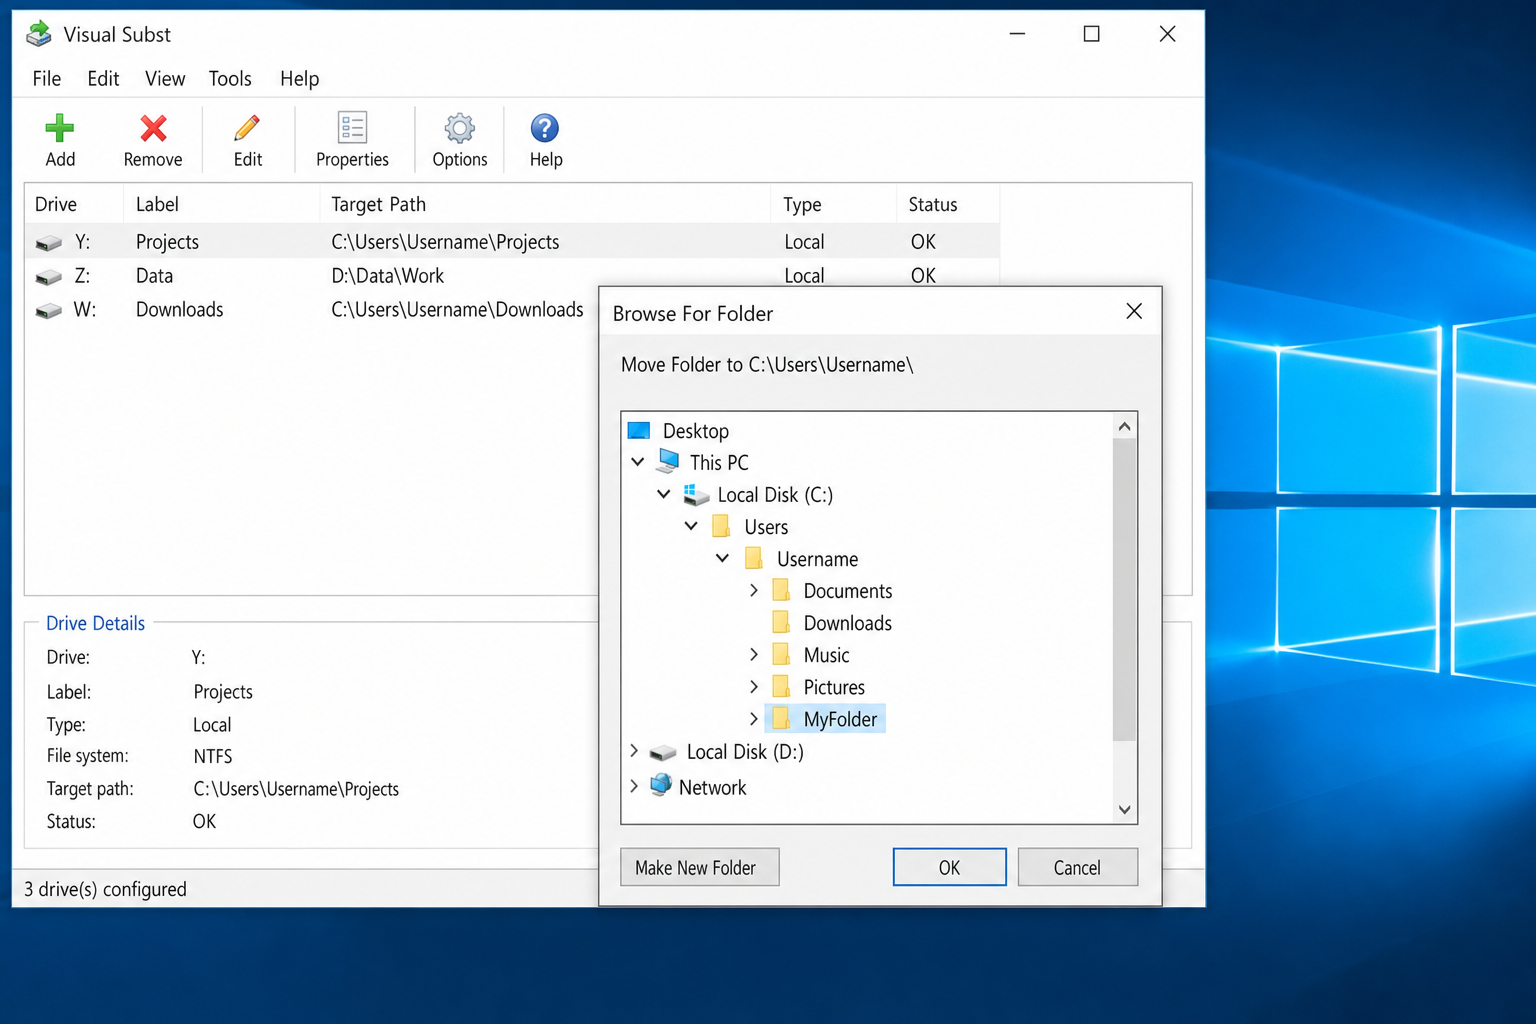
- In the Browse For Folder dialog, navigate to and select your target folder, then click OK.
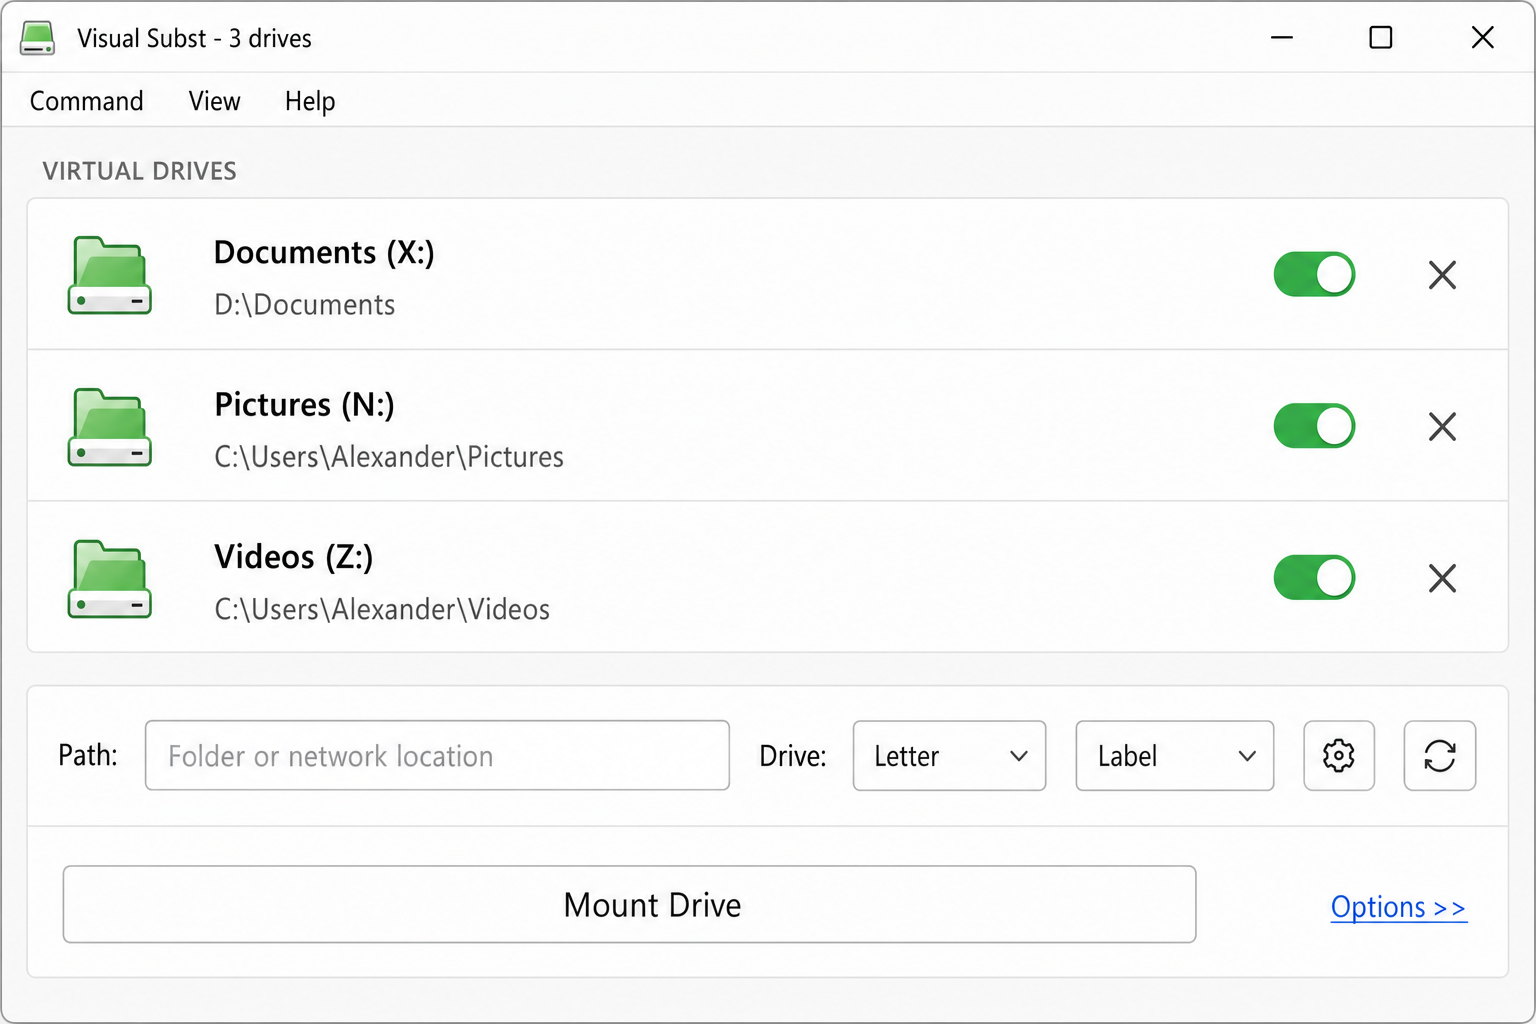
- Click the green + button on the toolbar to add the mapping to the list.
Step 3: Make the mapping persist at startup
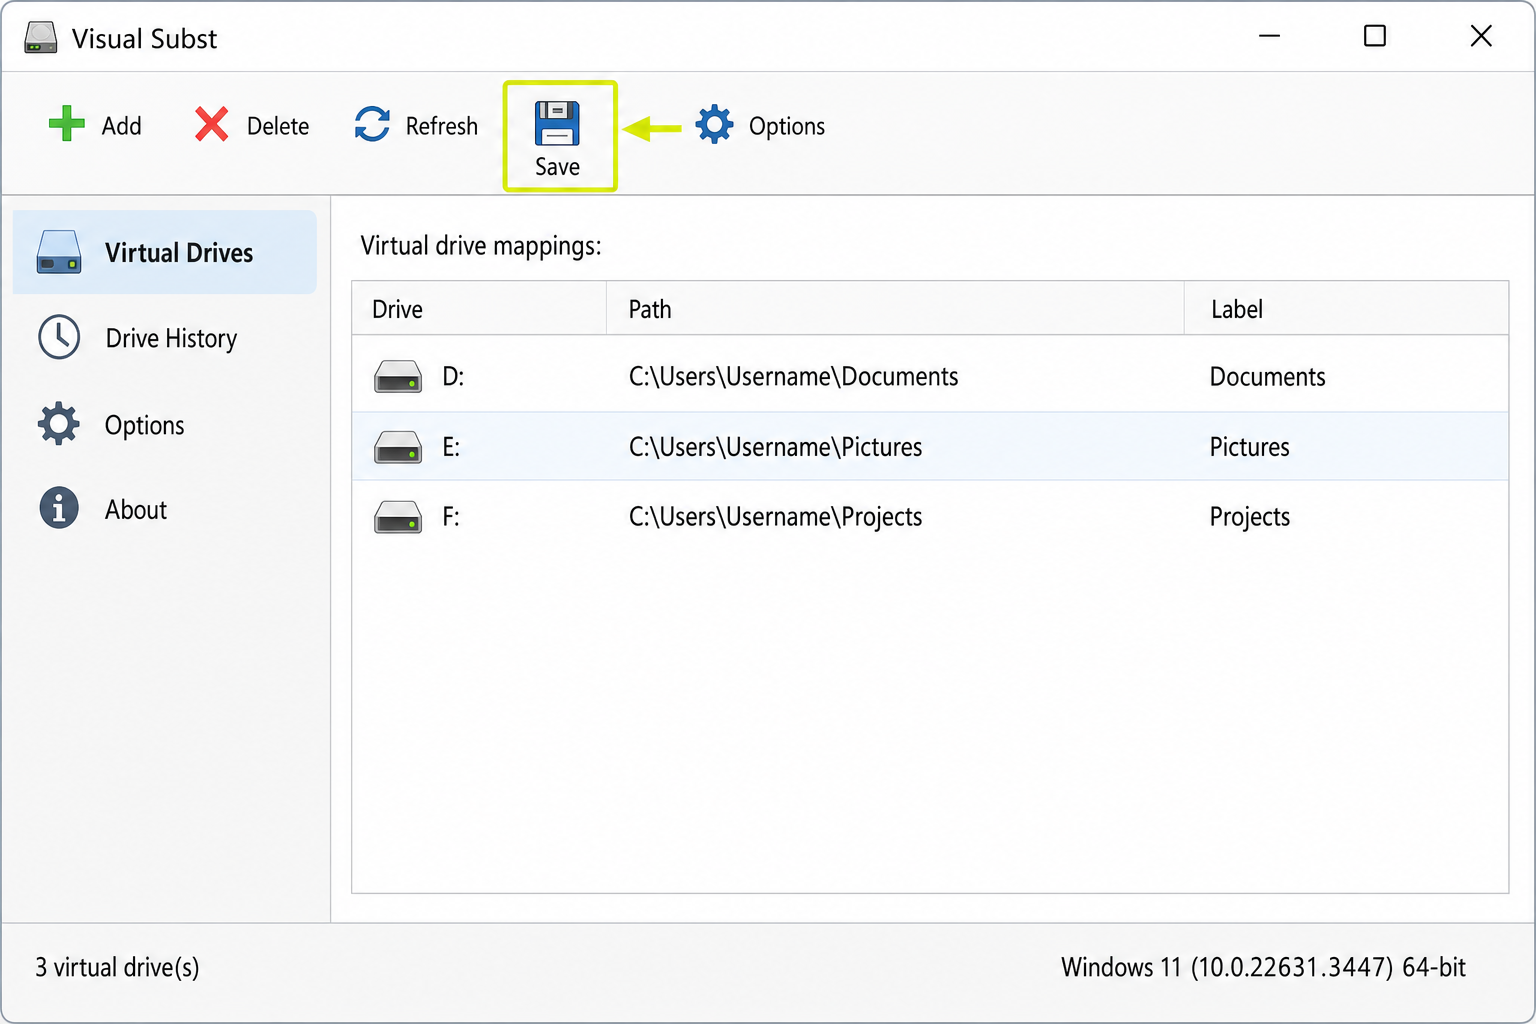
- Check the Apply virtual drives on Windows startup checkbox at the bottom of the window.

- Click the floppy disk (Save) button on the toolbar to save the settings. Visual Subst stores a .ini file in its installation directory.
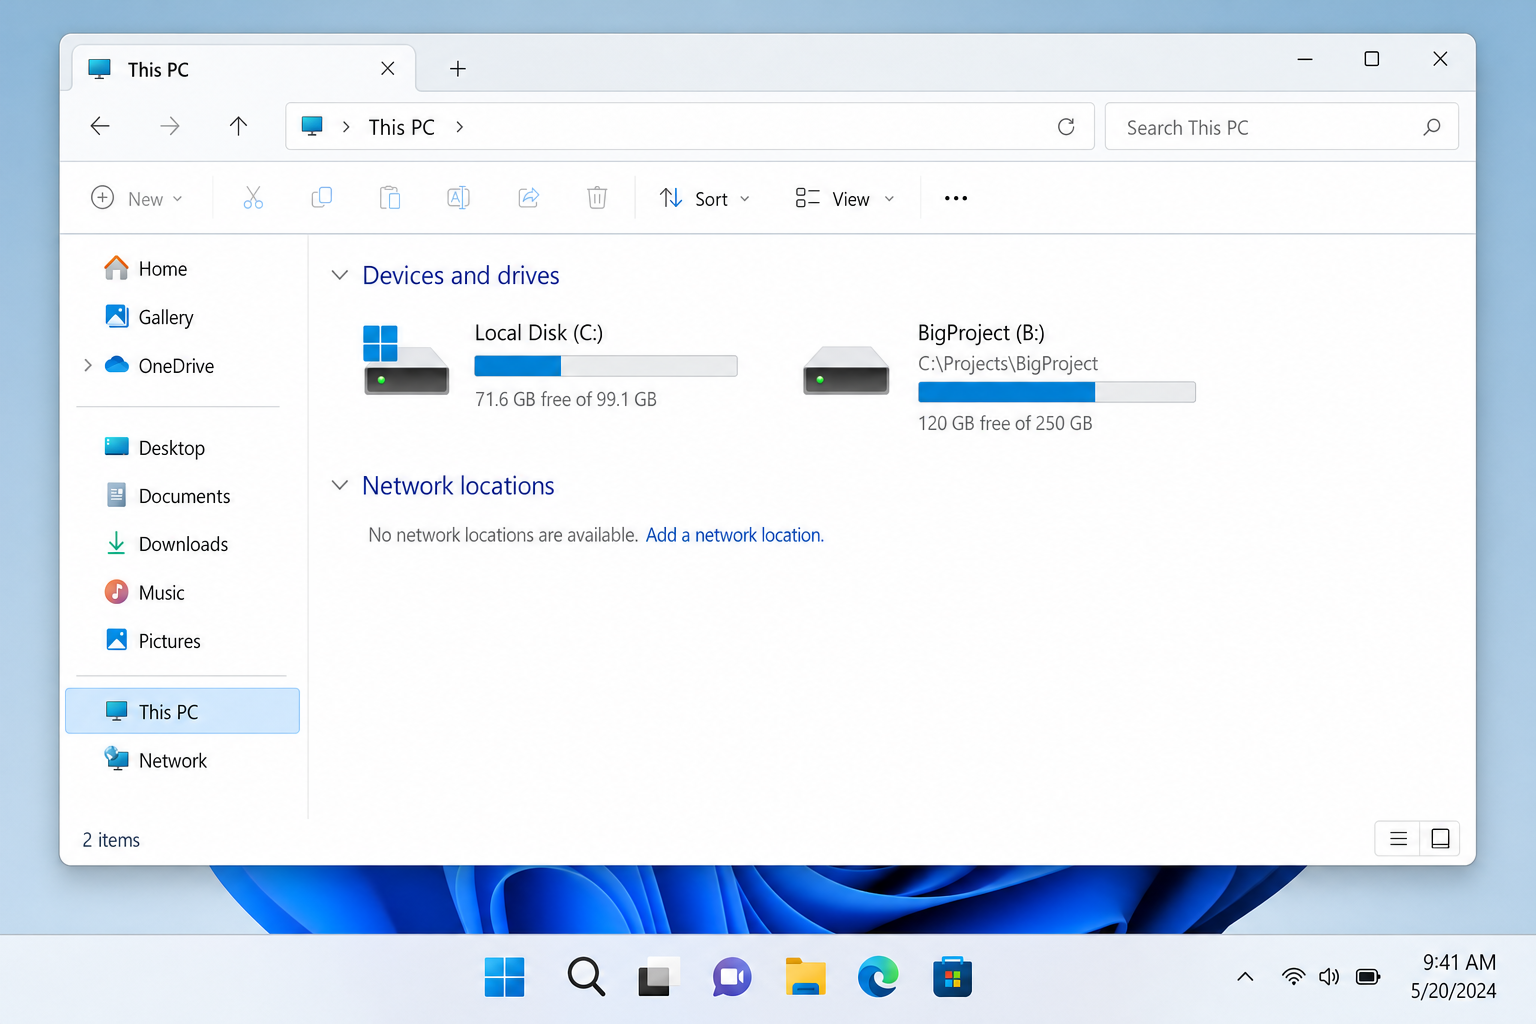
The mapped folder now appears as a drive under This PC in File Explorer.
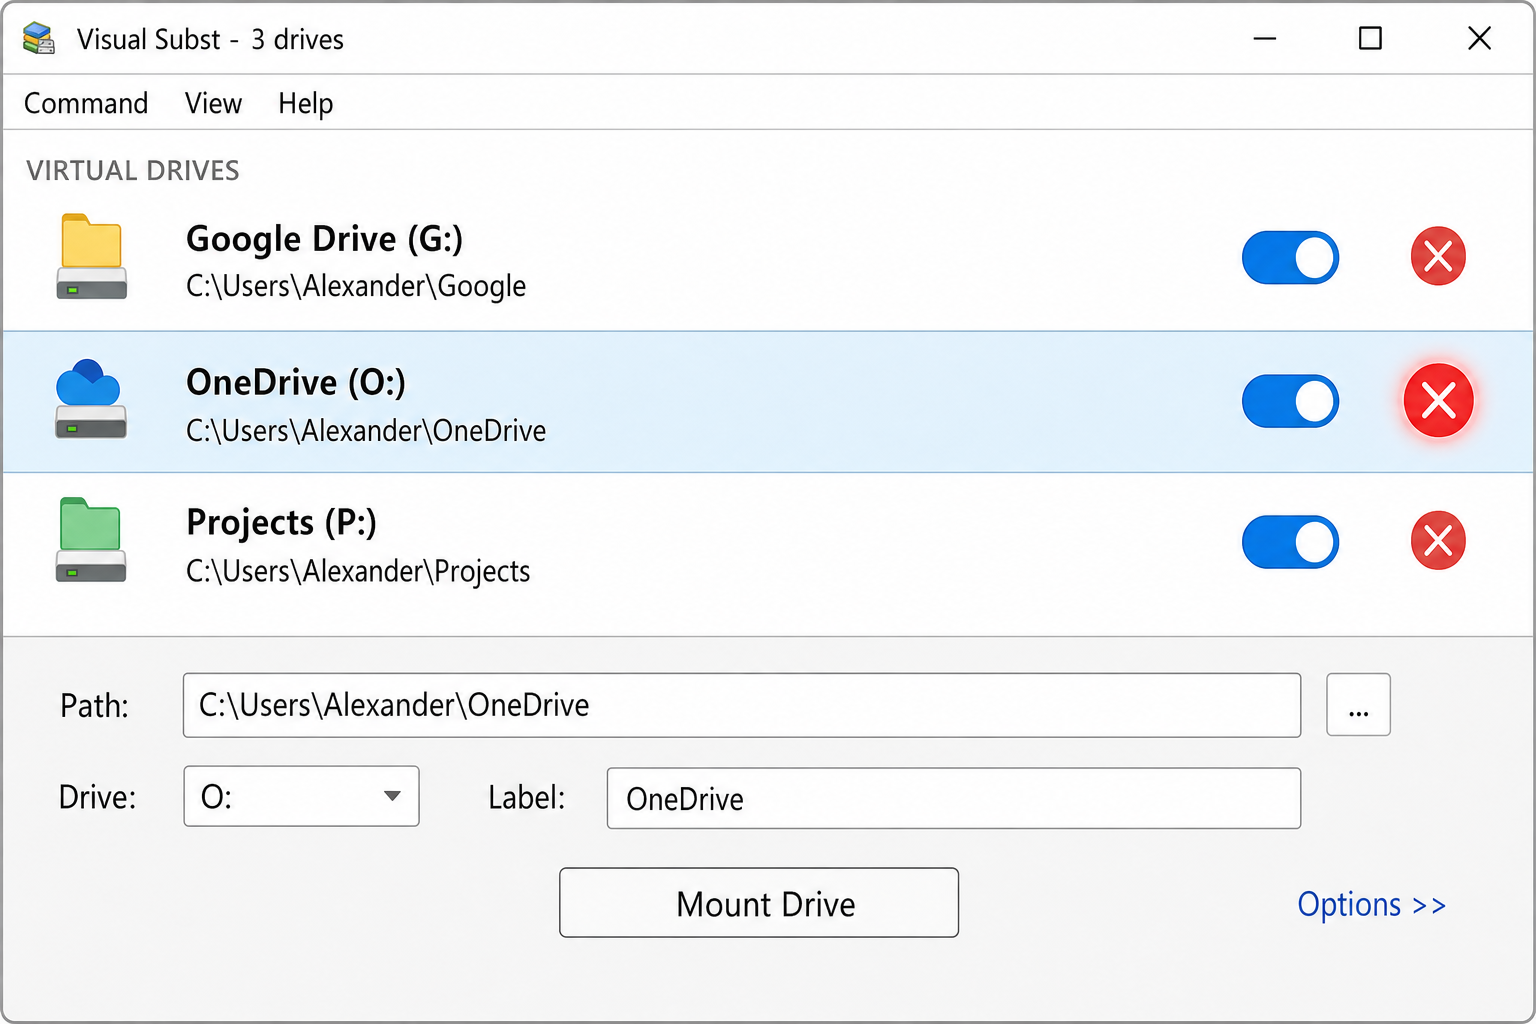
Step 4: Remove a mapping
- Open Visual Subst, select the virtual drive in the list, and click the red X button on the toolbar.
When You Need More Than a Drive Alias
Both subst and Visual Subst create virtual drive aliases, and some applications treat them differently from real volumes and may refuse to use them. If you run into that, these alternatives are worth knowing about:
- Junctions or symlinks: create a folder alias that behaves like a real folder at the filesystem level. Open Command Prompt as administrator and run
mklink /J "C:\AliasFolder" "C:\Target\Path". Junctions are the most compatible option for local paths. - Mounted VHDX: if you genuinely need a drive letter backed by something that looks like a real disk to all software, create and mount a VHD/VHDX in Disk Management. More setup, but fully transparent to applications.
- Quick Access / Home in File Explorer: if you just want faster navigation and don’t need an actual drive letter, right-click any folder and select Pin to Quick access. No drive letter consumed, no reboot behavior to worry about.
Conclusion
For most people, the subst command (Method 1) is the fastest way to get a drive letter pointing at a folder. It works on Windows 10 and 11 with no install required. If you want the mapping to survive reboots without thinking about it, Visual Subst (Method 3) is the most convenient option. Just keep in mind that if a specific app rejects the virtual drive, a junction created with mklink /J is usually the fix that makes it cooperate.