
Excel prints your worksheet data in the upper-left corner of the page by default, which looks awkward for small tables and short reports. Two checkboxes in the Page Setup dialog fix this immediately, letting you center the content horizontally, vertically, or both.
This applies to Excel for Microsoft 365, Excel 2021, 2019, and 2016 on both Windows and Mac.
How to Center a Worksheet on the Page (Windows)
There are two ways to get to the Page Setup dialog on Windows. Use whichever feels faster.
Method 1: From the Page Layout Tab
- Open the workbook and click the sheet you want to print.
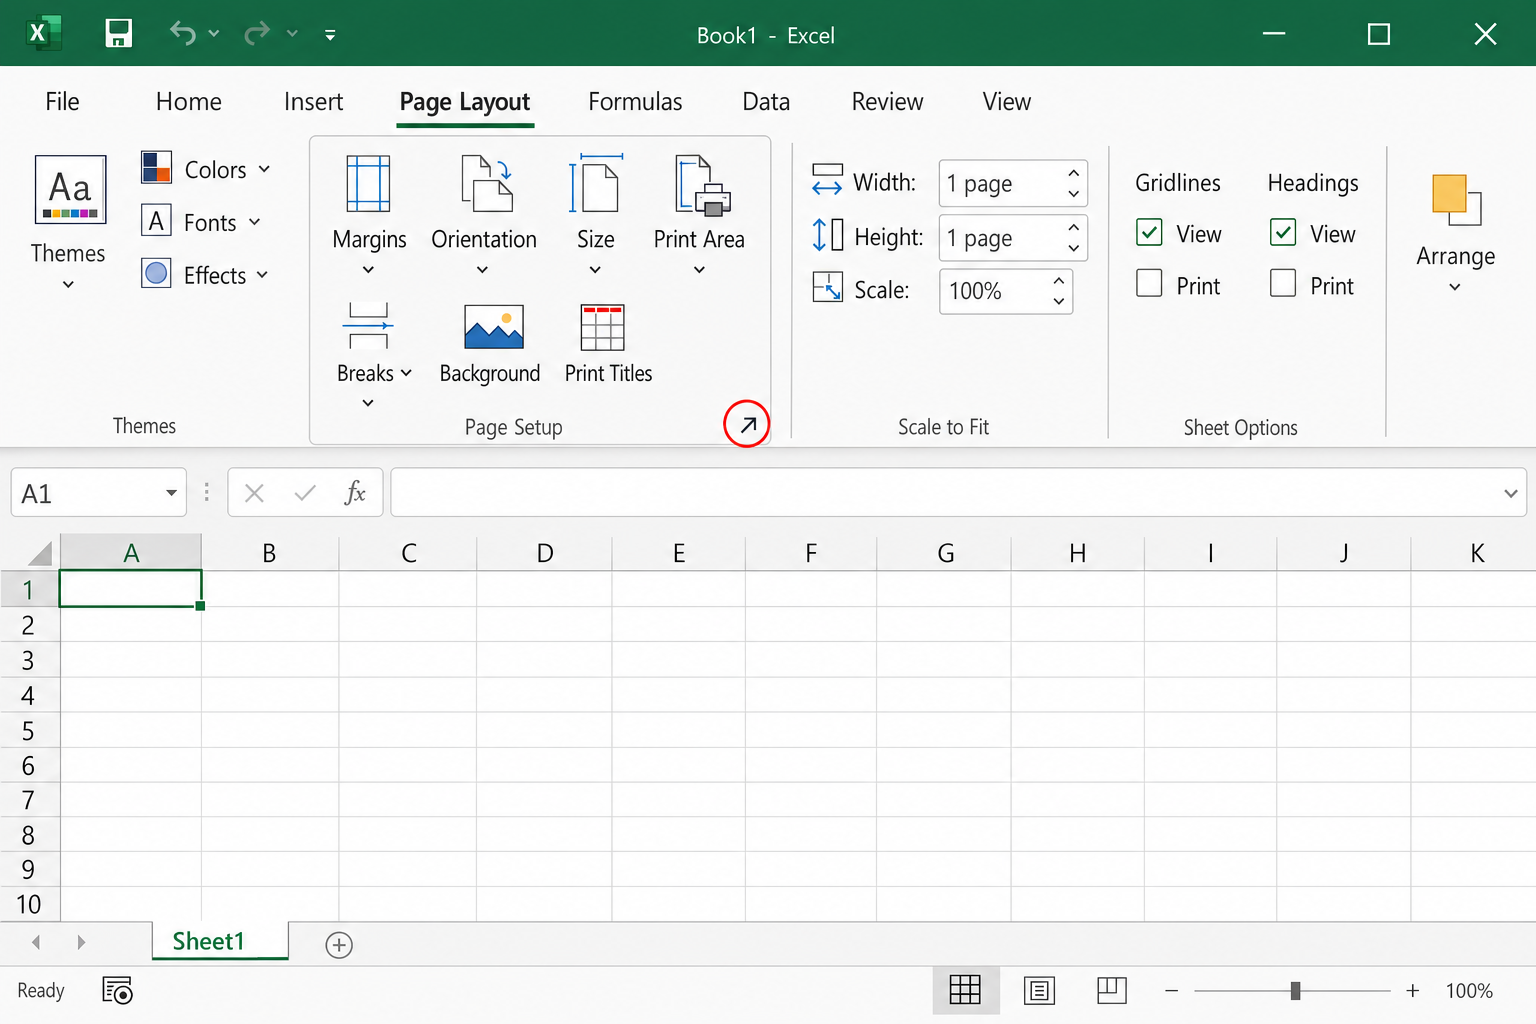
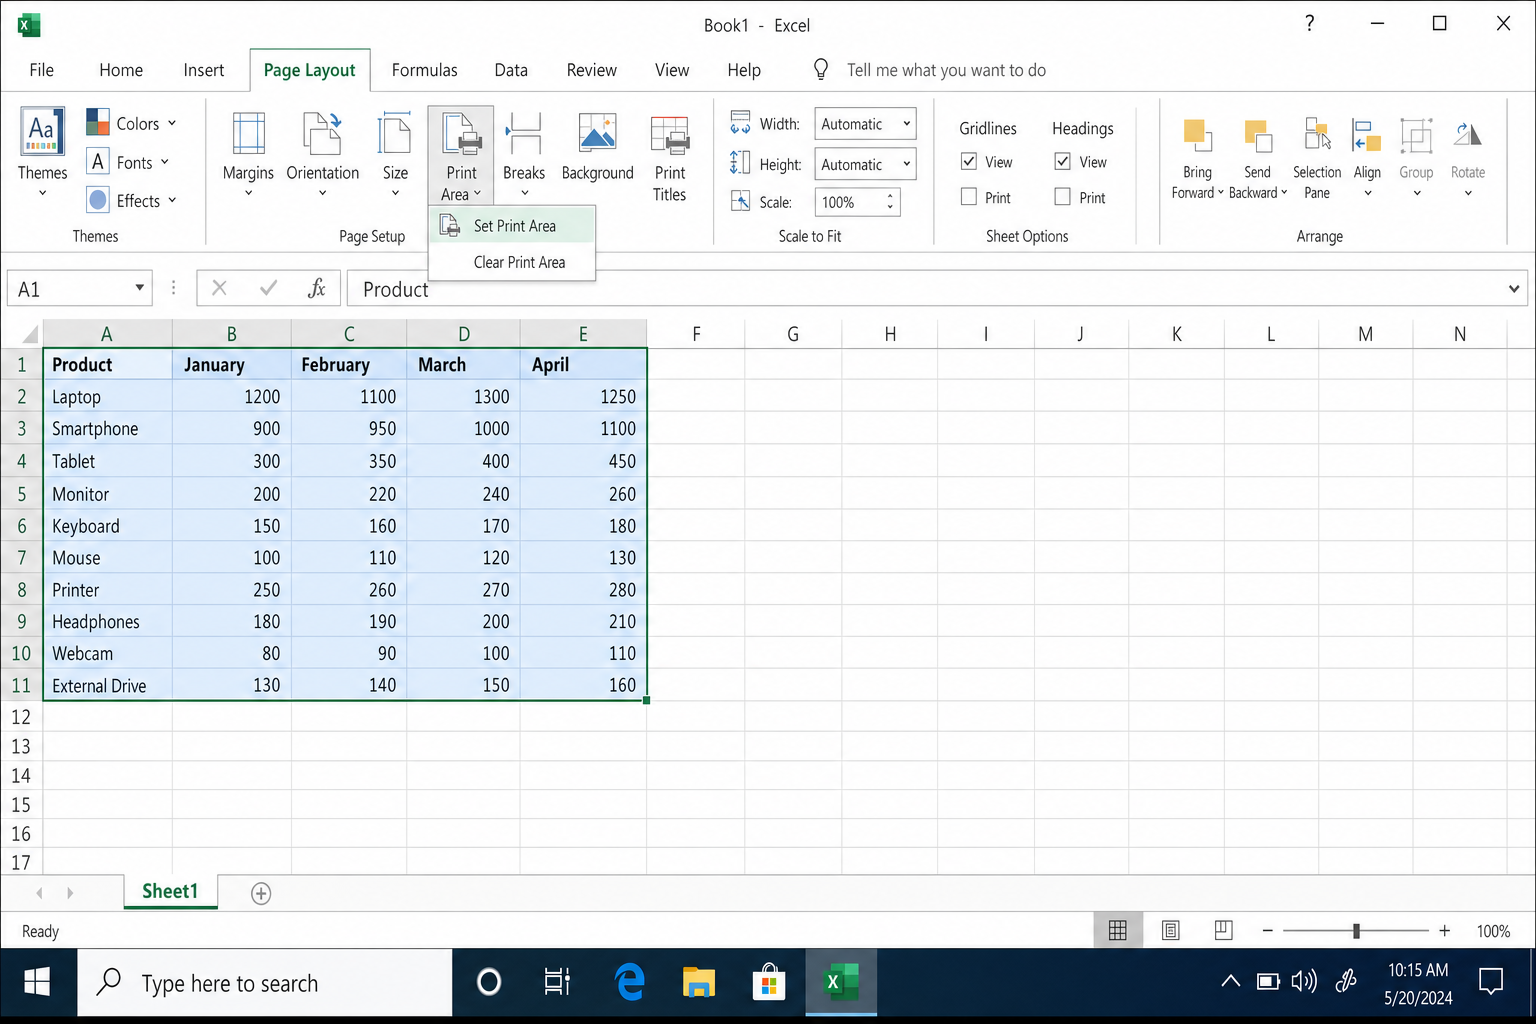
- Click the Page Layout tab on the ribbon.
- In the Page Setup group, click the small dialog launcher icon, the tiny diagonal arrow in the bottom-right corner of the group.
- In the Page Setup dialog, click the Margins tab.
- Under Center on page, check Horizontally to center the data left-to-right, Vertically to center it top-to-bottom, or check both.
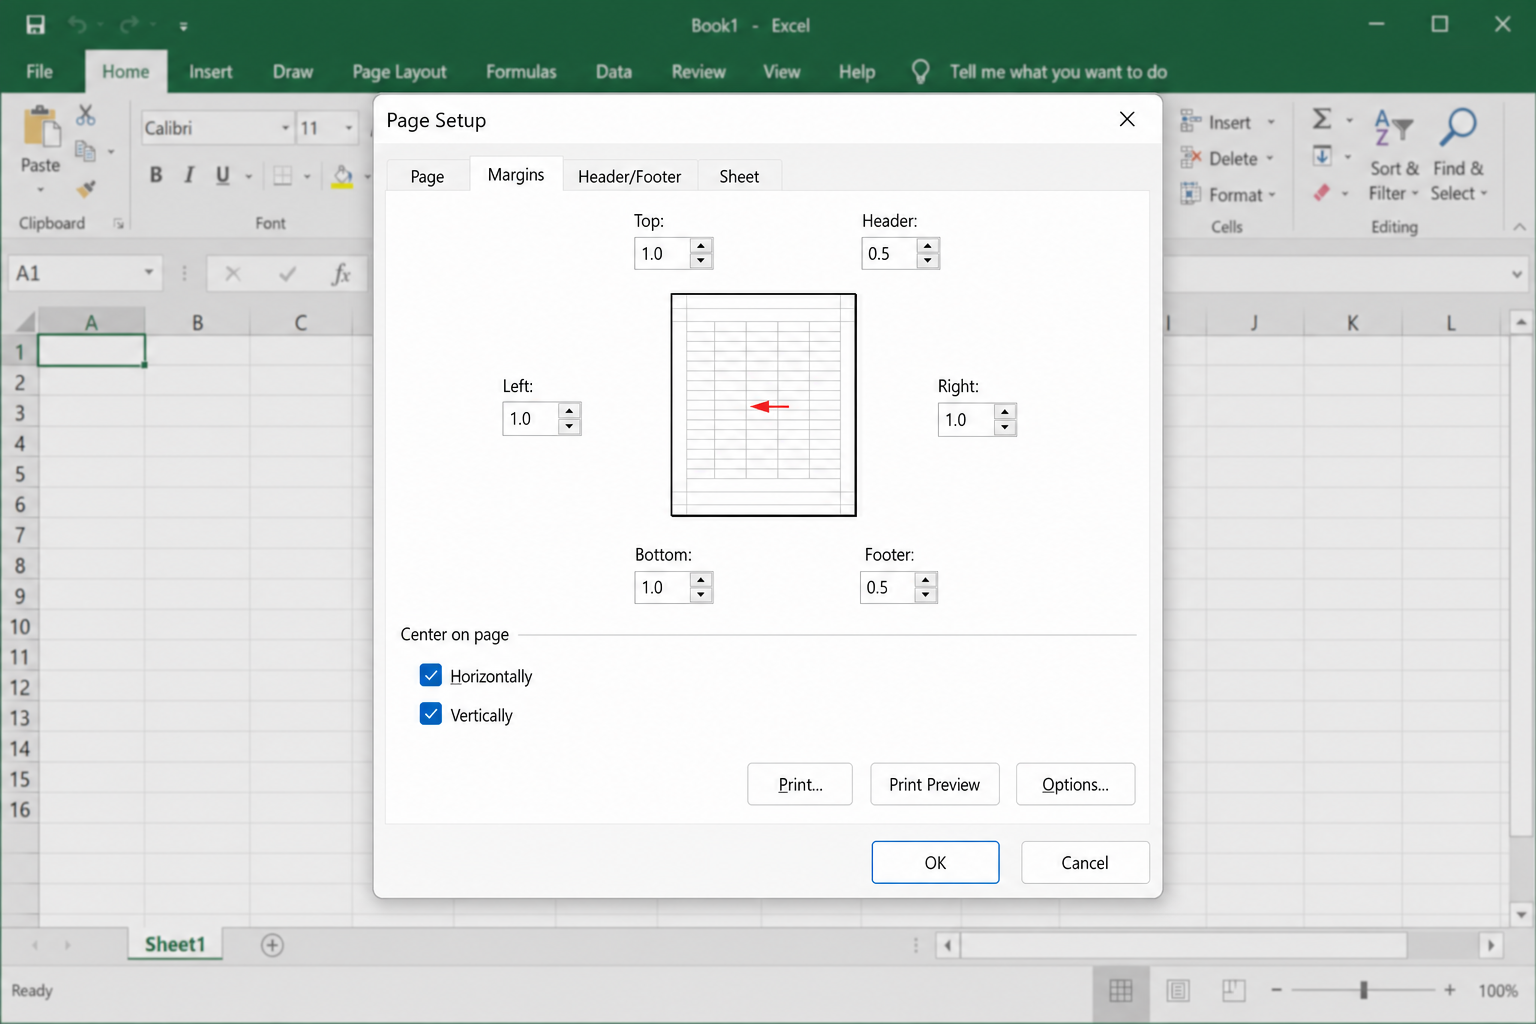
- Click OK.
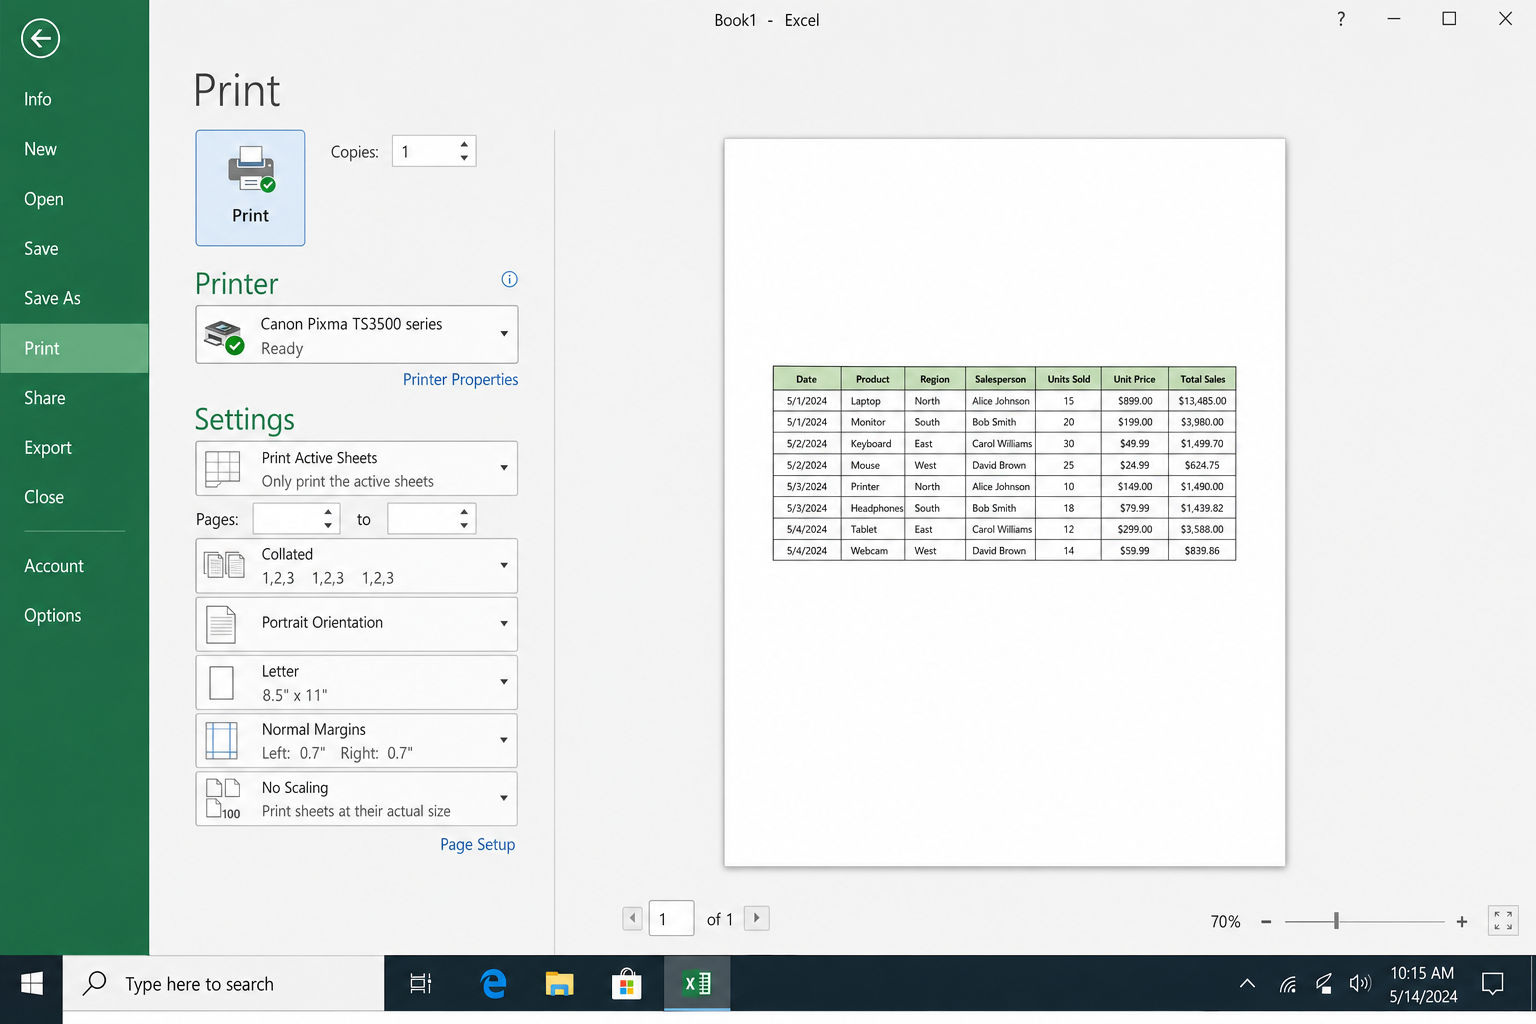
- Press Ctrl+P to open the Print panel and confirm the preview shows the data centered on the page.
Method 2: From the File → Print Panel
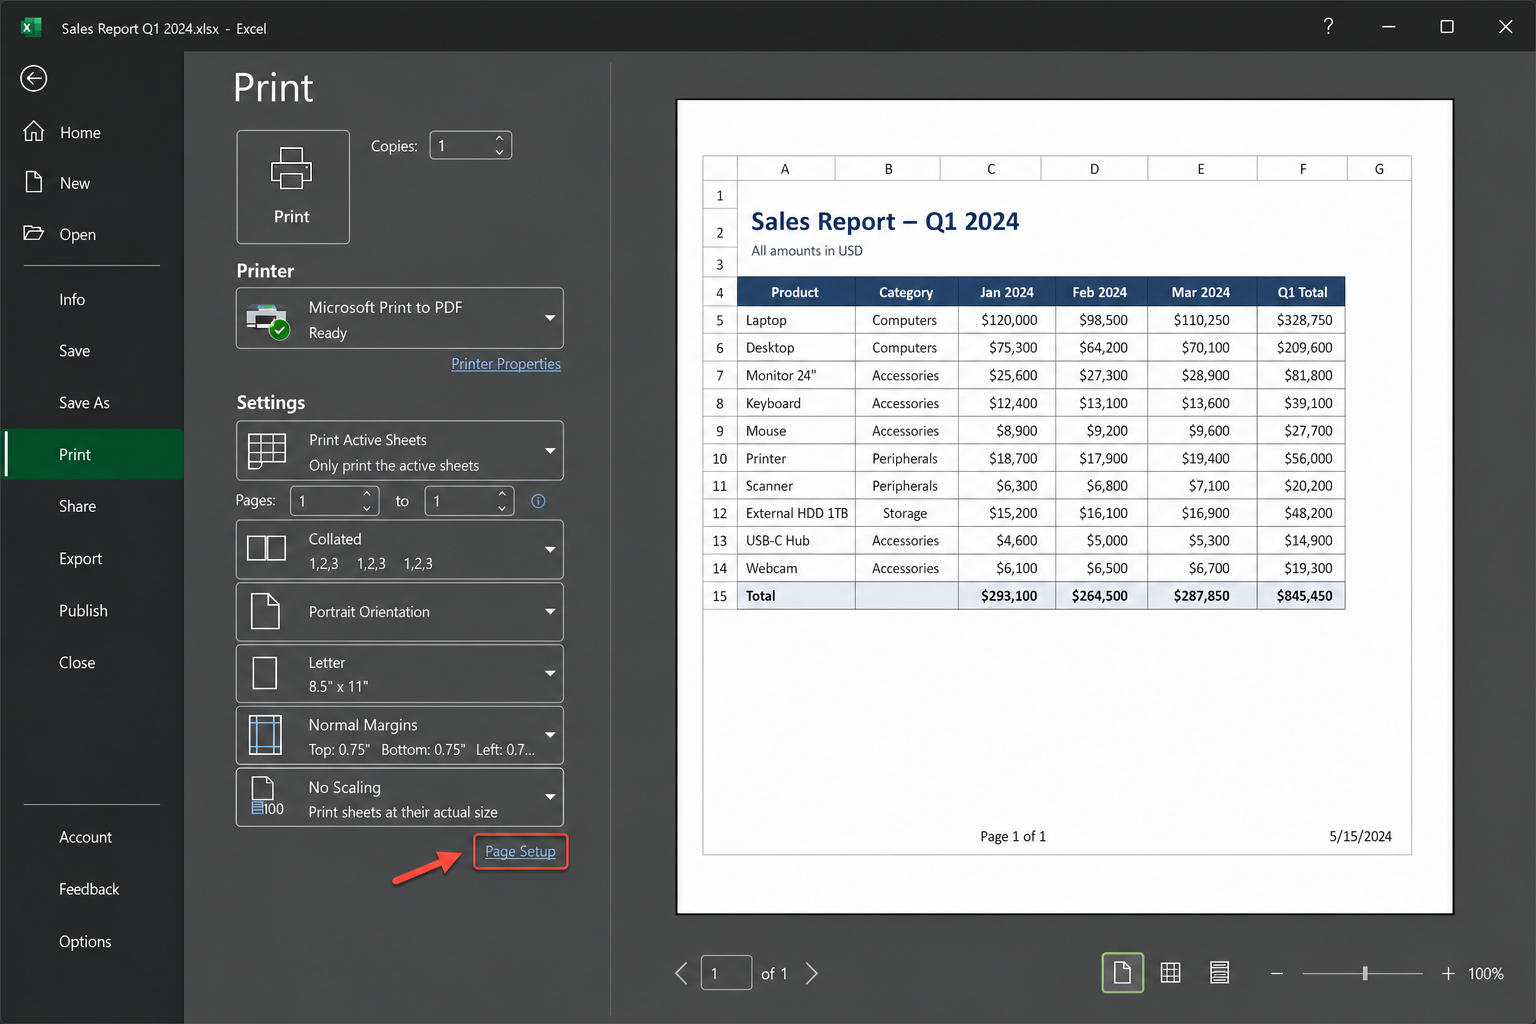
- Press Ctrl+P or go to File > Print.
- At the bottom of the settings column, click the Page Setup link.
- Click the Margins tab in the Page Setup dialog.
- Under Center on page, check Horizontally, Vertically, or both.
- Click OK. The print preview updates immediately to show the centered layout.
How to Center a Worksheet on the Page (Mac)
- Open the worksheet you want to print.
- Go to File > Page Setup, or click the Page Layout tab on the ribbon and open the dialog launcher in the Page Setup group.
- Click the Margins tab.
- Under Center on page, check Horizontally, Vertically, or both.
- Click OK.
- Press Command+P to preview and print.

Printing Only Part of a Sheet (Centered)
If you only want to print a section of a large worksheet, such as a summary table or a single chart, set a print area first, then center it.
- Select the cells you want to print.
- Click Page Layout > Print Area > Set Print Area.
- Open Page Setup (either method above), go to the Margins tab, and check Horizontally and/or Vertically.
- Click OK and print.
Alternatively, skip the print area and use the print selection option at print time:
- Select the cells you want to print.
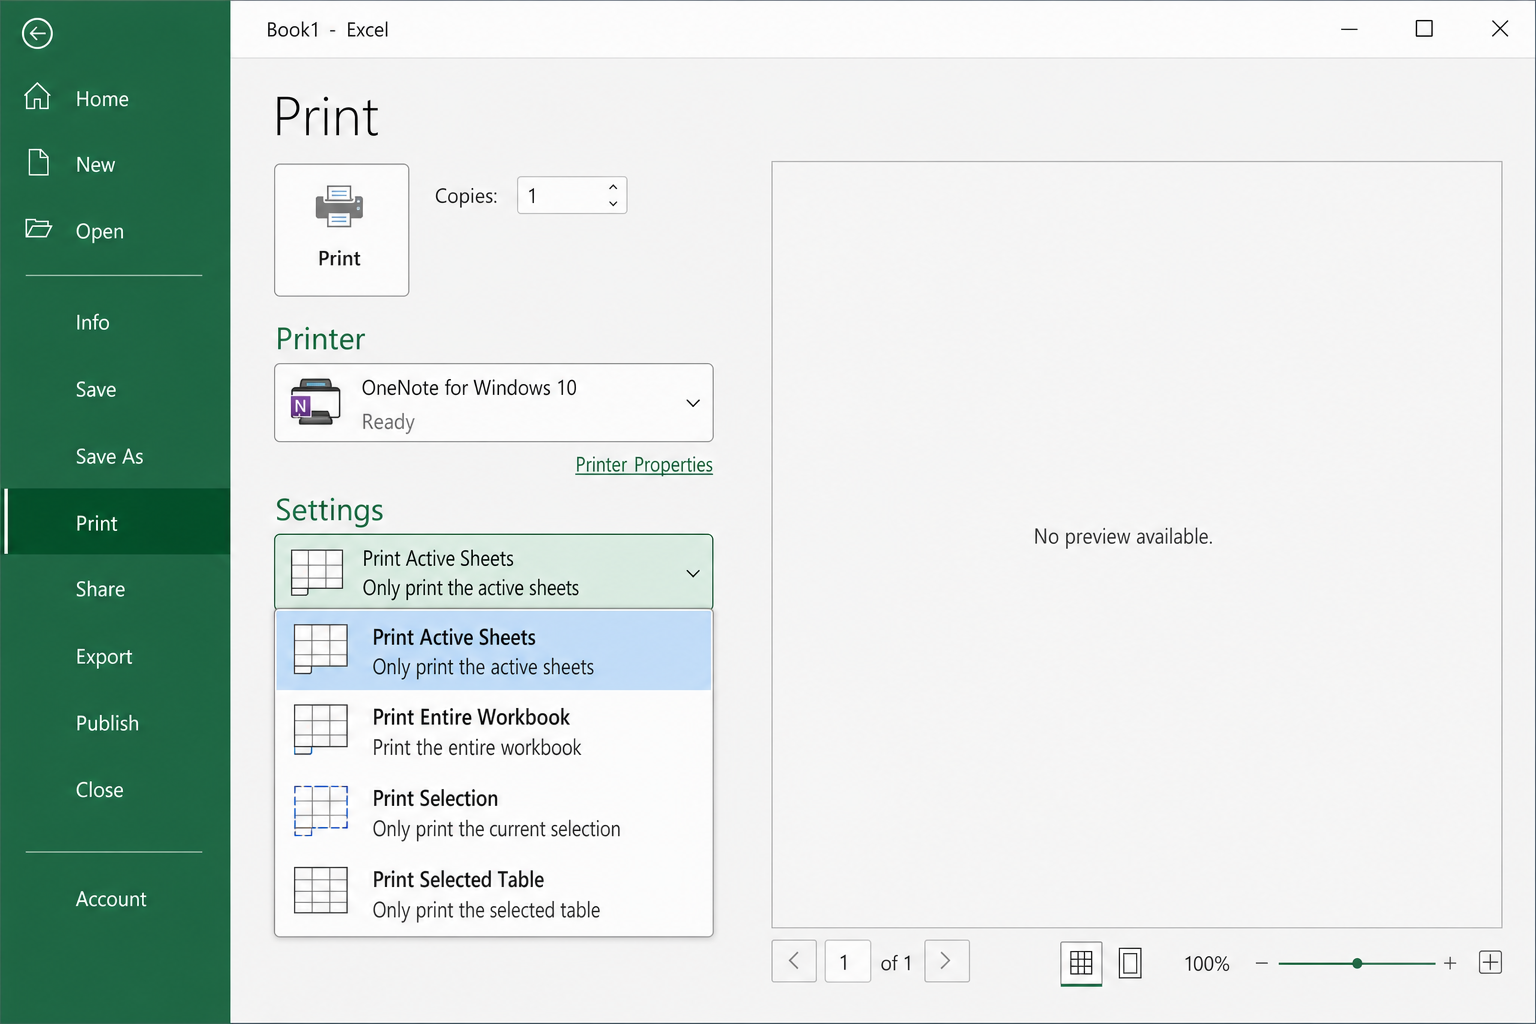
- Press Ctrl+P (or Command+P on Mac).
- Under Settings, click the first dropdown (which defaults to Print Active Sheets) and choose Print Selection.
- Click Print.
Note that centering applies per-sheet. Enabling it on Sheet 1 has no effect on Sheet 2 or any other tab.
Excel for the Web
The full Page Setup dialog, including the Center on page checkboxes, is not available in Excel for the web. If you need precise centering, click Open in Desktop App (requires a Microsoft 365 subscription) and follow the Windows steps above. As a fallback, you can print to PDF from the browser and use a PDF viewer’s fit-and-center options before printing.
Troubleshooting: Content Still Looks Off-Center
Uneven margins are shifting the center point
“Center on page” centers your content within the printable area defined by your margins, not the physical edge of the paper. If your left and right margins are different sizes, the content will look off-center even with the checkbox enabled. Go to the Margins tab in Page Setup and make sure your left/right margins match (and top/bottom if centering vertically).
Empty columns or rows are inflating the print area
If your data looks small and pushed to one side, Excel may be treating a large region, including empty cells far to the right or below, as the content area. Fix this by setting an explicit print area: select only the cells with data, then go to Page Layout > Print Area > Set Print Area.
Scaling is fighting the centering
Centering and scaling interact in ways that aren’t always obvious. Set your scaling option first. Press Ctrl+P, check the Scaling dropdown under Settings (No Scaling, Fit Sheet on One Page, etc.), then go into Page Setup to enable centering. Checking the preview after each change is the fastest way to dial this in.
The printer itself is the problem
If the preview in Excel looks centered but the printed page doesn’t, the printer driver is likely shifting the printable area. Test by going to File > Export > Create PDF/XPS and printing the PDF instead. If the PDF prints centered, the issue is with the printer driver. Update it or use the printer’s own fit/center options in its driver dialog.
Tips for Better-Looking Printed Worksheets
- Combine centering with orientation: Switch to Landscape (Page Layout > Orientation > Landscape) for wide tables, then center horizontally. The centering setting stays active when you change orientation.
- Use “Fit Sheet on One Page” for small reports: In the Print panel, set Scaling to Fit Sheet on One Page to shrink everything onto a single page, then center it. Works well for summary sheets and dashboards.
- Control multi-page breaks: For longer sheets, use View > Page Break Preview to see exactly where pages split before you print. You can also print Excel worksheets with gridlines to make data boundaries clearer on the page.
Conclusion
The Margins tab in Page Setup, specifically the Horizontally and Vertically checkboxes under Center on page, is the right tool for almost every situation here, and it takes about ten seconds once you know where it is. If the centered output still looks wrong, an oversized print area caused by stray empty cells is usually the culprit. Setting an explicit print area fixes it cleanly in most cases.