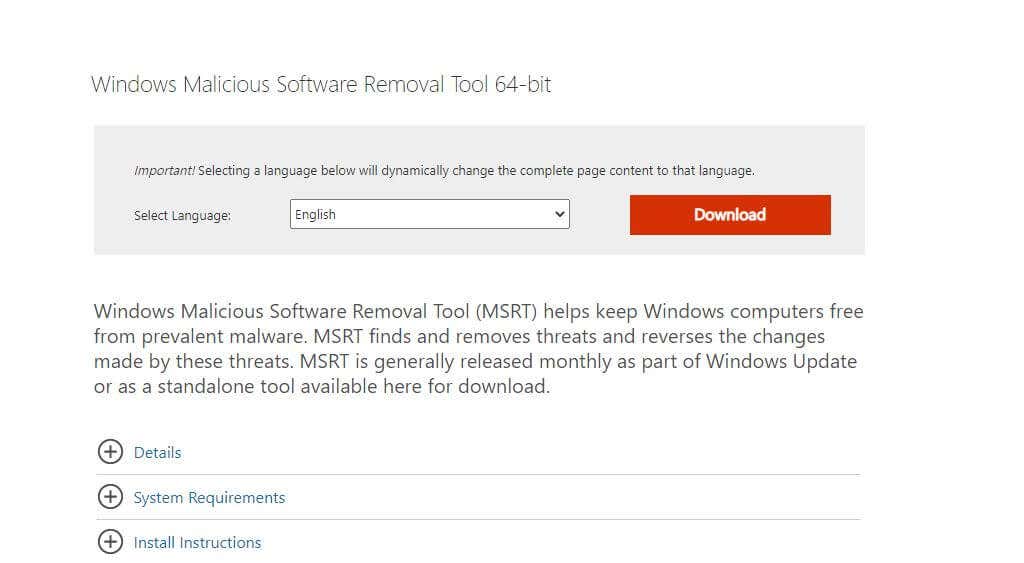
Microsoft maintains an important tool for Windows users called the Malicious Software Removal tool. If you’ve been running a Windows system (including Windows 7, Windows 10, and Windows 11) without any antivirus software for a while, it’s a good idea to use this tool to scan for malware your system may be infected with.
It’s more of a spot-check tool when you know your system has been at risk of getting malware. Typically, antivirus and anti-malware software like Windows Defender that runs automatically will block anything the Microsoft Windows Malicious Software Removal tool will find. So if you have good antivirus protection, you shouldn’t have to worry about ever running this tool.
What Is the Malicious Software Removal Tool?
Usually, a new version of the Windows Malicious Software Removal tool is included at least monthly in a Windows update. This means the tool is kept frequently updated, which is why it’s a good idea to download the latest copy from Microsoft when you intend to use it.
The tool is fairly simple and quick to use. There are two modes for the Malicious Software Removal tool.
- Post Update: If Microsoft installs the latest version of the tool after an update, it’ll automatically run in the background and you’ll never know unless it discovers an infection. In that case it will pop-up a report alerting you that malicious software was discovered and removed.
- Manually: You can download and run the latest version as a standalone tool. This will run in the foreground and show you a status as it’s scanning. When it finishes it’ll show you the same report letting you know if any malware or spyware was found and cleaned.
The malware removal process, in either case, will only fully complete once you’ve restarted your computer.
The original version of this tool was created in response to significant threats against the Windows XP operating system in 2014. Those threats included trojan viruses and worms like Blaster, Sasser, and Mydoom. Since then, the tool has expanded to cover all the latest threats to Microsoft’s newest versions of the Windows operating system.
Note: This tool only focuses on what Microsoft calls “prevalent malware families only”. Microsoft recommends using the Microsoft Safety Scanner for a complete, comprehensive scan for the latest malware threats.
How You Should Use the Windows Malicious Software Removal Tool
Never depend solely on regularly running the malicious software removal tool to protect your system. You should always install and run an antivirus tool in the background. There are even free antivirus tools that work effectively at protecting your system, like Malwarebytes. You should also make sure Windows Firewall and Windows Defender are enabled.
If you are running such software, you never have to manually run the Windows Malicious Software Removal tool. However, there are times when the tool is useful to run.
- After a Windows Update, if the latest version of the tool is included, it’ll run automatically in the background.
- When switching antivirus software, your computer will be running and possibly connected to the internet without any protection.
- Accidentally leaving your computer connected to the internet without any antivirus software for a significant period of time.
- If you’re running antivirus software that you don’t trust is doing a thorough job protecting your computer.
Never run the Windows Malicious Software Removal tool as an alternative to running antivirus software. Antivirus and antimalware software run non-stop in the background to prevent malicious software from getting installed on your system in the first place.
Even running the tool on a regular schedule weekly or even daily will still leave your computer at risk. Antivirus software will prevent malware from ever installing on your system, while the Windows Malicious Software Removal tool is a last resort after you suspect your system has already been infected.
Manually Running the Malicious Software Removal Tool
While it’s a good idea to run this tool if you find yourself in any of the situations listed above, make sure to follow this up by installing and running a scan with an antivirus app afterward as well. This should catch anything the Malicious Software Removal tool might have missed.
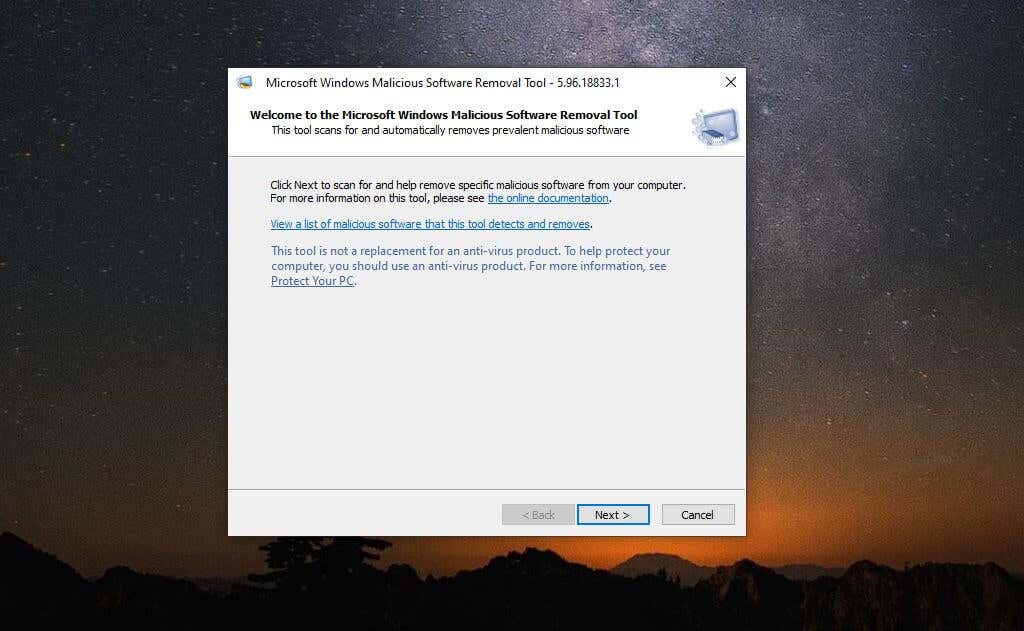
- Once you download the tool from Microsoft’s download page, run it and step through the setup process. On the initial screen you only need to select Next.
If you’re curious what malicious software the tool scans for, you can select the link to view the list of malicious malware on this window.
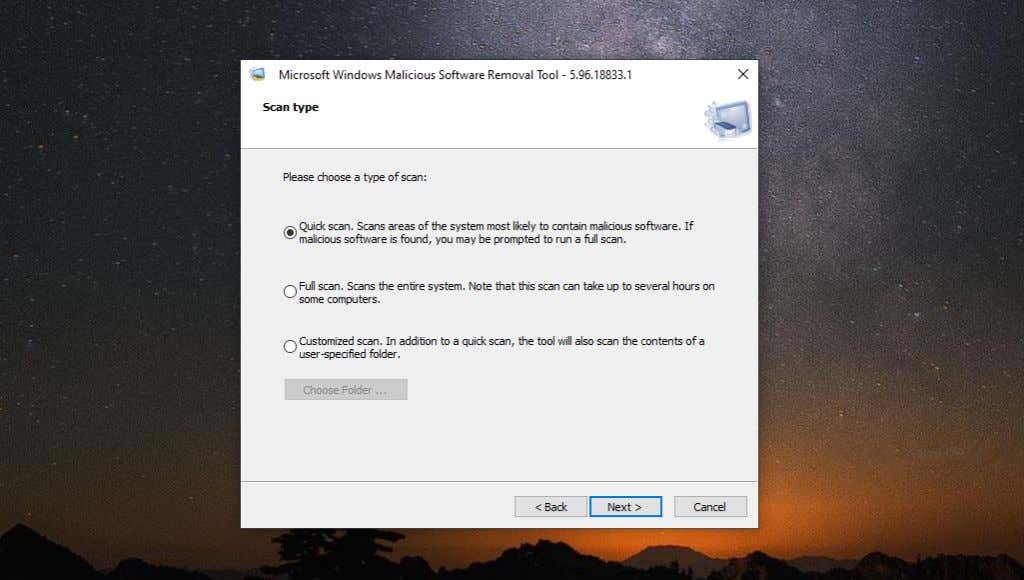
- On the next window, you can choose the scan type.
The following are what each scan type does:
- Quick Scan: This is a focused scan in system folders like System32, where malware is typically found.
- Full Scan: This scans your entire system and may take several hours to complete.
- Customized Scan: You can provide the tool with specific folders that you would like it to scan.
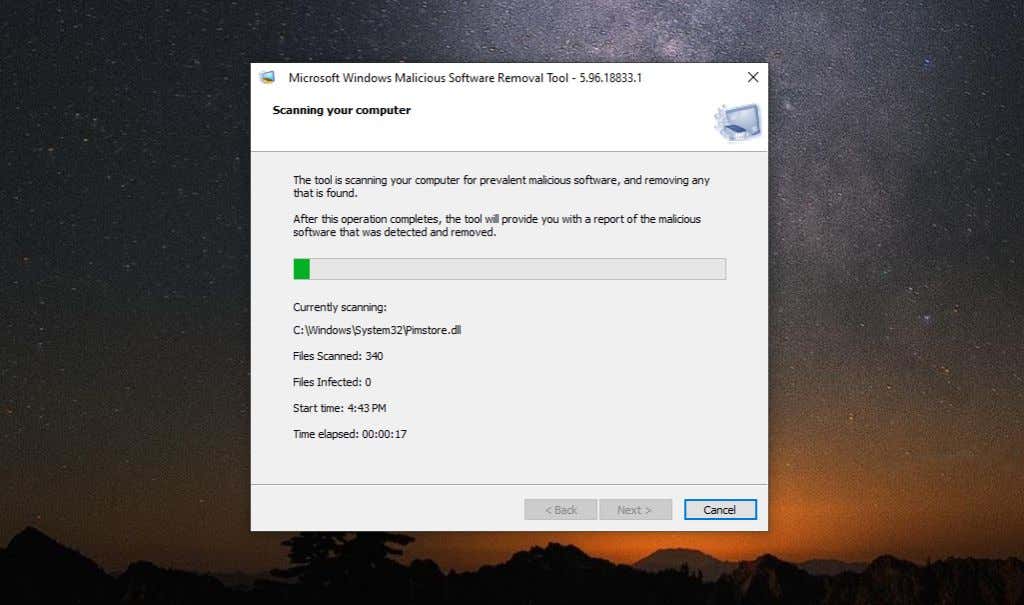
- Next, you’ll see a progress bar as the tool works through scanning folders and files in your system. As the scan proceeds, if any infections are found you’ll see the number beside “Files Infected” increment from 0.
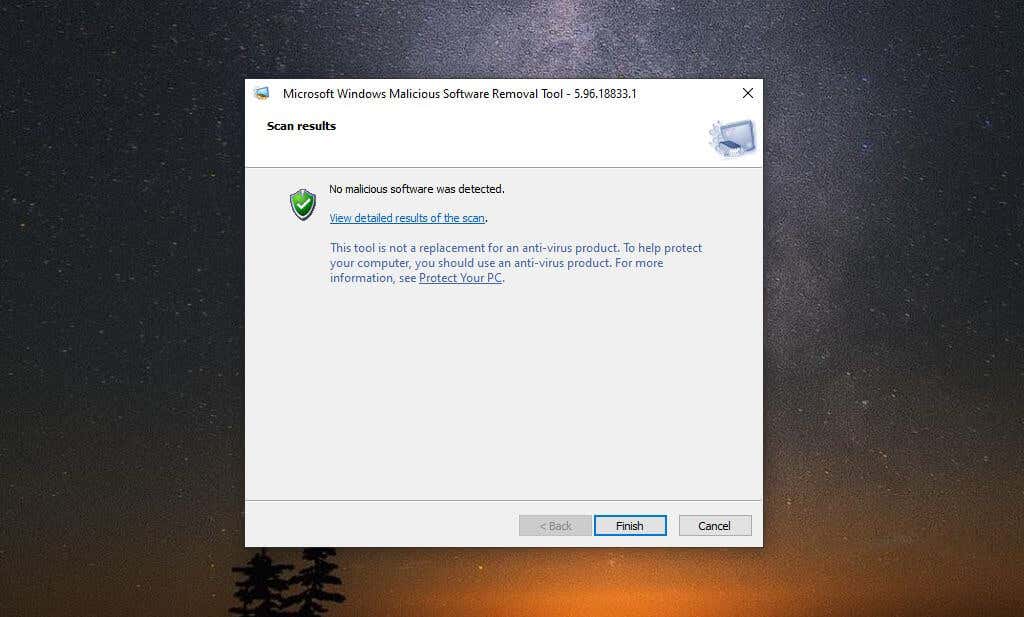
- Once the scan is done, hopefully a window like the one below will appear, showing you that no malicious software was found.
- If malware is found, you’ll see a report of issues that were found and repaired. At this point you’ll need to restart your system for the changes to take effect and your system to be fully cleaned.
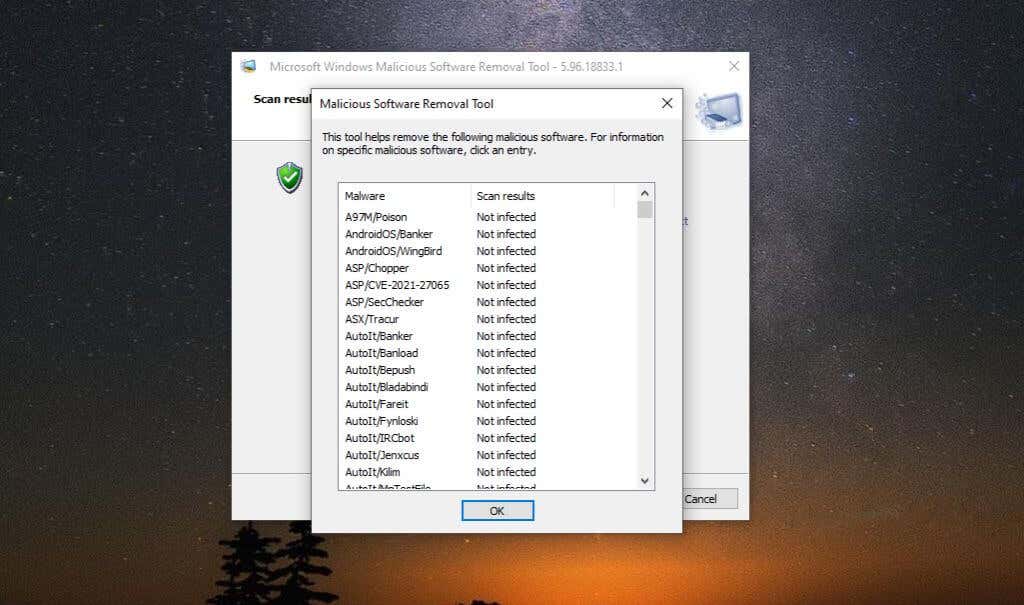
Note: You can see a full report of the malware that was scanned for by selecting View detailed results of the scan. This is a very long and detailed list of each individual type of malware scanned for and the scan results.
There is also a log file stored on your system that you can view at %WINDIR%\debug\mrt.log. By default, if your drive letter is C:, this path would be C:\Windows\debug\mrt.log by default. You can use Notepad to open this file and view the scan results.
Again, in most cases, you should never have to manually run this tool. It’s included in Windows Updates almost monthly with a fresh version of the tool. So long as you have Windows Updates enabled on your system, you can trust that this tool will run automatically by itself. You will only be notified if it finds malware on your system.
Related Posts
- Preparing for Windows 10 End of Support: Upgrading to Windows 11
- How to Fix a “This file does not have an app associated with it” Error on Windows
- How to Fix an Update Error 0x800705b4 on Windows
- How to Resolve “A JavaScript error occured in the main process” Error on Windows
- How to Fix the Network Discovery Is Turned Off Error on Windows

