
Some common sound issues you may encounter with audio not working on your laptop include audio glitches, problems connecting an external audio device, or the sound just not working altogether.
These and other sound failures could be caused by hardware and software problems. For example your laptop speakers or headphones may not work, or a new operating system update added a patch that could conflict with the old audio drivers or your sound card’s software.
Also, be sure to check out our YouTube channel where we made a short video going over some of the fixes mentioned below:
Fix Laptop Audio Not Working In Windows 10
Whatever the case may be, we’re going to show you some tried and tested solutions to use when you find audio not working on your Windows or Mac laptop. Feel free to check out our video on YouTube that goes over some of the bigger ticket fixes quickly.
Check Volume
It’s possible that you may have accidentally muted the volume on your laptop either by striking the mute button or clicking the speaker icon on the Windows taskbar.

To check your volume, tap the mute button or the Add Volume button on your laptop’s keyboard, or click the speaker icon in the lower right side of the taskbar and unmute or turn up the volume.
If you plugged in external speakers, turn on and turn up the volume. If you hear a ding sound but you still don’t get the audio you want, check the app you’re trying to use and unmute it or turn up the volume.
Try Using Headphones
If your laptop’s built-in speakers aren’t working, try plugging in your headphones or use external speakers. If you get audio through external audio devices, the problem may be with your laptop’s speakers.

Alternatively, if you have a USB headset or headphones, try to plug it in and check if you get any audio as these bypass the default audio driver, and can pinpoint where the problem could be.
Change Audio Devices
If you’ve plugged in a USB audio device or you’re connecting to an external HDMI monitor that has no speakers, Windows may direct the audio to the wrong output device, making you think the audio isn’t working on your laptop.
To resolve this, go to the Windows taskbar and right-click the speaker icon, select Open Sound Settings and enter audio preferences. In the Output section, click Manage Sound Devices.

Select the Output device and click the Test button. Try for each of the audio devices you see until you hear audio.

Check Your Connections

Check connections like your headphone, speakers, jacks and plugs for any loose cables or cords and ensure they’re plugged in, and into the correct jack for multiple jacks. If you have speakers and headphones both plugged, unplug one of them and see if that helps.
Run Audio Troubleshooter
Windows audio troubleshooter can help automatically fix audio problems on your laptop. To do this, click Start > Settings > System > Sound and select Troubleshoot.
Alternatively, type audio troubleshooter in the search box on the taskbar, click Fix and find problems with playing sound, and then click Next.

Choose the device you want to troubleshoot and follow the instructions to complete the process.
Check For Windows Updates
Click Start > Settings > Update & Security.

Click Windows Update > Check for Updates.

If you see the Updates are available status, click Install now. Click on the updates you’d like installed, and then select Install.
Reboot your laptop and check if audio is working. If the status shows You’re up to date, try the next solution.
Check Sound Settings
Besides checking whether your speakers are muted or volume is turned up, you can check to ensure your devices aren’t disabled. To do this, click Start > Settings > System > Sound. Select your device and then click Device properties for your input and output devices.

Uncheck the Disable checkbox for your devices and check if the audio works again.
Update Audio Driver
Outdated or malfunctioning drivers can also cause audio and other hardware problems. Check that your audio driver is updated, and if not, update it. You can also uninstall it and it’ll automatically reinstall on your computer, use the generic Windows audio driver or try and roll back the audio driver.
To update your audio driver, right-click Start > Device Manager.

Expand the Sound, video and game controllers category.

Right-click your sound card or audio device, and click Update Driver.

Click Search automatically for updated driver software.

Windows will search for a new driver. If not, check the device manufacturer’s website to download an updated audio driver.
If updating the audio driver didn’t help, uninstall it and restart your PC to reinstall the driver. To do this, go to Device Manager > Sound, video and game controllers and right-click your audio device or sound card. Select Uninstall device.

Click Delete the driver software for this device box, and select Uninstall. Reboot your laptop.

Note: If you see a yellow exclamation mark next to your sound card or audio device, it means you need to find and install the audio driver from the manufacturer’s website.
Use Windows Generic Driver
Windows has a generic audio driver you can use if the first two options to update or uninstall and reinstall the driver didn’t work.
To use the generic driver, right-click Start > Device Manager and click Sound, video and game controllers category to expand it. Right-click your audio device or sound card and select Update driver > Browse my computer for driver software > Let me pick from a list of device drivers on my computer.

Click on your audio device and select Next. Follow the instructions on your screen to install the generic driver.
Roll Back Audio Driver
If the audio is still not working on your laptop using the solutions above, try rolling back the audio driver. To do this, right-click Start > Device Manager > Sound, video and game controllers and right-click your audio device or sound card. Select Properties.

Click the Driver tab and select Roll back driver.

Follow the instructions on your screen and click Yes to roll back the audio driver.
Perform System Restore
A system restore is created when Microsoft installs updates on your computer’s operating system just in case of any problems. You can restore from the previous point your system was before the audio stopped working and check if that resolves the audio issues.
To do this, open the Control Panel and type Recovery in the search box.

Select Recovery.

Next, click Open System Restore.

Click Next in the Restore system files and settings box.

Choose the restore point you’d like to use and click Scan for affected programs and see if your audio driver is one of the affected drivers. If it shows None Detected, try the next solution.

Set Audio Device As Default
If you’re using USB or HDMI to connect to an audio device, select it as your default audio device by going to Control Panel > Hardware and Sound > Sound.

Click the Playback tab, right-click your audio device>Set as Default device and click OK.

Restart Audio Services
To do this, type Services on the search box and select Services from the search results.

Right-click Windows Audio, Windows Audio Endpoint Builder and Remote Procedure Call (RPC) and select Restart.

Try Different Audio Formats
To do this, open Control Panel > Hardware and Sound > Sound.

Click Playback tab, and right-click Default Device > Properties.

Under the Advanced tab, go to Default Format, change the setting and click OK.

Test whether the audio device plays any sound. If not, try to change the setting again until you get audio.
Check Audio System’s IDT High Definition Audio CODEC
Audio issues could be caused by the IDT High Definition Audio CODEC in the audio system. You can fix this using a manual driver update that lets you select the sound driver you want to use. Not all audio systems have this feature though.
Right-click Start > Device manager > Sound, video and game controllers and find IDT High Definition Audio CODEC.
If you see it, right-click, select Update Driver and then select Browse my computer for driver software > Let me pick from a list of device drivers on my computer.

If you see a list of preinstalled drivers, click High Definition Audio Device > Next and let it install.
Configure Microphone Privacy Settings
If the audio problem is with your microphone, configure its privacy settings by clicking Start > Settings > Privacy and selecting Microphone.

Click Change under the Allow access to the microphone on this device setting with the switch toggled to On.

Scroll to Choose which Microsoft Store apps can access your microphone, and toggle the switch for the app you’re using to On.

Disable Audio Enhancements
Audio enhancements could be causing the audio problems on your laptop. Not all devices have audio enhancements though, but if yours does, disabling them may fix the problem.
To disable any audio enhancements that may be turned on, click Control Panel > Hardware and Sound and select Sound.
Click the Playback tab, right-click your default device and select Properties.

Depending on the option you see, select either Disable all enhancements box or Disable all sound effects box on the Enhancements tab.

Click OK and check if you get any audio now. You can repeat these steps for all your default devices.
Ensure you check the right supported formats and that Exclusive Mode is unchecked. You can also turn off Spatial Sound enhancements and see if you get audio back.
Update BIOS
In very rare circumstances, a software update, hardware incompatibility, or Windows reinstallation can cause the problem with the audio not working on your laptop. In such instances, you may need to tweak something in the BIOS.
The BIOS controls everything in your computer as it’s built into the motherboard. Our guide on whether you need a BIOS update or not explains more on how to check if one is needed, but it’s not an environment you can access directly from within Windows.
If you have an older laptop or one that boots slowly, press F1 or F2 at power-on to enter the pre-booth BIOS environment. If your laptop is fairly new, take the steps below to enter BIOS.
Click Start > Settings > Update & Security.

Click Recovery and then click Restart Now under Advanced Startup.

Click Troubleshoot.

Next, click Advanced Options.

Select UEFI Firmware settings. If the icon isn’t available, click Startup Settings.

When the laptop restarts, tap F1 or F2 to go to BIOS, and click Restart. The system will restart and take you to the BIOS environment. In the BIOS, check that your sound card is enabled, and also check that your laptop is using the latest BIOS/UEFI version. You can compare with the version on the device manufacturer’s website, and update if a new one is available.
Note: Be careful when updating the BIOS as it’s possible to break things in your computer if you don’t follow the steps very clearly.
Repair Laptop Speakers

If nothing is working and you still have audio problems on your laptop, you could be looking at a loose speaker in your PC or even broken speakers. you can take it for repairs to a PC professional or if it’s under warranty, send it to the manufacturer for diagnosis and repairs.
Fix Laptop Audio Not Working In Mac

If you’ve checked the volume and ensured it’s not muted, and your audio devices are connected properly, but still have audio issues on your mac laptop, try the solutions below.
Check Input/Output Audio Device Settings
Your Mac may choose the wrong audio device owing to conflicts, driver incompatibility, incorrect configuration, and other reasons.
To resolve this, go to the Apple Menu > System Preferences > Sound.

Click the Input tab.

Check the audio device settings. Check and select the correct input device for your audio, and do the same for your output audio device settings.

Note: If a Bluetooth-enabled device is selected, turn it off, as the audio may be playing in that device instead of your Mac’s speakers. You can also try to unplug and reconnect the audio devices or switch from one output to another.
Reset Core Audio

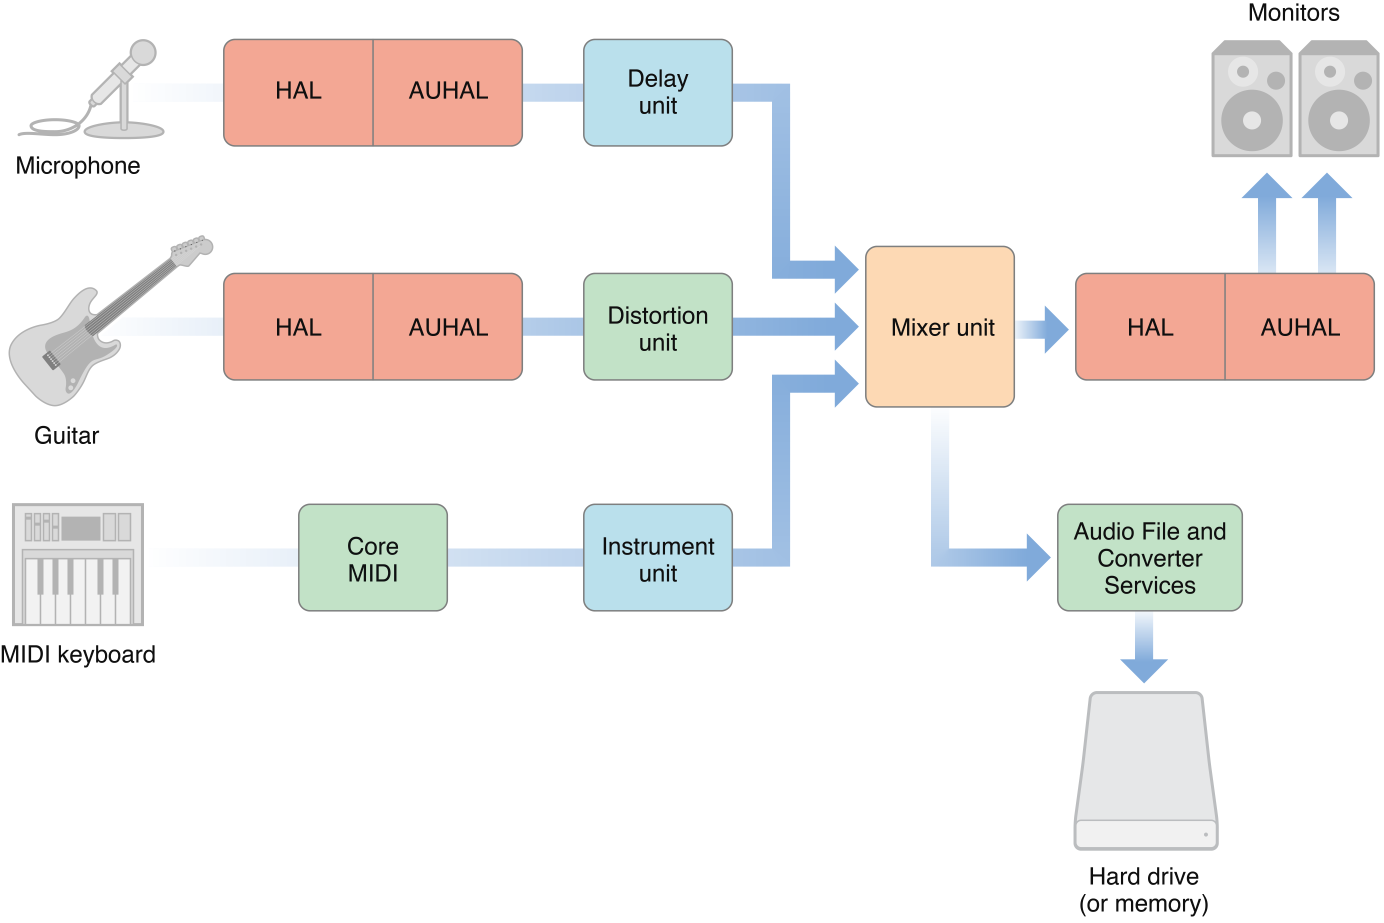
Core Audio manages the audio needs of the apps on your Mac such as playback, editing, recording, compression and decompression, signal processing and more. In your Mac, it’s powered by coreaudiod (a launchdaemon), so in the event the audio isn’t working, you can restart the coreaudiod process and fix the problem as it resets the sound on your laptop.
To quit the coreaudiod process, you can open Activity Monitor, type coreaudiod in the search box and click Force Quit.

Alternatively, launch Terminal and type sudo killall coreaudiod command. Press Return, enter your password and check if the audio works again. Coreaudiod will restart, but if it doesn’t, you won’t get any audio at all. In this case, shut down your Mac and restart it.
Note: If you can’t restart, use a Terminal command: sudo launchctl start com.apple.audio.coreaudiod. This will start the daemon and reinitialize the coreaudiod process.
Third-Party Plugin Or App Issues

Third-party app and plugin issues integrating with your Mac may affect the audio owing to hardware and software incompatibility, especially when a new macOS is released. For example, in macOS Catalina, any non-notarized plugins won’t work or run on the operating system because Apple’s security system notarizes all audio unit plugins.
To manage and deal with the audio not working on your laptop for specific apps on your Mac, use the following steps:
- Delete the app profile in the Audio MIDI Setup if you see any errors and restart the app.

- Open the app, right-click Built-in Output to see the audio devices available, and toggle output device selection to correct any configuration issues.
- Create an Aggregate Device by mixing multiple audio interfaces in order to reduce chances of configuration errors while increasing the number of audio inputs and outputs.
Update macOS

Each time a new macOS is released, it not only comes with improvements and new features, but also changes in audio drivers, kernel frameworks, Unix tools, new bugs and sometimes audio issues follow. Apple also improves and fixes audio latency, reliability of USB audio issues and other related user concerns.
If you find audio not working on your Mac laptop, try updating your operating system to the latest version and see if it fixes the audio issue.
Reset NVRAM
Your Mac laptop uses nonvolatile random-access memory to store different settings such as sound volume, time zone, display resolution and recent kernel panic information among others, and access them quickly.
Reset it to clear any glitches with any of these and other attributes. This happens because the computer restores your hardware’s default settings, and sets the internal hard drive as the startup disk.
To do this, shut down your Mac and power it on again. Immediately press and hold Option, Command, P and R keys for about 20 seconds and release them when you hear a startup sound.

If you have a Mac with the Apple T2 Security Chip, release the keys after the Apple logo appears and disappears again.
Turn off the firmware password if your Mac has one, and then open System Preferences when your Mac finishes starting up. Adjust any settings like sound volume and others that were reset.
Wrapping Up
Unlike Windows PCs, Mac laptops don’t come with a comprehensive tool set that can diagnose and fix audio issues, so it’s a trial and error process and your own judgment to ultimately find the source of the sound problems.
Hopefully these solutions will guide you as you try to find and resolve the audio problems on your laptop. If you still have issues after trying any of the above solutions, share it with us by leaving a comment in the section below.