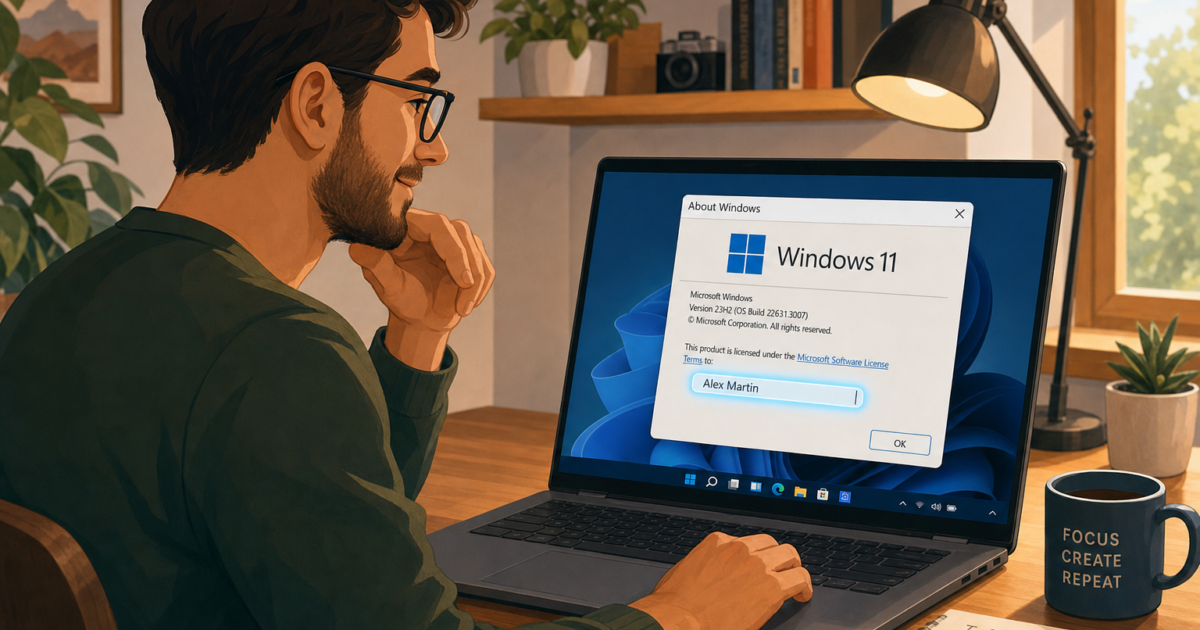
The name shown in Windows’ “About Windows” dialog (winver) is pulled from a registry value called RegisteredOwner, and if it still shows a previous owner’s name, a manufacturer placeholder, or something you just want to update, a single registry edit fixes it. This change is cosmetic only: it does not transfer the Windows license or affect your Microsoft account.
Before You Start: What “Registered Owner” Actually Means
The RegisteredOwner string is stored in the registry and displayed in the winver “About Windows” dialog. Changing it does not:
- Transfer legal ownership of the Windows license
- Change your Microsoft account or the digital license tied to your hardware
- Rename your Windows user account or profile folder
If you bought a second-hand PC and want to properly set it up for yourself, the right move is Reset this PC (Settings → System → Recovery → Reset this PC) followed by signing in with your own Microsoft account. The registry edit below is a cosmetic tweak, useful for name changes, shared family PCs, or cleaning up a manufacturer-entered placeholder.
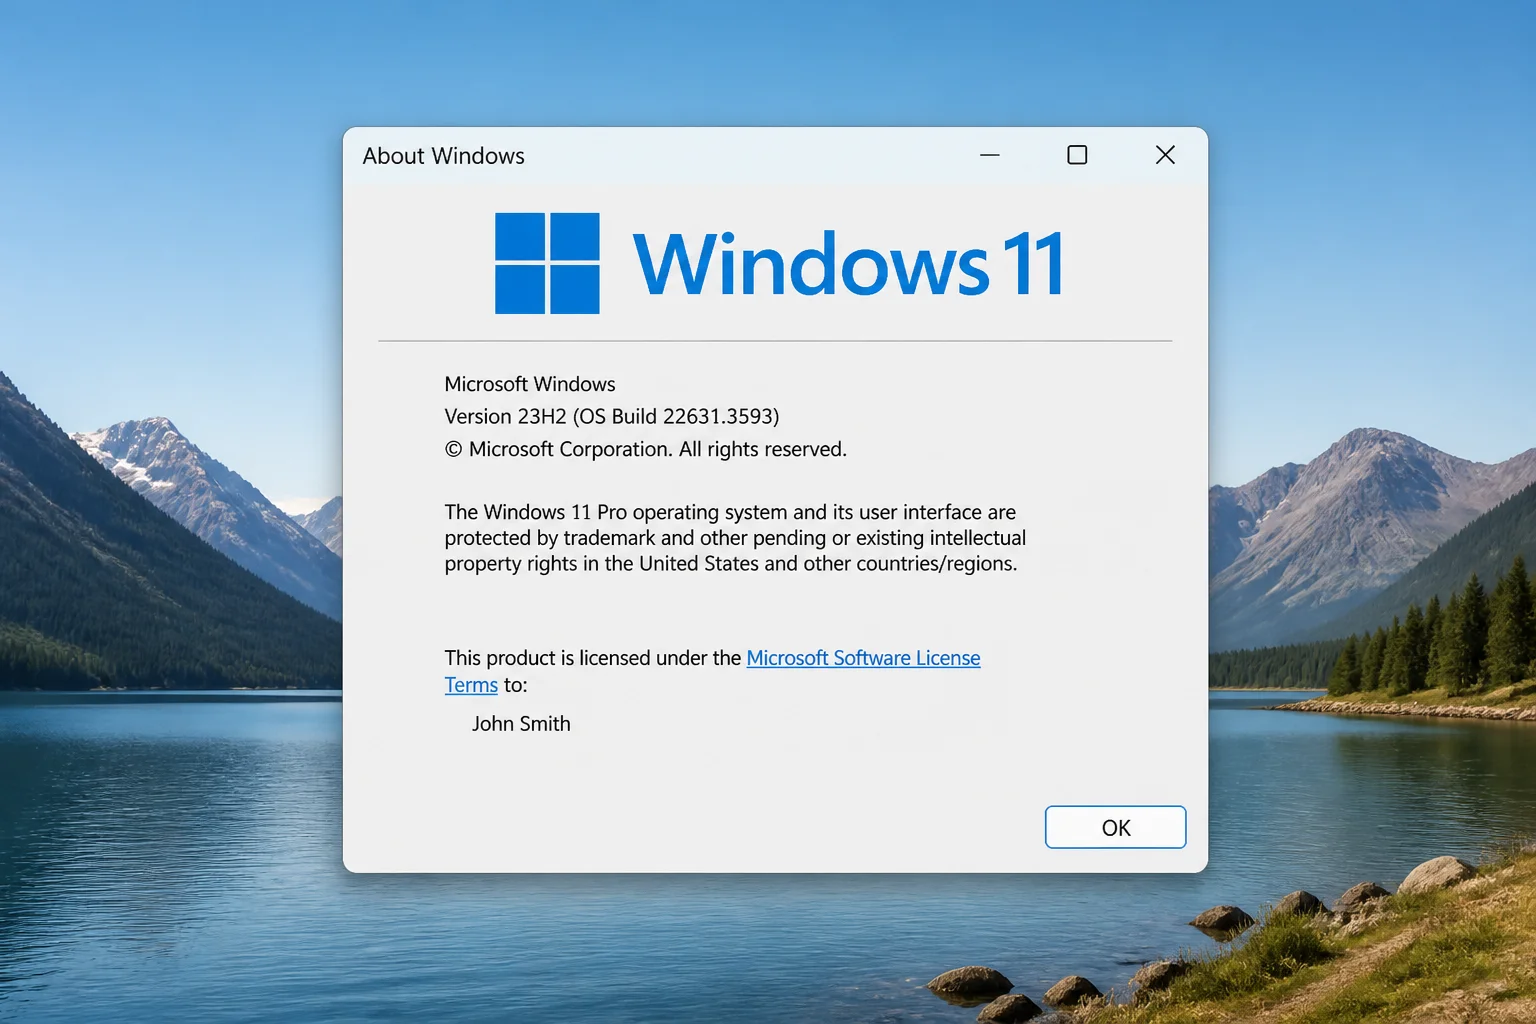
Step 1: Check the Current Registered Owner
- Press
Windows + Rto open the Run dialog. - Type
winverand press Enter. - Look at the line that reads “This product is licensed under the Microsoft Software License Terms to:”, the name after that is your current registered owner.
Step 2: Change the Registered Owner via Registry Editor
⚠️ Registry warning: Editing the wrong registry key can cause Windows instability. Create a restore point or back up the registry before making any changes. Only edit the specific values listed below.
- Press
Windows + R, typeregedit, and press Enter. Approve the UAC prompt if it appears. - Navigate to the following key:
- Windows 10 / 11: Click the address bar at the top of Registry Editor, paste the path below, and press Enter:
HKEY_LOCAL_MACHINE\SOFTWARE\Microsoft\Windows NT\CurrentVersion - Windows 7 / 8 / 8.1: Expand the folders manually: HKEY_LOCAL_MACHINE → SOFTWARE → Microsoft → Windows NT → CurrentVersion
- Windows 10 / 11: Click the address bar at the top of Registry Editor, paste the path below, and press Enter:
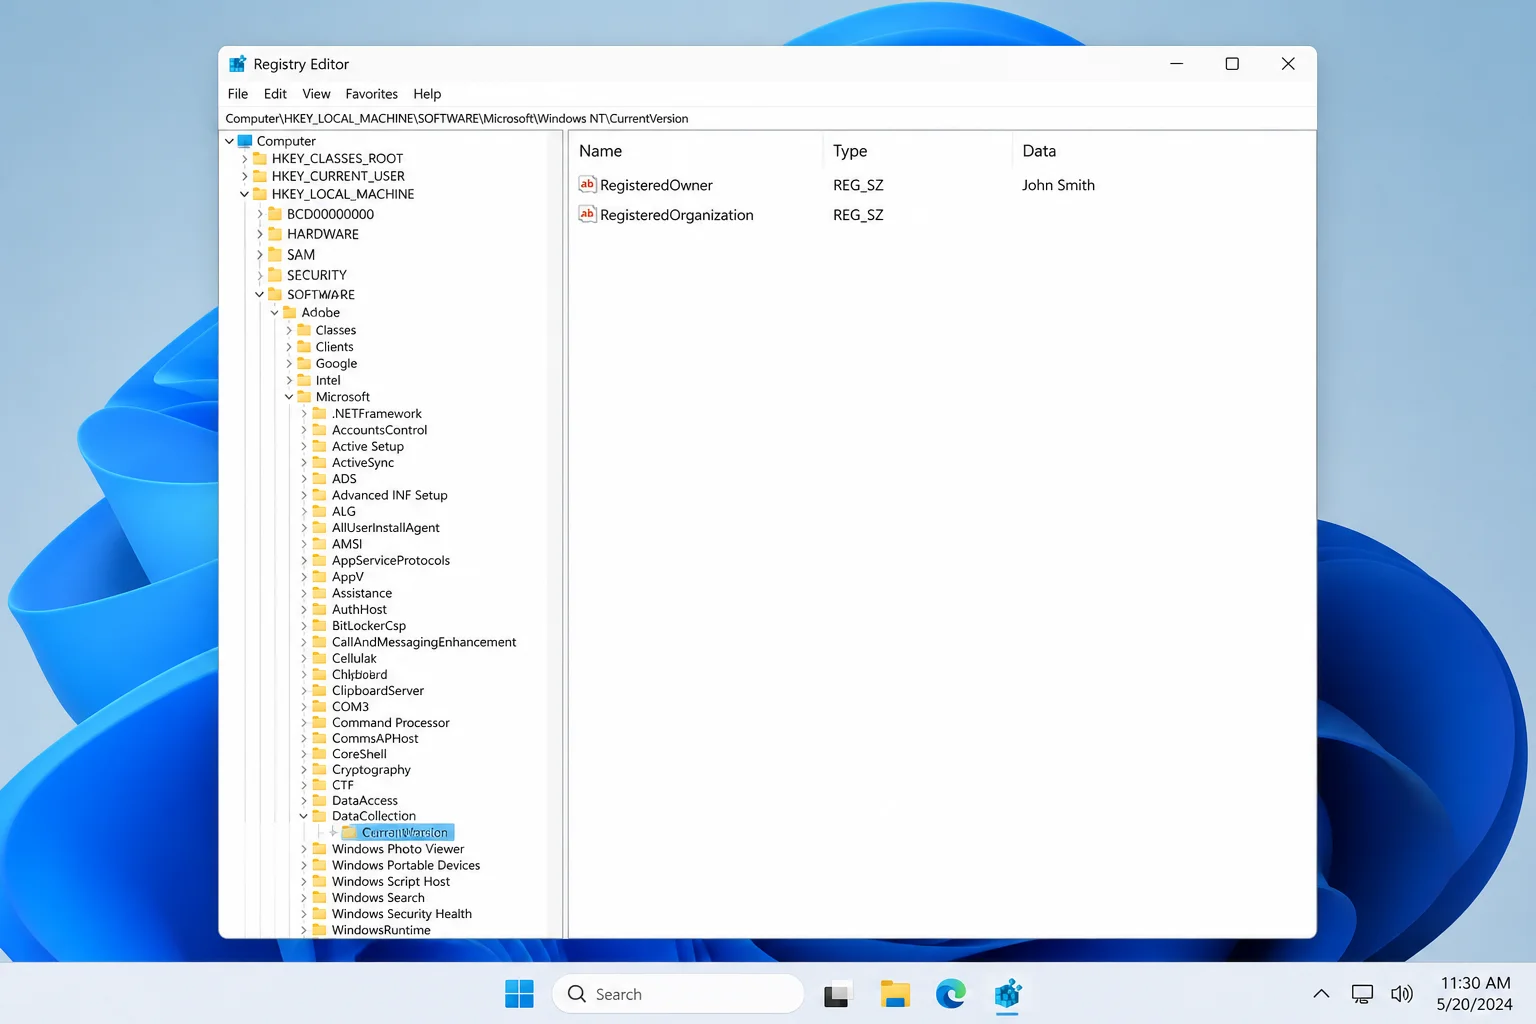
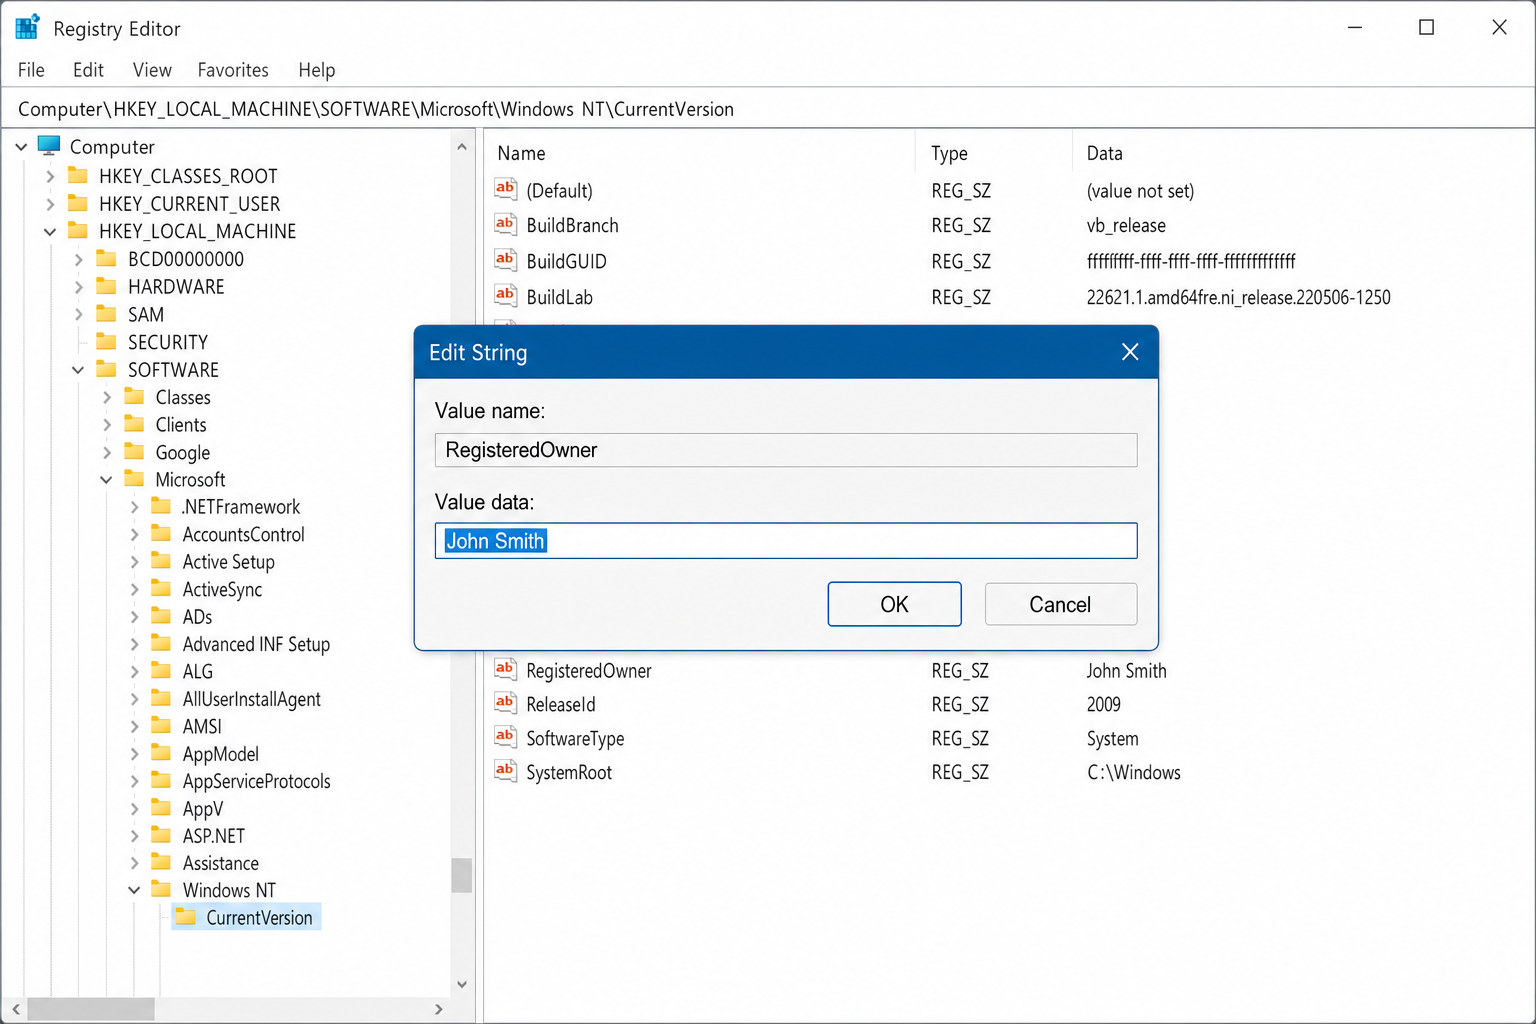
- In the right pane, double-click RegisteredOwner.
- In the Value data field, delete the existing name and type the new one you want.
- Click OK.
- (Optional) Double-click RegisteredOrganization and enter a company or family name, or leave it blank.
- Close Registry Editor.
Step 3: Verify the Change
- Press
Windows + R, typewinver, and press Enter. - Confirm the new name appears after the licensed-to line.
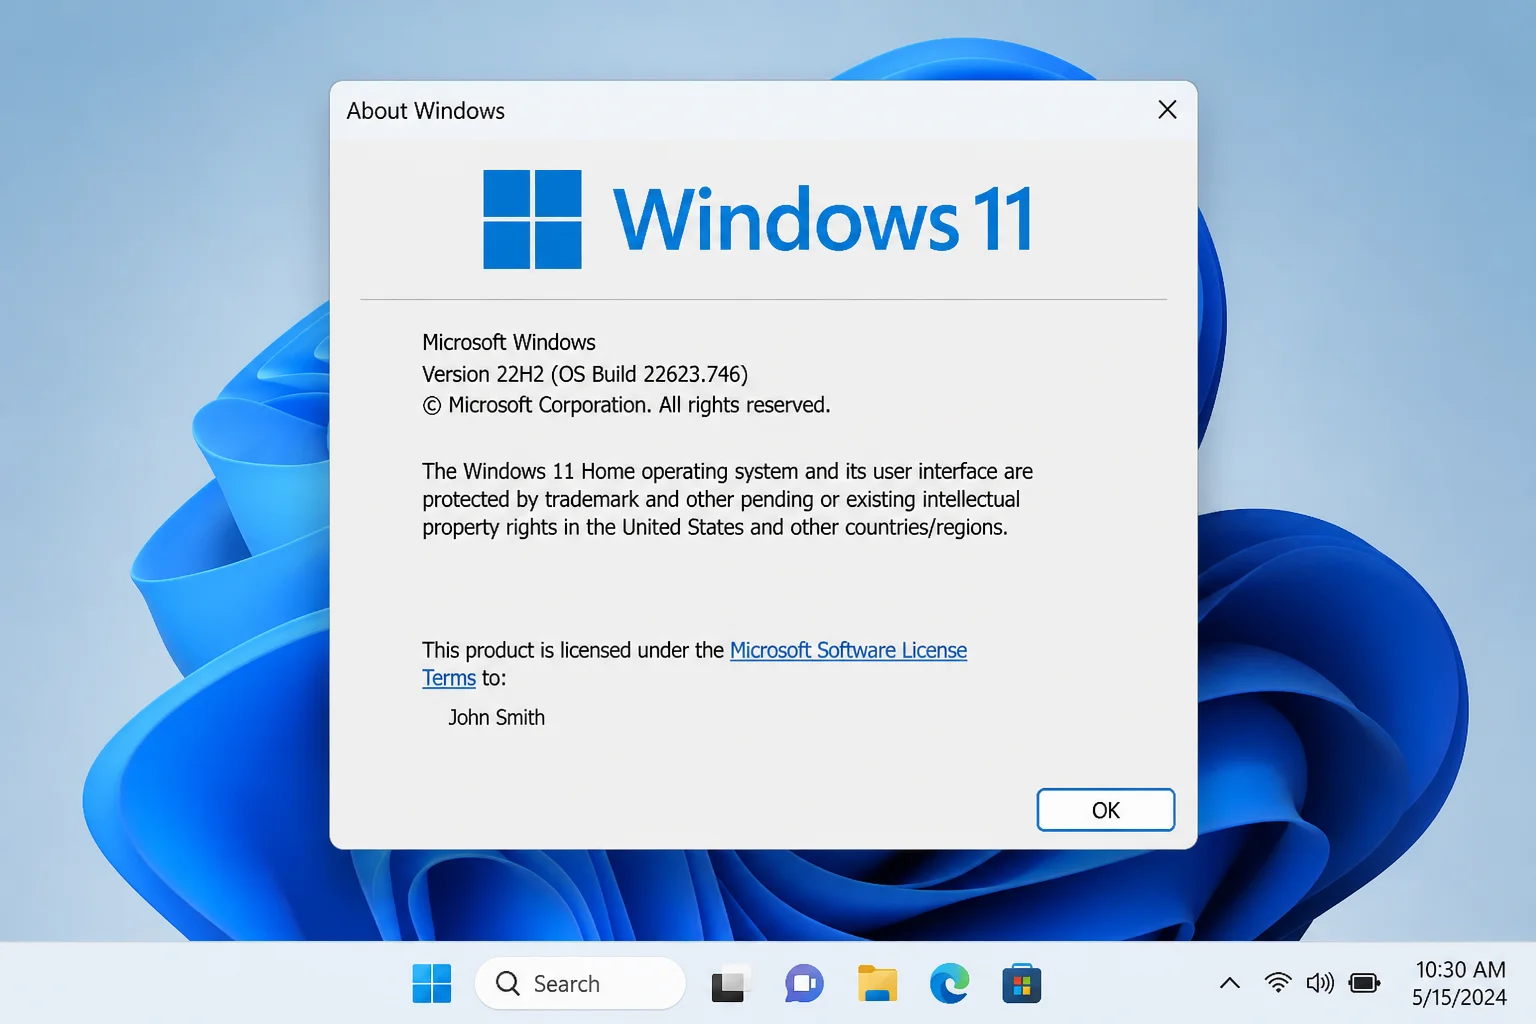
If the name hasn’t changed, close and reopen winver, it can occasionally show cached text. If it still shows the old name, double-check that you edited the correct registry path and clicked OK (not Cancel) in the string editor.
If RegisteredOwner or RegisteredOrganization Is Missing
On some Windows installations, especially freshly reset or imaged machines, one or both values may not exist. You can create them manually:
- In Registry Editor, navigate to
HKEY_LOCAL_MACHINE\SOFTWARE\Microsoft\Windows NT\CurrentVersion. - Right-click an empty area in the right pane and select New → String Value.
- Name the new value exactly
RegisteredOwner(orRegisteredOrganization). - Double-click it and enter the name you want in Value data.
- Click OK.
Registered Owner vs. Your User Account Name
These are two different things, and it’s easy to mix them up:
| What it is | Where it shows up | How to change it |
|---|---|---|
| RegisteredOwner (registry string) | winver “About Windows” dialog | Registry edit (this article) |
| Local account display name | Start menu, sign-in screen, user profile folder | Control Panel → User Accounts → Change your account name |
| Microsoft account display name | Start menu, sign-in screen, Microsoft 365 apps | account.microsoft.com → Your info |
Changing RegisteredOwner in the registry does not update your sign-in name, and renaming your user account does not update winver. They’re independent.
If You’re Setting Up a Second-Hand PC for a New Owner
Editing RegisteredOwner changes only the display string in winver, it does not transfer the Windows digital license or remove the previous owner’s Microsoft account from the machine. For a proper handoff:
- Go to Settings → System → Recovery (Windows 11) or Settings → Update & Security → Recovery (Windows 10).
- Select Reset this PC → Remove everything.
- Sign in with the new owner’s Microsoft account during setup.
- Optionally, edit RegisteredOwner afterward to match the new owner’s name.
Conclusion
The registry edit in Step 2 is all most people need, it takes under two minutes and the name in winver updates immediately. If you’re handing off a PC to someone else, pair it with a full Reset this PC so the new owner gets a clean slate, not just a cosmetic name change.