Using a scanner to archive old photographs can be a rewarding experience. You bring your old snapshots into the digital age and have the chance to fix them up as well. Image editing software such as Photoshop and The Gimp have a lot to offer, including cropping, straightening, enhancing an images’ color saturation and brightness, and more. In this article, we’ll talk about using the Heal Selection tool in The Gimp to get rid of minor (and sometimes major) imperfections, such as scratches, spots from dust on the scanner bed, and other blemishes.
Note: You can also use this tool in Windows, but you’ll need to first install the GIMP Resynthesizer plugin.
The first thing you’ll need is an image to work on. For our examples, we’ll use a cover image from a book that was definitely not in pristine condition. It had obviously been read, and the front cover bent back quite a bit, which resulted in a line where the cover image had flaked off, for lack of a better term. Here is a closeup of an area we’re trying to fix.
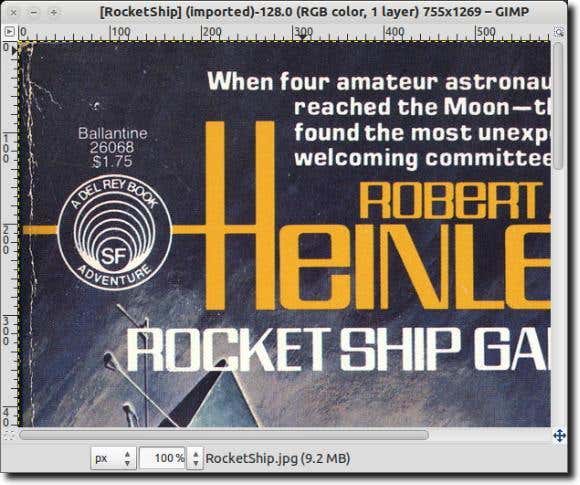
There are a number of ways we could attempt to fix these blemishes, such as the smudge tool, or by copying a bit of color that matches the blemish, and pasting it over the bad spots. We could also, for a fast but crude fix, simply paste a matching color into the imperfections. As mentioned, however, we’ll be using the Heal Selection tool in The Gimp to fix the cover (at least as much as possible).
The Gimp used to be installed by default in Ubuntu, but it isn’t any longer, so we’ll need to install it. You can do so by typing sudo apt-get install gimp gimp-plugin-registry which installs not only The Gimp, but a large variety of plugins, of which the Heal Selection tool is one of.
![]()
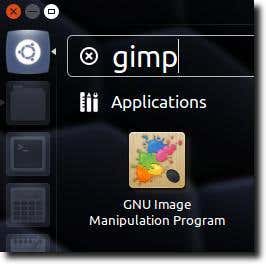
Once fully installed, go ahead and open The Gimp. We’re using Ubuntu, so we’ll open it via the Dash, but you can use The Gimp in Windows and launch it via the Start Menu.
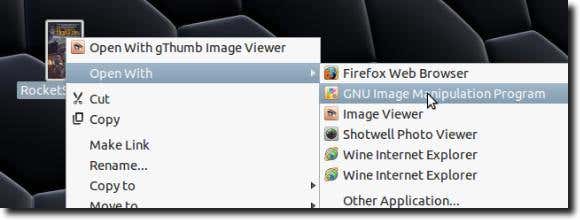
You could also right-click the image, then choose GNU Image Manipulation Program (or it may be called GIMP) under the Open With menu.
Once the image has loaded, zoom into the image until one of the imperfections is readily visible. Now select it using any of the three selection tools.
![]()
For those unfamiliar with The Gimp, the far left tool – the Rectangle Select Tool – selects a rectangular shape; the middle one is the Ellipse Select Tool (for circles and other elliptical regions); the far right tool is a Free Select Tool which lets you outline more precise regions. We’ll be using this. When your region is selected, it should look something like this.

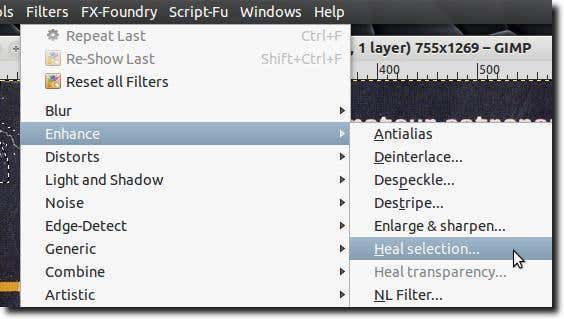
When using the Heal Selection tool, you should select small areas as the surrounding pixels are most likely to be similar to the selection, which helps in a result that looks at least somewhat close to the original. Once you’ve selected your area, simply go to the Filter menu, then to the Enhance submenu, and finally select the Heal Selection tool.
A window like this should appear, with the tool options.
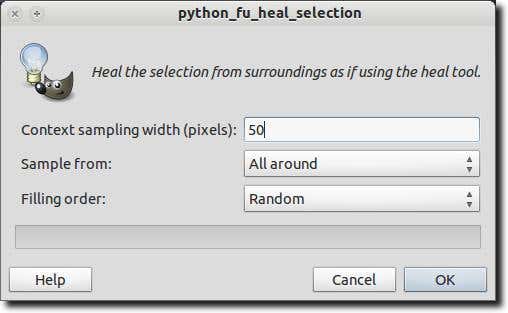
There are three options when using the Heal Selection tool. First is the number of pixels surrounding your selection the tool should choose from. What the tool does is take in the surrounding pixels, and attempt to blend in the area you’ve selected to match its surroundings. If the area around your selection is fairly static, you can leave the number at its default (of 50 pixels), but if you need to be careful not to have the tool match a wildly different area, you can shrink the number of pixels it takes into account.
The second option you have is whether the tool samples pixels from the entire surrounding area, just above and below, or from the sides.
Finally, the third option is how the selected area should be filled. There are again three options. The tool can randomly place pixels, or can fill the selected area starting from the outside and going in, or conversely, start from the inside and move out.
Once you’re finished with the options, click the OK button. The tool should think for a bit (depending on how large a selected area you’re working on).

When you’re finished, hopefully the area has improved. Here we’ve made a few corrections.

Below, you’ll find that we’ve composited two images of a slightly larger area than was just modified(“before” and “after”) to show what can be accomplished with judicious use of the Heal Selection tool. As you can see, the Heal Selection tool is quite good for removing text and logos (as long as there is enough room around them for the tool to get some idea of what would have otherwise been “under” the text or logo).
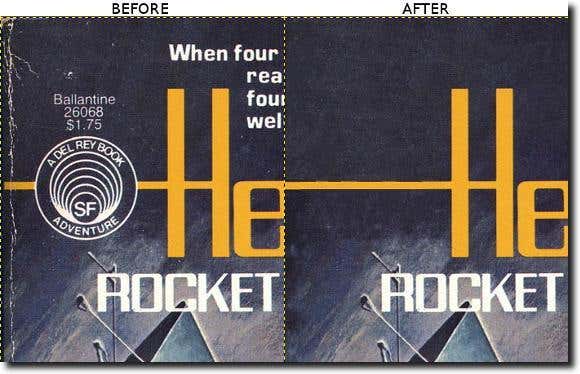
And that’s pretty much it. This isn’t a tool that will fix every problem of course. It can’t guess what letters might be missing (should a corner of a page be torn off), and the more complicated the selected area, the less likely the result will look anything close to the original. However, for backgrounds, less complicated selections, and even for getting rid of blemishes on skin, the Heal Selection tool is a nice one to be familiar with. Enjoy!
Related Posts
- How to Fix App Notifications in Windows?
- Using an Old Device? 5 Account Security Settings You Should Enable
- How to Find Features Moved from Control Panel to Settings in Windows 11?
- How to Back Up Your Android Downloads Automatically?
- Camera Not Working in Zoom or Teams? Quick Fixes for Windows and macOS
Founder of Help Desk Geek and managing editor. He began blogging in 2007 and quit his job in 2010 to blog full-time. He has over 15 years of industry experience in IT and holds several technical certifications. Read Aseem’s Full Bio
