When video editing, you might find it relatively simple to stick certain effects and edits onto your video clips. Yet in doing this, you might find you don’t have a lot of precision in how exactly the effect gets applied.
Adobe Premiere, however, has a wide range of features available to edit your video just the way you want it. Keyframes are one of these features that can allow you to get more precise and varied edits.
Keyframes are pretty easy to use once you get the hang of them, and you’ll feel much more in control when editing your project with effects.
What Are Keyframes in Adobe Premiere?
Keyframes are a feature that allows you to change the properties of an effect or a transition over time. This means you can change how fast or slow an effect or transition occurs, and you can also change when and where in the clip it starts or ends.
Keyframes are then essentially points in time that you set for these changes to occur. So, you need at least two keyframes for this to happen. One to start the effect or transition, and one to end it.
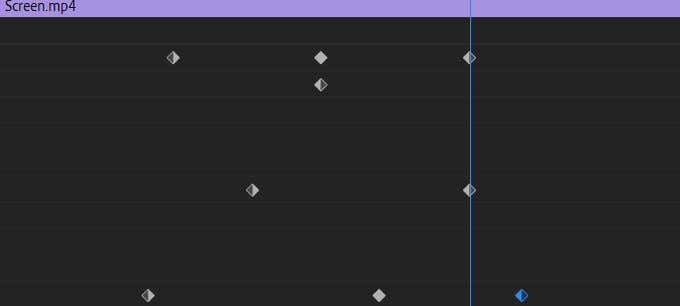
However, keyframes give you the ability to add as many points in between as you want. This means you can edit the properties of effects as precisely as you wish. You can create multiple start and end points to change how the effect or transition is animated in your project.
These properties include things such as position, scale, opacity, and rotation. Depending on what effect, transition, or clip you’ve chosen, there will be different properties. Keyframes let you animate these properties to impact a clip or a chosen effect or transition.
How To Add Keyframes in Premiere
Learning to use keyframes is relatively easy, and once you understand how they work you’ll be able to put them to use in no time.
You’ll first want to open the Effects Control panel. You can find this by going to Window > Effect Controls. When you select a clip, you will see a dropdown called Video Effects. These will be attributes to the chosen clip, such as position or scale.
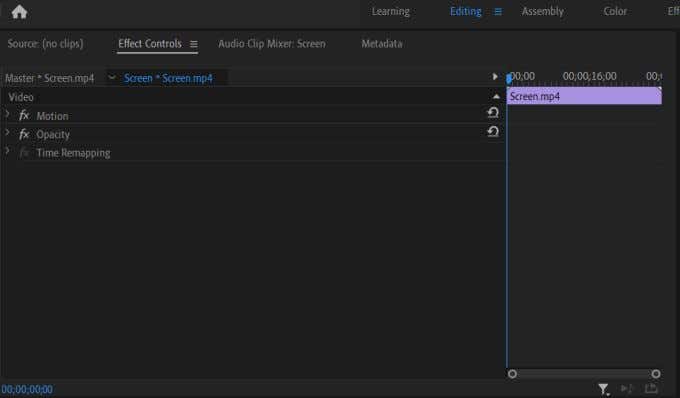
You’ll also see the effects you’ve applied to the clip in a dropdown. Depending on the effect, there will be different properties you’ll have the ability to change. To the right of these lists, there will be a mini timeline showing your chosen clip.
On this timeline is where you can edit your keyframes. As an example, let’s edit a wave warp effect into a clip. After placing the effect on the clip and going into Effect Controls, you would choose the Wave Warp dropdown.
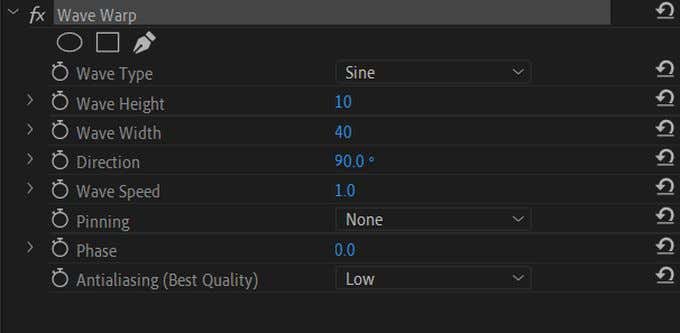
Say you want to animate the Wave Height. First, move the cursor in the mini timeline where you want your first keyframe to be. Then, change the value of the Wave Height attribute by clicking and dragging on the number value next to it.
This is what the value will be when your cursor reaches this first keyframe. To set the keyframe, select the stopwatch to the left of Wave Height.
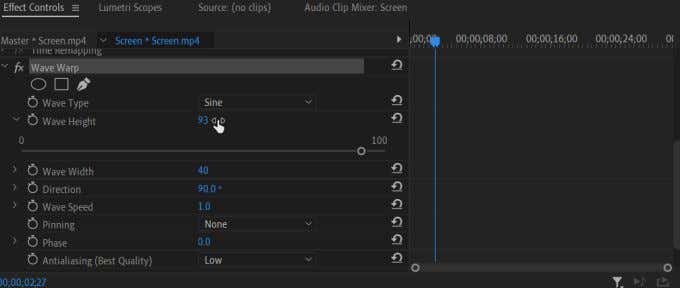
You should see the diamond-shaped keyframe appear in the mini timeline. A diamond icon with two arrows on either side of it will also pop up next to the Wave Height property. You can use this to add or remove keyframes, and to move from one keyframe to the next.
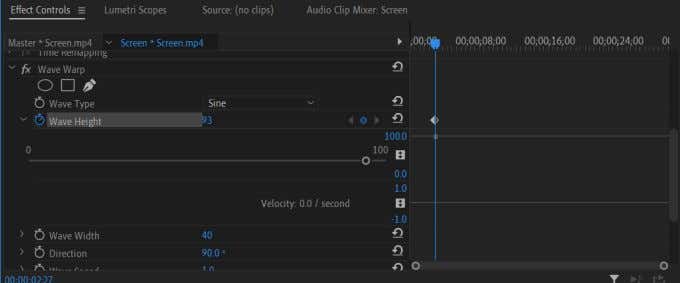
There are multiple ways you can now create keyframes. If you move to a new spot on the timeline and make any change to the Wave Height value, a keyframe will be added. You can also click on the Add/Remove keyframe button to add a keyframe if you don’t have one on the timeline selected.
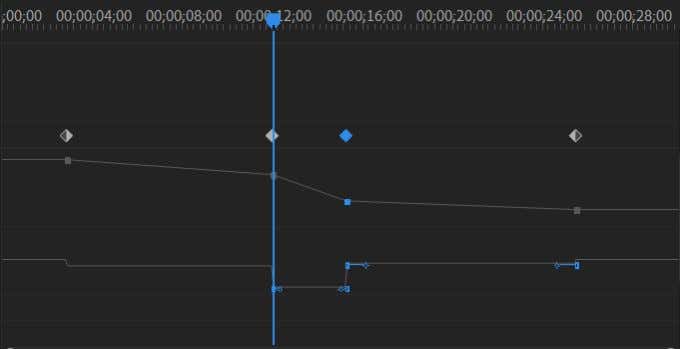
You will also see that there are grey points underneath your keyframes in the timeline. You can click and drag on these to change your keyframe’s value. You can also click and drag the keyframes themselves to change where they appear.
Tips For Using Keyframes in Premiere
If you want to smooth out the animation your keyframes create, you can play with the Velocity. This is how quickly or slowly the value of the property changes over time. There is a second line below the value line under your keyframes which you can click and drag on to bring up some blue bars. If you click and drag on the circles of these bars, you can change the velocity of a certain point.
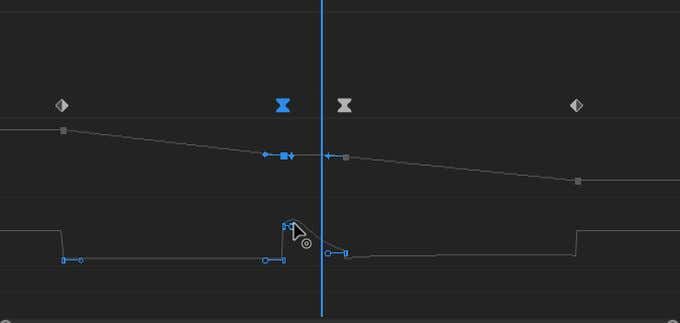
You’ll also want to keep in mind that when using keyframes, the more you add to your project, the harder it will be on your computer to process your video. So when editing with keyframes, keep in mind that less is more.
Pay attention to the number values given in order to get things as clean as possible. Using the values will help you determine if an animation is going to be fast or slow, and how quickly a change occurs. This will keep your effects from getting too choppy.
If you want to fully delete all your keyframes from a property, you can click on the stopwatch button again to get rid of them.
When To Use Keyframes
Now that you know how to use keyframes in Premiere, you might wonder when you should use them in your editing process. Keyframes are best used when you want to animate an effect in a certain way.
Premiere allows you to edit nearly every aspect of an effect’s properties, so if you want a transition to be smoother and longer, or you want your video distortion to behave a certain way, keyframes let you do this. Make sure you have in mind exactly how you want to animate an effect, or your keyframes could turn out messy.
If you’re just starting to use keyframes in Adobe Premiere, practice using them with different effects to get the hang of creating a smooth animation.
Related Posts
Since she was a child, Kayla has had a fascination with technology, video games, and filmmaking. Growing up she wrote on multiple personal blogs about these topics, enjoying the process of breaking down technical concepts. Most recently her focus has shifted to writing, and Kayla now reviews and writes technology, video editing, and gaming related articles. Read Kayla’s Full Bio
