When it comes to the Nintendo Switch, there are a lot of different controller options to choose from. You can use the Joy Cons, which attach to the sides of the Switch console and are what comes with it in the box.
There are also Pro controllers, which are shaped more like traditional controllers. These can allow for smoother gameplay. All of these controllers, though, have different methods for you to charge them.
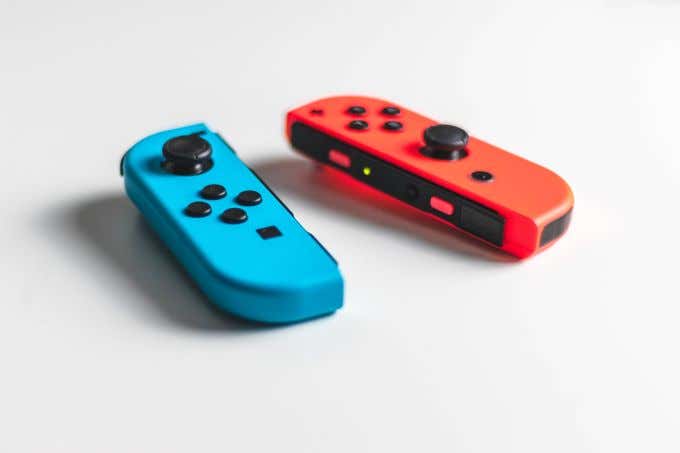
If you want to have long gaming sessions but are unsure about the best way to charge your chosen Nintendo Switch controller, below are the steps for each different type of controller available and how to keep them charged.
Charging Nintendo Switch Joy Cons
The Joy Cons which comes with the Nintendo Switch can be charged in multiple different ways. Depending where you are and how you’re playing your Switch, one of these methods may work better for you. Here are your options for charging the Joy Cons.
Attach to the Switch
The easiest way to recharge your Joy Con controllers is to attach them to the sides of your Switch. This option is best for when you’re not currently playing, or you’re playing in handheld mode.
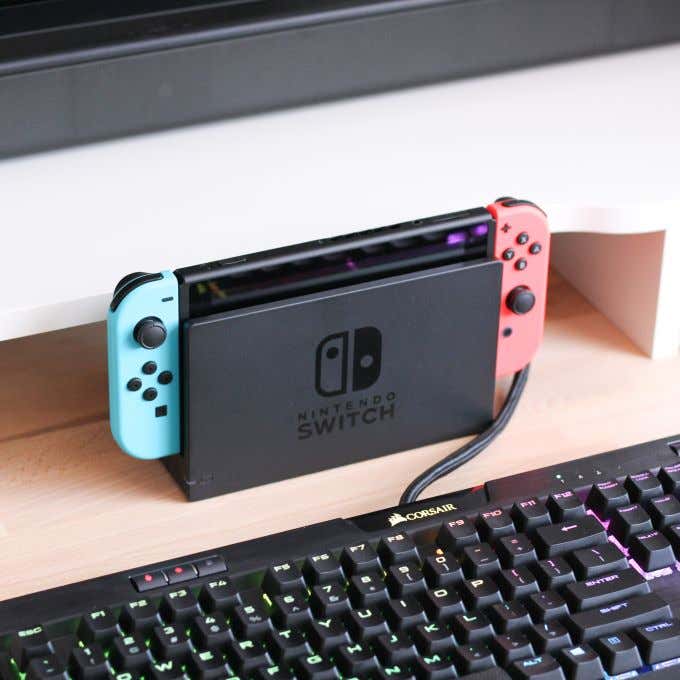
- Attach the Joy Cons by sliding them onto the sides of the Switch from the top. Make sure the left-hand control is on the left side and vice-versa.
- Plug your Switch into the dock to allow the controllers to charge. Be sure your Switch is plugged in so it will be charging. Also be sure the Switch is not turned off, or it won’t charge. However, they will charge in Sleep mode.
- If you’re playing in handheld mode, the controllers will still charge from being attached to the Switch without docking it, but will stop charging them when they’re half charged to save the Switch’s battery.
Use a Charging Grip
Nintendo also sells a separate charging grip for Joy Con controllers. This option is perfect for when you want to play on your television but your Switch controllers need to be charged. This grip is different from the one that comes with the Switch, as that one can’t charge your Joy Cons.
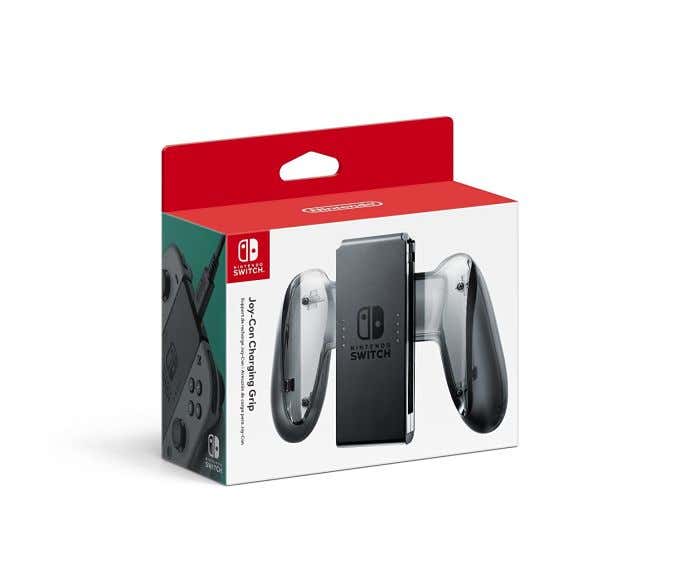
- Attach your Joy Cons to the charging grip by opening the slider on the top.
- Use the USB cable included with the grip to connect it to the Switch via the USB port. The grip should now be charging your Joy Cons.
Use a Charging Dock
Another accessory available for charging Joy Cons is using the charging dock, sold separately by Nintendo. The charging docks are great if you have more than two Switch controllers to charge at once, as it can charge up to four.
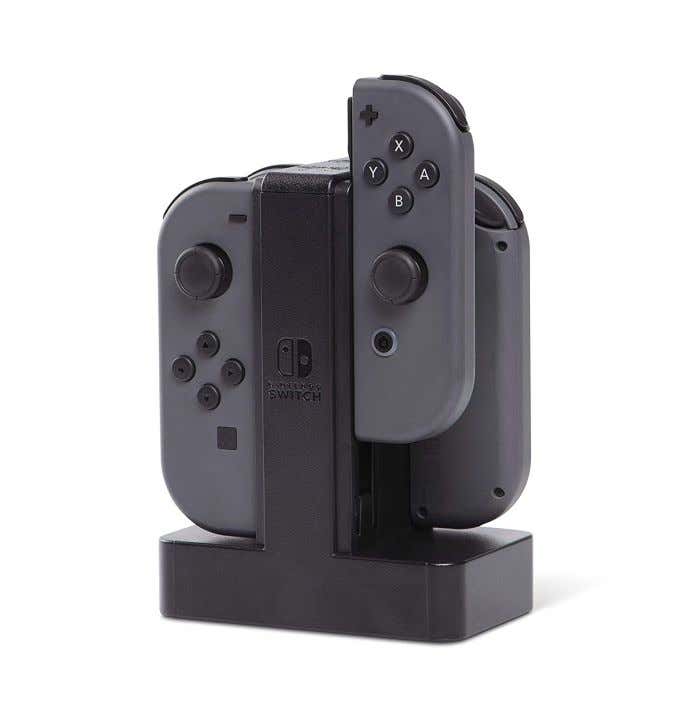
- Attach the included USB cable from the charging dock to the port on the Switch.
- Slide your Joy Cons into the slots on the charging dock.
- The lights on the top should be red, and when the controllers are fully charged they will turn green.
Charging Nintendo Switch Pro Controllers
If you have purchased one of the Pro controllers made for the Switch, you’ll find there are also multiple ways to keep them charged. It’s also a better option if you use TV mode a lot, as these controllers have a much longer battery life.
Since there are many third-party controllers out there, there may be many different methods of charging your Switch controllers depending on what controller you have. But for the Nintendo licensed Pro controllers, you can follow the instructions below.
Use a USB Cord
Your Pro controller should come with a USB cord that you can use with it plugged into the Switch.
- Connect the USB cord to your Switch, and the other end into your controller.
- An orange light should come up on the controller, meaning it’s charging. Once charged, it’ll turn off.
- You can use the controller while it’s charging if you’re playing in TV mode. Also, the Switch doesn’t need to be in the dock for it to charge if you want to play in handheld mode while the controller charges.
Use a Charging Dock
There are some third-party charging docks out there made specifically for charging the Pro Switch controller. You can find a lot of different versions with multiple features, but this officially licensed charging dock from PowerA charges both a Pro controller as well as Joy Con controllers.
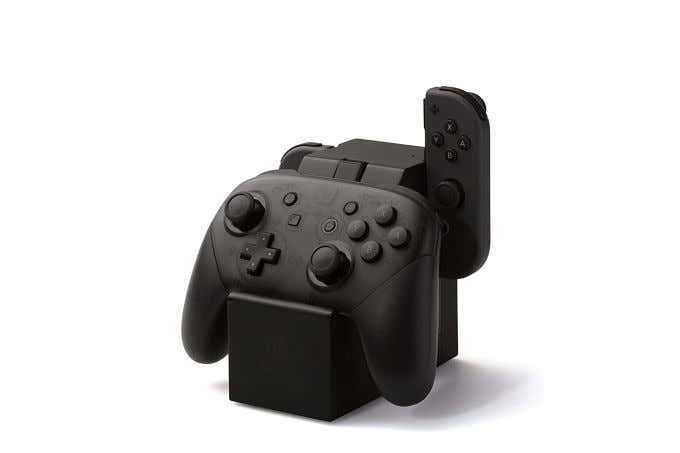
- Attach your Pro controller and/or your Joy Cons into the charging dock.
- Using the included USB cable, plug it into the Switch console to charge the controllers. Be sure your Switch is plugged in and on or in sleep mode.
- The lights at the top of the charging dock will turn red while your controllers are charging, and will turn green once fully charged.
Controller Battery Life
With all the options the Switch has for controllers, you might wonder if it’s best to just stick with the included Joy Cons or buy a Pro controller. It all depends on how you best like to play your Switch console.
The Pro controllers have the best battery life, lasting for at least 40 hours of use. Joy Con battery life is about half that. If you’re an avid Switch player, it’s probably worth investing in a Pro controller for this reason, among others.
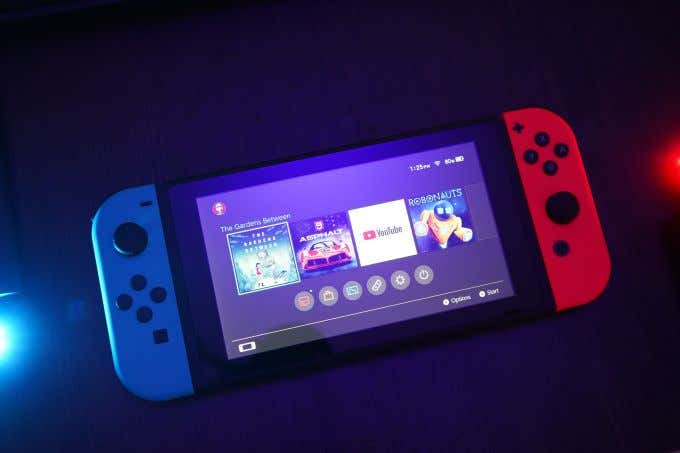
It also takes around 6 hours to fully charge the Pro controller, while the Joy Cons take about 3.5. If you play your Switch sparsely or are more into playing in handheld mode, just sticking with the original Joy Cons is your best bet.
Either way, there are so many options for charging Switch controllers that you likely won’t have to worry much about your gaming getting interrupted by a dead controller.
Related Posts
Since she was a child, Kayla has had a fascination with technology, video games, and filmmaking. Growing up she wrote on multiple personal blogs about these topics, enjoying the process of breaking down technical concepts. Most recently her focus has shifted to writing, and Kayla now reviews and writes technology, video editing, and gaming related articles. Read Kayla’s Full Bio
