Face swapping, despite how silly it may seem, can be a great tool for photographers. If you find that someone, for example, had their eyes closed in every photo, with face swapping it’s possible to fix the issue. You can switch the face in the bad photo with the same face from a better picture.
Although, face swapping for comedic effect is also common, and can be done easily in Photoshop if that’s your goal. And sometimes it can look surprisingly real if done correctly. So read on if you’re looking to make some face swapped photos.
How to Face Swap in Photoshop With Masks
There are a few different ways you can do a face swap, and one of them is by using the mask layers in Photoshop. This makes it easy to switch out a face and have it look like it fits the rest of the person.
This method works best if both the photos you’re using are similar. Here’s how to do it:
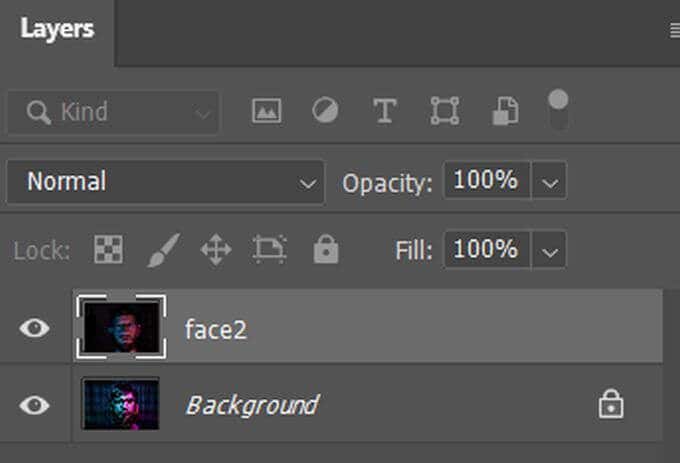
- Have both your photos open on separate layers in Photoshop.
- Put the photo with the face you want to use as the bottom layer, and the photo with the face you want to be replaced as the top layer.
- Align the layers by going to Edit > Auto-Align Layers. Make sure the person you’re editing in both photos is aligned well.
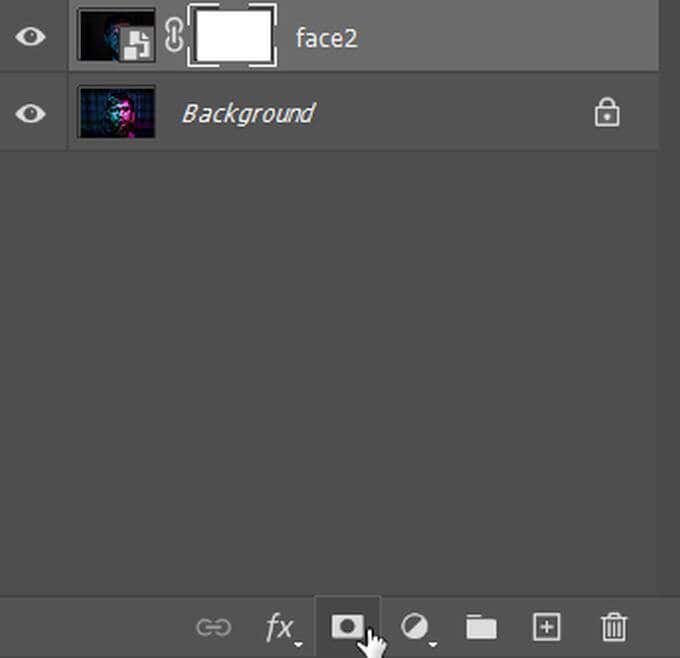
- Add a white mask layer to the top and set the opacity to 100%.
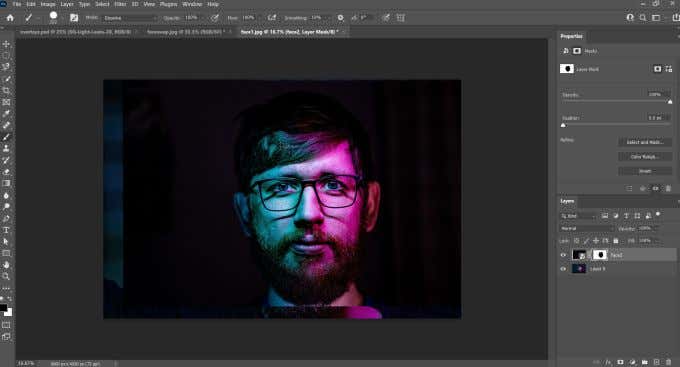
- Using the brush tool at 100% opacity and set to black, paint over the face you want to swap. You should see the face you want to use to replace the original face as you brush.
This method works well enough for a basic face swap if you’re not trying to go for too much detail or need it to look very real. But, if you want something more realistic, you can also use object selection to get the job done.
How to Face Swap in Photoshop With Object Selection
This method makes for a much cleaner face swap, but it’s also not too difficult to do. All you’re doing is selecting the face you want to use to swap and moving it onto the other photo. Follow these steps to face swap this way:
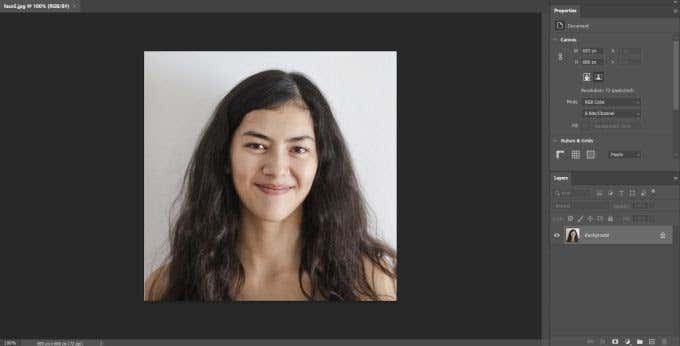
- Open the image with the face you want to use.
- Choose the Object Selection tool and select the entire face. Save this in its layer.
- Drag the face you’d rather use on top of the face you want to replace. Make sure it looks natural by resizing the face and moving it until it fits well.
- You can see how well you’re lining up the features by reducing the opacity of the layer until you can see the bottom layer. Line up the facial features this way, then you can adjust the opacity back.
This method will work best if both images have similar quality levels and lighting. If you need to fix anything else such as lighting or color, there are a few ways you can fix these issues as well.
Making the Face Swap Look Natural
If your face swap looks a little off and it’s showing that some work was done on the photo, you may want to try some methods of making the face swap look more natural. This will allow the swapped face to look more like it was never changed at all. Pay attention to differences in lighting and color when you’re face swapping images.
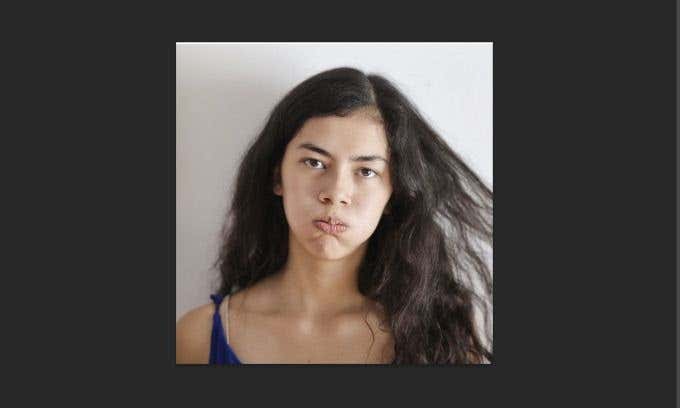
As you can see in this image, the face replacing the original face is much brighter than the original photo.
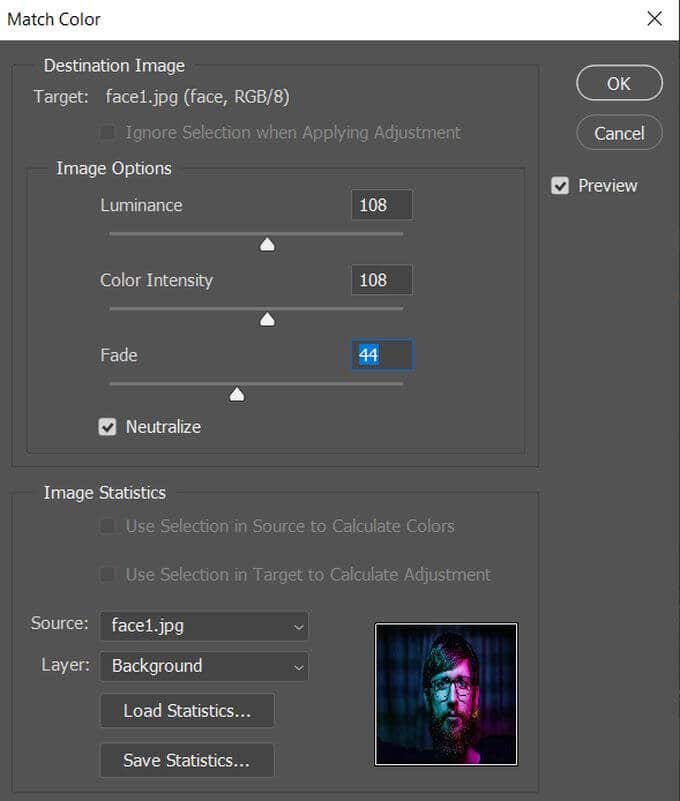
There are a few different ways you can fix any anomalies you may spot. One of these is the Match Color feature. This can help you blend different skin tones or other color issues.
Here’s how to use this feature:
- Select the image layer you want to alter.
- Go to Image > Adjustments > Match Color.
- In the Match Color window, click on the Source dropdown box and select the image you want to match color from to the target image.
- From here, you can use the Match Color window to change the Luminance, Color Intensity, and Fade. You can use the Selection tool to change these in specific areas of the image. If you don’t want to Color Match only the selected area, you can check off the Ignore Selection when Applying Adjustment.
- You can check off Neutralize to remove the color changes you’ve made to an area.
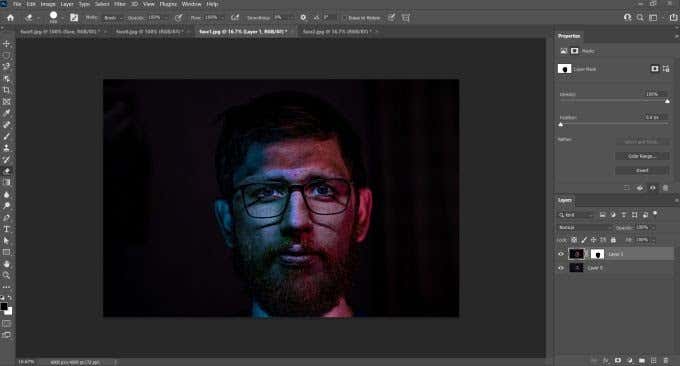
Besides using Match Color, you can also use the Blend tool to seamlessly combine the swapped face with the new image. You can also use the Auto-Blend Layers option and select Seamless Tones and Colors to fix some disparities between the two faces.
Once the image looks good to you, make sure you save it so you don’t lose anything.
Face Swapping in Photoshop
Whether you want to make a natural-looking change to your photo or just a quick face swap to show your friends, it’s easy to do in Photoshop by following this guide. As long as you have images that will work well in a face swap, you should have no issue making one.

