Blurring and feathering techniques are important for any photo editor to learn. These tools can help you to seamlessly combine images, making your editing look more natural and eye-pleasing.
Although blurring and feathering are similar, they are two different tools. Feathering refers to softening hard edges of an image, so that it gradients into the background or other image. Blurring allows you to blur out any parts of an image so it becomes hazy, and blends together.
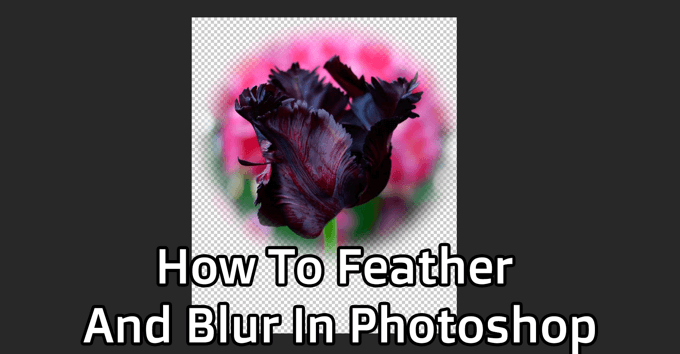
Both these techniques are useful for many purposes, and they’re easy to learn. Follow the steps below to learn how to feather and blur in Photoshop.
How to Feather in Photoshop
You’ll first want to create a new project in Photoshop, or open an image you want to use as a background for your feathered image. Feathering is mainly used to create a vignette effect on photos. So choose a background that you want your main image to blend into.
Once you have your project created, open the image you want to feather the edges of by going to File > Open. The image will open in a new tab in photoshop. You’ll be working in this tab now to feather the image.
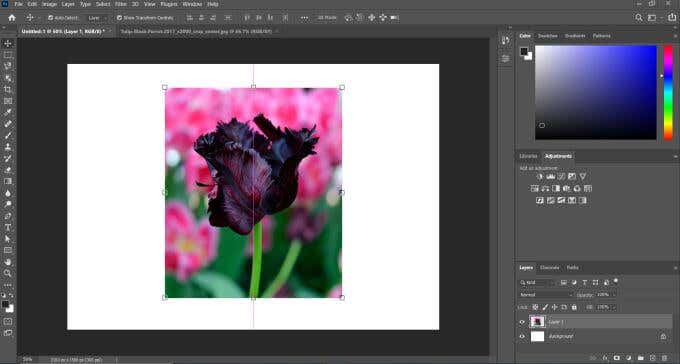
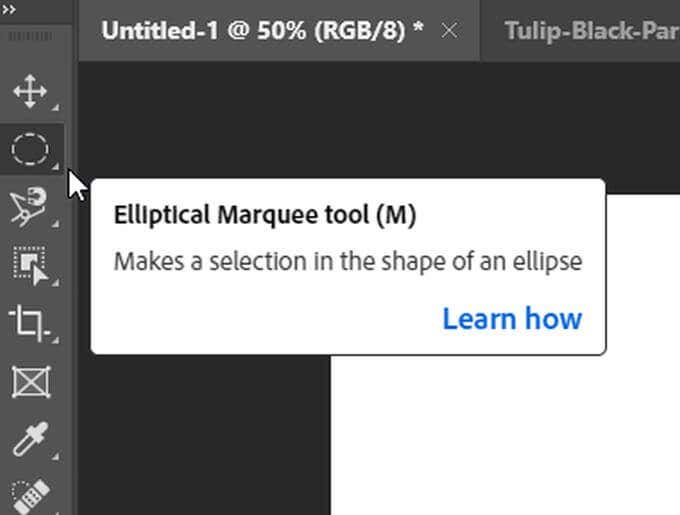
Now, select the Marquee tool, either rectangular or elliptical. With this tool, select around the part of the image you wish to keep. The selection line will be the edge where the feathering begins.
Once you’ve made your selection, click on the add mask icon at the bottom of the layer panel.
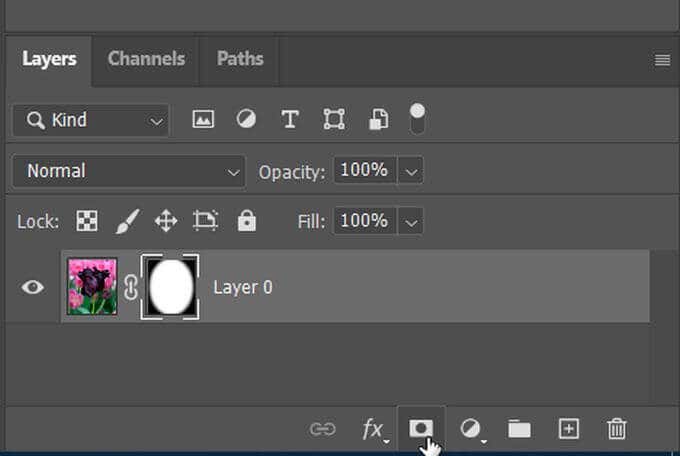
You’ll only see the part of the image you’ve selected. To actually feather the image, open the Properties panel, and you should see a slider labeled Feather. You can use this to soften the edges of your selection. Using this slider, you can blend the edges as much or as little as you want.
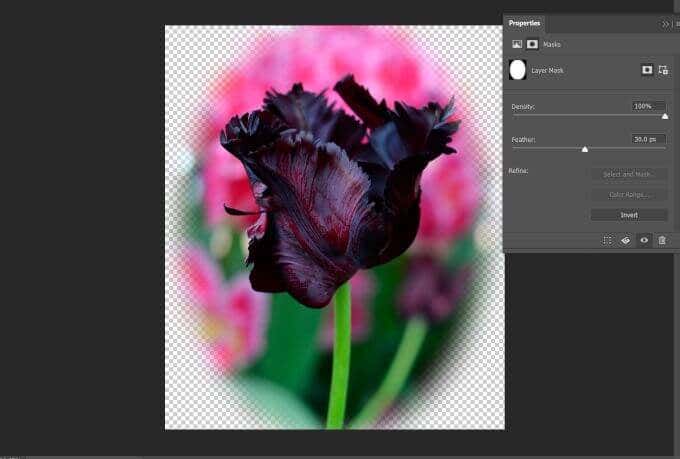
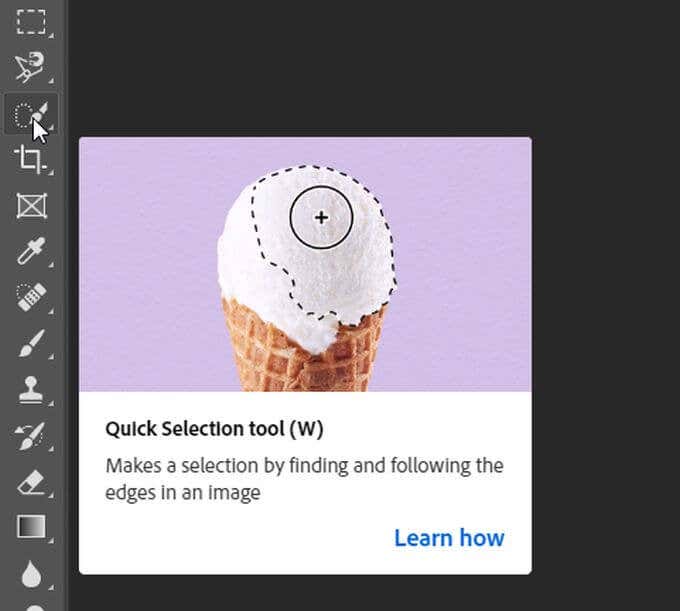
If you want to have a more precise selection and feather more than just a rectangle or oval shape, you can also choose other selection tools like the quick selection or lasso tool and create a mask using that. That way, you can create seamless-looking selections without any jagged or choppy edges.
How to Blur in Photoshop
Maybe, instead of feathering out the edges of a subject, you want to blur out the background as a whole. You can also use selection tools to blur out any parts of an image you want. This can help to highlight the subject of your piece as well as to make it more cohesive overall.
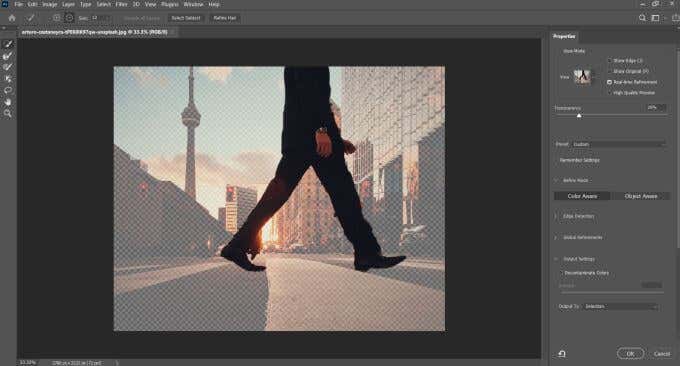
Open the image in Photoshop that you wish to do some background blurring on. Then, use the Quick Select tool to make a selection around the subject(s) you want to keep visible. Now go to Select > Select And Mask.
You can make your selection more precise here using the brush tools. When you’re happy with the selection, go to the Output Settings dropdown and in the Output To setting, choose New Layer with Layer Mask and select OK.
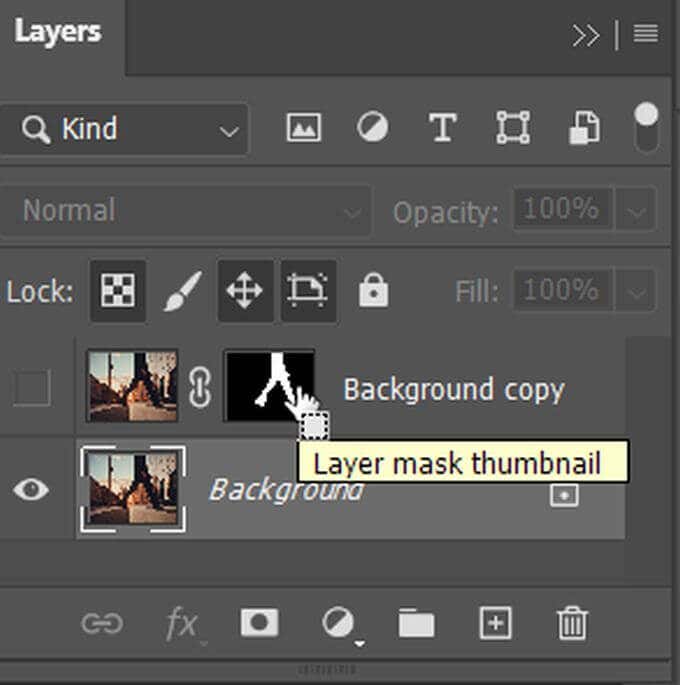
Now, you’ll have two layers. The background layer, and the mask layer with your selection. You can hide the layer with the mask by clicking the eye icon on the left side of the layer. Then, hold down the Ctrl key and click on the hidden layer to see the selection.
Go to Select > Modify > Expand so that the selection goes a bit over the edge of your subject. Now, make sure your background layer is highlighted by selecting it.
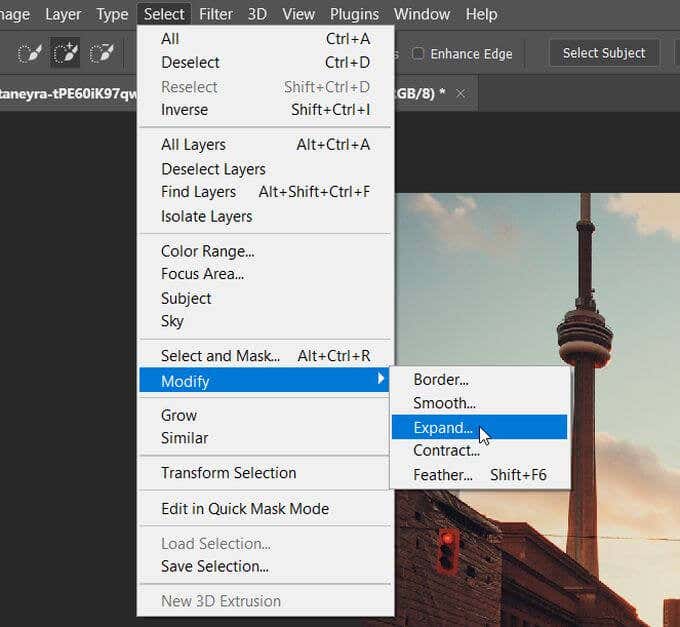
You’ll want to use Content Aware on this selection, which you can do by pressing Shift + Del. In the Contents dropdown, select Content Aware if it’s not chosen already.
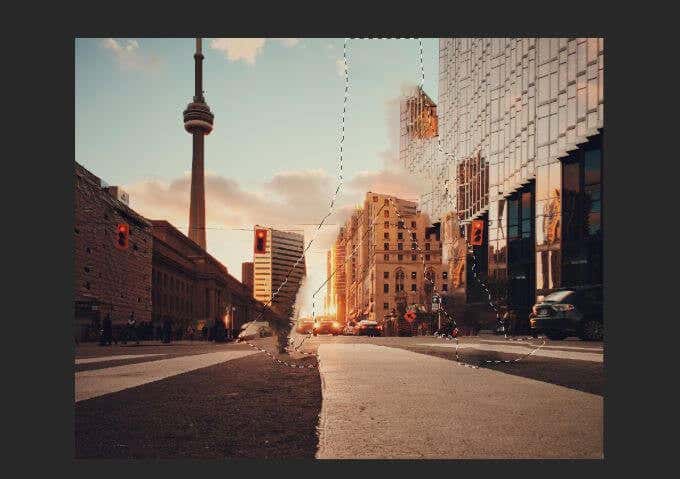
Now, you’ll be able to blur out the background without blurring your subject. Click the eye icon next to your subject layer and you’ll see only the background with the filled-in selection. But make sure your background layer is still highlighted.
Go to Filter > Blur Gallery > Field Blur. On the right side, you’ll see a Blur slider that you can use to change the amount the background will be blurred. You can move the circular pointer in the middle to move where the blur is applied.
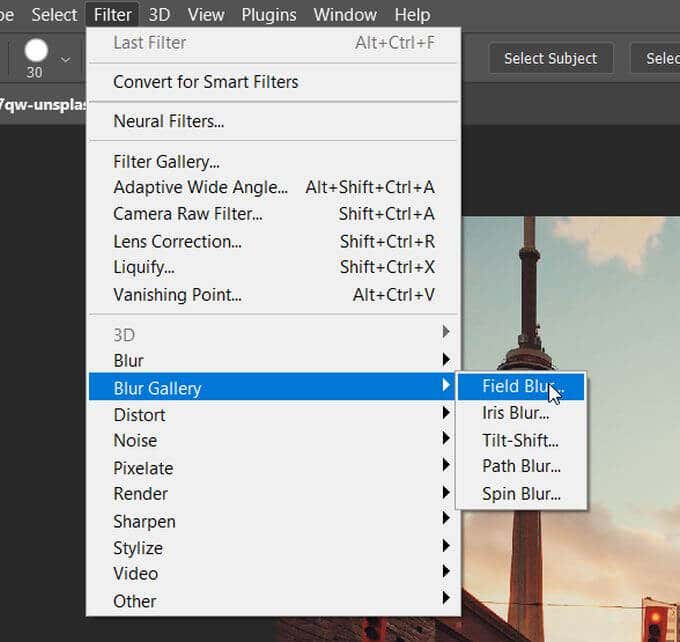
You can also set new pointers with your cursor if you want to blur out only certain areas of the background. Select OK when you’re happy with the resulting blur effect. Now, you can turn the layer back on with your subject and it should stand out much more than before.
How to Blur a Selected Area
Maybe instead of a whole background, you want to blur out just a selected area in an image. This could be for things such hiding people’s faces or sensitive information (street names, phone numbers, etc). This is incredibly easy to do using selection tools.
After opening the image, click on the Marquee tool with whatever shape you want to use, and then make a selection around what you want to blur out. Then go to Filter > Blur > Gaussian Blur.
A window will come up that will let you apply the effect of the Gaussian blur to your selected area. Use the radius slider and move it up to fully blur out the area. Then select OK to apply this blur to the selected area in your image.
Related Posts
- How to Fix App Notifications in Windows?
- Using an Old Device? 5 Account Security Settings You Should Enable
- How to Find Features Moved from Control Panel to Settings in Windows 11?
- How to Back Up Your Android Downloads Automatically?
- Camera Not Working in Zoom or Teams? Quick Fixes for Windows and macOS
Since she was a child, Kayla has had a fascination with technology, video games, and filmmaking. Growing up she wrote on multiple personal blogs about these topics, enjoying the process of breaking down technical concepts. Most recently her focus has shifted to writing, and Kayla now reviews and writes technology, video editing, and gaming related articles. Read Kayla’s Full Bio
