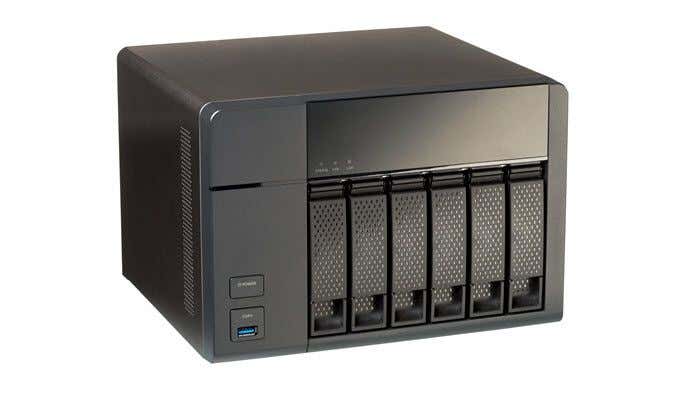
When my father told me that he was running his computer in Raid 0, I was confused as to why he would want such a configuration. To my knowledge, running a Raid configuration was outdated and complicated to set up. Then I did my research.
There are significant advantages to running your computer in a raid configuration. The most common raid configurations for home use are Raid 0 and Raid 1.

Raid 0 gives you better performance, as it focuses on distributing data evenly on multiple drives (instead of using one drive as a backup), significantly increasing read/write speeds of your machine.
Raid 1 gives you better data insurance, as it creates an exact copy of data from one hard drive to another, constructing full redundancy through backups. Setting up your hard drives to run in a Raid configuration is a personal decision based on your setup and you should decide which iteration is best for you. I personally prefer Raid 0, because I prioritize computer speed and performance over data security and redundancy.
Before starting
If you’re planning on implementing a raid setup on your current machine, make sure you create a backup of all of your data, as it will be erased in the process. You will also need Two separate flash drives with enough space for their respective files.
On the first flash drive you will need to download the Raid drivers. You can find those here after you select your machine and model. On the second flash drive you will need to download the windows ISO. You can find that download link here.
It’s possible to install both files to a single flash drive but there have been reports of system instability during startup, so I wouldn’t risk it. Let’s begin.
Setting up Raid 0 or Raid 1
I briefly mentioned the benefits of each iteration of Raid, but with all advantages in life, come their respective disadvantages. Since Raid 0 distributes your data to multiple drives, if a single drive fails, all of the data on the other drives will be gone as well. The disadvantage of Raid 1 is that it’s significantly slower than Raid 0.


That being said, Raid 0 and Raid 1 are both super easy to set up and require basically the exact same setup process. The first thing you’re going to want to do is figure out if your motherboard has a built in Raid controller (most modern motherboards do).

From here you should:
- Connect
the drives you want to use - Boot
up the machine into the BIOs
Once you’re there your screen will look like the one in the picture below. From here you should navigate to your BIOS equivalent of the chipset. This screen will look something like this:

After navigating to your chipset your screen will look like this:

From the chipset screen, you should navigate to SATA Mode and select RAID instead of AHCI.
You have now successfully initialized Raid on your motherboard; simply hit Save & Exit. The computer will restart at this point and will attempt to launch a copy of windows that isn’t there anymore.
Simply press and hold Ctrl + R to launch the Raid controller user interface (Ctrl +R for AMD, this combo may vary for your setup). At this point your screen should look something like this:

After reaching this point you should select Create Array then select the drives you want to use for the raid configuration. The drives available will be listed on the right-hand side under Disks. Use the A or Ins key to select the drives and hit enter when you’re finished configuring the disks.
After you’ve done this your screen will look like this:

From here you can decide which configuration you want to select. I personally selected Raid 0 but the choice is yours. After this you will choose the size of the array you want to build.
I just kept the default setting of using All Available Space for my raid drives. After this you will select the caching mode, I have kept the default caching system Read/Write. This will look something like this:

After configuring it to your liking simply press C to create your array. Press Esc and Y to restart your system with your new Raid configuration.
After rebooting, navigate back to your BIOS and select your new raid configuration for the boot disk. Before hitting Save & Exit Your screen should look something like this:

After doing this your machine will restart again. Allow it to go through the normal startup process. It will prompt you of a driver error at which point your screen should look like this:

If you haven’t done so already, plug in the flash drive that contains your Raid Drivers and the flash drive that contains your Windows ISO, navigate to the drive and folder where the driver is stored and hit OK. Your screen should look like this:

Select the drivers you need for the installation then click on Next. After doing this your screen will prompt you to select the drive you want to install your new Windows 10 Operating system on then click on Next again. Your screen will look like this:

Your operating system will now begin installing. From here, you should be completely set up in whichever raid configuration (0 or 1) you chose. If you have any questions or if you need further elaboration on a specific part of the process let me know and I will get back to you immediately!
Enjoy the world of redundant arrays of independent disks (RAID).
Related Posts
- How to Repair a Corrupted User Profile in Windows 11
- Preparing for Windows 10 End of Support: Upgrading to Windows 11
- How to Access and Change Your WiFi Router Settings (2025 Edition)
- How to Install the Latest Large Language Models (LLMs) Locally on Your Mac
- How to Find Circular References in Microsoft Excel