In the desktop publishing application Adobe InDesign, if you’re working with a long or complex document—or even a single-page document with multiple design elements—chances are you’ll want to link your text boxes. Since the length of the text in any document could be liable to change, it’s important to allow for those changes so you don’t have to completely redesign the document’s layout.
Imagine you’re laying out a magazine article. In this walkthrough, we’ll show you how to link text frames so text flows seamlessly from one frame to the next, even if you insert additional text somewhere in the article. These instructions should work for all versions of Adobe InDesign, including CS5.5, CS6, and InDesign CC, which is part of Adobe’s Creative Cloud.
Get Your InDesign Vocab Down
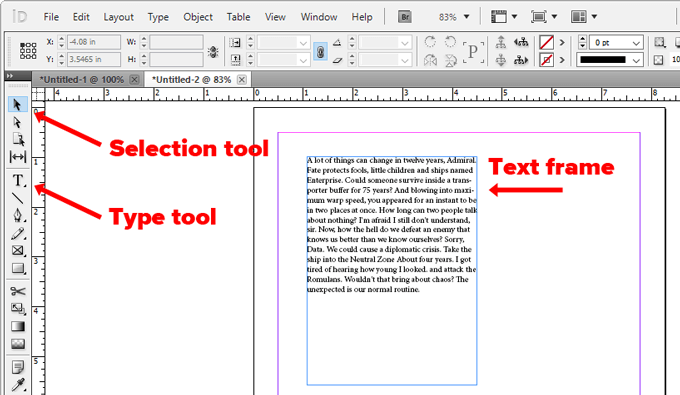
A text frame is one of the basic building blocks of InDesign projects. (The terms text frame and text box can be used interchangeably. QuarkXPress users especially will be used to calling them text boxes.) Any text you add to your document lives in a container called a text frame or text box. You can move and resize text frames, and you can change things like the number of columns in the frame or the spacing of the margins between the text frame and the text inside the frame.
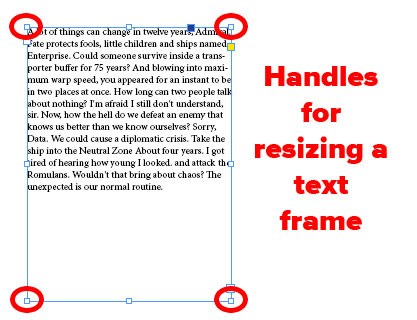
To create a text frame, use the Type tool. (It’s the tool that looks like a T.) Click and drag it across the page to create the text frame. Then use the Selection tool (the black arrow) to resize the text frame you created by selecting and dragging the square handles on each corner of the frame.
Now, think about the layout of your document. You’ll want the text to flow from one text frame to another either in a different section of the document or on another page entirely. When you connect two or more text frames, that’s called threading or linking text frames. A set of linked or threaded text frames is called a story.
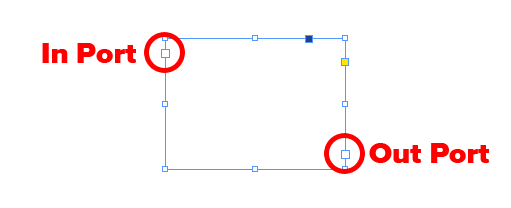
Every text frame has an in port and an out port. You’ll use those ports to link text frames. When you select a text box, you’ll see a square at each corner of the frame. You can drag those handles with the Selection tool to resize the frame. You’ll also see slightly larger squares near the top-left and bottom-right corners. The larger square at the top-left is the in port. The one at the bottom-right is the out port.
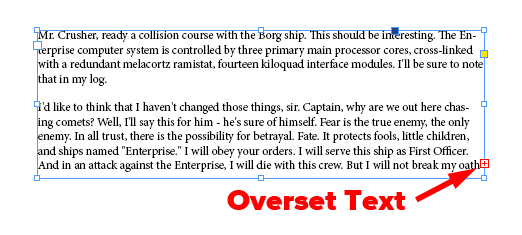
If there’s a red plus sign in the out port of a text frame, that means the frame isn’t big enough to display all the text in the frame and you’ve got some overset text.
How to Add a New Text Frame to a Thread
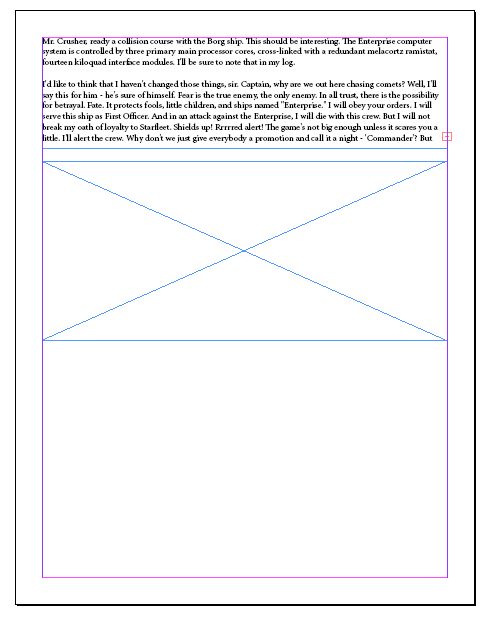
Now that you have the jargon down, take a look at the image below. Note the red plus icon telling you that the frame has overset text. Let’s flow the overset text in that frame into a new text frame at the bottom of the page.
- With the Selection tool (the black arrow), select the out port of the text frame with overset text.
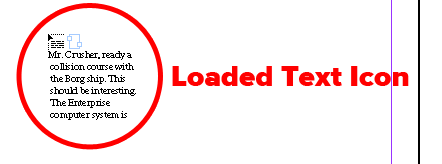
- That will load a text icon. (This is also called a text cursor because your cursor will look like a block of text.)
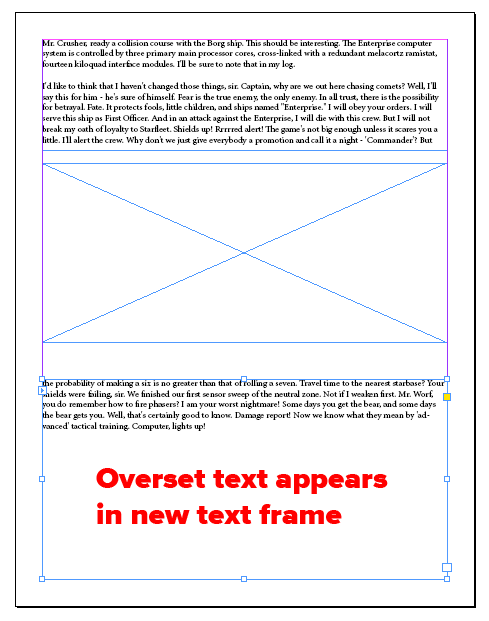
- Now click or drag the text icon in an empty area to create a new text frame containing the offset text.
If you change your mind after you’ve started to link two text frames, you can always cancel by pressing the Escape key or by selecting any other tool in InDesign’s toolbox. Don’t worry, you won’t lose any text if you do this.
How to Add an Existing Frame to a Thread
What if you have an existing frame filled with text, and you want to add it to a thread? In that case, follow these steps.
- With the Selection tool, select the text frame.
- Next, select the in port (to link to a frame before the selected frame) or out port (to connect to a frame after the selected frame). That will load a text icon.
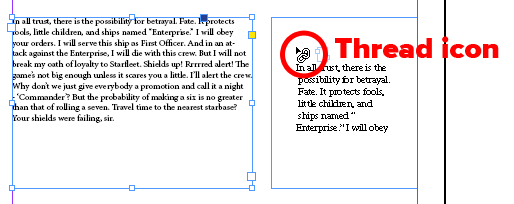
- Hover the loaded text icon over the frame you want to link to. You’ll see the loaded text icon change to the thread icon.
- Now click inside the frame you want to link to, threading it to the first frame.
The existing frame is now part of the threaded story.
How to Add a New Text Frame to the Middle of a Thread
The process for adding a new text frame to the middle of a sequence of threaded frames is very similar.
- With the Selection tool, select the out port of the frame in the story where you want to insert a frame.
- Release the mouse button, and you’ll see the loaded text icon.
- Next, either drag to create a new text frame or select a different frame. That frame will be inserted into the thread of linked frames containing your story.
How to Unthread Text Frames
If you want to break the link between a text frame and all the other text frames in the thread that comes after it, you can use one of these methods.
Easy Method to Unthread Text Frames
With the Selection tool, double-click in an in port or out port. Told you it was easy!
Alternative Method for Unthreading Text Frames
Here’s another way to unthread text frames.
- With the Selection tool, single-click on an in port or out port that’s already linked to another frame.
- You’ll see the loaded text icon.
- From there you can hover the loaded text icon over the previous or next frame. Now you’ll see the unthread icon.
- Finally, click inside the frame you want to remove from the thread.
How to Delete a Text Frame from a Thread
Let’s say you have three threaded text boxes, and you want to remove the middle frame.
- With the Selection tool, select the frame you want to delete. (Hold down Shift to select multiple frames.)
- Press Backspace or Delete.
Deleting a frame in a thread won’t delete the text that was contained in that frame because text frames are just containers. Instead, the text flows into the next frame in the thread. If there isn’t another frame in the thread, then you’ll see the overset icon.
Take Advantage of InDesign’s Features
If you’re new to InDesign, take some time to learn about its features. Learning about tools like master pages will help you design documents more quickly and with fewer mistakes. You won’t regret it.
Related Posts
Maggie Marystone is a freelance technology writer, human rights worker, and storyteller based in Chicago. Read Maggie’s Full Bio
