Making a Chrome extension is a fairly straightforward process. When you’re done, you’ll be able to use it on your computer to enhance how the browser works.
There are some basic components that the browser requires before the extension can be fully operational. We’ll go over all of this below, including how to get your custom extension to work in Chrome without the need to upload it or share it with anyone else.
Building a complex Chrome extension is a process much more detailed than what you’ll see below, but the general process is the same. Keep reading to learn how to make a Chrome extension that you can start using today.
Tip: To see how awesome your own extension could be, check out these amazing Chrome extensions.
How to Make a Chrome Extension
Using this guide, you’ll make a simple Chrome extension that lists some of your favorite websites. It’s fully customizable and really easy to update.
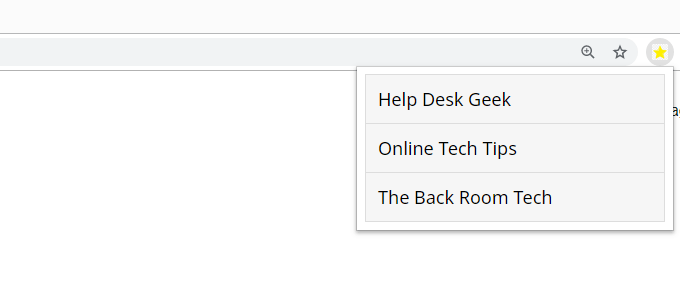
Here’s What To Do:
- Make a folder that will hold all the files that make up the extension.
- Create the base files that this extension requires: manifest.json, popup.html, background.html, styles.css.
- Open popup.html in a text editor and then paste all of the following in there, making sure to save it when you’re finished.
<!DOCTYPE html>
<html>
   <head>
      <meta name="viewport" content="width=device-width, initial-scale=1">
      <title>Favorite Sites</title>
      <link rel="stylesheet" type="text/css" href="styles.css">
   </head>
<body>
   <ul id="myUL">
      <li><a href="https://helpdeskgeek.com/" target="_blank">Help Desk Geek</a></li>
      <li><a href="https://www.online-tech-tips.com/" target="_blank">Online Tech Tips</a></li>
      <li><a href="https://thebackroomtech.com/" target="_blank">The Back Room Tech</a></li>
   </ul>
</body>
</html>
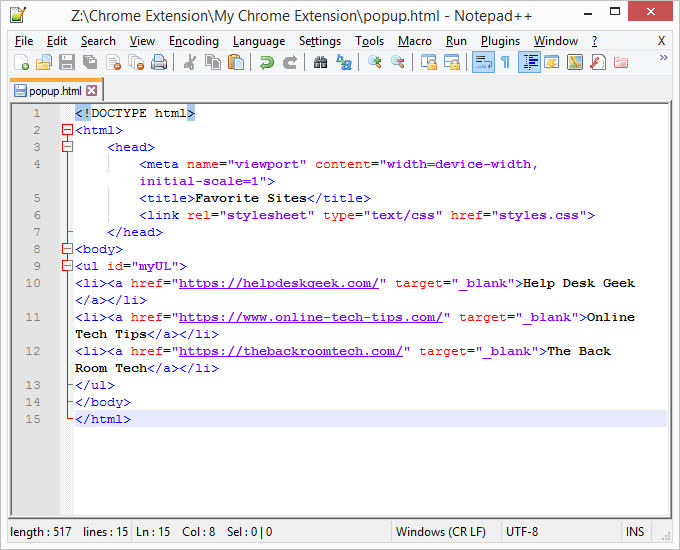
Feel free to edit the links and link text, or if you want to make the Chrome extension exactly how we are, just keep everything the same.
- Open manifest.json in the text editor and copy/paste the following:
{
“update_url”: “https://clients2.google.com/service/update2/crx”,
“manifest_version”: 2,
“name”: “Favorite Sites”,
“description”: “All my favorite websites.”,
“version”: “1.0”,
“icons”: {
“16”: “icon.png”,
“32”: “icon.png”,
“48”: “icon.png”,
“128”: “icon.png”
},
“background”: {
“page”:”background.html”
},
“browser_action” : {
“default_icon” : “icon.png”,
“default_title” : “Favorite Sites”,
“default_popup”: “popup.html”
}
}
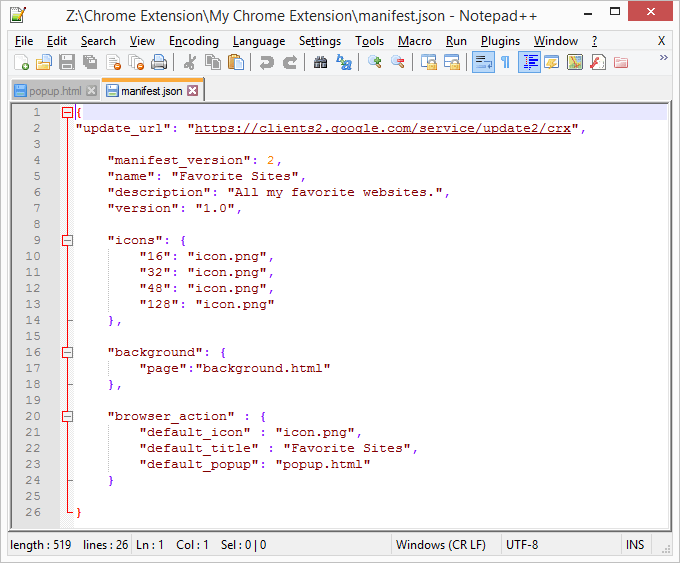
The edible areas of this code include name, description, and default_title.
- Open styles.css and paste the following code. This is what decorates the popup menu to make it much more appealing to look at and even easier to use.
#myUL {
list-style-type: none;
padding: 0;
margin: 0;
width: 300px;
}
#myUL li a {
border: 1px solid #ddd;
margin-top: -1px;
background-color: #f6f6f6;
padding: 12px;
text-decoration: none;
font-size: 18px;
color: black;
display: block;
font-family: ‘Noto Sans’, sans-serif;
}
#myUL li a:hover:not(.header) {
background-color: #eee;
}
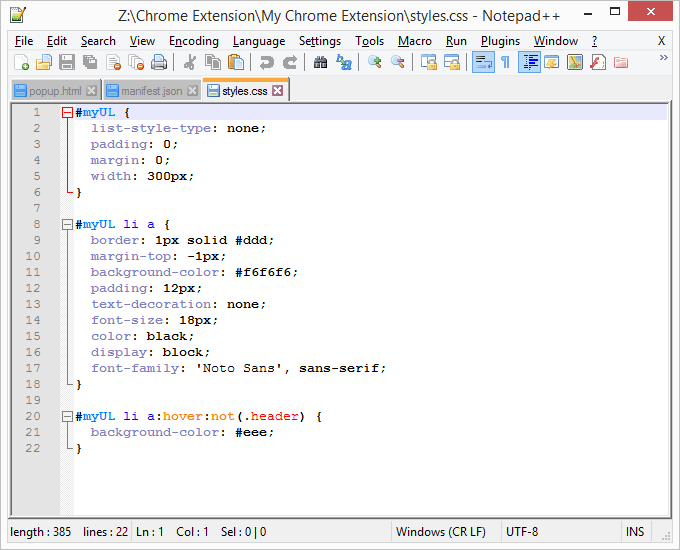
There’s a lot you can change in the CSS file. Play around with these options after making your Chrome extension to customize it to your liking.
- Create an icon for the extension and name it icon.png. Place it in your Chrome extension folder. As you can see in the code above, you can make a separate icon for those sizes: 16×16 pixels, 32×32, and so on.
Tip: Google has more information on creating Chrome extensions. There are other examples and advanced options that go beyond the simple steps we’ve shown here.
How to Add a Custom Extension to Chrome
Now that you’ve made the Chrome extension, it’s time to add it to the browser so that you can actually use all of the files you just made. Installing a custom extension involves a procedure that’s different than how you’d install a normal Chrome extension.
- From the Chrome menu, go to More tools > Extensions. Or, type chrome://extensions/ in the address bar.
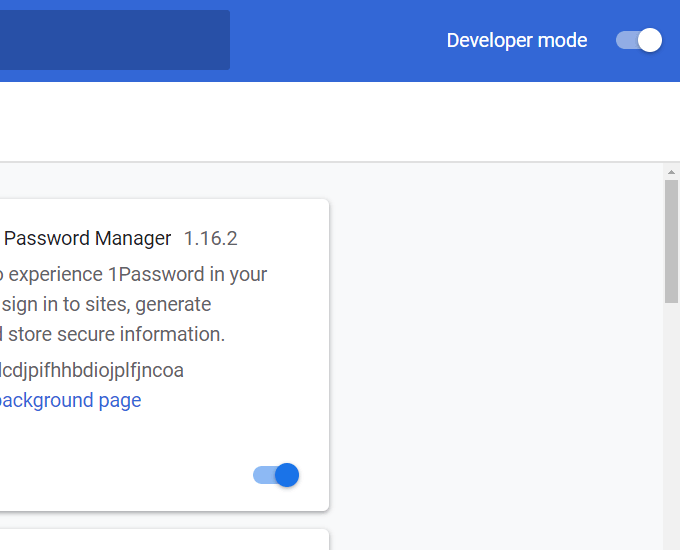
- Select the button next to Developer mode if it isn’t already selected. This will turn on a special mode that lets you import your own Chrome extensions.
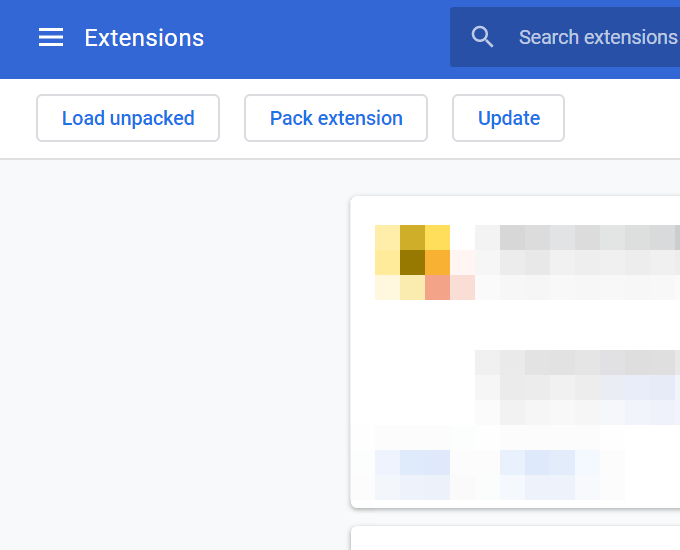
- Use the Load unpacked button at the top of that page to select the folder you made during Step 1 above.
- Accept any prompts if you see them. Otherwise, your custom-built Chrome extension will show up along with any other ones you have at the top right corner of the browser.
Editing Your Chrome Extension
Now that your Chrome extension is usable, you can make changes to make it your own.
The styles.css file controls how the extension appears, so you can adjust the overall list style and change the font color or type. W3Schools is one of the best resources to learn about all the different things you can do with CSS.
To switch up the order the websites are listed in, or to add or more sites or remove existing ones, edit the popup.html file. Just be sure to keep your edits to only the URL and name. All the other characters, like <li> and <html>, are required and shouldn’t be changed. HTML Tutorial on W3Schools is a good place to learn more about that language.