A VPN (Virtual Private Network) is an online service that creates a secure connection over a less-secure network, such as the internet. It encrypts your online activity from your computer to the VPN server as you browse the internet. This can keep your information much safer and provides an array of benefits, such as hiding your IP address and private data.
When you first set up your VPN, you might wonder if it’s turned on and working to protect your privacy. Unfortunately, sometimes things can go wrong with a VPN, causing your information to leak. Thankfully, there’s a way to test if this so you can remedy the problem. In this article, we’ll show you how to test your VPN and make sure it continues to protect your data.
How to Check For IP Address Leaks
See whether your VPN connection is working. Turn your VPN on; it should hide your IP address. It does this by changing the IP address to one in another location. So, to see if your VPN is working, you can check your IP address online.
- If your VPN is already on, turn it off.
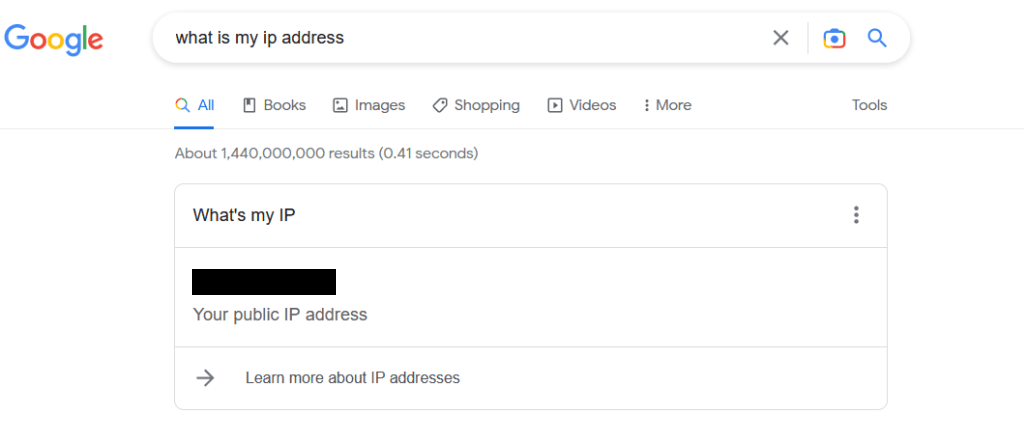
- Go to Google and search “What is my IP address.” Note down the IP address you see, as this is your true IP address.
- Turn your VPN on.
- Go to Google and search for your IP address again. It should be different from the one you saw before. If not, that means your IP address is not being hidden.
If you find that your VPN isn’t hiding your IP address, there may be a few reasons. The first thing you can do is switch the server location in your VPN. This will give you a new VPN IP address which may fix the issue.
Secondly, it’s possible that your VPN isn’t hiding your IPv6 address but does hide your IPv4 address. Your computer uses these different connection types to access the internet. If you have IPv6 enabled and are accessing a website with it enabled, yet your VPN doesn’t hide this, it can cause your IP address to leak.
The fix is finding a VPN that hides IPv6 traffic and IPv4. You could also alternatively disable IPv6 on your device. However, finding a secure VPN provider covering all these bases is crucial to get your money’s worth and adequately protecting your privacy.
How to Check For DNS Leaks
Another aspect of your privacy you’ll want to ensure your VPN is protecting is the DNS, or domain name system, you’re using to access websites. The DNS server or servers you use can reveal the general geographic area where you’re located, similar to your IP address when your computer sends DNS requests. Your internet service provider can also see the websites you visit through this information. However, not all VPNs cover up DNS information, which could be a potential security risk.
Follow these steps to check if your VPN keeps this information safe.
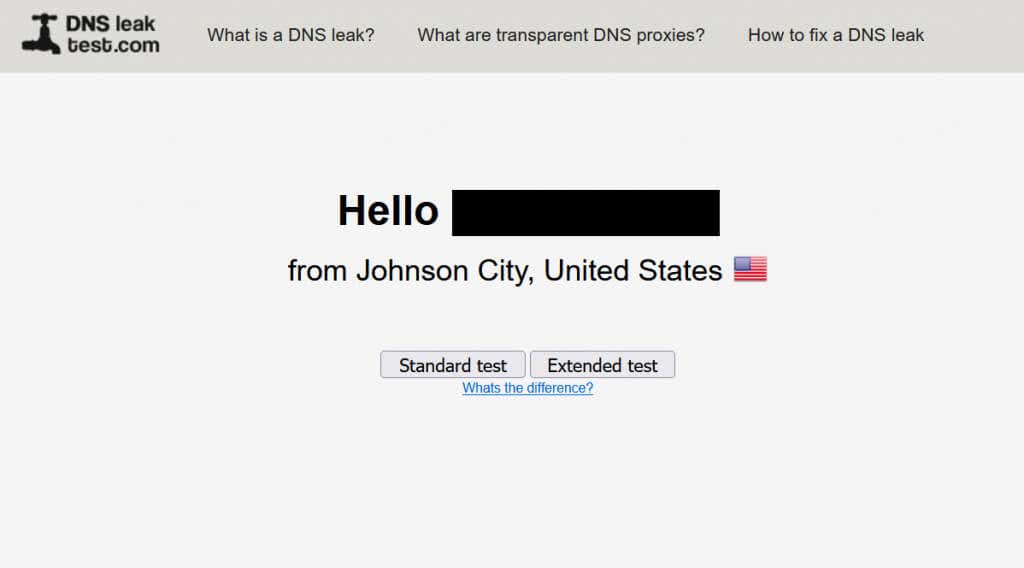
- Head to DNSLeakTest with your VPN on.
- Check to see if your IP address is your real one. If so, your VPN is leaking this info. If not, continue and select Extended Test.
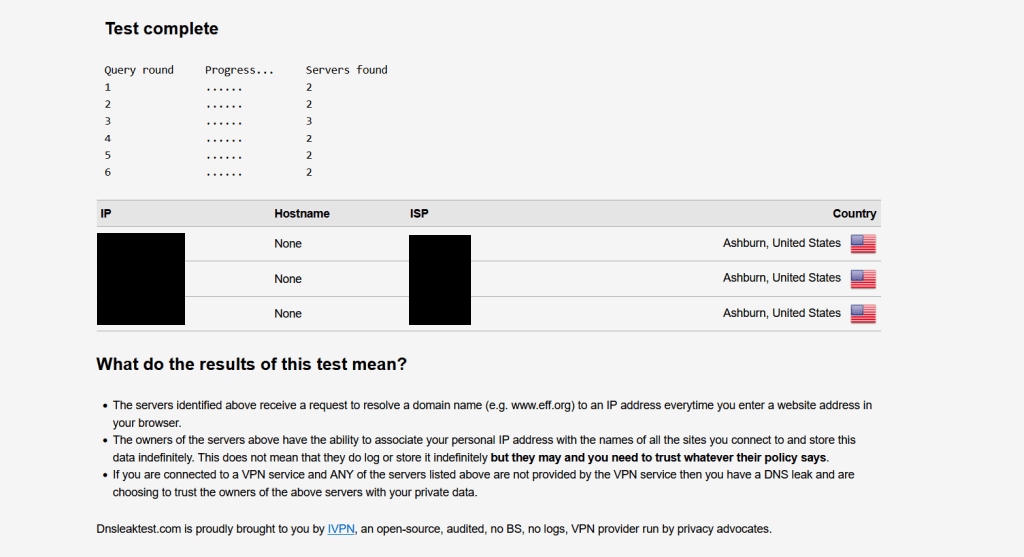
- After the test is finished, see if the DNS server information matches up with your ISP. If it does, then your VPN is not protecting DNS information.
You will know if your VPN is protecting DNS information if the server information matches what you are using on your VPN. If not, it’s likely that your VPN doesn’t cover up this data.
How to Do a WebRTC Leak Test
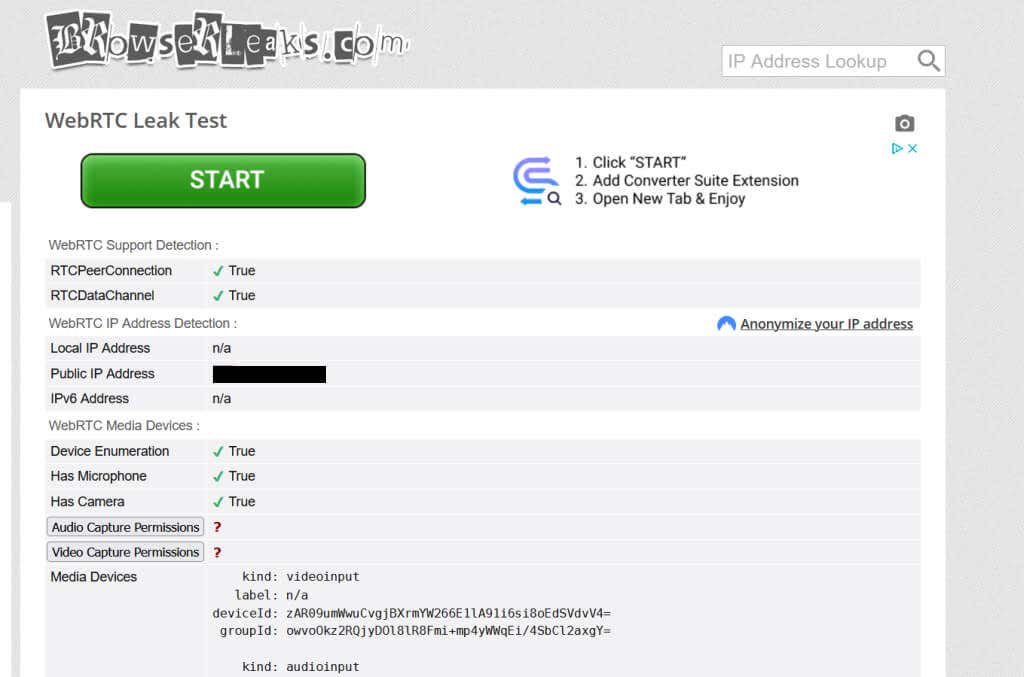
The last thing you’ll want to check for in your VPN is potential WebRTC, or Web Real-Time Communication, leaks. When you connect to a website that provides features such as live streaming or file sharing, WebRTC allows this to happen. If a leak happens here, your IP address will be revealed when WebRTC requests occur in your chosen web browser.
To complete a WebRTC leak test, follow this process.
- Go to BrowserLeaks with your VPN on.
- Next to Public IP Address, check to see if it’s your real IP address or not.
- If the IP address provided by the site is different from your real one, that means your VPN is working to protect from WebRTC leaks.
If you still see your real IP address here, your VPN isn’t securing this WebRTC info. There are many different ways to remedy this issue, depending on your browser.
On Chrome, you can download a browser extension that limits WebRTC, such as WebRTC Network Limiter.
On Firefox, you can go into advanced settings by searching for “about:config” in your URL bar and then media.peerconnection.enabled and double click this to change it to read “false”. You can also alternatively switch to a VPN which provides these protections.
Make Sure Your Privacy Is Protected With Your VPN
If you’re using a VPN to keep your information secure, you’ll want to confirm that your service can do so. Besides changing your IP address, there are a few other areas where your information could get leaked if your VPN isn’t covering it up. Thankfully it’s easy to check if the VPN you’re using provides these protections.
When choosing a VPN, make sure you read up on potential choices as much as possible to ensure you’re getting true protection of your privacy. Especially if you’re paying good money for your VPN service, it’s important to ensure that it’s delivering on all fronts.
Related Posts
- How to Repair a Corrupted User Profile in Windows 11
- Preparing for Windows 10 End of Support: Upgrading to Windows 11
- How to Access and Change Your WiFi Router Settings (2025 Edition)
- How to Install the Latest Large Language Models (LLMs) Locally on Your Mac
- How to Find Circular References in Microsoft Excel
