Microsoft Windows Search Indexer, or searchindexer.exe, is a crucial process that powers Windows Search. It indexes the files and folders on your computer and, given its nature, consumes lots of CPU at sporadic intervals. However, if CPU usage remains high for prolonged periods, it may indicate an underlying problem that needs to be addressed.
In this tutorial, we’ll show you how to tackle high CPU and disk usage caused by the Windows Search Indexer with various suggestions and solutions for Windows 10 and 11.
Restart Windows Search Service
It’s best to begin by restarting Windows Search on your computer. That should resolve minor technical issues and reduce high CPU usage caused by the searchindexer.exe process. To do that:
- Right-click the Start button and select Run. Or, press Windows + R.
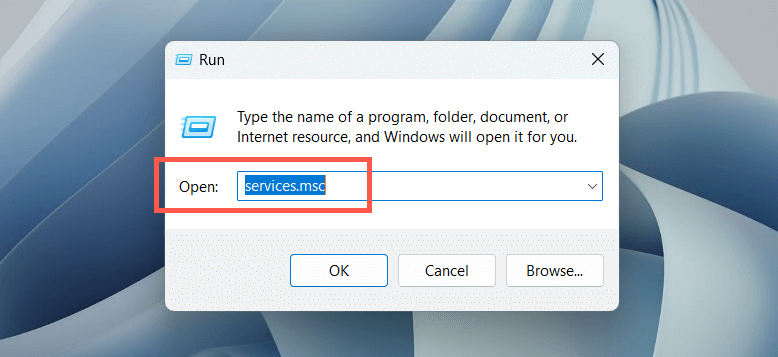
- Type services.msc into the Run Box’s Open field and select OK.
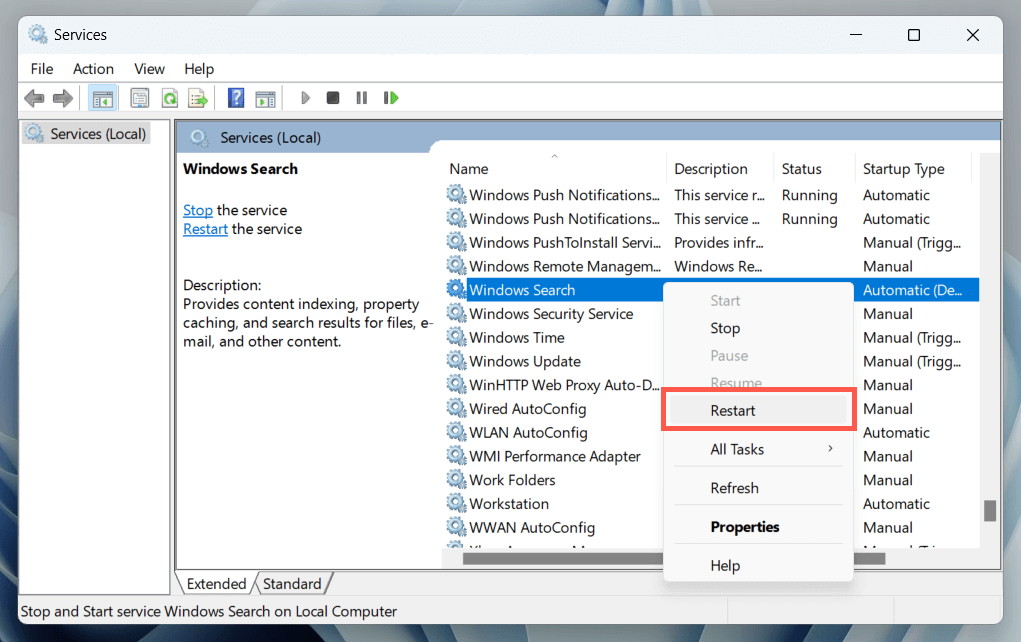
- Right-click the service labeled Windows Search and select Restart.
Optionally, double-click Windows Search and ensure that Startup type is set to Automatic (Delayed Start).
Restart Your PC
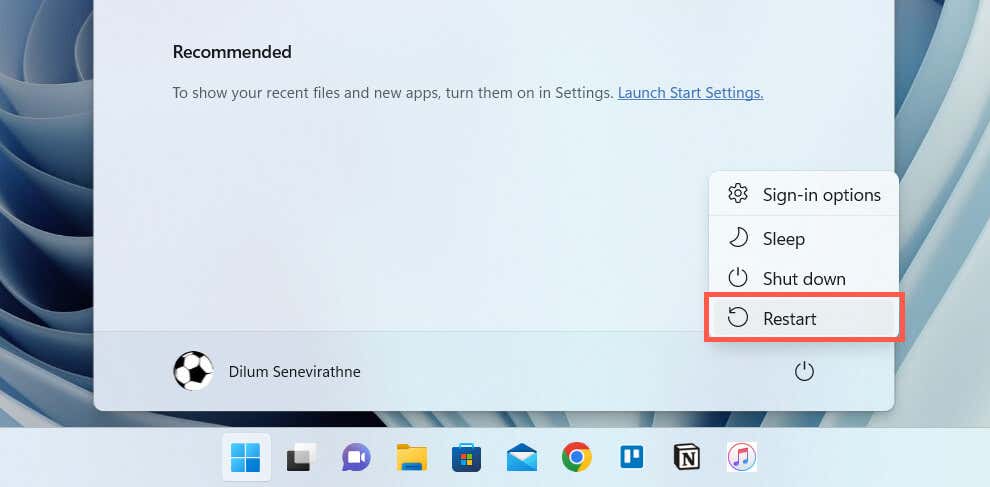
A PC reboot clears out additional software-related anomalies that interfere with system-related processes. Save your work, open the Start menu, and select Power > Restart. If that makes no difference, move on with the rest of the fixes.
Run Search and Indexing Troubleshooter
Windows 11 and 10 have a built-in troubleshooter that helps diagnose and fix issues related to Windows Search. To run it:
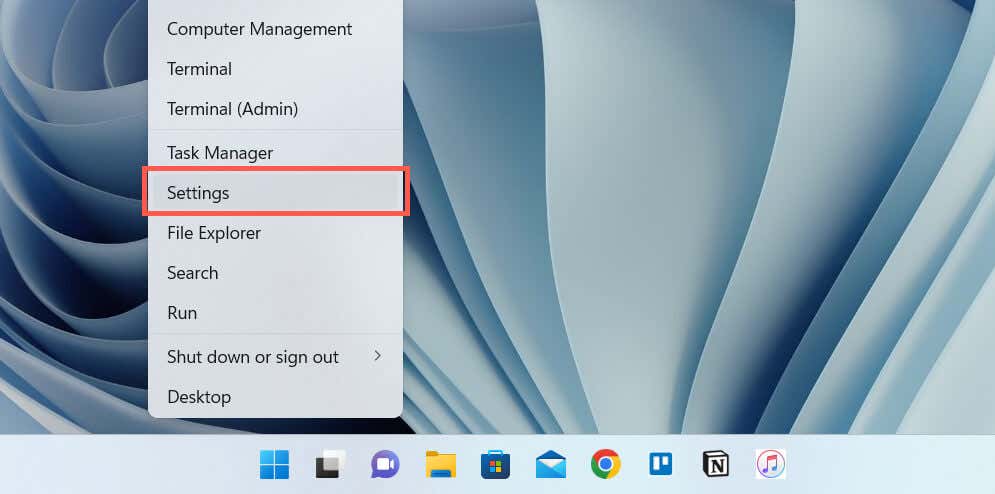
- Right-click the Start button and select Settings.
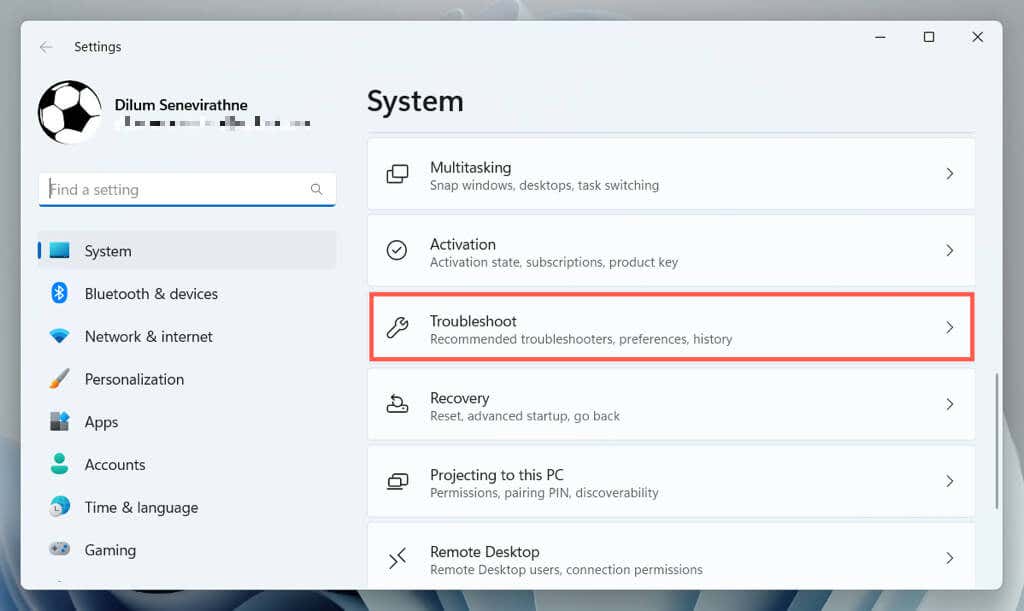
- Go to System > Troubleshoot.
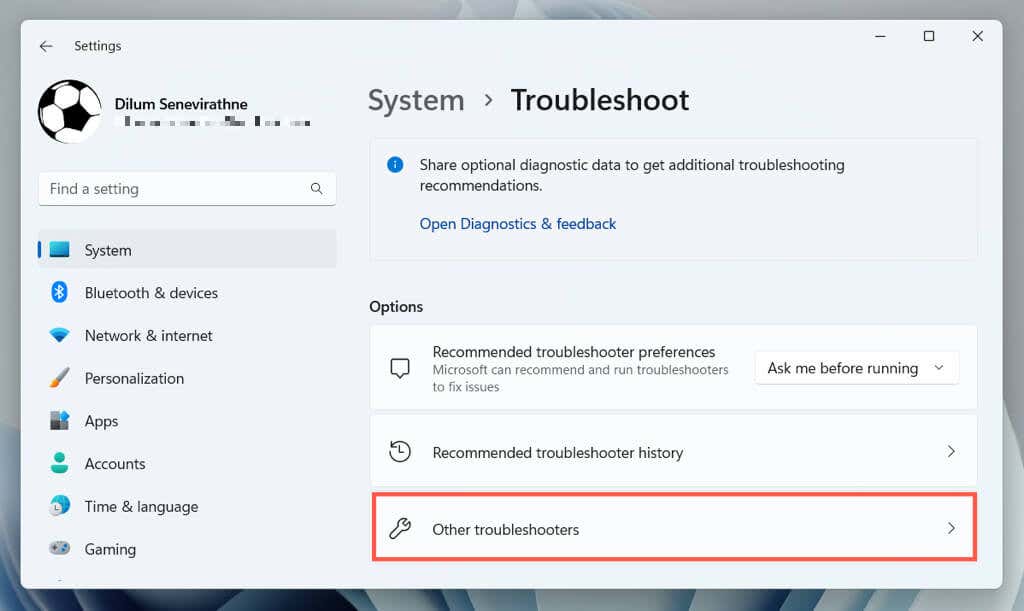
- Select Other troubleshooters/Additional troubleshooters.
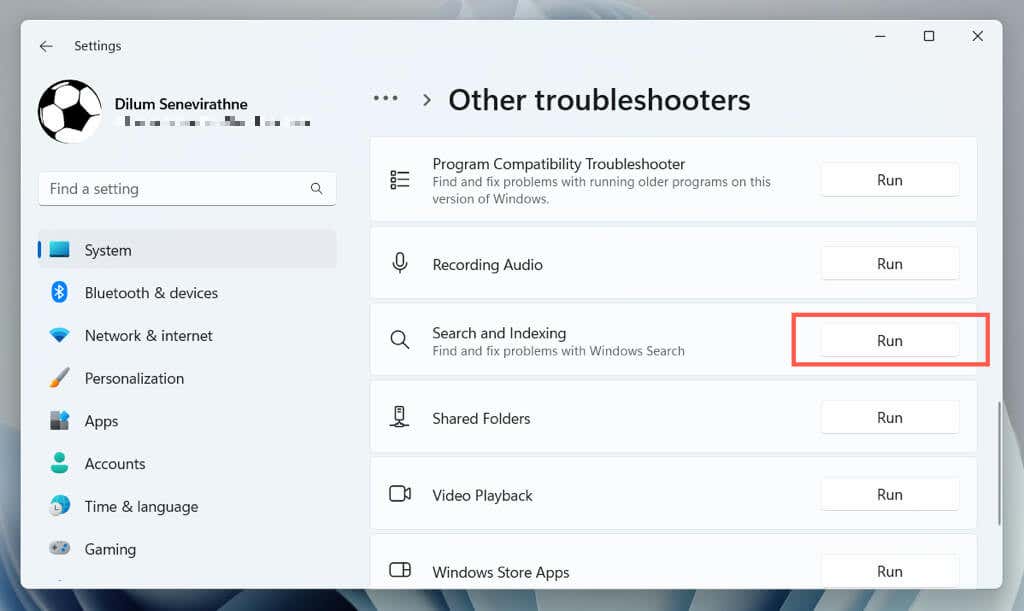
- Select Run next to Search and Indexing.
- Follow the onscreen prompts to fix issues with Windows Search.
Rebuild Index
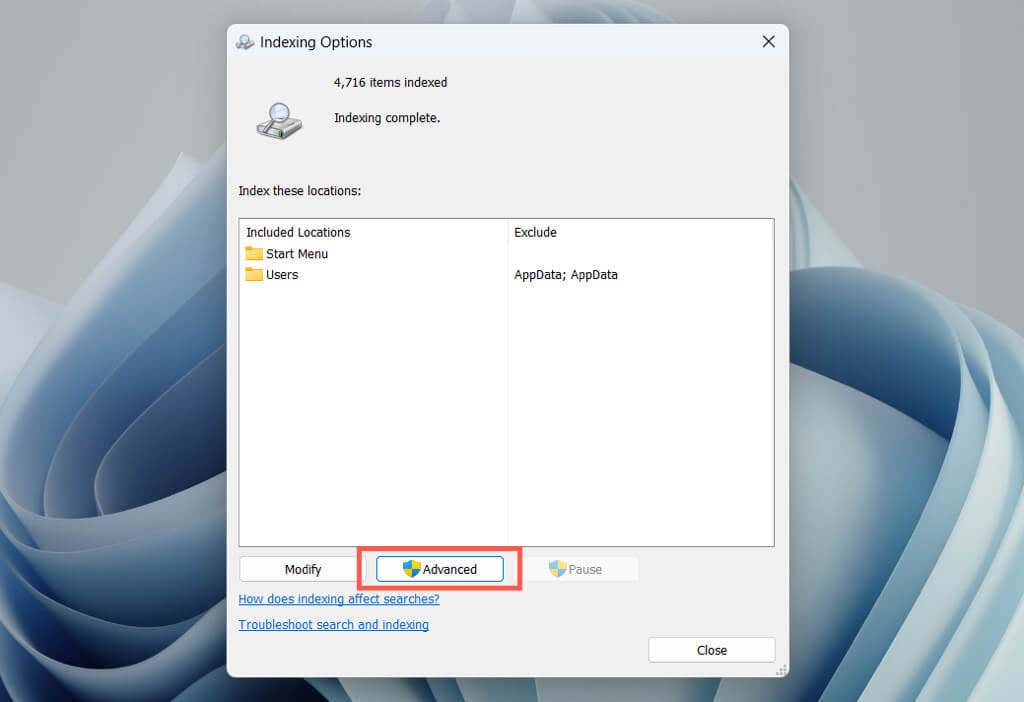
Corruption issues within the Windows Search index often lead to erratic behavior with related processes. Use the Control Panel‘s Indexing Options console to rebuild the index from scratch.
Note: Rebuilding the search index takes time and causes high CPU and HDD/SSD usage for the duration of the procedure.
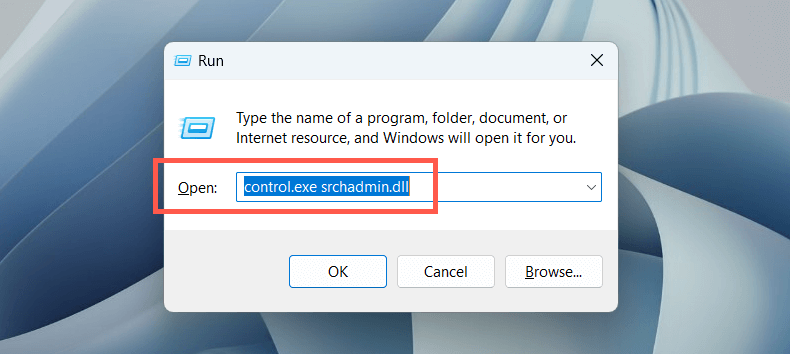
- Open a Run box, type control.exe srchadmin.dll, and select OK.
- Select the Advanced button at the bottom of the Indexing Options window.
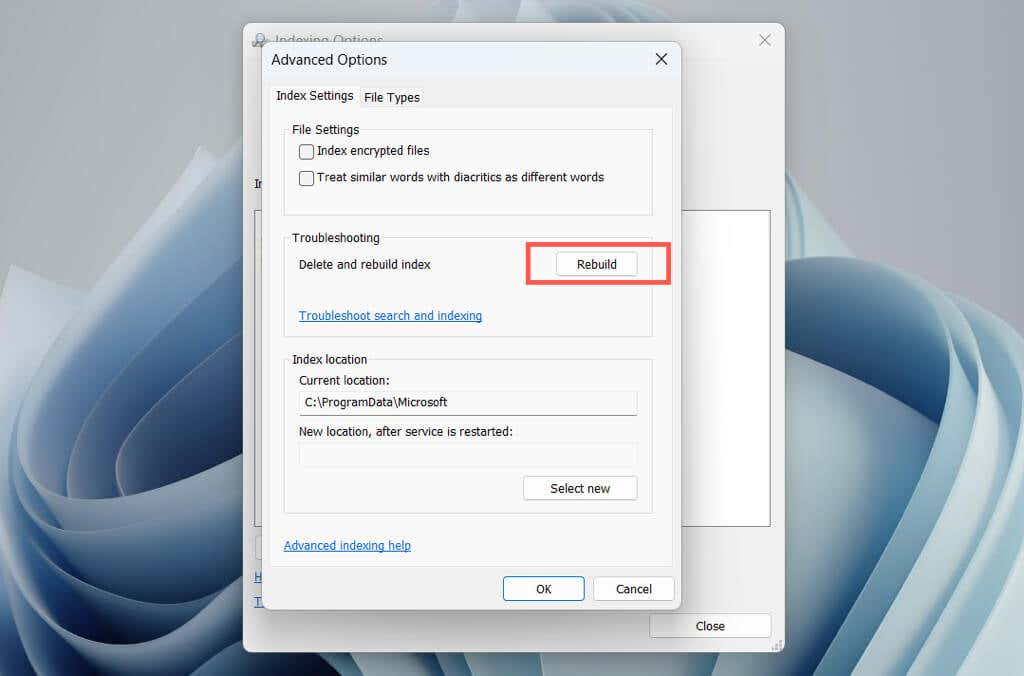
- Select Rebuild.
Note: Removing locations you don’t want to include within Windows Search can lessen the load on the searchindexer.exe process. Select the Modify button on the Indexing Options console and uncheck the indexed locations you wish to exclude.
Update Windows
Keeping your Windows operating system up to date with the latest patches and updates can help resolve high CPU usage issues with the Windows Search Indexer process. This also helps improve system performance, security, and stability.
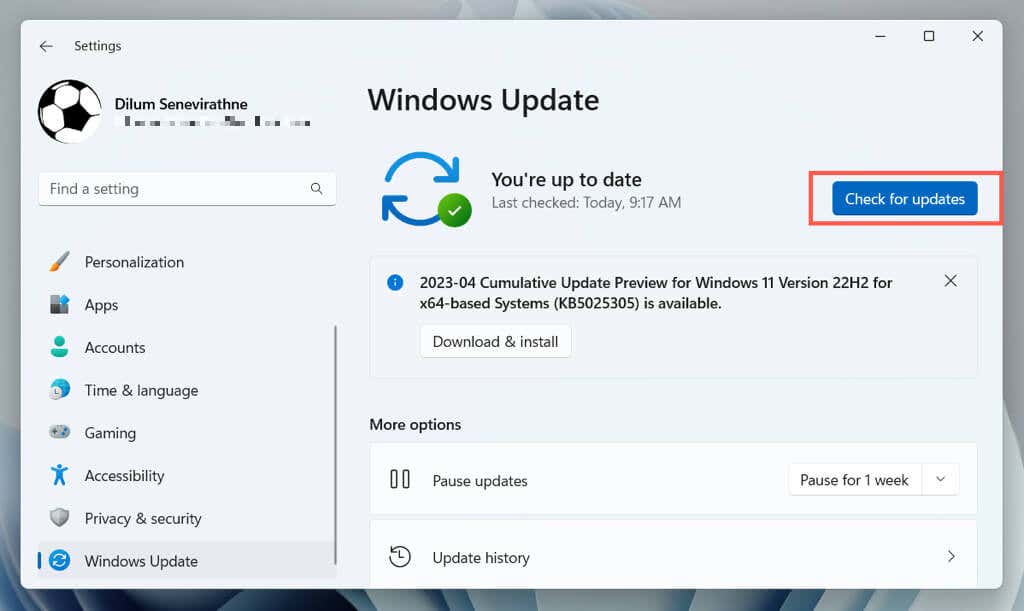
To update Windows, open the Settings app, select Windows Update, and select Check for updates. If there are pending updates, choose Download and install.
Run an SFC Scan
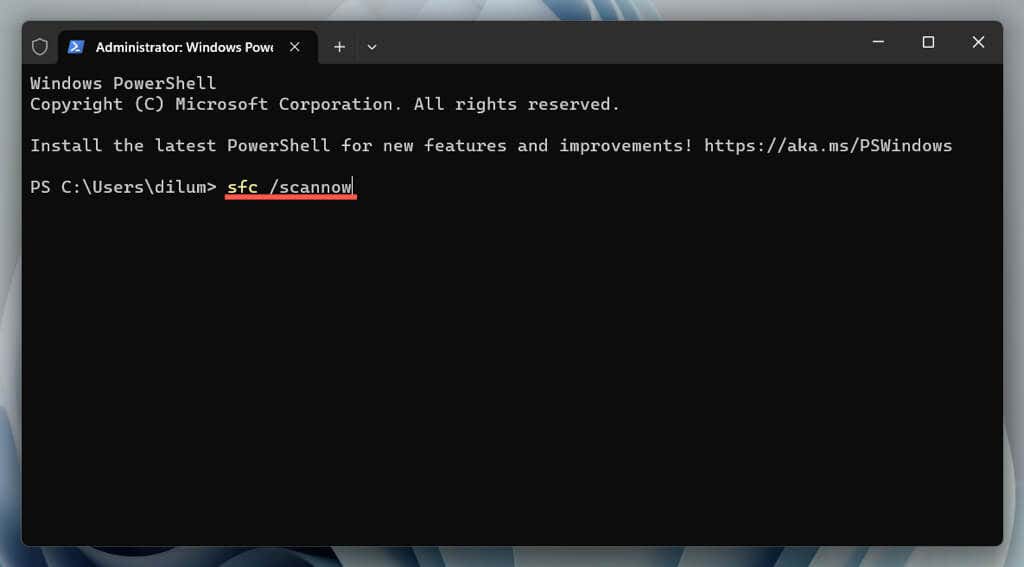
The System File Checker (SFC) is a command line tool that can help fix system file corruption issues causing the Windows Search Indexer to malfunction. You can run it via an elevated Windows PowerShell or Command Prompt console. Here’s how:
- Right-click the Start menu and select Windows PowerShell/Terminal (Admin). Or, type cmd into the Start menu and choose Run as administrator.
- Run the following command:
sfc /scannow
- Wait until the System File Checker scans for and fixes Windows.
Run DISM Tool to Fix Windows
Next, run the DISM (Deployment Image Servicing and Management) tool to resolve issues with operating system stability. Just re-open an elevated Windows PowerShell or Command Prompt console and execute the following command:
DISM.exe /Online /Cleanup-Image /Restorehealth
Perform a Clean Boot
Clean booting Windows helps you identify third-party applications or services causing conflicts with the Windows Search Indexer. To do that:
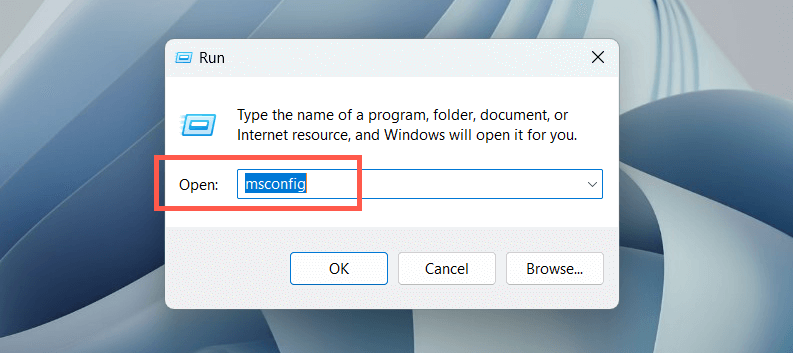
- Open a Run box, type msconfig, and select OK.
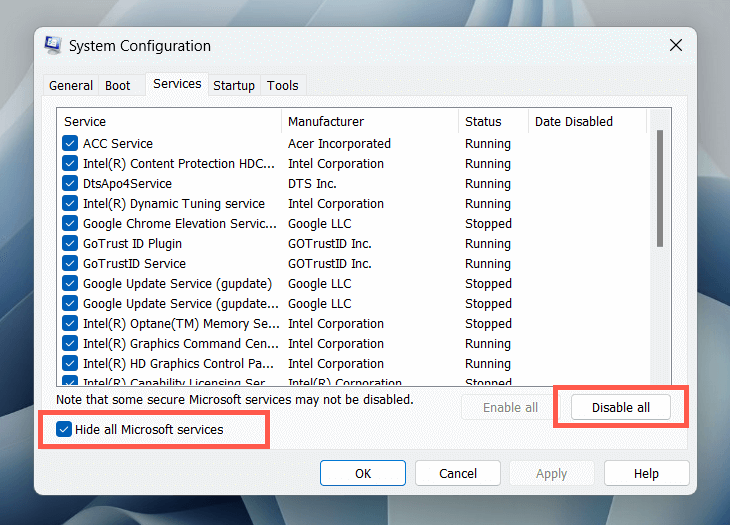
- Switch to the Services tab, select Hide all Microsoft services, and choose Disable all.
- Restart your computer. If the Microsoft Windows Search Indexer’s high CPU usage stops becoming an issue, re-enable the disabled services individually or in batches to identify the conflicting item.
Additionally, open the Task Manager, disable any non-Microsoft login items from the Startup tab, and check if that helps.
Check for Malware
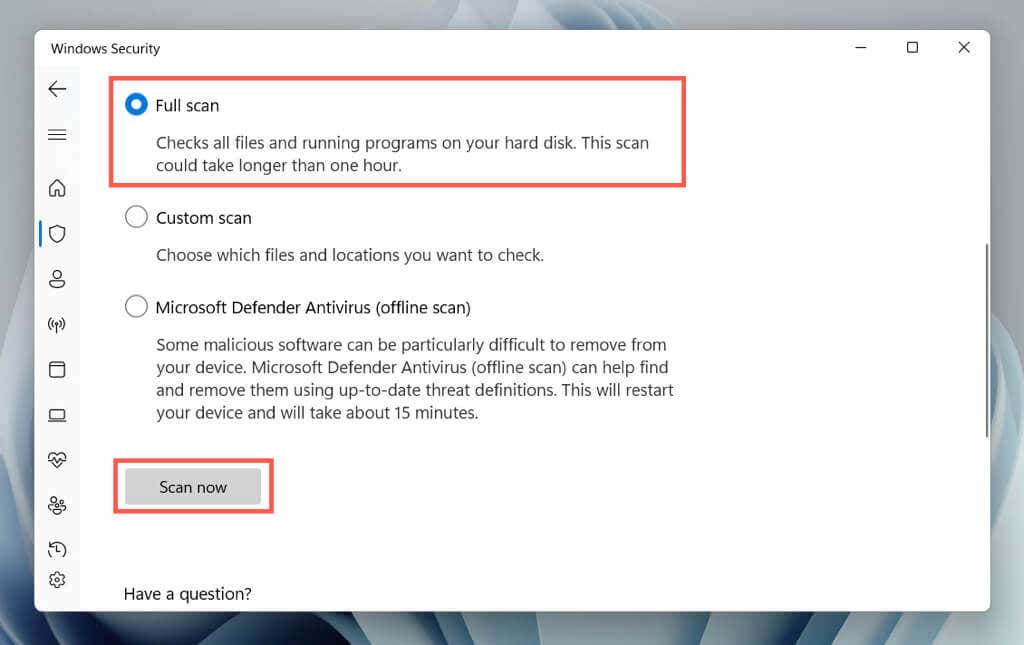
Malware can hijack the Windows Search Indexer and result in high CPU usage. Run a full system scan to detect and remove malicious software from your system. To do that:
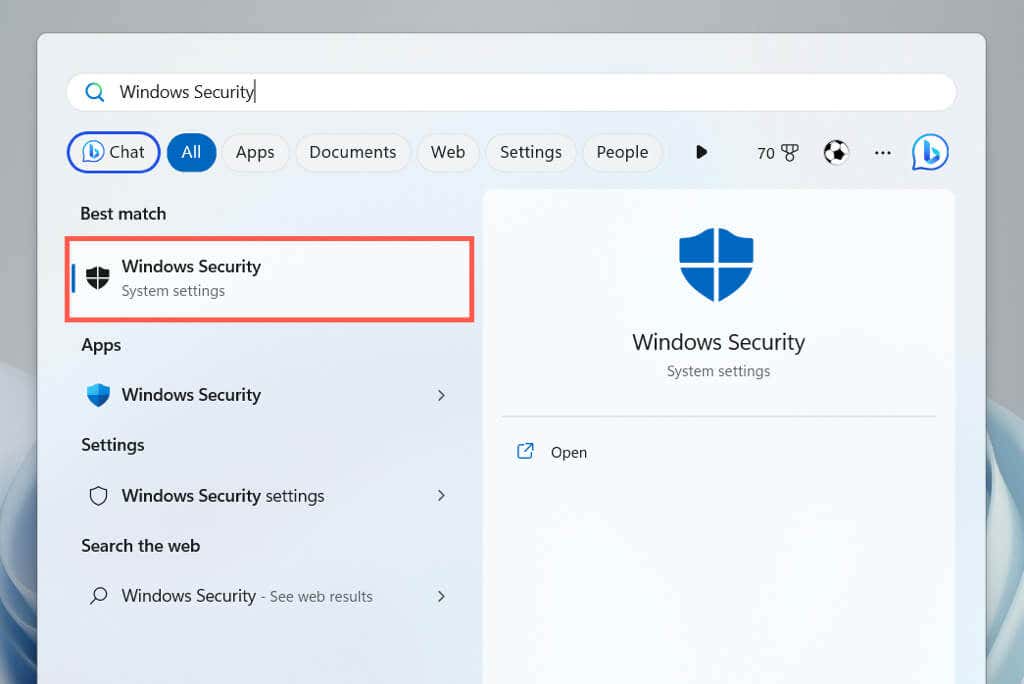
- Open the Start menu, type Windows Security into the search box, and press Enter.
- Select Virus & threat protection.
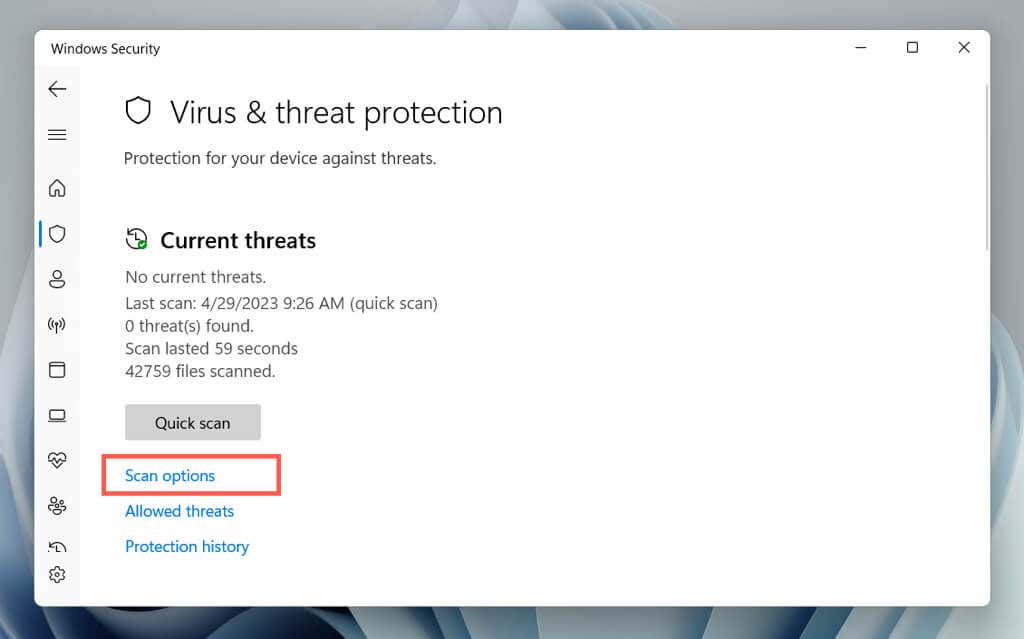
- Select Scan options.
- Select the radio button next to Full scan and choose Scan now.
- Wait until Windows Security scans your computer for malware.
You can follow that up with a Microsoft Defender Antivirus (Offline scan), which scans your computer thoroughly for hidden threats. You can also use third-party anti-virus programs to deal with stubborn malware.
Factory Reset Windows
If none of the above methods work, consider factory resetting your PC. This will wipe all data from your computer, return the operating system to its original state, and resolve severe underlying issues with the Windows Search Indexer. Before proceeding, make sure to back up all important files and documents.
To initiate a factory reset, open the Settings app and go to System > Recovery > Reset PC. For comprehensive step-by-step instructions, check our guides to resetting Windows 11 and 10 to factory defaults.
Related Posts
- Preparing for Windows 10 End of Support: Upgrading to Windows 11
- How to Fix a “This file does not have an app associated with it” Error on Windows
- How to Fix an Update Error 0x800705b4 on Windows
- How to Resolve “A JavaScript error occured in the main process” Error on Windows
- How to Fix the Network Discovery Is Turned Off Error on Windows


