There are many ways you can spice up a video using editing techniques, and a popular effect used in countless projects is a video reverse. You may have seen this used somewhere else and want to recreate it yourself. Thankfully, doing this is pretty easy if you’re using video editing software like Adobe Premiere Pro.
Once you know how to reverse a video, you can get creative and make it your own. This effect is good for something like music videos or if you’re doing any other kind of more artistic editing. In this article, you’ll learn how to reverse any video clip and how to incorporate it into your editing project.
How To Reverse a Video Clip
Before starting, make sure to import the video clip(s) you want to reverse into your project. You can do this by going to the Media Browser and selecting the clips you want to use. After putting them into your timeline, you can then start reversing any video clip you want.
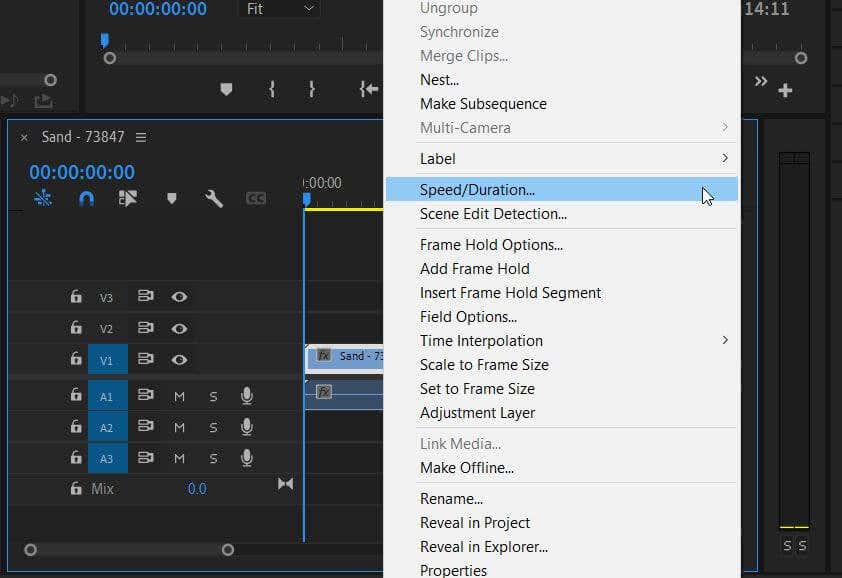
- Find the clip in your timeline that you want to reverse and right-click on it.
- Select the Speed/Duration option.
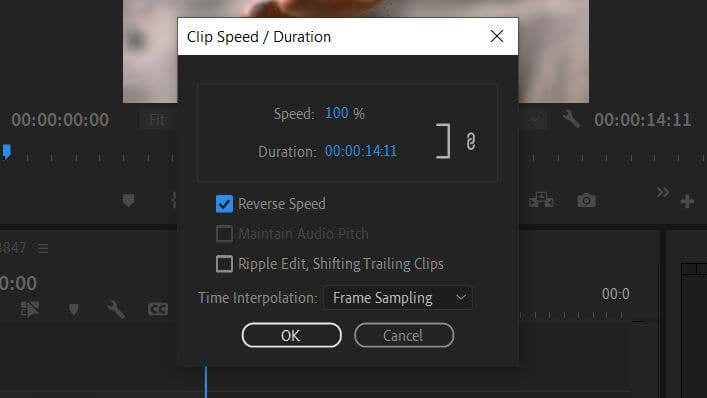
- A small window will appear. You will see options for Speed, Duration, and some options you can select. To reverse your video, check the Reverse Speed box.
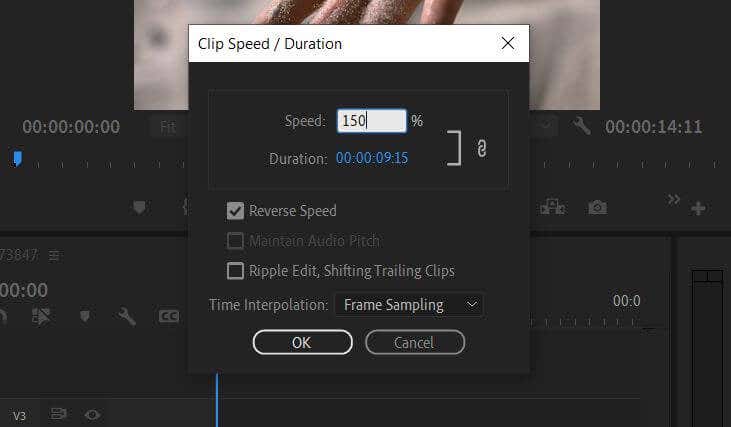
- You can also change the speed of your video with a percentage value next to the Speed option. You can click and drag to the right to speed up the video and to the left to slow it down or double-click to enter a value.
- If you know how long you want the clip to be, you can set the duration instead. Next to the Duration option, change the time value by clicking and dragging or entering a Speed value. Select OK.
Premiere also automatically reverses the audio on the clip to match up with it. However, you can always delete the audio or add music or voice-overs to replace it if you wish.
How To Reverse Part of a Clip
With Adobe Premiere, you can reverse part of an entire clip too. There are just a few more steps in the process.
- Select the Razor tool after you add the clip you want to reverse.
- Find the moment in the clip where you want it to start reversing and make a cut there.
The next step depends on your desired effect.
To create a boomerang effect:
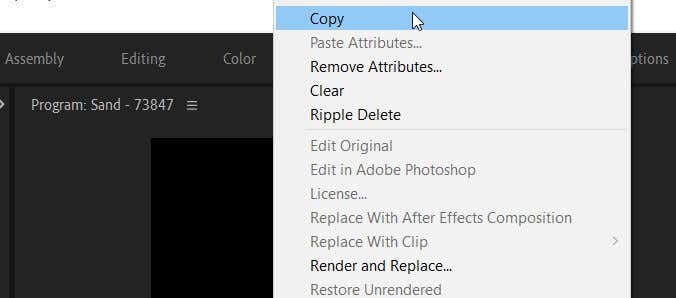
- Delete the rest of the clip, and then right-click on the remaining part and select Copy.
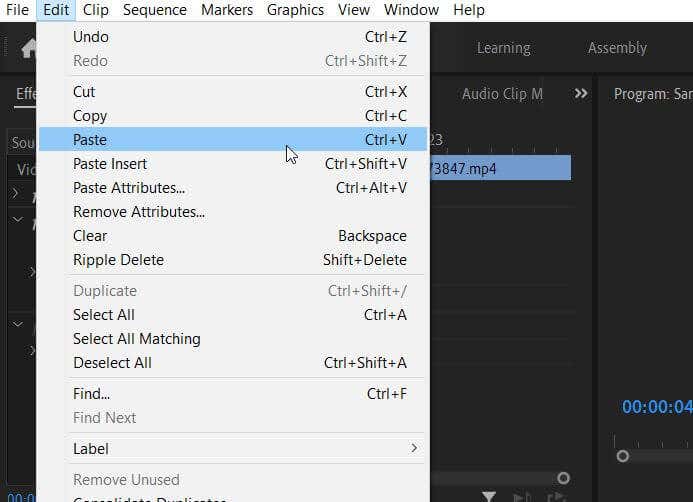
- Move the blue timeline cursor to the end of the remaining clip. Go to Edit > Paste to insert a copy of the clip.
- Right-click on it and select Speed/Duration and check off Reverse Speed, and select OK.
For the opposite of a boomerang effect:
- Right-click on the first clip that was copied and go to Speed/Duration.
- Check off Reverse Speed and select OK.
To stop the clip for a second, then have that portion reverse:
- Delete the part of the clip you don’t want to use. Then, put your timeline cursor at the very last frame of the clip (you can move frame-by-frame by using the left and right arrow keys), and right-click on it.
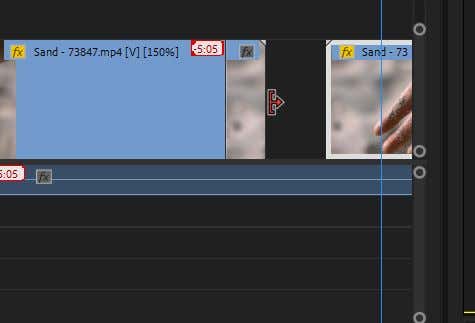
- Select Add Frame Hold. Make sure it’s placed right after the clip you’re using. You can extend the hold length by putting your mouse at the end of it until you see a red arrow icon, then click and drag it out.
- Right-click on the original first clip and select Copy. Move the cursor to the right after the frame-hold clip and then go to Edit > Paste.
- Right-click on the copied clip and go to Speed/Duration, and check off Reverse Speed. Then select OK.
The effects you add from the Speed/Duration window will be applied after you select OK. Then, replay your edited video to make sure it looks the way you want it. If you need to re-edit, you can always go back to the Speed/Duration window to do so.
How To Remove a Reversal
If you decide you don’t like how the reverse video footage looks, you can remove this effect from the video, and it will return to normal.
- Find the clip you have reversed. It’s easy to find as the fx icon will have turned yellow.
- Right-click on the clip and go to Speed/Duration.
- In the Speed/Duration window, uncheck Reverse Speed.
- Select OK to remove the reversal.
These steps are an excellent way to un-reverse a video if you have other effects you don’t want to lose. If you wish to start over with the clip, though, you could also delete it entirely from the timeline and insert the original clip from the Project panel.
Reverse a Video for Visual Impact
The reverse effect has been around in video editing for a long time, and it can be helpful for many different purposes. For instance, you can create a reverse timeline of an event or just reverse a video for comedic effect. Try it out in your video editing project to quickly add some flair and intrigue.
Tell us about how you used this technique in a comment below.
Related Posts
- How to Repair a Corrupted User Profile in Windows 11
- Preparing for Windows 10 End of Support: Upgrading to Windows 11
- How to Access and Change Your WiFi Router Settings (2025 Edition)
- How to Install the Latest Large Language Models (LLMs) Locally on Your Mac
- How to Find Circular References in Microsoft Excel

