Microsoft OneNote can help you on your quest to become and stay organized. We’ll go over some OneNote tips and tricks for getting the most out of the digital notebook app.
A common trait of highly effective people is that they’re organized. They keep track of things, from prioritized lists of daily to-dos and important ideas to more mundane things like shopping lists, recipes, and reminders. OneNote is made to help you do just that.
How to Get OneNote
Anyone can get OneNote for free for web, Windows, Mac, Android, and iPhone. You’ll get 5GB of storage with a free account.
Microsoft 365 Personal comes with a terabyte of storage across all Microsoft 365 apps, including OneNote.
OneNote Tips for Organizing Your Notes
With OneNote, you can keep all your notes in one place, and you can access them on all your devices. Notes are automatically stored in the cloud, so you’ll never lose a note because you forgot to save it. Plus, you can easily share notes with friends and family whether or not they have OneNote.
1. Create Multiple Notebooks
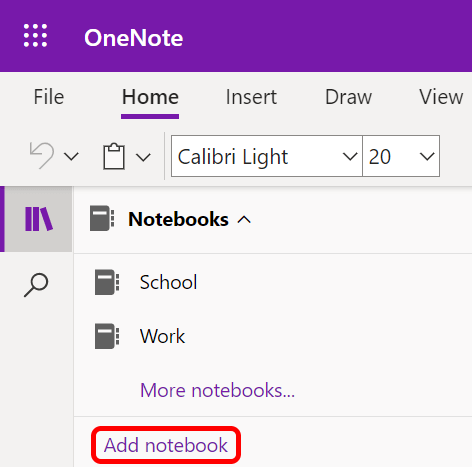
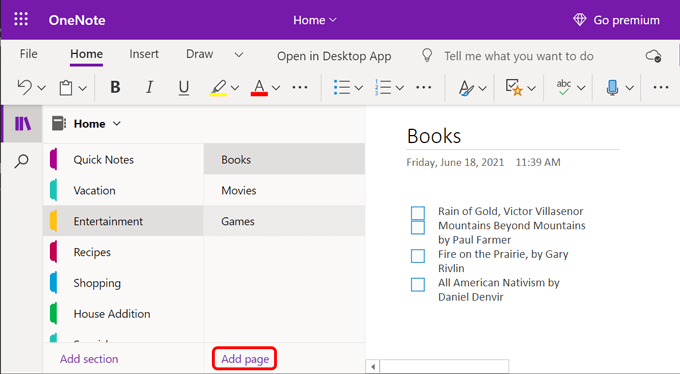
OneNote consists of notebooks, sections, and pages. You might want to create a notebook for all the different major areas of your life, like school, home, and work.
2. Categorize Your Notes into Sections
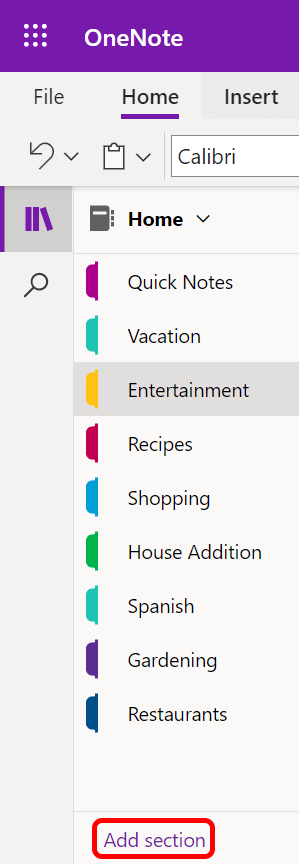
Each notebook can have multiple sections, just like the tabs on old-school spiral notebooks. In the web app, sections appear as tabs listed vertically under your notebook’s name, and in the desktop app they appear horizontally across the top of the screen.
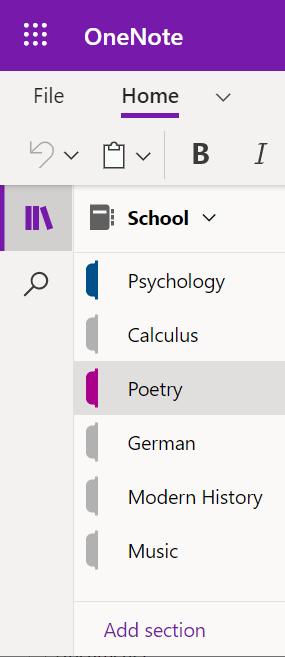
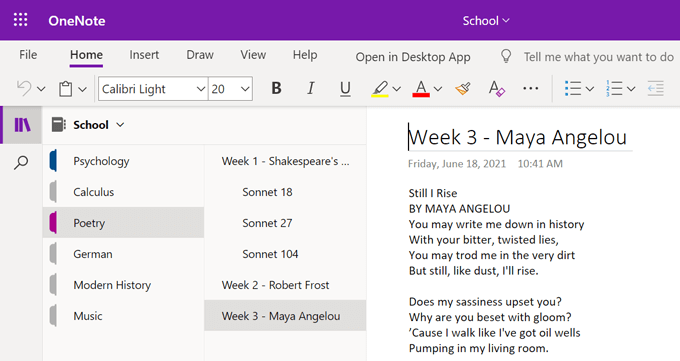
If you’re a student, you could create a notebook for school and a section for each of your classes.
3. Add Pages Inside Sections
Strangely, OneNote calls notes pages. Pages live inside sections. Let’s say you have a notebook called Home, and one of the sections is Entertainment. You could have separate pages where you keep lists of movies, games, and books you want to check out.
Students can create a page for every class session. During class, take notes on that page, and you’ll always know where to find them.
4. Go Deep with Subpages
Imagine you’re taking a course on poetry, and one day the lecture is about Shakespeare. During class, you’ll be discussing several Shakespearean sonnets.
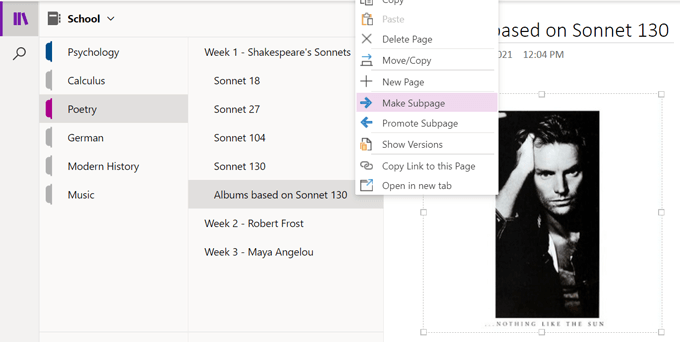
You can add a page for Shakespeare’s sonnets to the Poetry section in your School notebook and create subpages for each poem discussed during the lecture.
There are two different levels of subpages. That means your subpages can have subpages! Right-click on a page to promote or demote it in your page hierarchy.
5. Use the Navigation Button for More Room
Selecting the Navigation button will toggle the navigation pane on and off. Turning the navigation pane off gives you additional space to see your notes.
Turning the navigation pane on will display your notebook’s name (and the dropdown where you can select a different notebook), as well the current notebook’s hierarchy so you can organize sections and pages.
6. Tag Your Notes
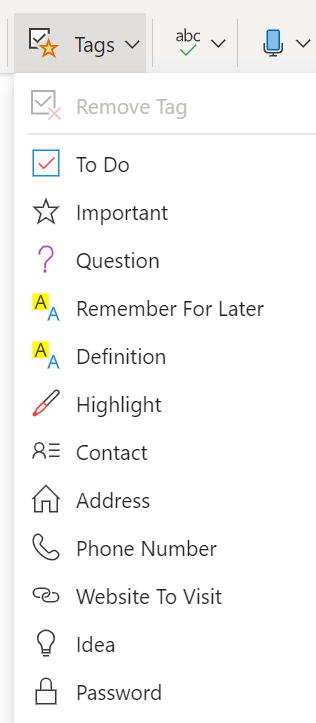
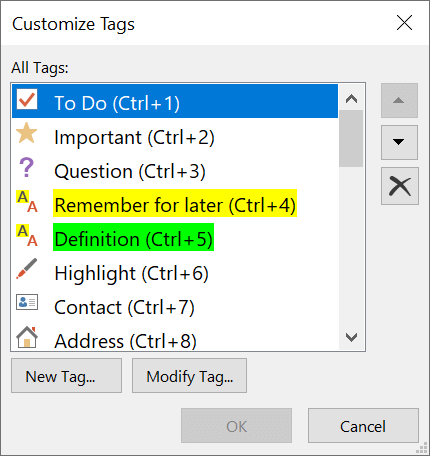
OneNote has a bunch of built-in tags to help you organize your notes. Choose from tags like Remember For Later, Website To Visit, or Idea.
Users of the Windows and Mac apps can also create custom tags. In the Tags section of the Home ribbon, select the More dropdown. At the bottom of the list, you’ll see Customize Tags. Select the New Tag button to create your own.
OneNote web app users are limited to the preset tags, but the rumor mill says custom tags are coming.
7. Search for Words, Phrases, or Tags
The Search button lets you search across all your notebooks or in a specific notebook, section, or page. Not only can you search for a particular word or phrase, you can also search by tag.
8. Get the OneNote Web Clipper
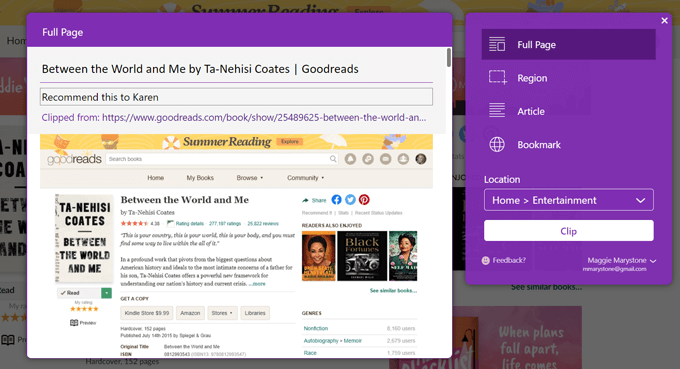
OneNote offers its free Web Clipper extension for Chrome, Firefox, and Edge browsers. While you browse the internet you can use the OneNote Web Clipper to quickly save webpages to the relevant notebook and section.
You can choose to clip the whole page, a part of the page that you select, the contents of an article, or you can use Web Clipper to bookmark the page for later viewing.
9. Dictate a Note
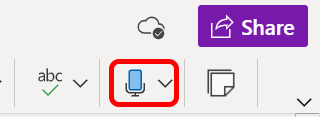
Select the microphone icon to dictate a note as long as your device has an enabled microphone.
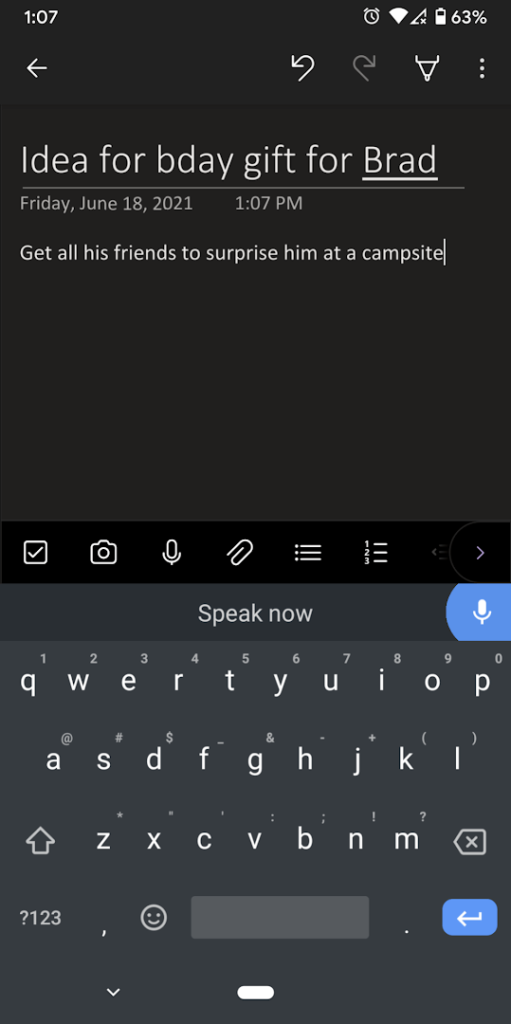
If you’re using your phone, tap the microphone icon on the keyboard to dictate your note.
10. Add an Audio Recording
From the Home menu, choose Insert > Audio. Unlike dictation, recording audio this way won’t insert the text you speak directly into the note. Instead, it creates a .wav file that you can download straight from OneNote.
11. Use the Accessibility Checker
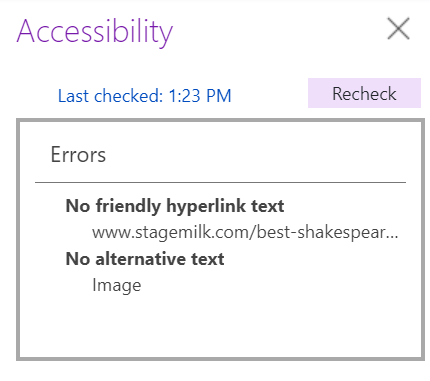
To make your page more accessible to people with disabilities, navigate to a note, and then, from the View menu, select the Check Accessibility button. It will alert you if there are web accessibility issues that can be corrected.
12. Use Equations in OneNote
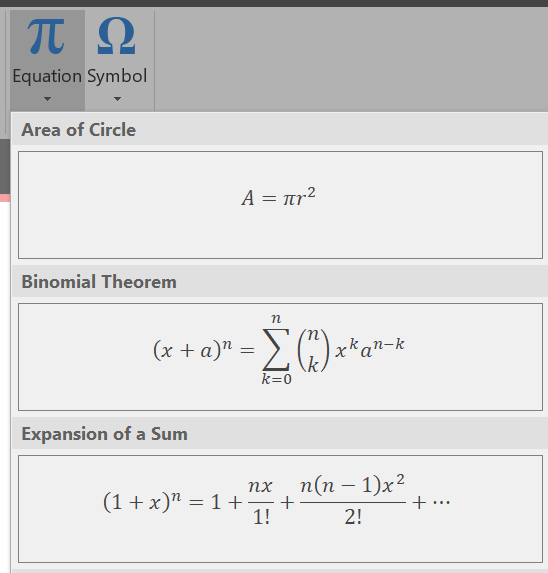
OneNote desktop app users can solve equations right inside the app. From the Insert > Equation menu, you can choose a common equation like the area of a circle from the dropdown.
Alternatively, select Insert > Equation, and then on the Design menu choose from among several options for various computation structures.
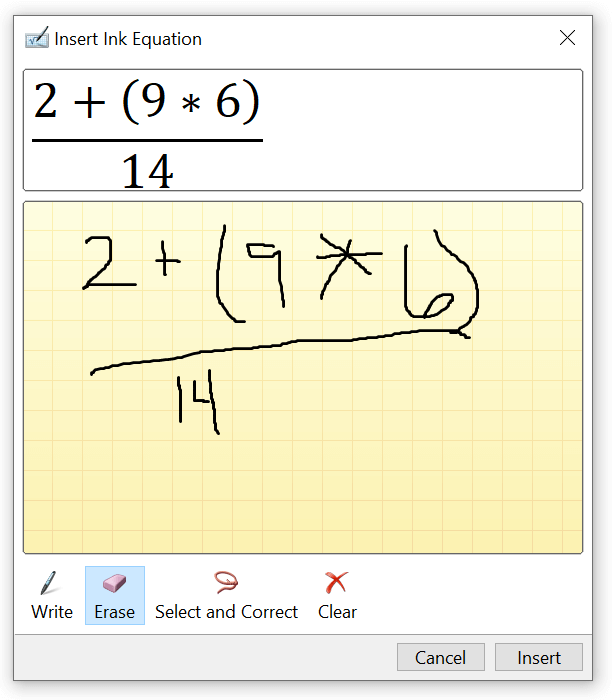
You can even draw an equation with your stylus or mouse. From the Insert menu, select Equation and then select Ink Equation. Scrawl your equation in the box, and OneDrive will clean it up and insert it into your note.
13. Share Your Notes
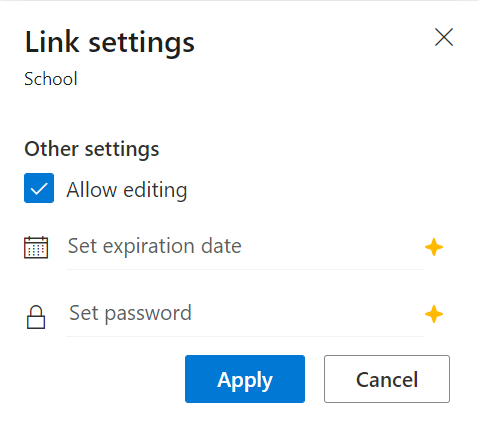
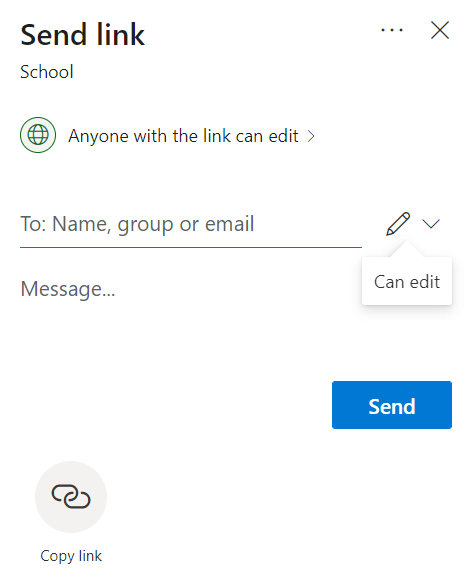
To share an entire notebook, select the Share Button. You can decide whether people with the link are allowed to edit, and premium users can also set an expiration date and/or a password.
Before your notebook is shared, you can add a message or just copy the link so you can share it elsewhere, like in a messaging app.
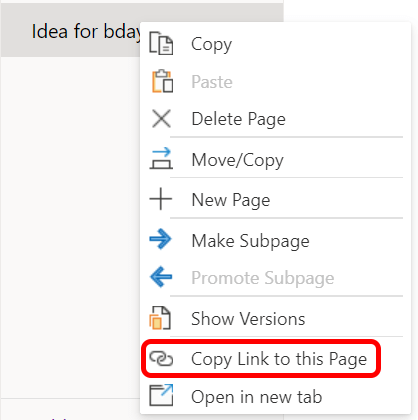
If you want to share a specific note, right-click on the note and choose Copy Link to this Page. Then you can paste that link wherever you want.
Stick With It
The more you use OneNote, the more you’ll learn about its capabilities. However, the real lesson to be learned is that it doesn’t matter which app you use to stay organized. Just pick one and keep going!
Related Posts
Maggie Marystone is a freelance technology writer, human rights worker, and storyteller based in Chicago. Read Maggie’s Full Bio
