If you have a document where you want to reference specific lines, like a contract or script, you can include line numbers. Here’s how to add line numbers in Microsoft Word.
Add Line Numbers in Word
You can add line numbers to your entire document or restart the numbering on each page or section if you like. The process to insert line numbers is the same in Microsoft Word on PC and Mac.
- With your document open, select Print Layout View on the View tab.
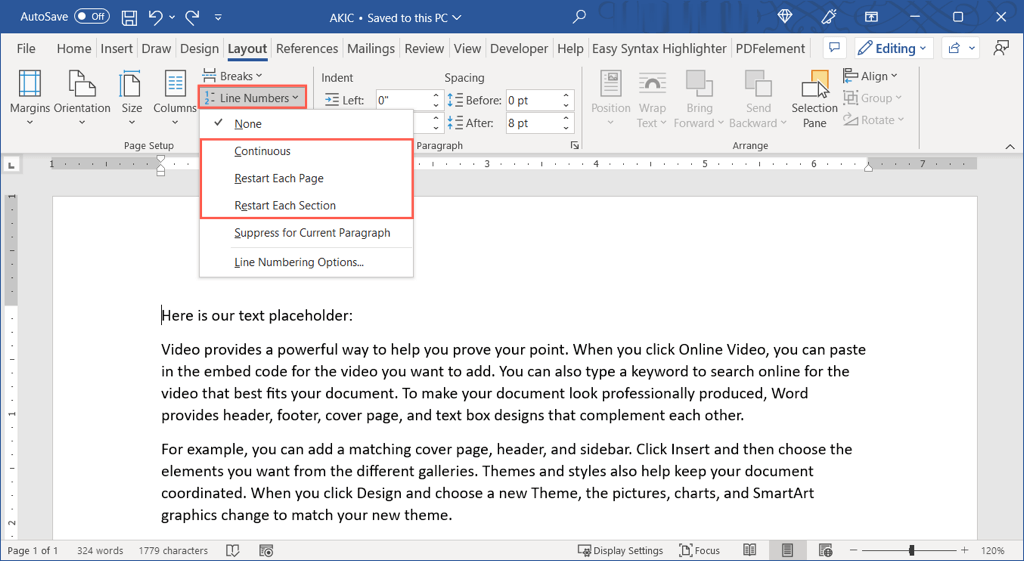
- Go to the Layout tab and select the Line Numbers drop-down arrow.
- Choose one of the following options:
- Continuous: Number every line in the document.
- Restart Each Page: Start the numbering at one for each page.
- Restart Each Section: Start the numbering at one for each section. Note: You must use designated section breaks.
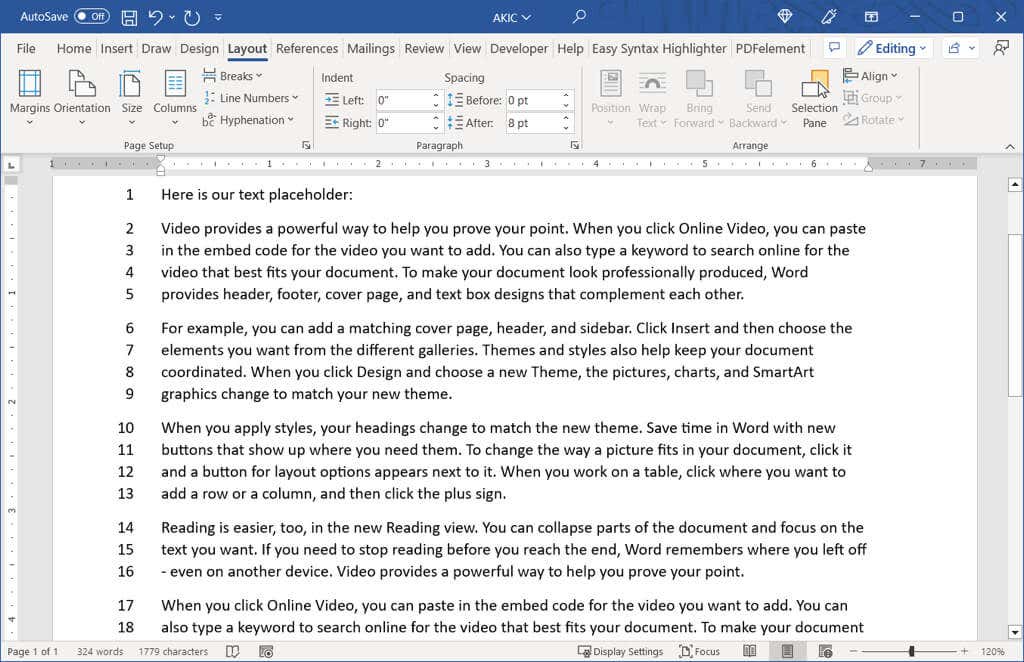
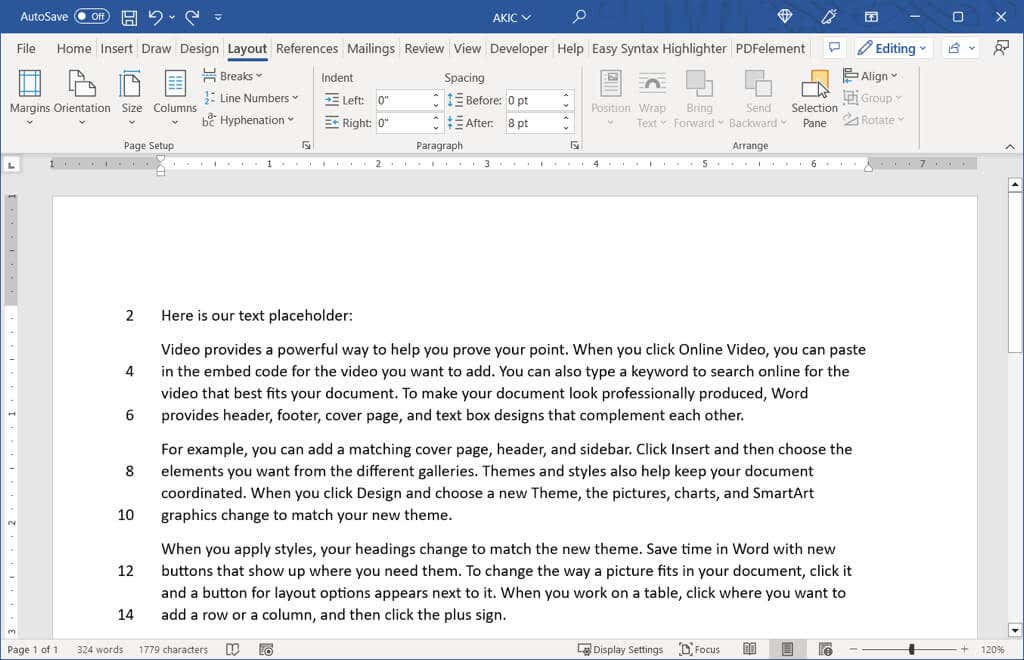
You should then see the lines in your Word document numbered along the left.
If you want to change the start number or count up by more than one at a time, you can adjust the Line Numbering Options.
Adjust the Line Numbering Options
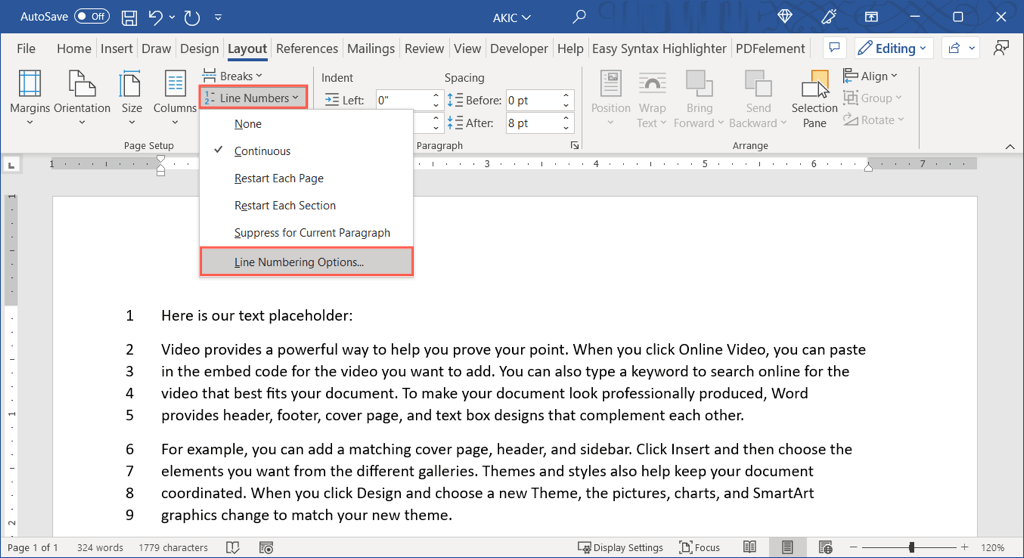
- Select the Line Numbers drop-down arrow on the Layout tab and choose Line Numbering Options.
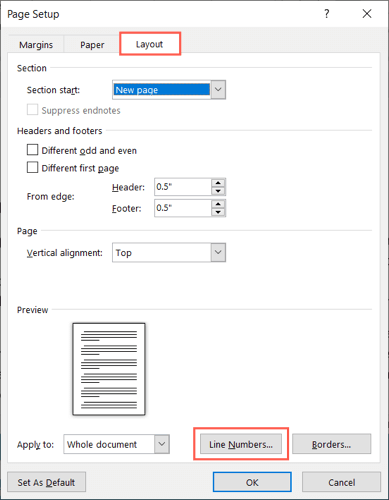
- In the Page Setup box (Document box on Mac) that appears, go to the Layout tab and select the Line Numbers button at the bottom.
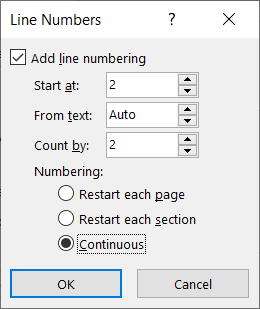
- Check the box at the top to Add line numbering.
- You can then change the following settings:
- Start at: Use this box to enter a start number other than one.
- From text: Use this field to adjust the distance between the numbers and the text.
- Count by: Use this box to count by a number other than one.
- Numbering: These are the same options as above in the Line Numbers drop-down menu for continuous or restart numbering. You can choose or change your setting here.
- Select OK in the Line Number box and then OK once more in the Page Setup or Document box to see your updated line numbers.
Remove Line Numbers
If after you add the line numbers to your document, you decide to remove them, you can do so for the whole document or only certain portions.
To remove the line numbers from the entire document, go to the Layout tab and select the Line Numbers drop-down arrow. Pick None.
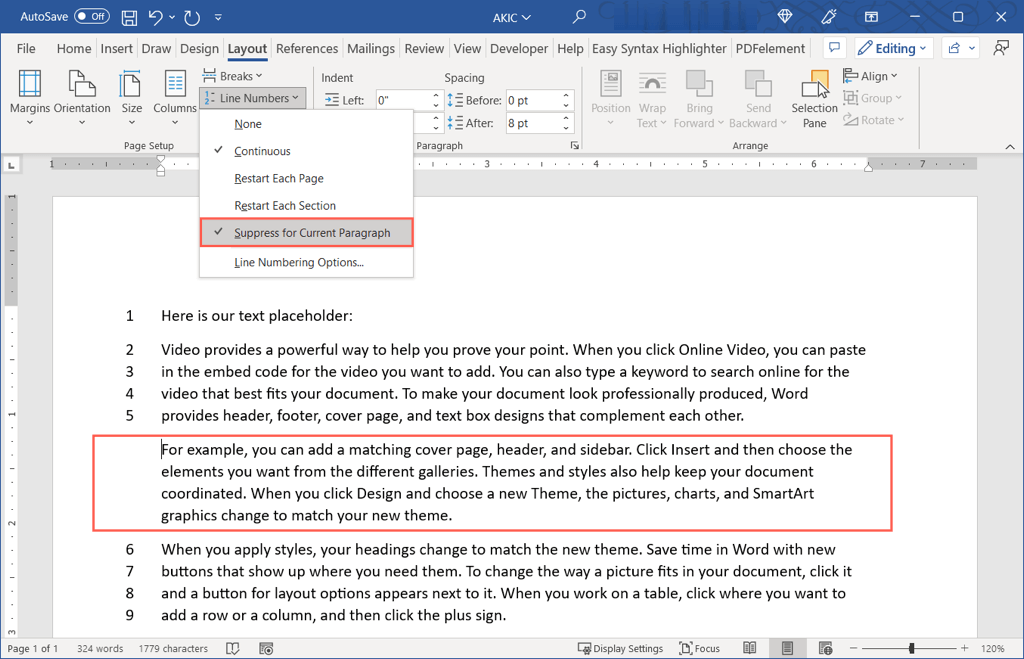
To remove the numbering from a certain paragraph, place your cursor in that paragraph. Then, open the Line Numbers drop-down menu and choose Suppress for Current Paragraph. Repeat this process for additional paragraphs.
If you want to use numbers to reference specific lines in a legal, educational, or other type of document, adding them is easy in Microsoft Word.
For more Microsoft Office tutorials, look at how to insert page numbers in Word.
