There’s more to building a Microsoft PowerPoint presentation than inserting the content. You’ll want to create an engaging slideshow that’s easy to read and understand. With this in mind, let’s look at adjusting the slide and object margins along with the slide size.
Customize the Slide Margins in PowerPoint
Unlike Microsoft Word, PowerPoint doesn’t offer a margin feature. By default, your elements and objects can span the entire width and height of a slide.
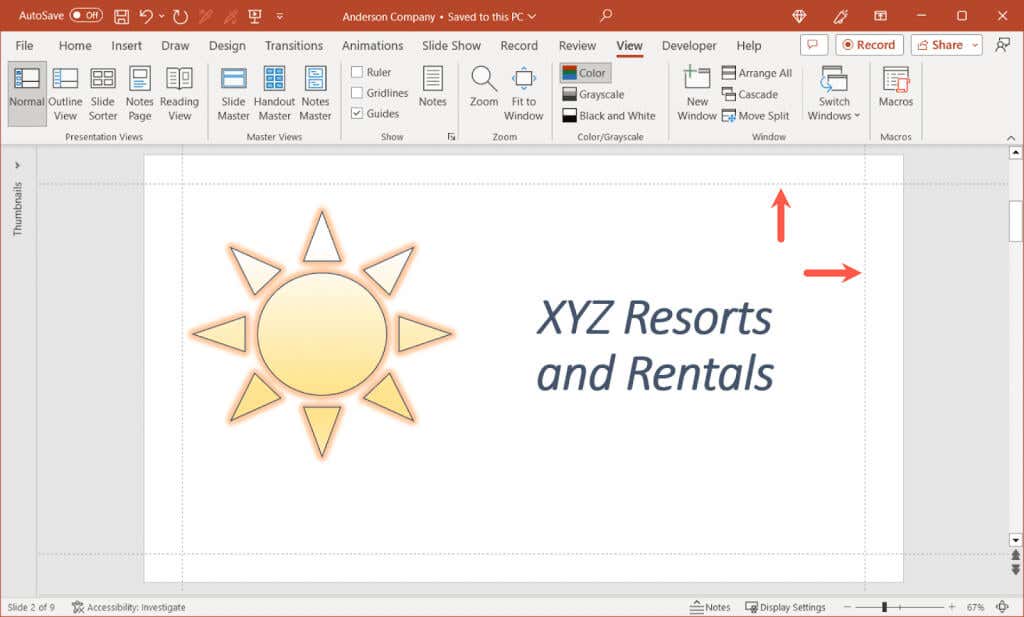
While it may help you fit more on each slide, this can create a cluttered appearance. Instead, you can add a bit of white space, like margins, around the edges of the slides using the built-in Guides feature as a workaround.
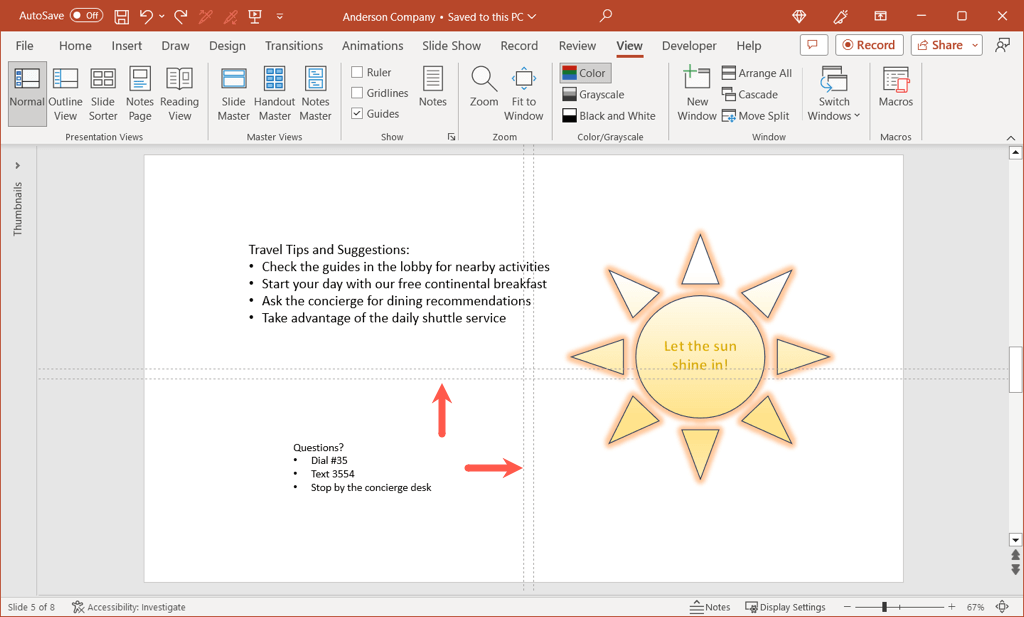
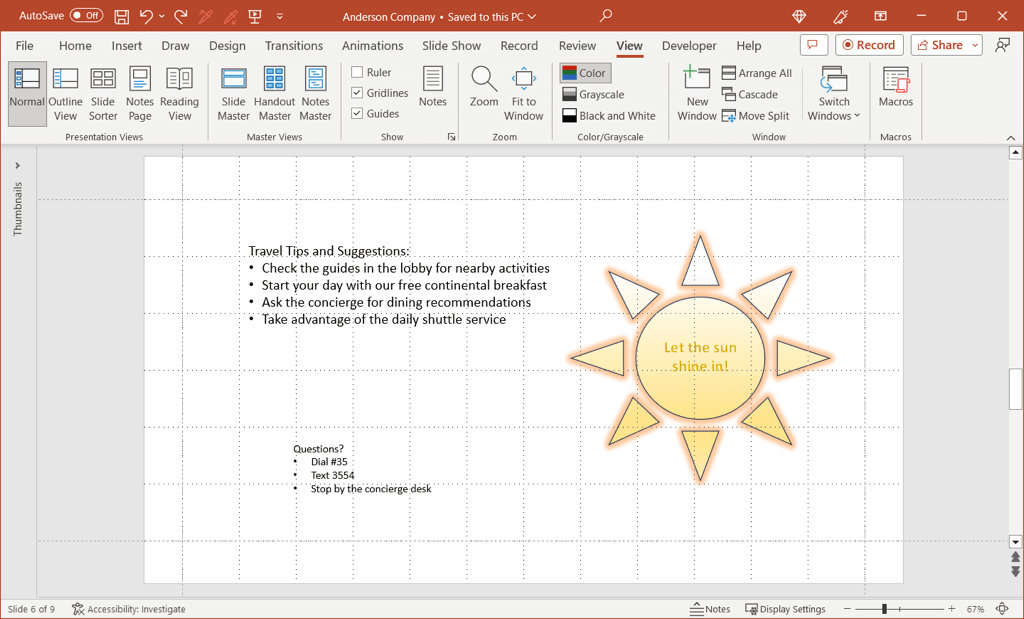
- Go to the View tab and check the box for Guides in the Show section of the ribbon. You’ll see the Guides appear as dotted lines on the slide.
- You can drag the horizontal Guide up or down and the vertical Guide left or right. If you want to designate margins on all four sides, you can add more guides. Do one of the following:
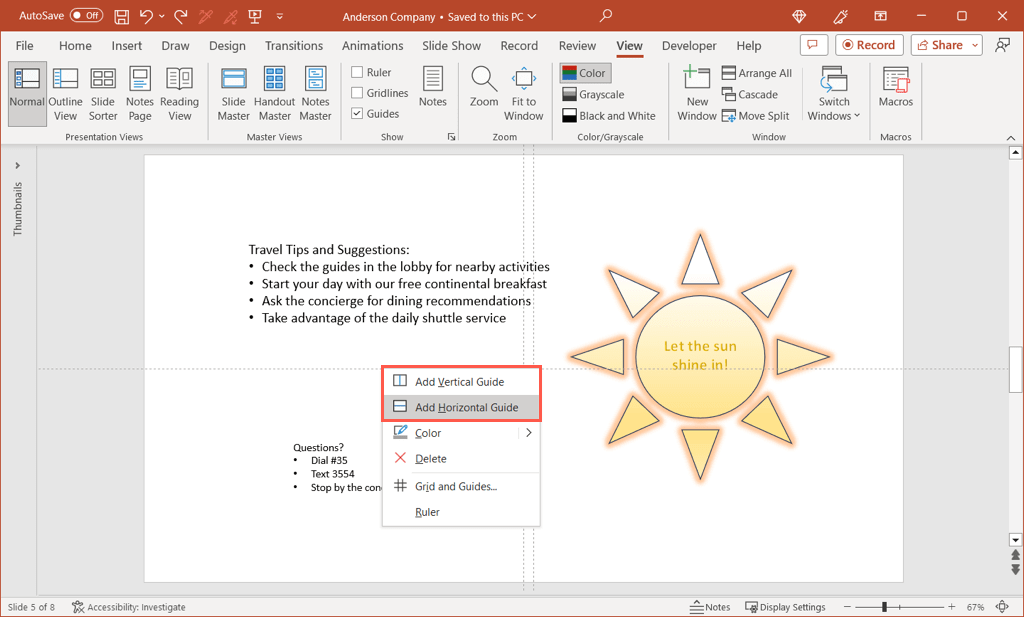
- Right-click a Guide and choose Add Vertical Guide and then Add Horizontal Guide to add one of each.
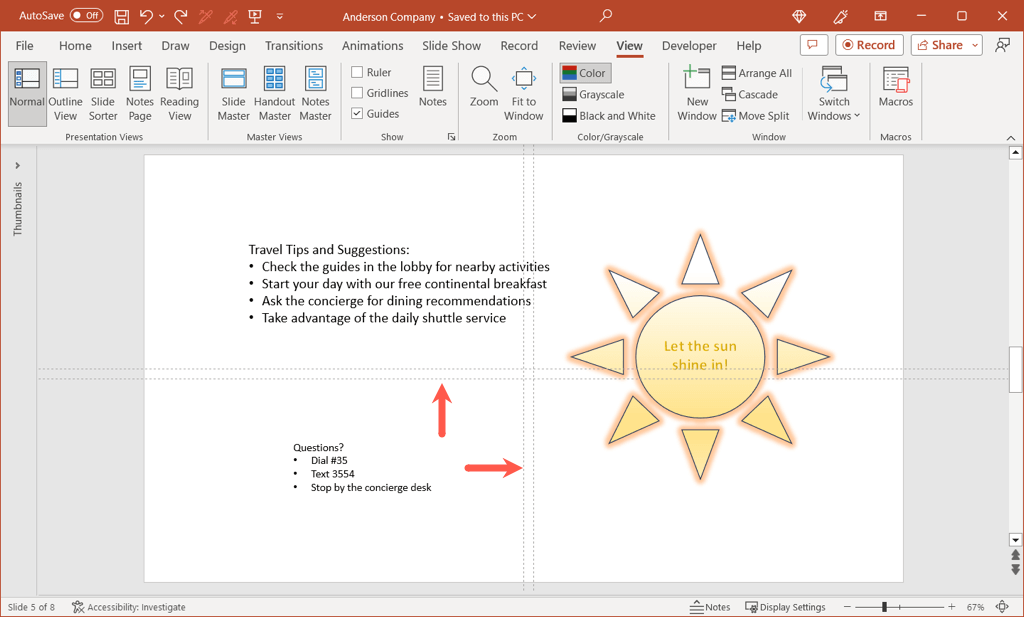
- Hold Ctrl (Windows) or Option (Mac) as you drag one of the Guides to copy the current Guide. Then, do the same for the other Guide.
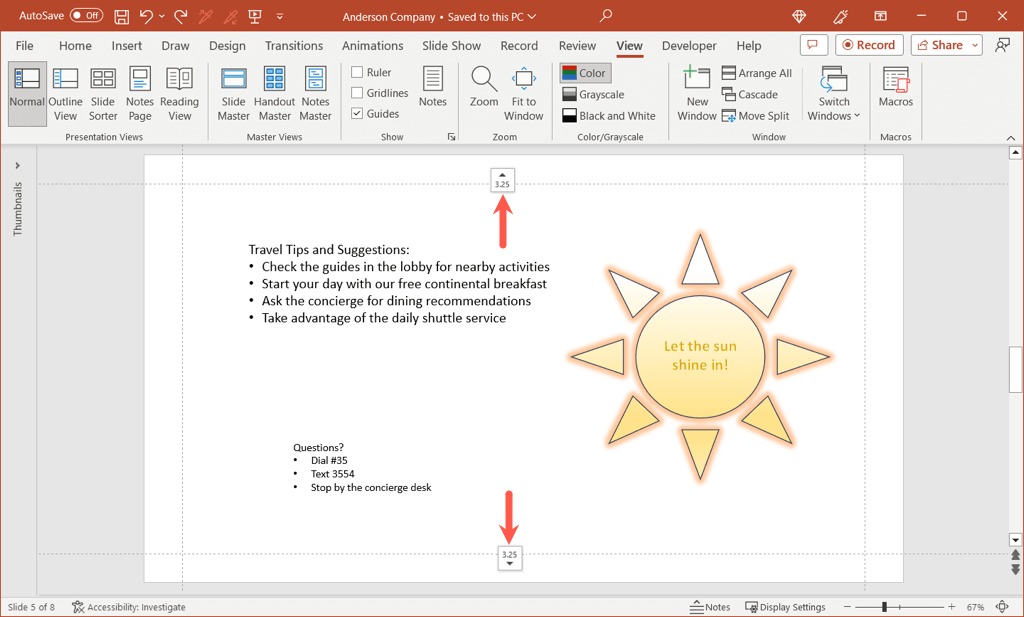
- Once you have two vertical and two horizontal Guides, you can drag them into place to create your margins.
- As you drag, you’ll see the distance from the center of the slide where the Guides are originally placed. You can then use this measurement to set the same distances for both the vertical and horizontal Guides.
- You’ll see the Guides on each slide in your presentation to help you keep your items within the boundaries.
- When you finish with them, simply uncheck the Guides box on the View tab.
Tip: You can also check the box for Gridlines above Guides in the ribbon. While not required, Gridlines can help you line up your Guides more accurately if you’re struggling.
Change Margins Between Text in Objects
You may not be able to use a margin feature for PowerPoint slides, but you can adjust margins for objects like text boxes and shapes. This makes those items containing text easier to read especially when the objects contain borders.
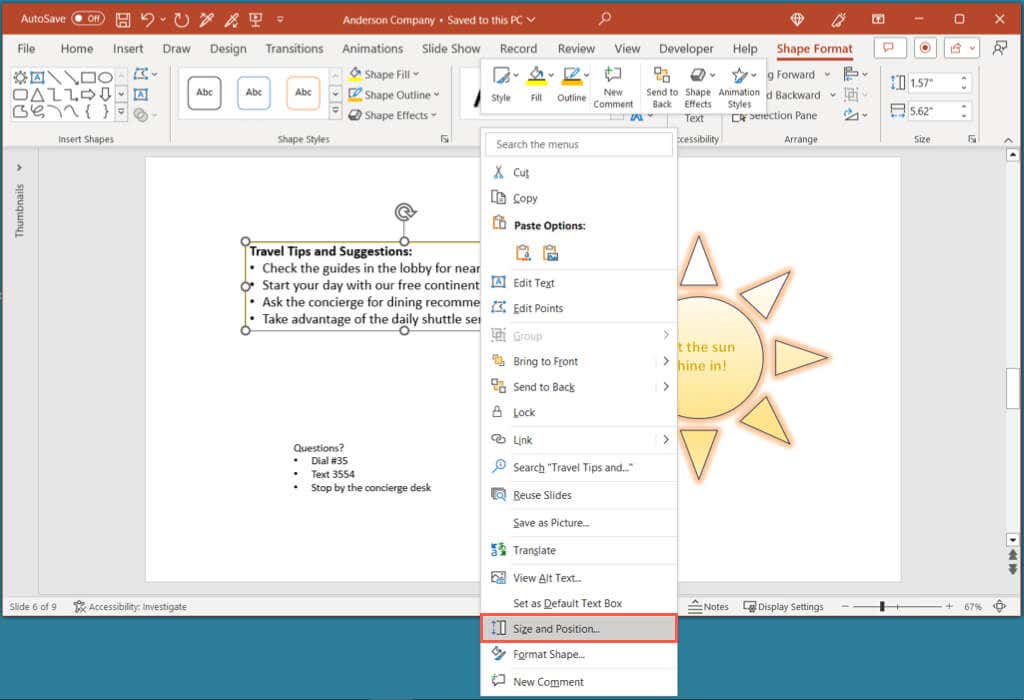
- Right-click the text box or shape and select Size and Position.
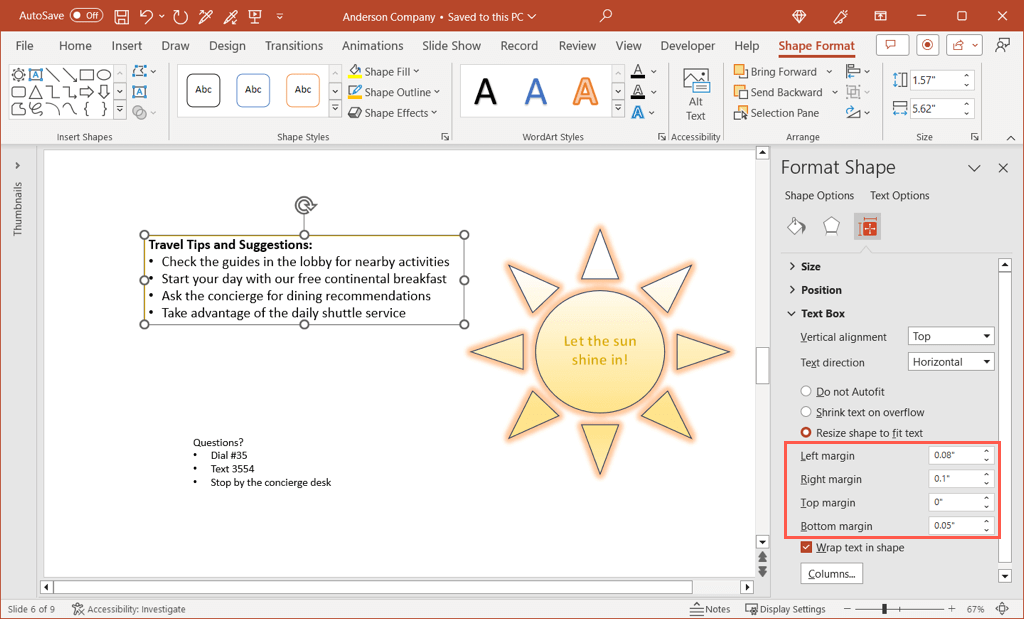
- When the Format Shape sidebar opens to the Size & Properties tab, expand the Text Box section.
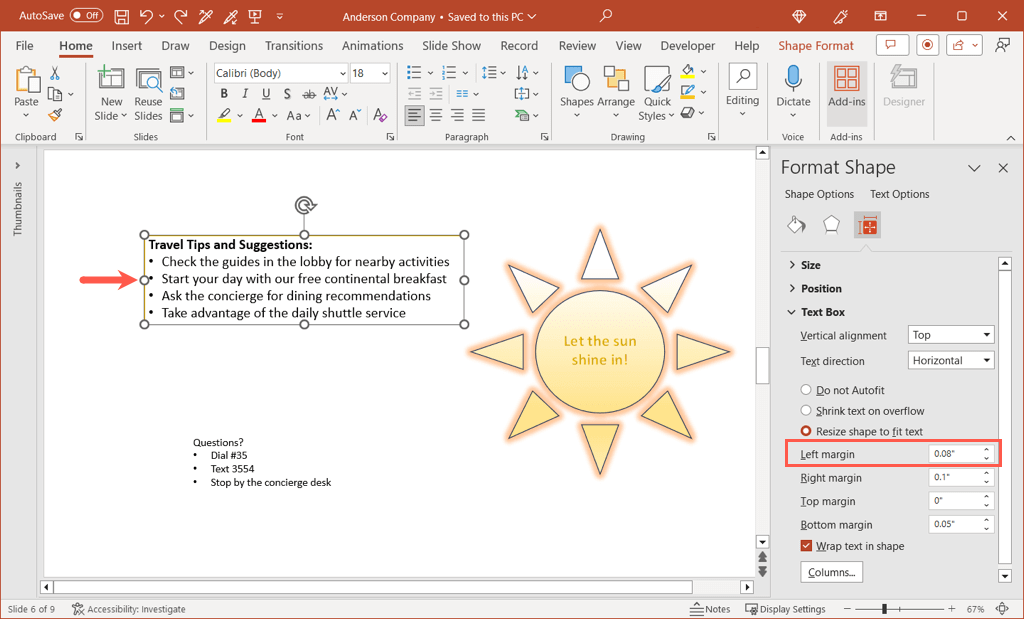
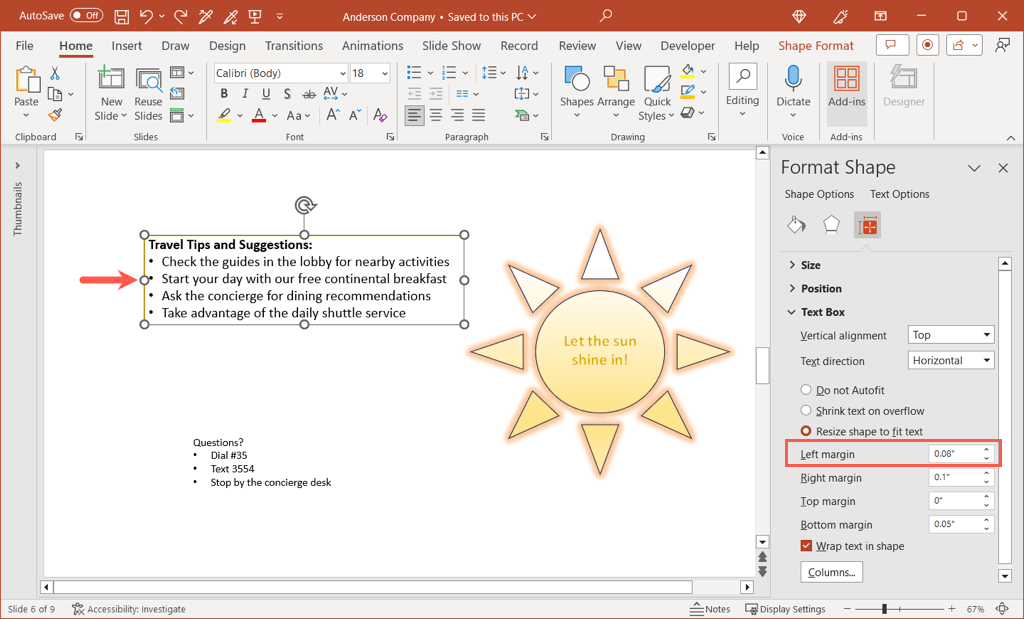
- Near the bottom of the section, you’ll see the left, right, top, and bottom margin settings. You can enter the measurements in the boxes or use the arrows to move up and down in small increments.
- As an example, you can see that our text and bullets are a bit close to the left margin.
- By simply increasing the left margin size, we can add a little more space between the border and the text.
- When you finish adjusting the margins for your elements, use the X on the top right of the Format Shape sidebar to close it.
Adjust the Slide Size in PowerPoint
One more item to consider adjusting in your presentation is the slide size. While one size fits most content and slideshows just fine, you may have a situation where a different slide size would work better.
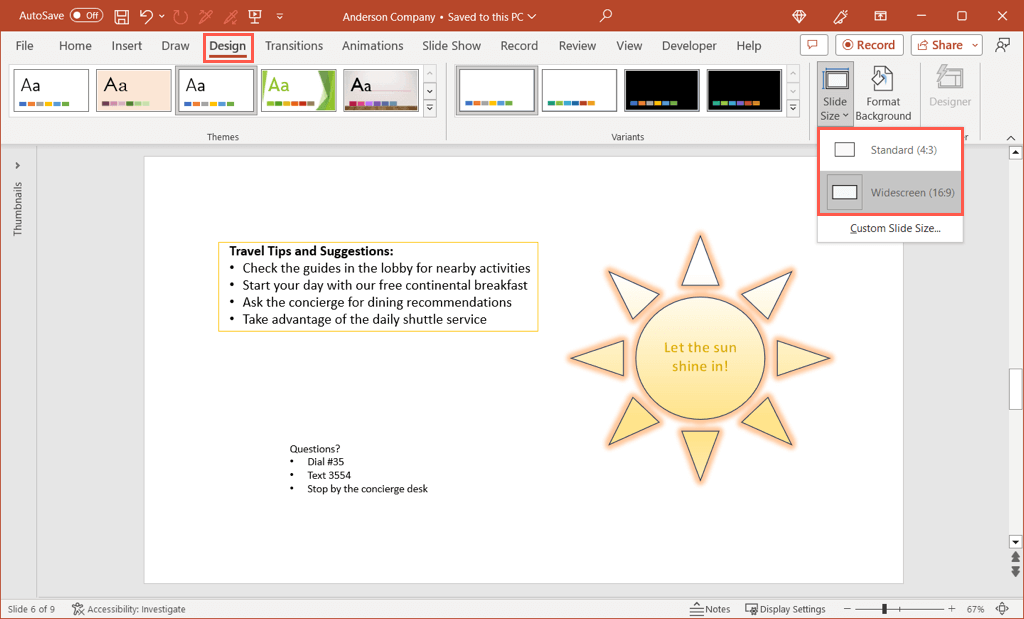
- Go to the Design tab and open the Slide Size drop-down menu in the Customize section of the ribbon.
- You’ll see preset options for Standard and Widescreen with their respective dimensions and Widescreen likely selected.
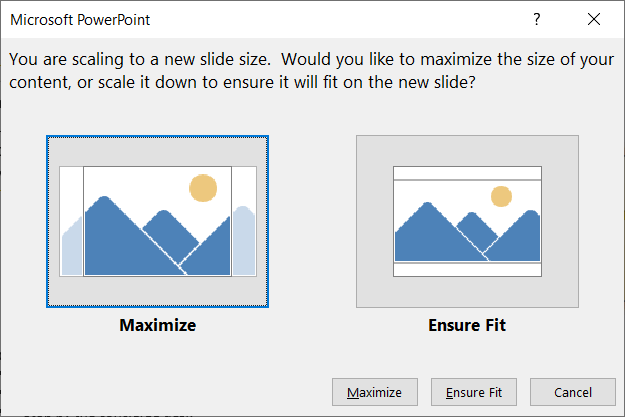
- To use Standard, select that option. You then have the option to Maximize the content which keeps it at the current size or Ensure Fit which scales down the slide elements to fit the slide size. Pick Maximize or Ensure Fit per your preference.
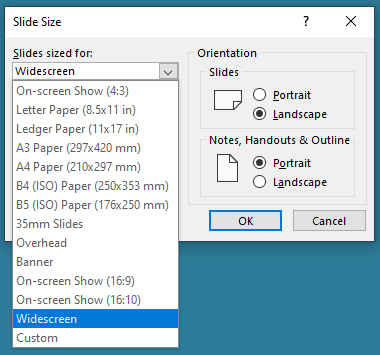
- To use a Custom Slide Size, select that option. You can then pick the type of page layout using the Slides sized for drop-down menu. You have choices like On-screen Show, Letter Paper, Overhead, and others as well as a Custom option.
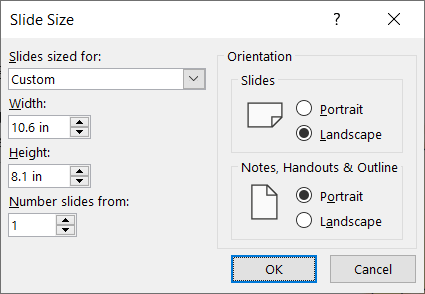
- If you choose Custom, use the Width and Height boxes to set the sizes. Note that you can also change the Orientation for the slides along with the notes, handouts, and outline if you like.
- Select OK in the dialog box and your slides will update to the new size.
With a few simple tweaks, you can improve your PowerPoint presentation to look more professional, consistent, and visually pleasing. Keep these suggestions in mind for your next slideshow.
For similar tutorials, look at how to find new PowerPoint design ideas.

