Multiple people can read and edit a group calendar, making it a good way to promote productivity and collaboration among small business co-workers or organizational team members.
This tutorial will discuss how to create a group calendar in Microsoft Office 365 apps, including Microsoft Outlook, Outlook web access (OWA), and Microsoft Teams. We’ll review how to share a calendar so the people you choose can view and edit events in the calendar app. We’ll also discuss how to create calendar groups.
In general, there are two main steps to creating a group calendar:
- Create a new blank calendar.
- Share it with others so that they can view and edit the calendar.
We’ll go over how to do each step in Outlook on the web and desktop versions of Outlook.
Note: Microsoft has announced improvements in the way calendar sharing works. However, Microsoft says, “The improvements are planned only for calendars shared between people using Exchange Online.” In some cases, that means sharing a resource mailbox calendar or shared mailbox calendar will only work if the recipient accepts the sharing invitation using Outlook on the web, Outlook for iOS, or Outlook for Android, i.e., not an internally-hosted Exchange server. Microsoft says more improvements are in the pipeline.
Create and Share a New Blank Calendar with Outlook on the Web
Here’s how to create and share a new blank calendar using Outlook on the web.
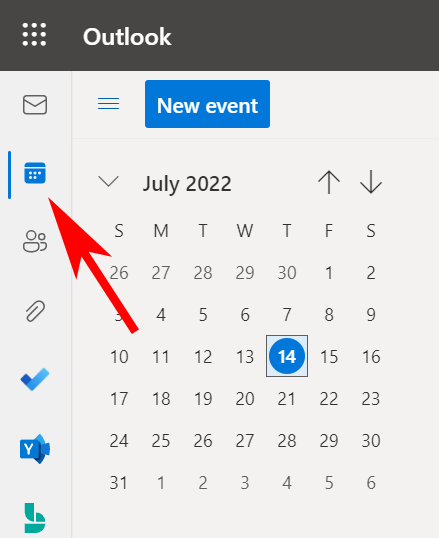
- Log into Outlook in a web browser and select the calendar.
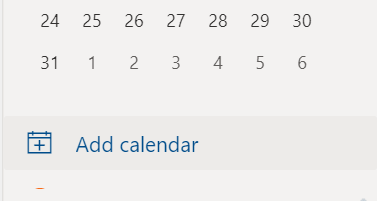
- Select the Add calendar link.
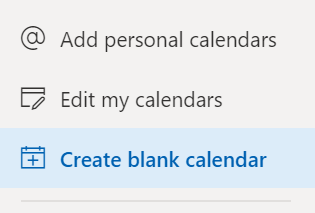
- In the menu on the left of the popup, select Create blank calendar.
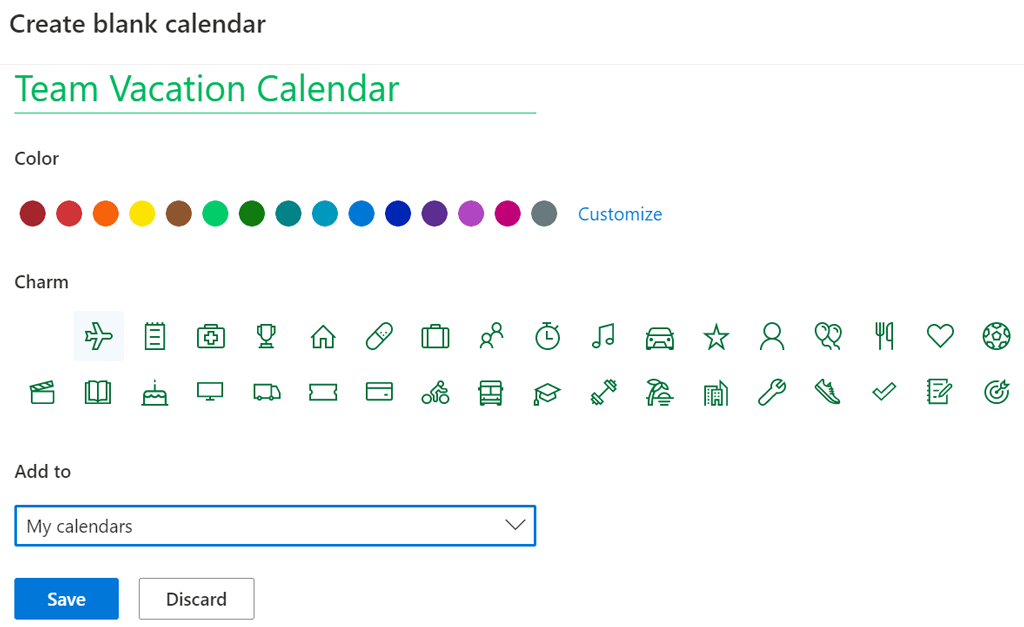
- Enter a name for the calendar and, if you wish, select a color or charm for the calendar.
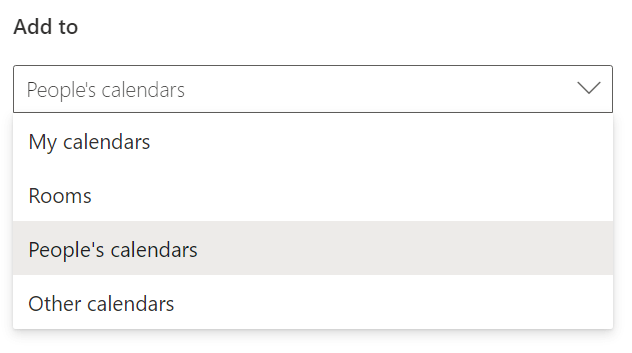
- In the Add to drop-down menu, select under which calendar group the new calendar should appear.
- Click Save.
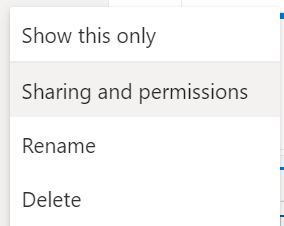
- Locate the new calendar in the calendar list, right-click on it (or select the More … icon) and select Sharing and permissions.
- Enter the email address or contact name of the person with whom you want to share the calendar.
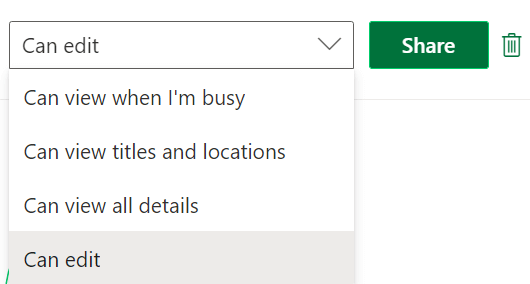
- Select calendar options. Choose the Can edit permission level if you want the recipient to be able to add, remove, and change events on the calendar.
- Select Share.
- Repeat steps 7-9 to add members.
People with whom you share the calendar will receive an email prompting them to accept and view the Outlook calendar. Note that external users will not be able to edit the calendar.
Creating and Sharing a New Blank Calendar in Outlook’s Desktop App
Follow these steps in the Outlook desktop app to create and share a new blank calendar.
- Select the calendar icon in the bottom-left corner of Outlook.
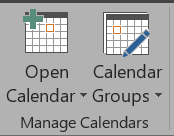
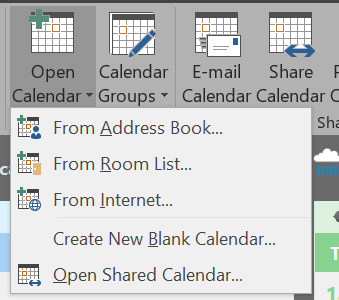
- On the Home tab in the Manage Calendars group, select Open calendar.
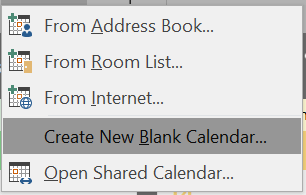
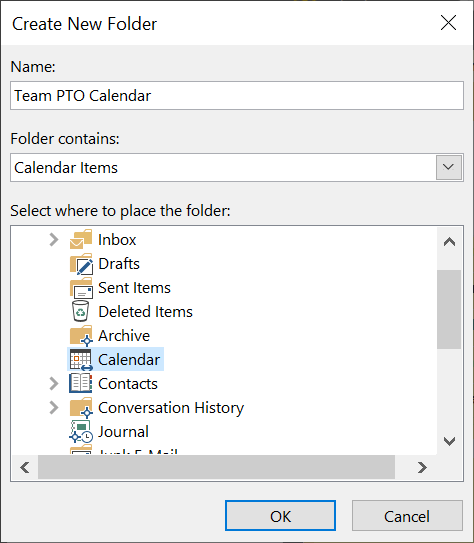
- Select Create New Blank Calendar.
- In the Create New Folder popup, give the calendar a name and select where to put the calendar (e.g., as a subfolder of the main calendar folder).
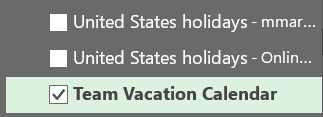
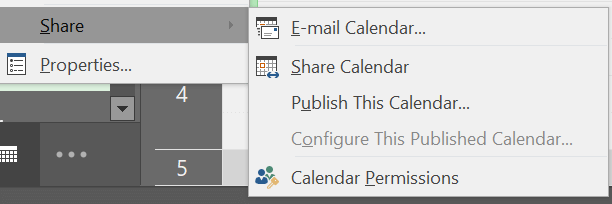
- Next, to share the calendar, right-click on the calendar in the calendar list.
- Select Share > Share Calendar.
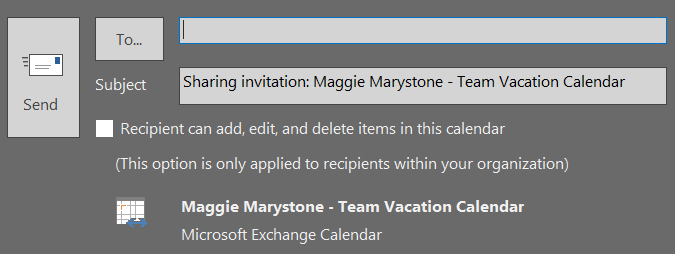
- Enter contact names or email addresses to add people to the sharing invitation, add a message if you want, and click Send. Recipients will receive an email inviting them to “Accept and view calendar.”
How to Add a Shared Calendar to Microsoft Teams
Outlook isn’t the only place you can create a shared calendar. Microsoft Teams has shared calendar functionality, too. Here’s how to add a shared calendar in Teams.
- Select a channel in Teams.
- Select the + icon to the right of the channel name to add a tab.
- Search for and select Channel Calendar.
- Select Add.
A calendar tab will appear at the top of the Teams channel. All channel members can view event details and add events to the calendar. This is a great place to schedule a Teams meeting.
Group Calendar vs. Calendar Group
In addition to creating group calendars, Outlook has several other ways of organizing calendars and viewing multiple calendars simultaneously. Calendar groups are a way to see combined schedules—not only for people but also for SharePoint calendars, internet calendars, and resources like room reservations.
How to Create Calendar Groups in Outlook on the Web
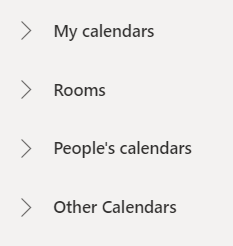
Depending on how your organization has things set up, you’ll see default calendar groups that may include:
- My Calendars
- People’s Calendars
- Other Calendars
If those categories don’t work, you can create customized personal calendar groups in Outlook on the web.
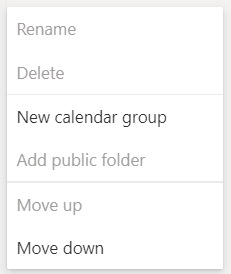
- The pane on the left is the calendar pane. That’s where all the calendars you can view are listed. Right-click on My Calendars or Other Calendars and select New calendar group. Alternatively, select the More (three dots) icon next to an existing calendar group and choose New calendar group.
- Enter a name for the new calendar group and press Enter.
- When you add a new calendar by selecting the Add calendar link in the calendar pane, you can choose to which calendar group the new calendar is added.
To rename or delete a calendar group, right-click on the group name.
How to Create Calendar Groups in Desktop Versions of Outlook
You can create calendar groups in desktop versions of Outlook, including Outlook for Microsoft 365, Outlook 2021, Outlook 2019, Outlook 2016, Outlook 2013, and Outlook 2010.
Follow these steps to create a calendar group from an address book or Contact list.
- Open Outlook.
- Select Calendar.
- Select the Home tab.
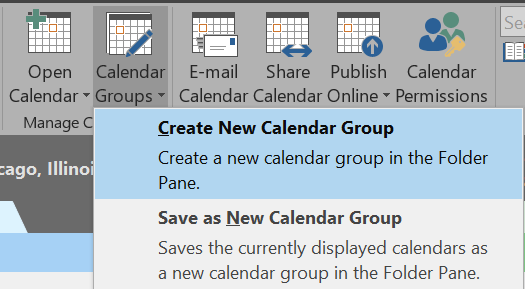
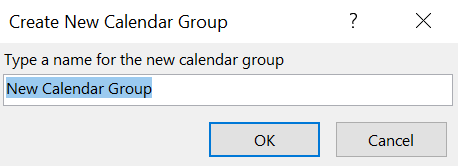
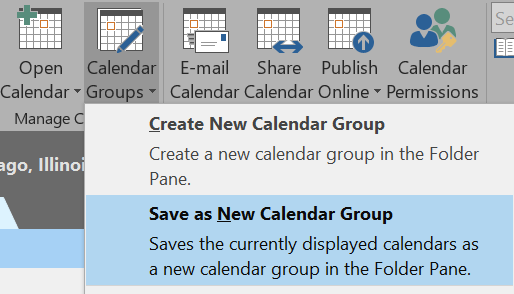
- In the Manage Calendars group, select Calendar Groups > Create New Calendar Group.
- Give the new calendar group a name and click OK.
- In the drop-down list under Address Book, choose the contact list from which you want to select members of the calendar group.
- Browse or search for names, select the name you want, and select Group members. Repeat this step until you’ve added everyone you want.
- Select OK.
To create a calendar group based on the calendars you’re currently viewing, follow these steps:
- In Calendar, select the Home tab.
- In the Manage Calendars group, select Calendar Groups > Save as new calendar group.
- Enter a name for the calendar group and select OK.
If you’d like to add calendars to an existing calendar group, follow these steps:
- On the Home tab in the Manage Calendars group, select Open calendar.
- Select the type of calendar.
- Browse for names, select the name you want, and select Calendar. Repeat until you’ve added all the names you want.
- Select OK.
- The calendars you selected will appear in the Shared Calendars group. Drag and drop them to the Calendar Group of your choice.
You’ll find that by creating calendar groups, you’ll be better organized and able to find the calendar you’re looking for quickly.
