Providing a reference for your readers or adding one for yourself is a convenient way to link related documents together. Luckily, you can insert a Microsoft Word document into another Word document in a few different ways.
Depending on how you want to display your referenced document, you can link to it using an object or an icon, or simply embed the content from the other Word document. We’ll show you how to do each one, so you can use whichever works best for you.
Note: Keep in mind that if you share the document with others, they’ll also need access to the referenced document.
Insert a Word Document as a Linked Object
One way to insert the document is to use a linked object. This adds the content from the other document to the current one as an object, a text box.
- Place your cursor in your document where you want the object and go to the Insert tab.
- Select the Object drop-down menu in the Text section of the ribbon and pick Object.
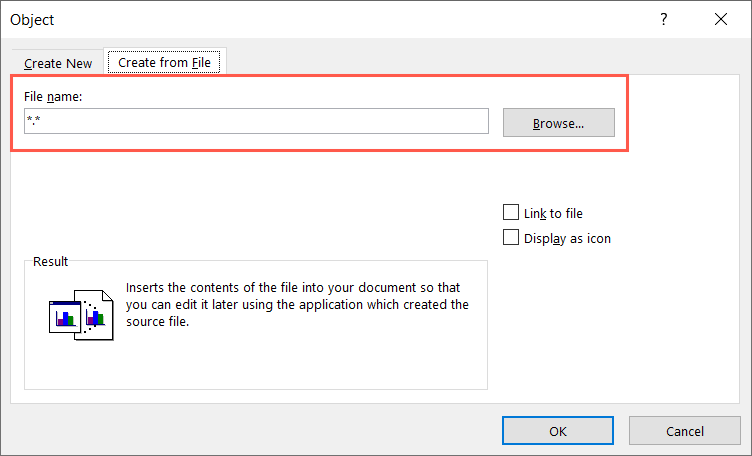
- In the Object pop-up box, go to the Create from File tab.
- Enter the path to the document in the File name box or use the Browse button to locate, select, and open the document.
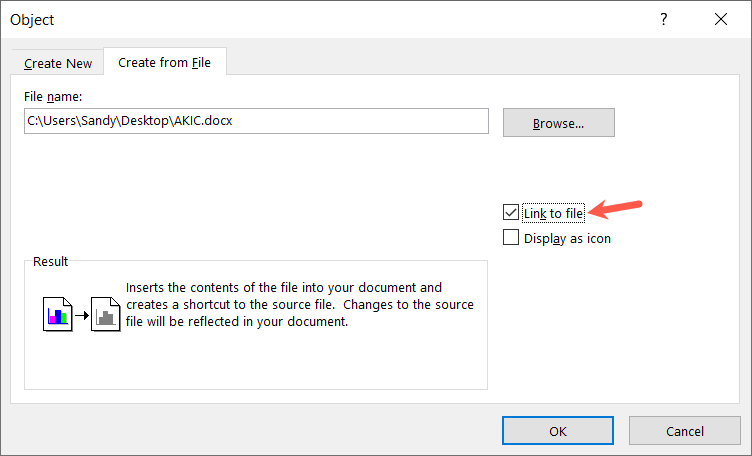
- Check the box for Link to File.
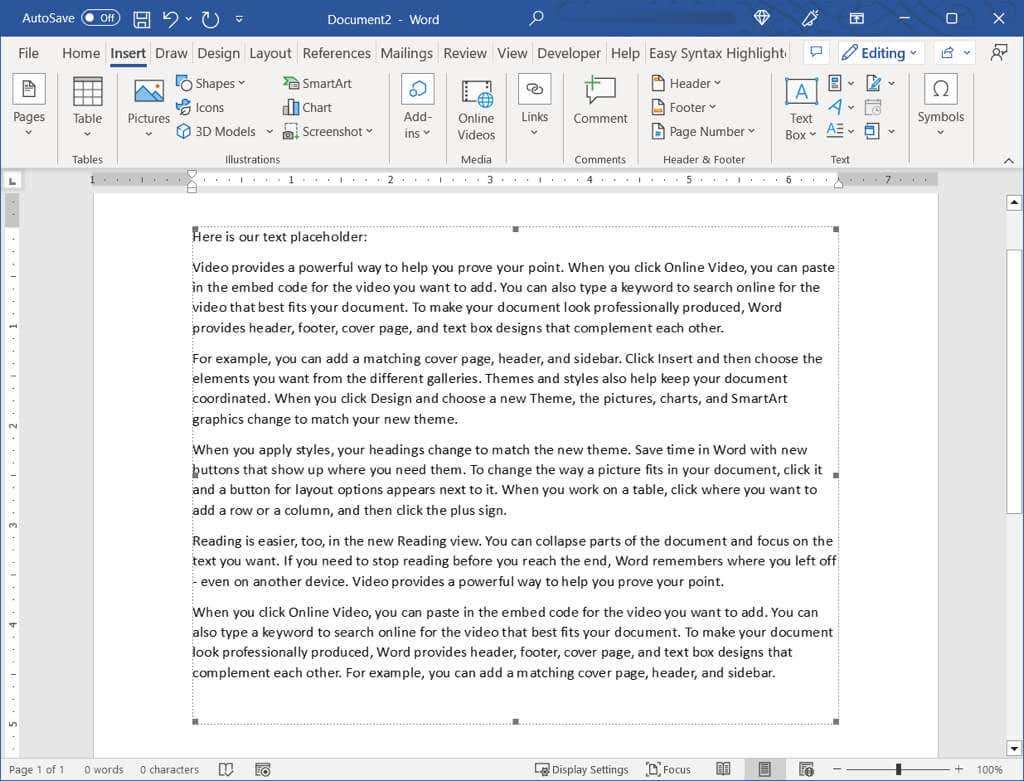
- Pick OK and you’ll see the content embedded in your document.
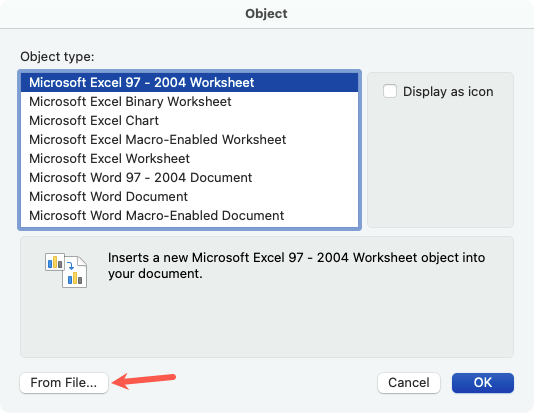
On Mac, follow the same steps to open the Object box and select From File. Find and choose the file, pick Insert, and select OK.
If you select the embedded text, you’ll notice a border around it. This is because it’s a text box which allows you to move or resize it as needed.
Using this method, you can double-click the object to open the source document. Make your changes there, save the document, and you’ll see those edits in your current document.
If you want to remove the object later, select it and use your Delete key.
Insert a Word Document as a Linked Icon
If you want to link to the Word document using an icon, this is another option. You then simply select the icon to open the document.
- Place your cursor in your document where you want the icon and go to the Insert tab.
- Select the Object menu down arrow and pick Object.
- In the Object box, go to the Create from File tab.
- Enter the path to the document in the File name box or use the Browse button to choose the document.
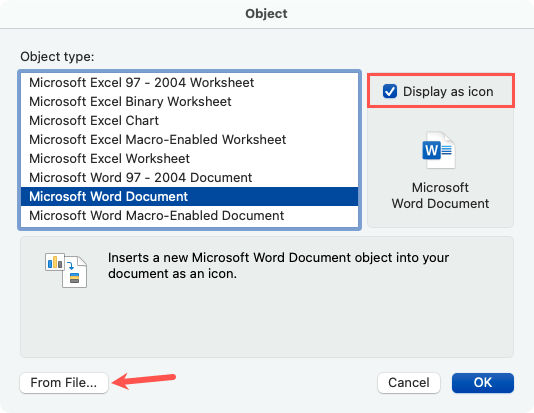
- Check the box for Display as Icon.
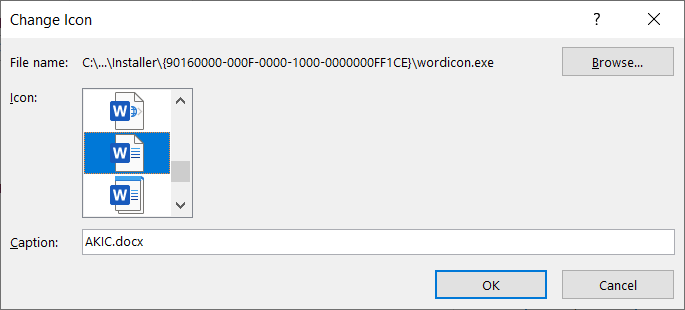
- Optionally, you can use the Change icon button to pick a different one. Choose the one you want to use in the Change Icon box and select OK.
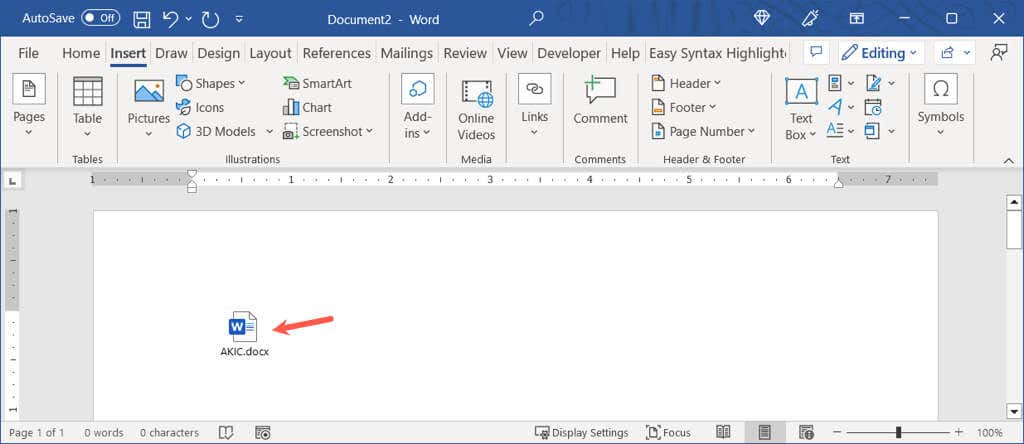
- Pick OK and you should then see the icon appear in your document. Select the icon to open the connected Word document.
On Mac, follow the same steps to open the Object box and optionally choose the file type. Select From File, find and choose the file, and pick Insert. Mark the Display as Icon checkbox and select OK.
If you want to remove the icon later, select it and use your Delete key.
Embed the Text From a Word Document
One more way to insert your Word document is to pull in the text itself. This doesn’t link the documents together but gives you all of the content without copying and pasting from one to the next. The steps are the same for both Windows and Mac.
- Place your cursor in your document where you want the text and go to the Insert tab.
- Select the Object drop-down menu and pick Text from File.
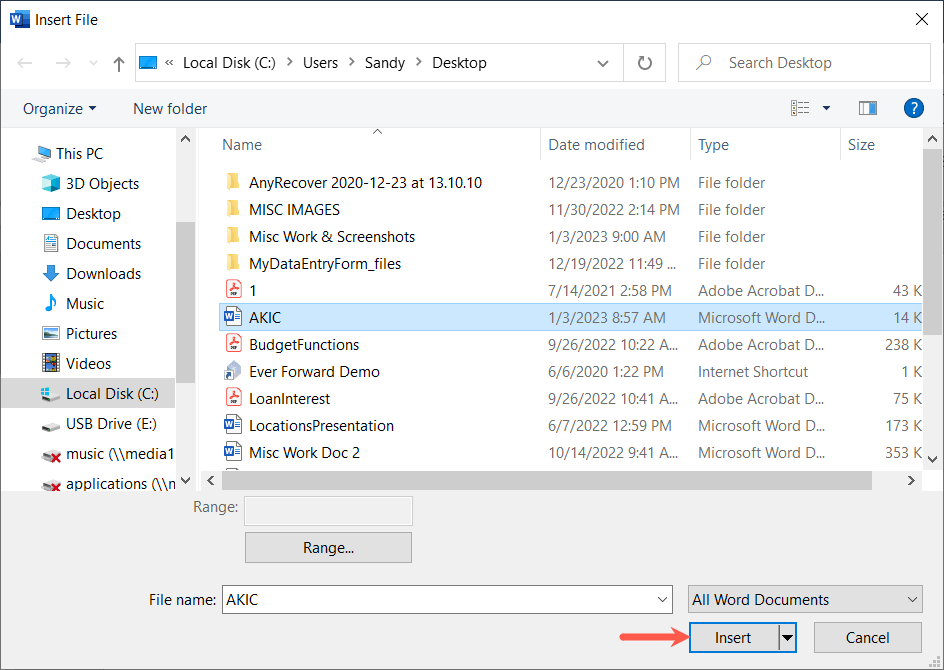
- When the Insert File dialog box opens, locate and select the Word file. Then, pick Insert.
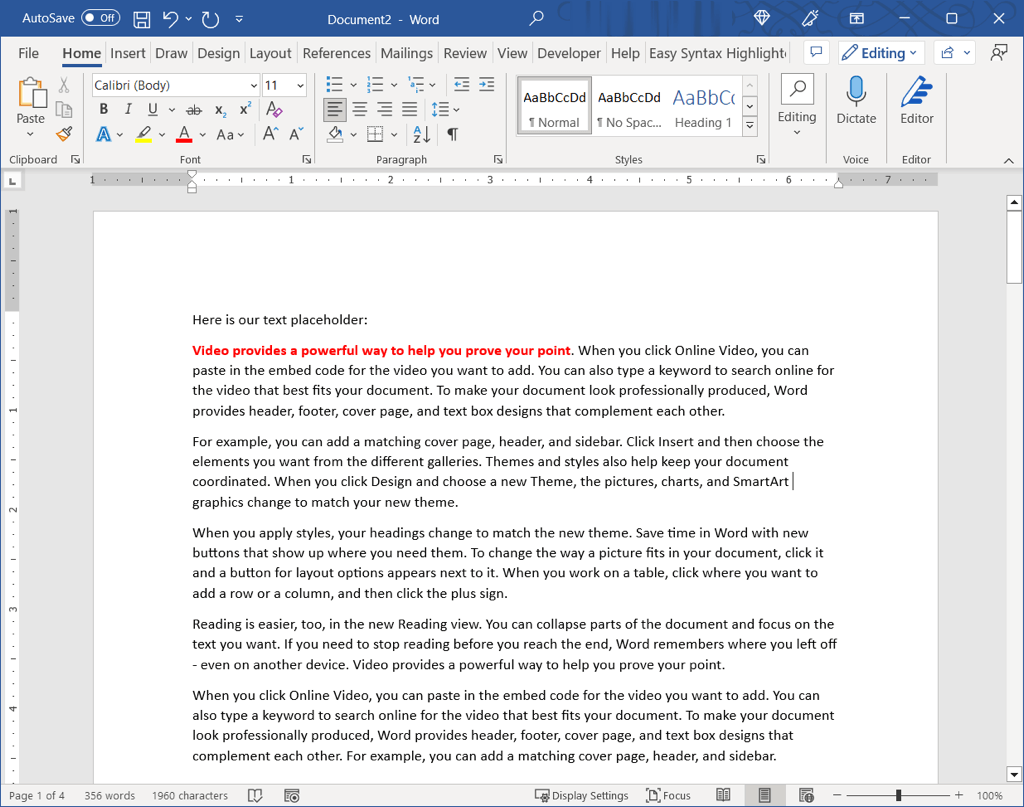
You’ll then see the content from the document inserted in the current one.
Different from the first method above, if you make changes to the source file, you won’t see them reflected in the current document. If you use this option, you can simply edit, format, and delete the text as if you typed it directly into the document.
Inserting one Word document into another is a handy way to reference related content. For more Microsoft Office tutorials, look at how to use the Compare and Combine Document features in Word.
Related Posts
Sandy Writtenhouse is a freelance technology writer and former Project, Department, and Program Manager. She turned her education, job experience, and love of technology into a full-time writing career. With all sorts of gadgets in her home and her hands, she seeks to help others make life easier through technology. Read Sandy’s Full Bio
