
There are a few ways to insert arrows in Microsoft Word, depending on which type of arrow you want to use and which device you’re using. Here’s what you need to know.
Arrows are a good shape to add to a Microsoft Word document when you need to draw attention to a specific element on the page or to show the flow or steps in a process.
Insert an Arrow in Word Documents on the Desktop
Inserting an arrow in your Word document on a Mac or Windows PC is as simple as inserting a shape or symbol.
Insert an Arrow Using the Shapes Feature
You can use the Shapes feature to insert an arrow in your Word document.
- Open the Word document you want to add an arrow to.
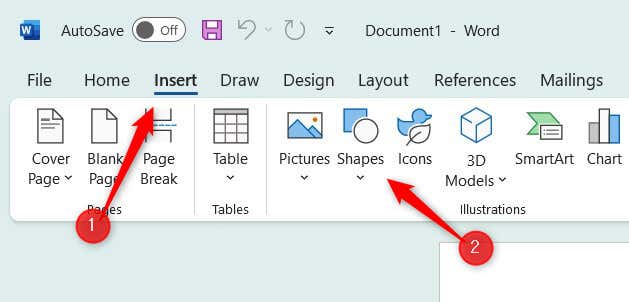
- Click the Insert tab, and then click Shapes in the Illustrations group.
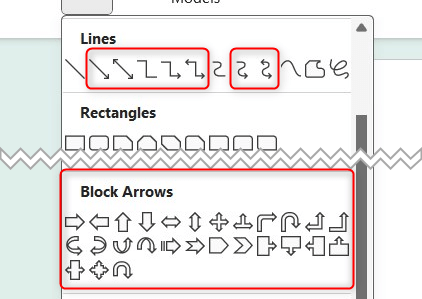
- A drop-down menu will appear. There are a few arrow designs you can choose from the Lines group, or you can select one from the Block Arrows group.
- Finally, click and drag your cursor to draw the arrow.

The arrow is now inserted into your Word document. You can change the size of the arrow by clicking and dragging the bullets surrounding the shape or change the color in the Shape Format tab.
Insert an Arrow Using the Symbols Feature
You can also insert an arrow in Word using its Symbols feature.
- Open the Word document you would like to add the arrow to.
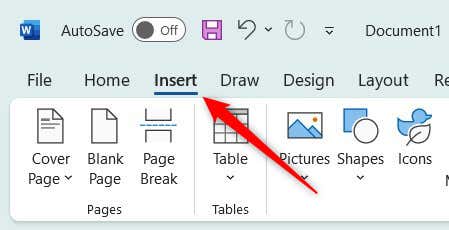
- Click the Insert tab.
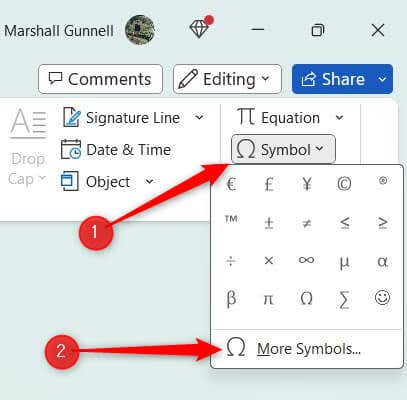
- Next, click the Symbol option in the Symbols group, and then select More Symbols in the drop-down menu.
- The Symbol window will appear. Click the arrow in the Font box to display a drop-down menu, and then select Windings.
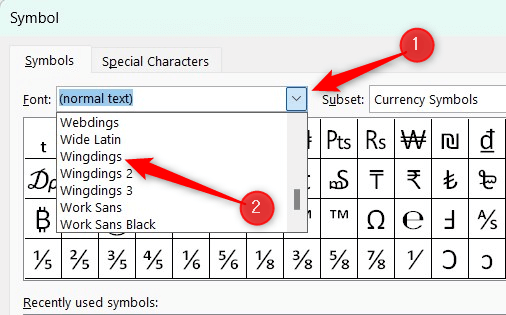
- Scroll down a bit and you’ll find a large selection of arrows. Select the arrow you want to use and then click Insert.
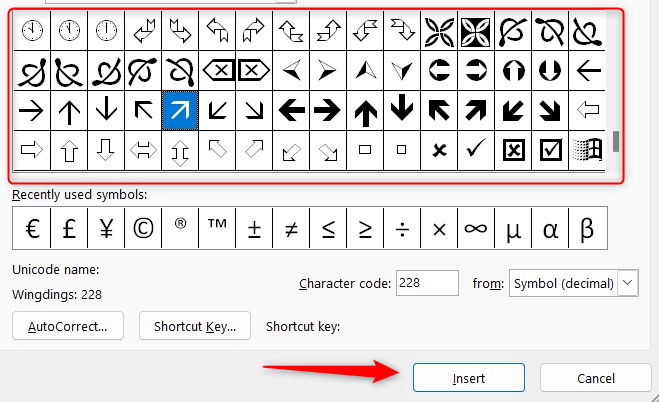
The arrow is now inserted into the Word document. This arrow is treated as a standard text element, so the customization is limited to font size. If you need more flexibility, use the Shapes option.
Insert an Arrow in Word Documents on Mobile
You can insert an arrow on Word for iOS and Android, but only via the Shapes option. Symbols aren’t available on the mobile version of Word.
- Open Word on your iOS or Android mobile device.
- Tap the Pencil icon. This allows you to edit the document.

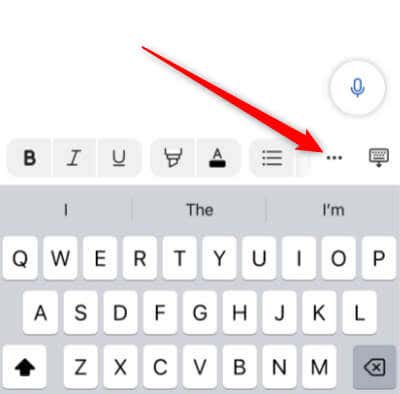
- Next, tap the Ellipsis icon.
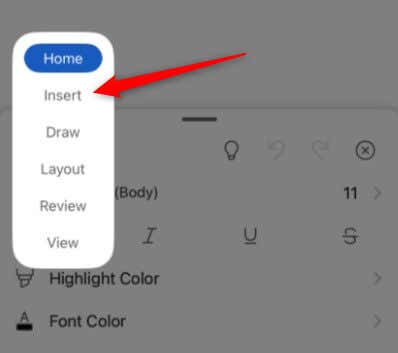
- Tap Home in the top-left corner of the new window to display a list of options.
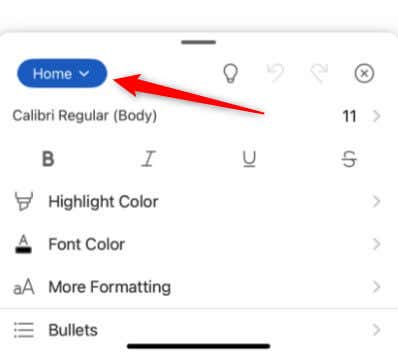
- In this list of options, tap Insert.
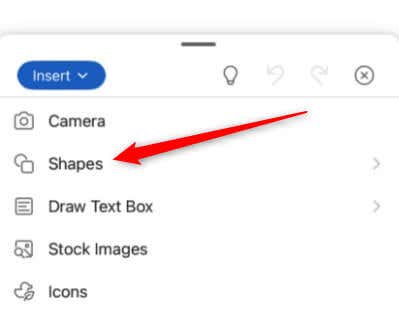
- Next, tap Shapes.
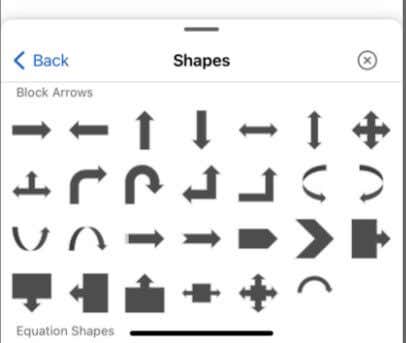
- Scroll down to the Block Arrows group and tap the arrow you want to insert into the Word document. There are also a few arrow designs available in the Lines group.
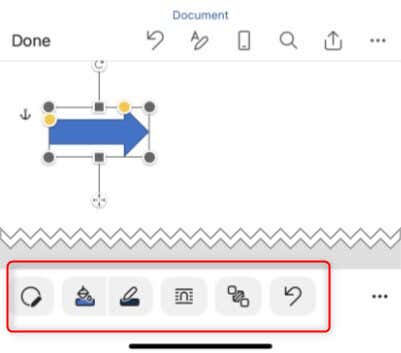
- Tap and drag the bullets to resize the arrow. You can also customize the arrow using the options at the bottom of the screen if necessary.
That’s all there is to it.
How to Type Arrows in Microsoft Word
If you’re in a hurry and don’t want to click through the options in Word, you can type the arrows in Word. You can do this by taking advantage of autocorrect or by using keyboard shortcuts.
Here’s what you must type to have Word autocorrect into an arrow.
Here’s what you should type to insert arrows using a keyboard shortcut.
- Left arrow: Alt + 27
- Right arrow: Alt + 26
- Up Arrow: Alt + 24
- Down Arrow: Alt + 25
- Left-Right Arrow: Alt + 29
- Up-Down Arrow: Alt + 18
Pointing in the Right Direction
Adding arrows to a Microsoft Word document is a straightforward process that can improve the clarity and visual appeal of your content. By making good use of arrows, you can easily direct attention, illustrate processes, or just add a creative touch to your Word documents, making your content more engaging and informative.
Related Posts
Marshall is a technical writer based in Tokyo, Japan. His bylines are found on VGKAMI, How-To Geek, PCWorld, Zapier, and many other online magazines. Read Marshall’s Full Bio

