Microsoft Outlook allows meeting organizers to view a list of people who have accepted a meeting invitation. That means you can use Outlook’s meeting tracking to view a list of everyone who has RSVP’d to your meeting, and in most cases, you can see who has accepted a meeting even if you’re not the meeting organizer.
We’ll walk through how meeting responses work in Outlook and how to view meeting attendee tracking on the browser, desktop, and mobile versions so you can see who accepted a meeting invitation in Outlook.
Should You Opt To Send a Response?
When you receive an invitation to a meeting, you can choose Accept, Tentative, or Decline. Whichever response you choose, you can then opt to:
- Edit the Response before Sending
- Send the Response Now
- Do Not Send a Response
If you choose the third option, then the meeting organizer will not receive an email with your response. That doesn’t necessarily mean that your response won’t be tracked, though. If you’re using Outlook for Mac, Outlook on the web, Outlook for iOS, or Outlook for Android, your response will still be tracked even if you choose “Do Not Send a Response.”
Furthermore, if you’re a Microsoft 365 user and you choose to accept, tentatively accept, or decline a meeting invitation without sending a response, the meeting organizer and other attendees who are Microsoft 365 users will still all be able to see your response.
Microsoft for Windows is the exception. If you’re invited to a meeting and you choose “Do not send a response,” then neither the meeting organizer nor the other attendees can view your response to the invitation. That might not be the case for long, though. Microsoft says, “We do plan to update this behavior in Outlook for Windows as well, but do not yet have an expected release date.”
Lastly, be aware that if the meeting was organized by a Microsoft 365 user, the list of invitees and their responses can be viewed via any Outlook app except Outlook for Android. Responses cannot be viewed in non-Outlook apps.
How To Use Outlook Meeting Tracking in a Browser
Follow these steps to view responses to a meeting in Outlook online.
- Navigate to outlook.office.com and sign in with your username and password.
- Select the calendar icon on the left.
- Select the date of the meeting you’re interested in tracking.
- Select the specific meeting for which you want to see responses.
- In the meeting info pop-up, select the diagonal arrow “View Event” icon.
- In the expanded view of the event, you’ll see information on who organized the meeting and how invitees have responded.
- Expand each category by selecting the > icon to see individual responses.
As mentioned, if you’re a Microsoft 365 user, the steps above should work whether you’re the meeting organizer or not.
It’s worth noting that there isn’t a good way to copy the list of responses from Outlook online. For that, you’ll need Outlook’s desktop application.
How To Use Outlook Meeting Tracking in the Desktop App
Users of most desktop versions of Outlook can follow these steps to see who accepted a meeting invitation in Outlook. As noted, this will only work if you are the meeting organizer.
- Open Outlook and select the calendar in the Outlook navigation panel.
- Select the meeting you’re interested in from the calendar.
- Select the Meeting or Meeting Occurrence tab.
- Select Tracking.
- If the meeting is recurring, choose to view tracking for the meeting occurrence or the whole series.
- You’ll see a list of meeting invitees and their responses.
- If you want to print a list of responses or paste them elsewhere, select the dropdown arrow next to Tracking on the Meeting tab and choose Copy status to clipboard.
- Now you can paste (Ctrl + V) the tracking information into a document like Word or Excel for printing or paste it anywhere else you want, like into an email or chat message.
While Outlook’s desktop app for Windows is a bit clunkier and less sleek than its online version, the ability to easily copy meeting tracking information is a nice feature.
How To See Who Accepted a Meeting Invitation on Outlook for Mobile
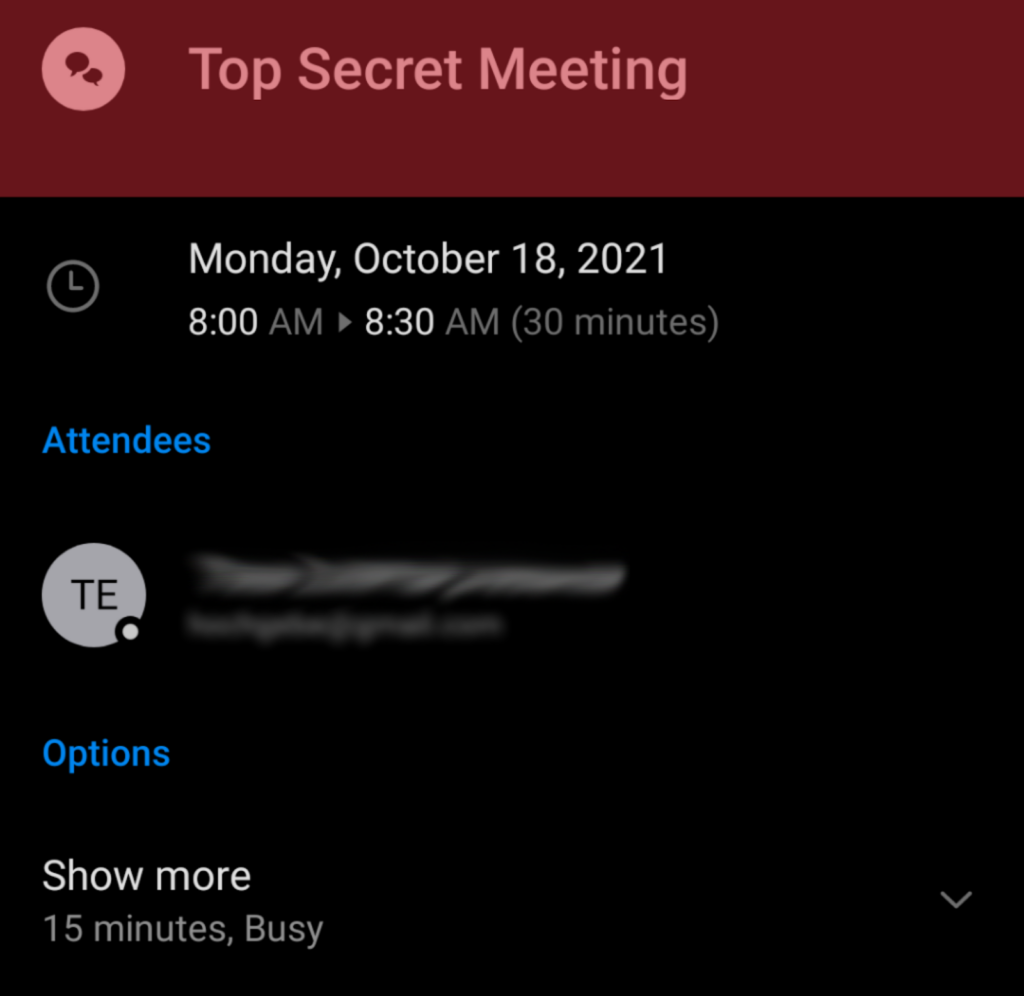
When you’re on the go, you can still check to see who has accepted a meeting invitation using the Outlook app for your mobile device.
- Launch the Outlook app.
- Select the calendar.
- Select a meeting in the calendar.
- Under Attendees, you’ll see a list of people who accepted the meeting invitation.
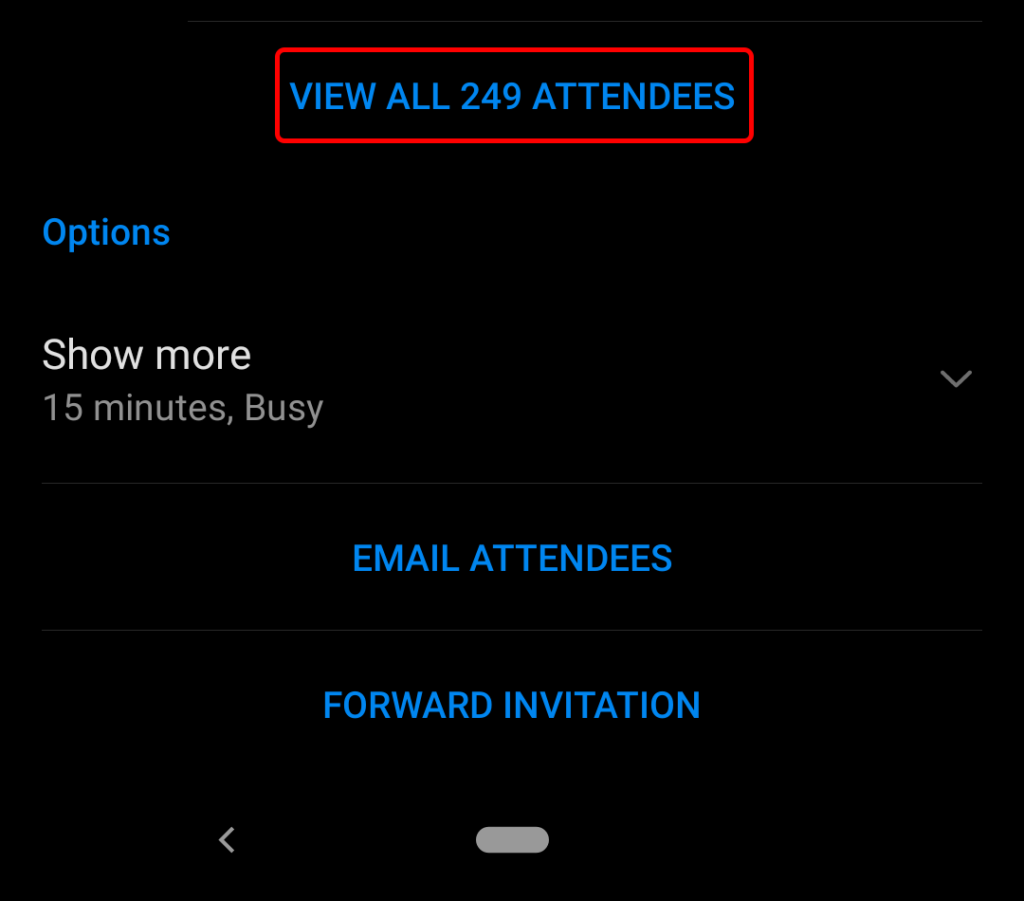
- If the meeting has a lot of attendees, you may see a link to View all attendees.
- Select the View all ### attendees link to view a list of all attendees sorted by response (accepted, tentative, declined).
How To Change What Outlook Does with Meeting Responses
Meeting organizers using Outlook for Microsoft 365, Outlook 2021, Outlook 2019, Outlook 2016, and Outlook 2013 can change how Outlook processes meeting responses. You can opt to have meeting responses bypass your inbox. Meeting responses are set to skip your inbox by default, but you can change that behavior if you want.
- In Outlook, select File > Options.
- In the Outlook Options window, select Mail.
- In the Tracking section, if the box labeled Automatically process meeting requests and responses to meeting requests and polls is checked, then no meeting responses will appear in your inbox unless the invitee added a comment to their response. The tracking information for the meeting will be updated accordingly. If you uncheck this box, you’ll get a message in your inbox every time an attendee updates their response.
- Similarly, you can check the box marked Update tracking information, and then delete responses that don’t contain comments. The meeting will be updated with any responses you receive, and the responses themselves will be deleted if they don’t contain any comments.
As you can see, just by tweaking a few different settings, you can get Outlook to do exactly what you want with meeting responses and tracking information.


