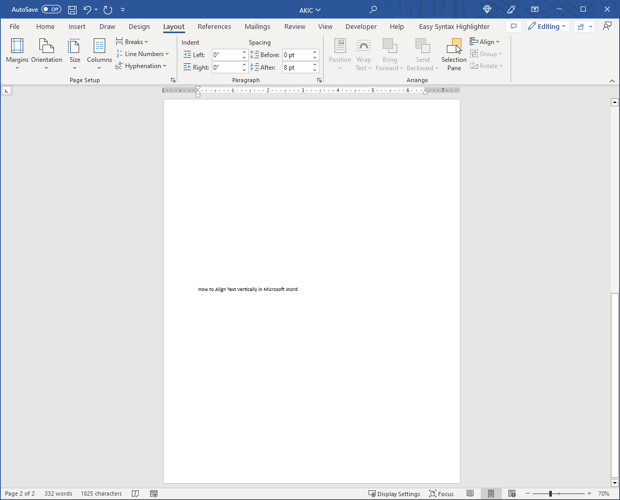
When you create a cover page or a title page, you may want to vertically align the text. In Microsoft Word, you can center the text or put it at the top or bottom in just a few steps.
Align All Text Vertically
If you want to align all of the text in the document, for example, it might be a single page Word document, you can do this easily.
- Go to the Layout tab and open the Page Setup dialog box. You can do this by selecting the dialog box launcher (small arrow) in the bottom right corner of the Page Setup group.
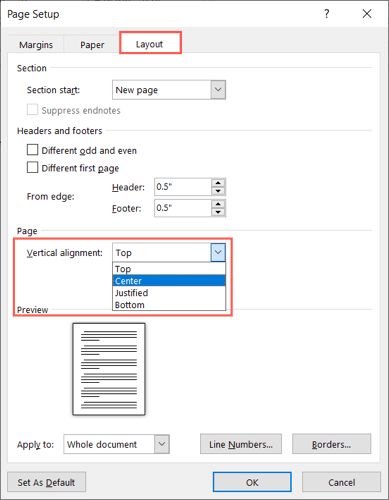
- Select the Layout tab in the box that opens.
- Use the drop-down menu in the Page section next to Vertical alignment to pick the placement you want. You can choose from top, center, justified, or bottom alignment. The option you pick places the text in that position based on the top and bottom margins.
- In the Apply to drop-down box at the bottom, be sure that Whole document is selected and pick OK to apply the change.
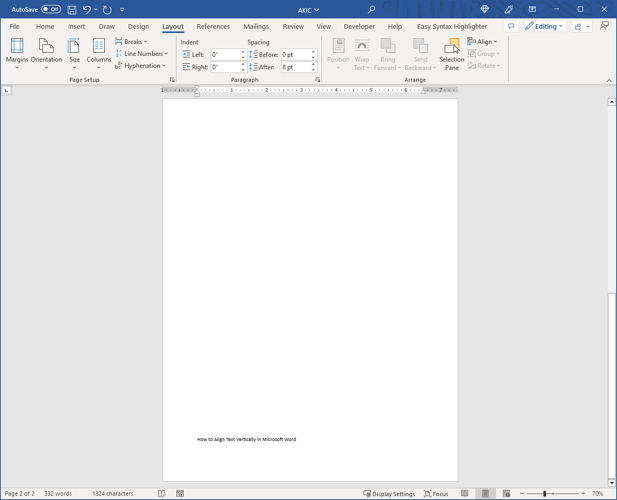
You should then see your text aligned vertically using the position you chose.
Align Certain Text Vertically
Maybe you only want to align a specific portion of text in your Microsoft Word document like a heading or paragraph. You can do this with the same steps as above with one slight adjustment.
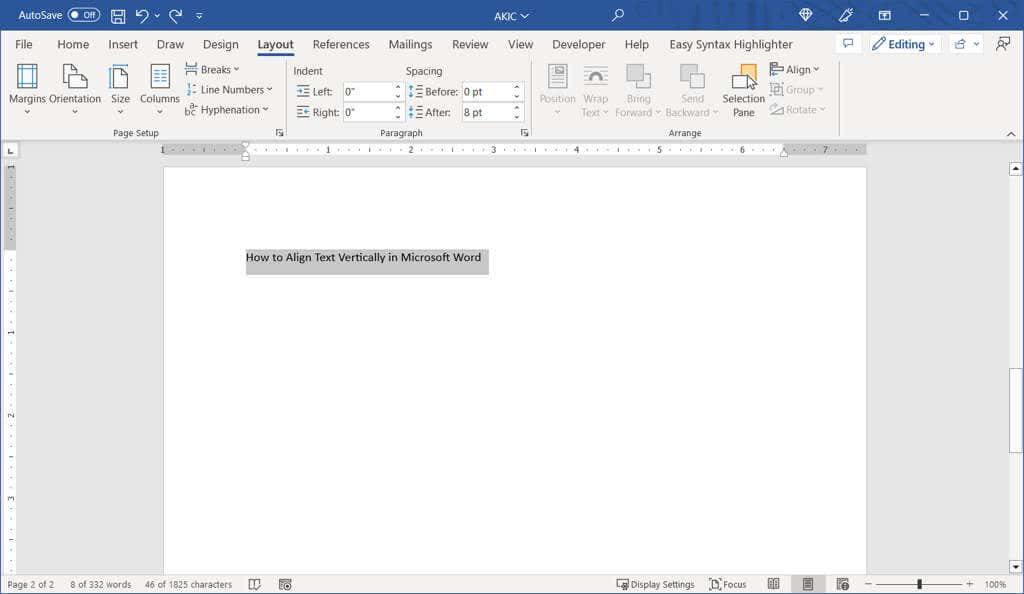
- Select the text you want to align by dragging your cursor through it.
- Go to the Layout tab and open the Page Setup dialog box.
- Select the Layout tab in the box.
- Choose one of the alignment options in the Vertical alignment drop-down list.
- In the Apply to drop-down choose Selected text.
- Pick OK to apply your change.
You should then see only the text you selected aligned vertically.
Align Text Vertically From a Point Forward
One more way to align the text in your document vertically is starting at a certain point. You might do this if you want to keep the previous text as-is, but change the text you add moving forward.
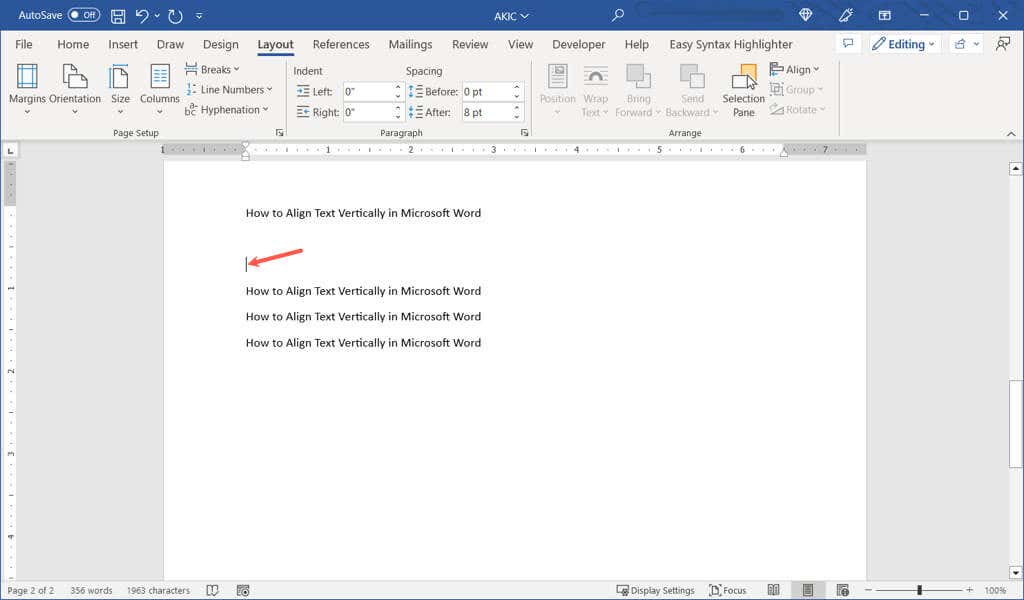
- Place your cursor in the document to set the starting point for the alignment.
- Go to the Layout tab and open the Page Setup dialog box.
- Select the Layout tab in the box.
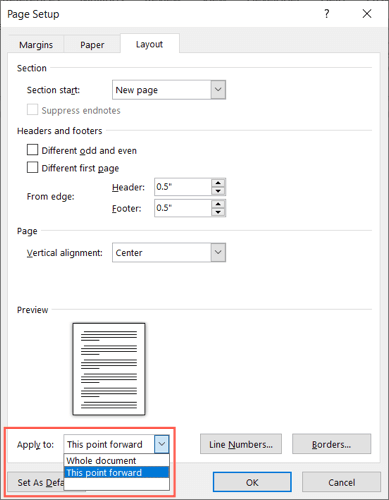
- Choose the placement of the text in the Vertical alignment drop-down list.
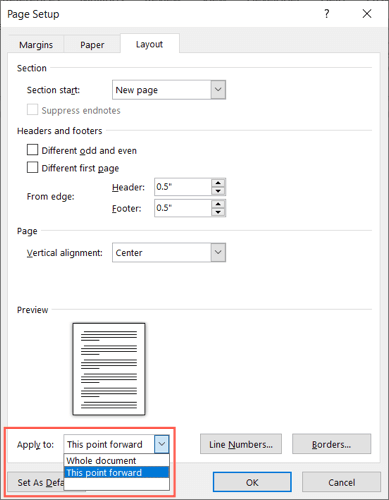
- In the Apply to drop-down choose This point forward.
- Pick OK to apply your change.
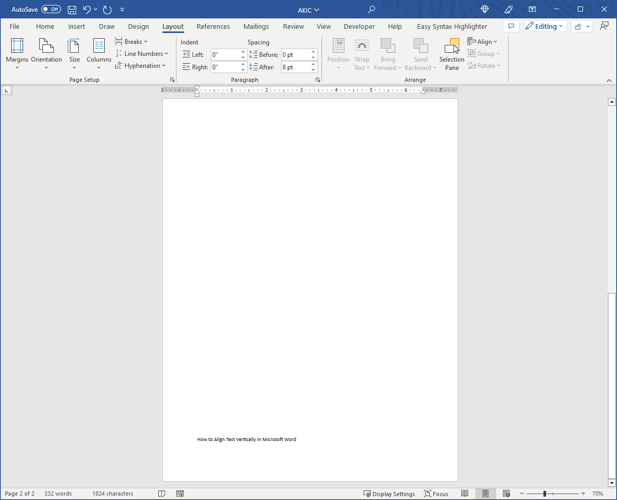
You should then see any text after your cursor aligned vertically.
When you want to customize the appearance of your document, centering text vertically or placing it at the top or bottom of the page is simple in Microsoft Word.
Once you choose your vertical text alignment, take a look at our tutorial for inserting a horizontal line in Microsoft Word.

