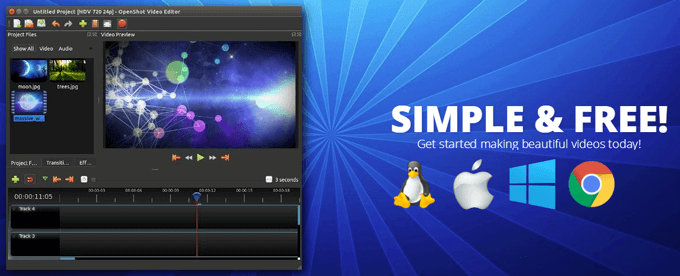
Affordable, consumer-level video editing software used to be a needle in a haystack, and to find it for free was nearly impossible. However, the proliferation of smartphones coupled with a tidal wave of consumers wanting to create and edit their own videos has resulted in a lot more options. OpenShot Video Editor is a great choice among many.
OpenShot achieves the trifecta of software triumphs. It’s free, open-source, and frequently updated. What’s more, it’s available for a variety of operating systems including Linux, Chrome OS, Mac, and Windows. We’re big fans of the open-source development community, so if you find that OpenShot Video Editor meets your needs, we encourage you to support the developers.
Download and Install OpenShot Video Editor
Video editing is resource intensive, so you’ll want to install OpenShot (or any video editing software) on the beefiest computer you have access to. If you have Windows, Linux, or Mac, make sure it has a 64-bit operating system.
OpenShot recommends at least 16GB of RAM, although they say you can go as low as 4GB. And, of course, you’ll need a lot of hard drive space—a minimum of 500MB for installation and more to store your video clips and final project.
Visit OpenShot’s download page and download the right version for your operating system. Run the downloaded file, and follow the installation wizard to install OpenShot on your machine.
The OpenShot Interface Explained
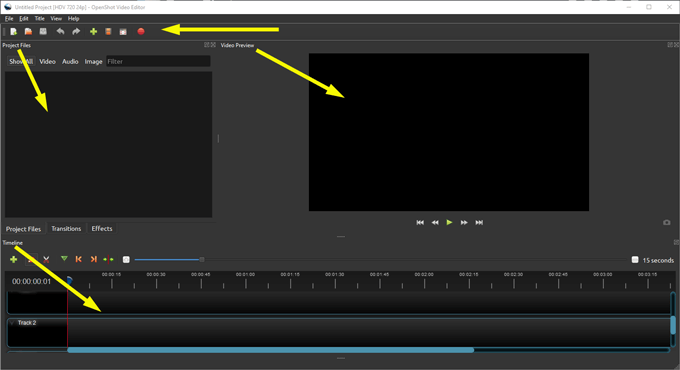
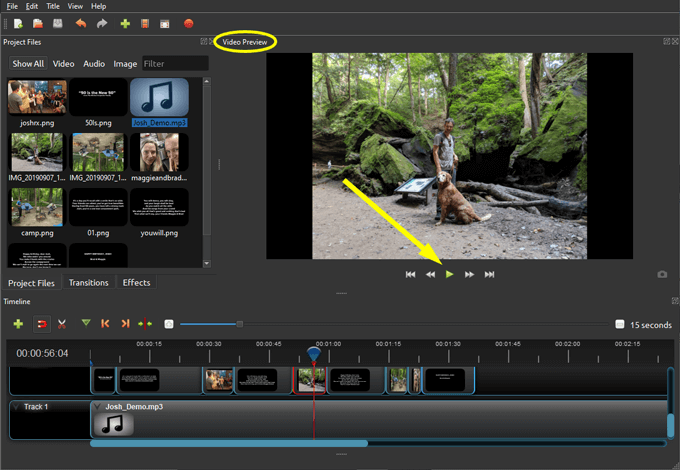
Launch OpenShot, and you’ll see that the interface is separated into four main areas: Main Toolbar, Project Files, Timeline, and Video Preview.
The main toolbar is where you’ll find buttons for common actions such as creating a new project, opening a project, saving your project, undo and redo, import, and export.
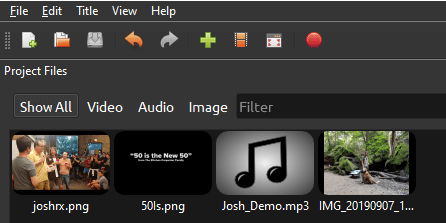
The area labeled Project Files is where you’ll find all the video, audio, and image files that you have imported into your project. You will arrange these files on the timeline to create your video.
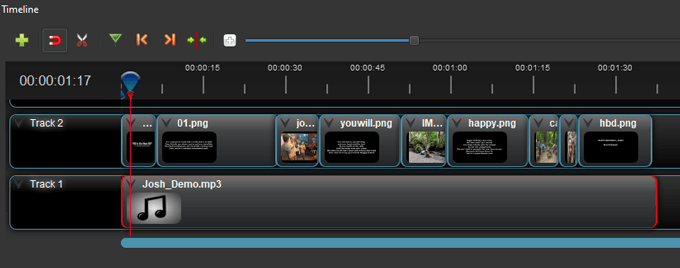
As you might imagine, the Timeline is where you can see all your video, audio, and image clips and transitions—all the pieces that make up your project.
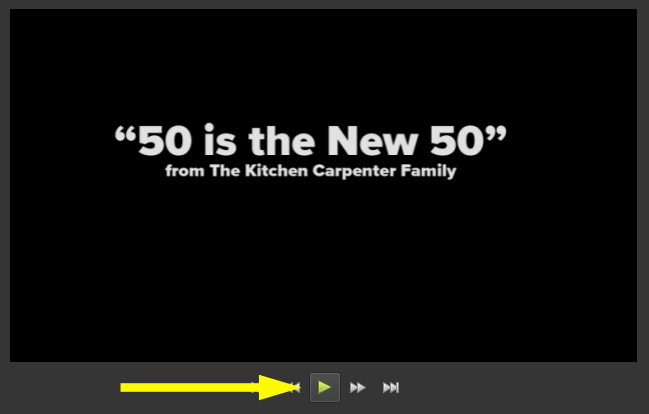
You can always watch a preview of your project so far by pressing the Play button in the Video Preview area.
Import Media Files into OpenShot Video Editor
When you launch OpenShot, it will open to a new unsaved and untitled project. Think of it like the blank page you see when you open Microsoft Word. (If it’s the very first time you’ve ever opened OpenShot, you’ll also see the built-in tutorial. Access the built-in tutorial again by going to Help > Tutorial.)
The first thing you’ll need to do is import the video, audio, and/or image files you want to use in your video project. Here are two ways to import project files.
Drag and Drop into Project Files Area
- In your file explorer, navigate to the files you want to import.
- Select the files you want to use in your project.
- Drag and drop the files into the Project Files area of OpenShot.
Import Media Files Via the Main Toolbar
Alternatively, you can select the green plus icon in the main toolbar and navigate to the files you want to import.
Arrange Clips on a Timeline in OpenShot Video Editor
Next, arrange your files on the timeline. Drag your video or image files to a track on the timeline. Arrange them in the order you want them to appear in your video. If you’re using static image files, you can adjust the duration of those clips by following these steps:
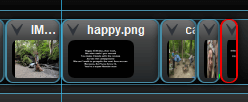
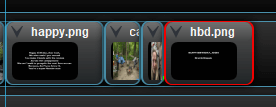
- Select the clip on the timeline. The selected clip will have a red border.
- Hover your mouse over the end of the clip so that you can see the double-arrow icon.
- Press your mouse button and drag the end position of the clip so the clip is the duration you want.
You can use any of your Project Files as many times as you want.
Add Music to Your OpenShot Video Editor Project
If you want to add a music track to your video, you can easily do that in OpenShot Video Editor.
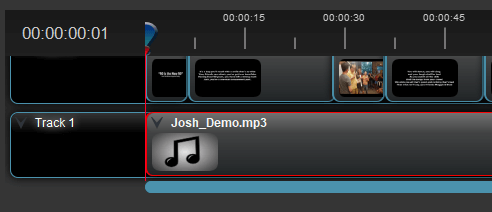
- Drag the audio file from Project Files to an empty track on the Timeline. Audio files will have an icon of a musical note on them (versus a thumbnail image if the file is an image or video).
- If the song is longer than your video, click and drag the right edge of the audio clip to the left, which will cause the audio track to end earlier.
- If the song isn’t long enough for your video, you can always add multiple audio files or even the same one multiple times.
Preview Your OpenShot Video Project and Save It
Once all your clips are on the timeline, watch a preview of your video in the Video Preview area.
If you like what you see, be sure to save your project by selecting the Save Project icon in the main toolbar or by going to File > Save Project As.
Exporting Your Project in OpenShot Video Editor
When your project is finished, you can export the video to several different file formats.
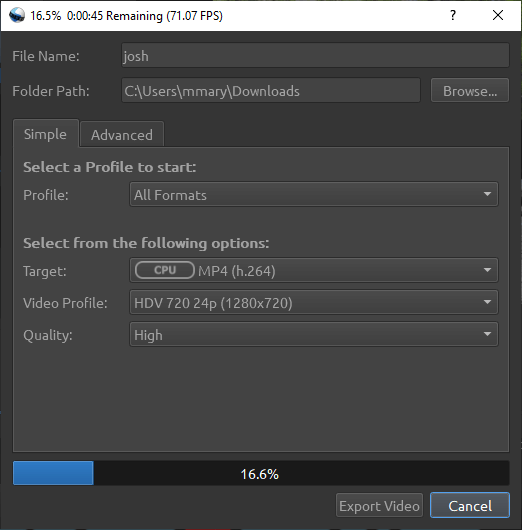
- Select the red circle icon on the main toolbar or go to File > Export Project.
- Give your exported video a name.
- Browse to the folder where you want the exported video to be saved.
- Choose what format the exported video should be. Options include MP4 (best for uploading to YouTube), AVI, FLV, MOV, MPEG, OGG, or WEBM.
- Select the Export Video button. You’ll see a progress bar as your video exports.
- When the video is finished exporting, select Done. Your video will be saved in the folder you selected above.
There’s So Much More to OpenShot Video Editor
Don’t stop now! OpenShot Video Editor has many, many more features for you to explore, like transitions between clips, animations, and titles. In any case, the steps above should get you well on your way to a video you’ll be proud to share.
Related Posts
- How to Repair a Corrupted User Profile in Windows 11
- Preparing for Windows 10 End of Support: Upgrading to Windows 11
- How to Access and Change Your WiFi Router Settings (2025 Edition)
- How to Install the Latest Large Language Models (LLMs) Locally on Your Mac
- How to Find Circular References in Microsoft Excel
