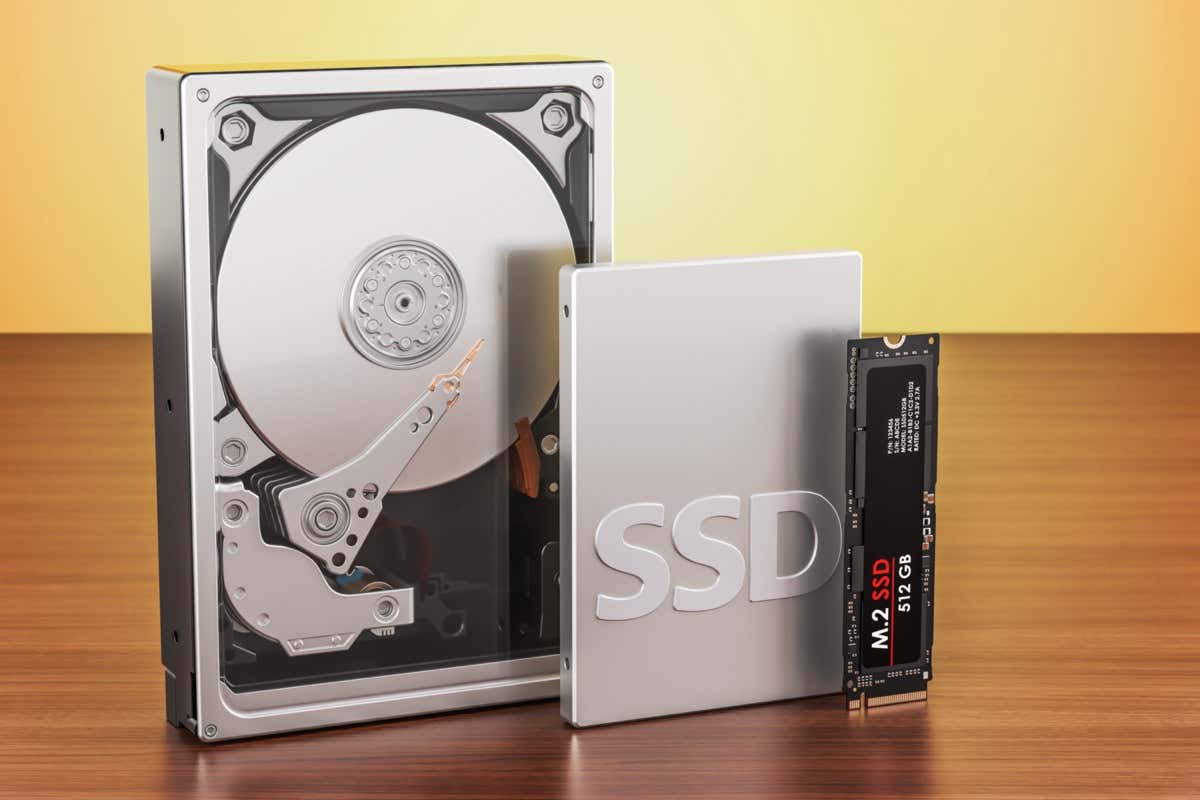
In any aging computer, the hard disk is usually the first thing to go. This is because unlike components like RAM or the processor, an HDD has more moving parts.
If you wait for your hard drive to fail before you replace it, there is a good chance of losing all the data on it. It’s much better to watch the hard disk’s health and move your information to an external hard drive before it dies on you.
Which brings us to the obvious question: How do you check the health of your hard drive?
Check the S.M.A.R.T. Status of Your Drive
If your PC’s hard disk drive isn’t too old, chances are that it already comes with self-monitoring technology. Called S.M.A.R.T. (Self-Monitoring, Analysis and Reporting Technology), this nifty system can tell you the status of your disk drive without requiring any complicated software.
You can get basic data about your SSD’s S.M.A.R.T. status using the built-in WMIC (Windows Management Instrumentation Command-line) tool in Windows 10 and Windows 11.
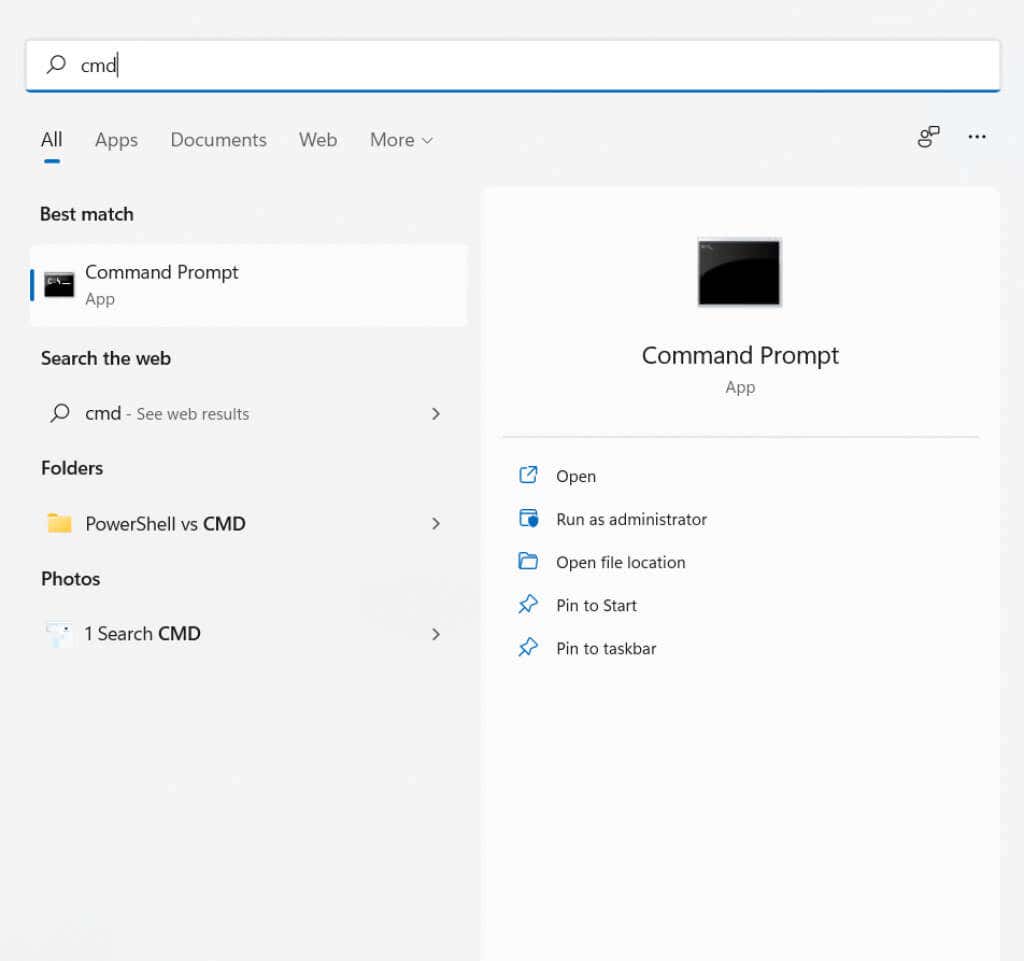
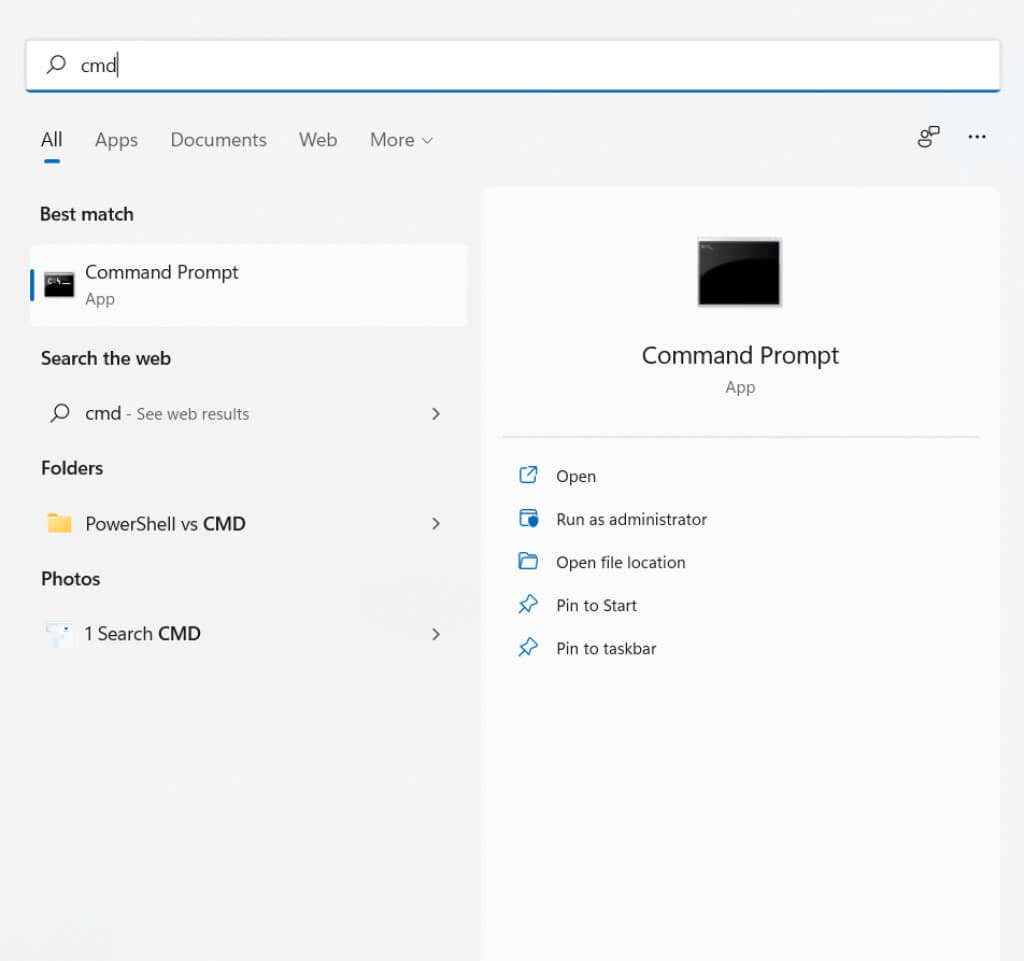
- First, run Command Prompt by searching for CMD in the Start Menu.
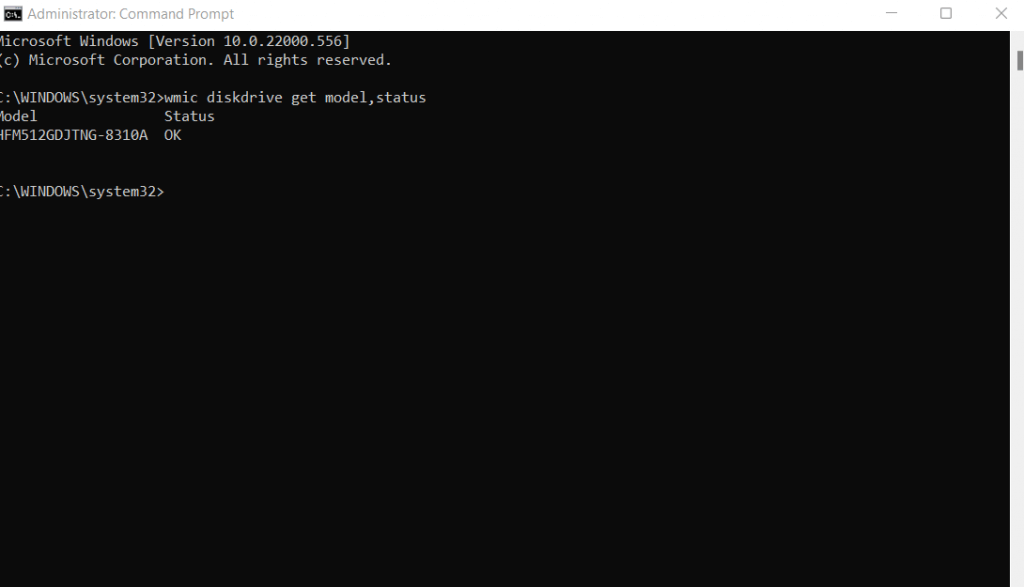
- Now enter the command wmic diskdrive get model,status
- This will display all the drives you have installed, along with their status. An OK means the drive is functioning properly, while a Pred Fail means it is about to fail.
- You can also use the wmic diskdrive get status command if you only have one drive on your PC.
The issue with the WMIC tool is that it only gives a basic yes/no status report. S.M.A.R.T. drives are capable of communicating much more data, but you need to get a better app to be able to read it.
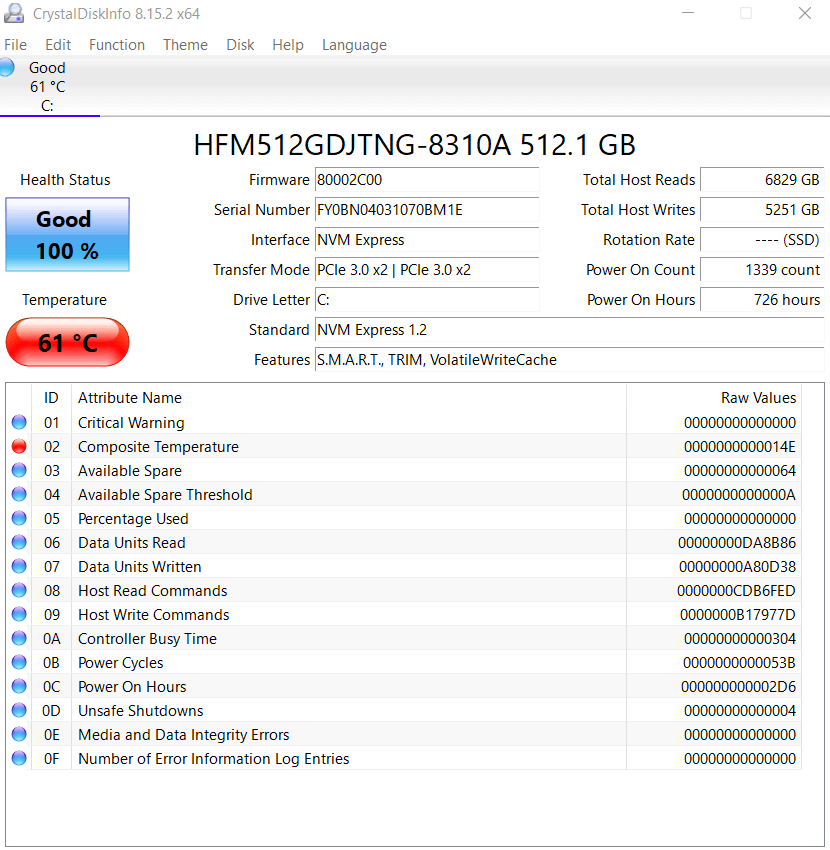
CrystalDisk Info is one such application. It can provide a detailed roundup of the SMART information of both internal and external disk drives, allowing you to understand the health of your drive much better.
2. Use the HDD Manufacturer’s Diagnostic Tool
Not all hard disk drives come with S.M.A.R.T. technology to check their health status. It is mostly solid-state drives that can monitor themselves; older drives usually don’t have a built-in option.
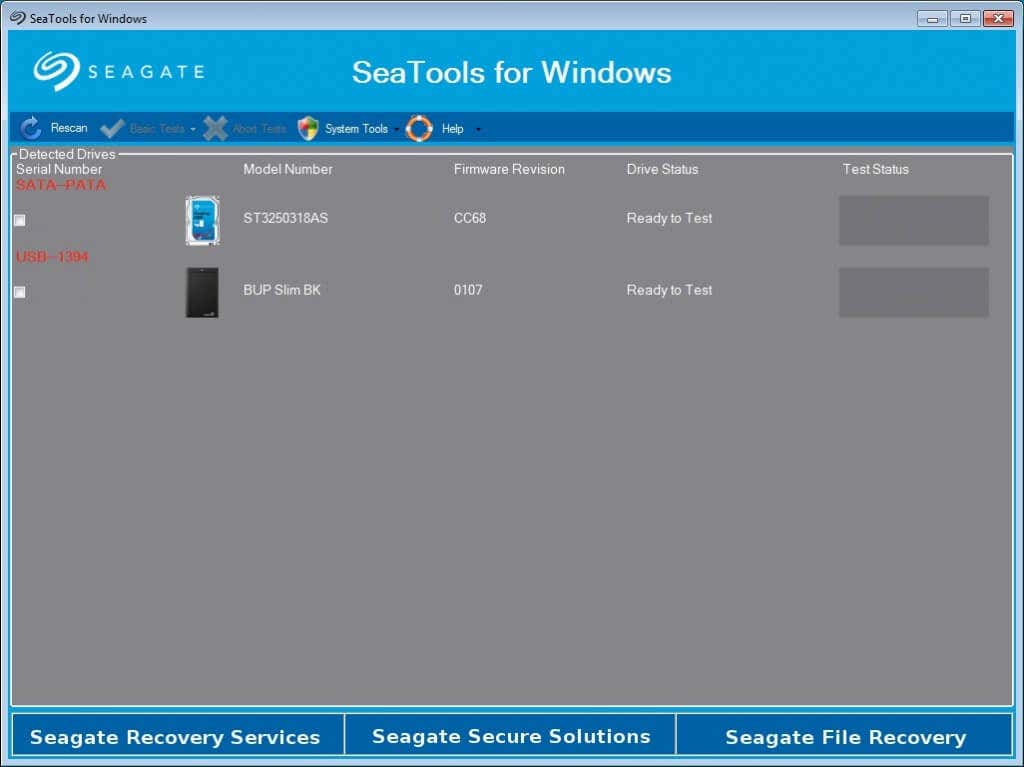
Fortunately, leading hard drive manufacturers like Seagate, Western Digital, and Samsung have a dedicated app for checking the status of their storage devices.
These apps test the HDD for bad sectors and system errors, giving you an accurate look into the chances of a complete drive failure. For drives without built-in error checking, this is usually the best way to diagnose any issues.
3. Test the HDD in BIOS
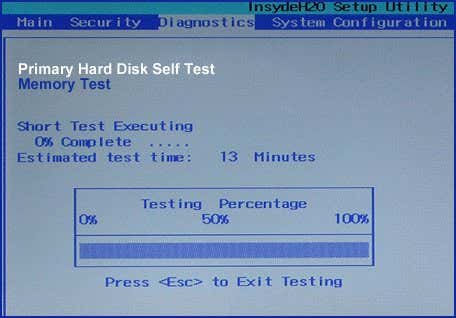
If you are having trouble finding your hard disk manufacturer’s diagnostic tool and don’t have a S.M.A.R.T. drive, you can always check its health from the BIOS. All motherboards have a BIOS that can be used to verify the status of all hardware components, including the hard disk drive.
As this interface is OS independent, it also prevents any interference from the operating system or any running application from messing up the test results.
The only problem is triggering it. First, you need to get to the BIOS, which works differently for different motherboards (usually by tapping a particular function key). Then you need to locate the test itself.
For most BIOS versions this can be achieved by heading to Settings > Advanced > NVME self-test. In many HP and Dell PCs, the option is found in Diagnostics instead.
4. With the CHKDSK Utility
So far we have seen methods to check the disk for hardware faults, but that’s not all that can go wrong with an HDD. Apart from bad sectors, the file system itself can also get corrupted, leading to data loss and an unusable hard drive.
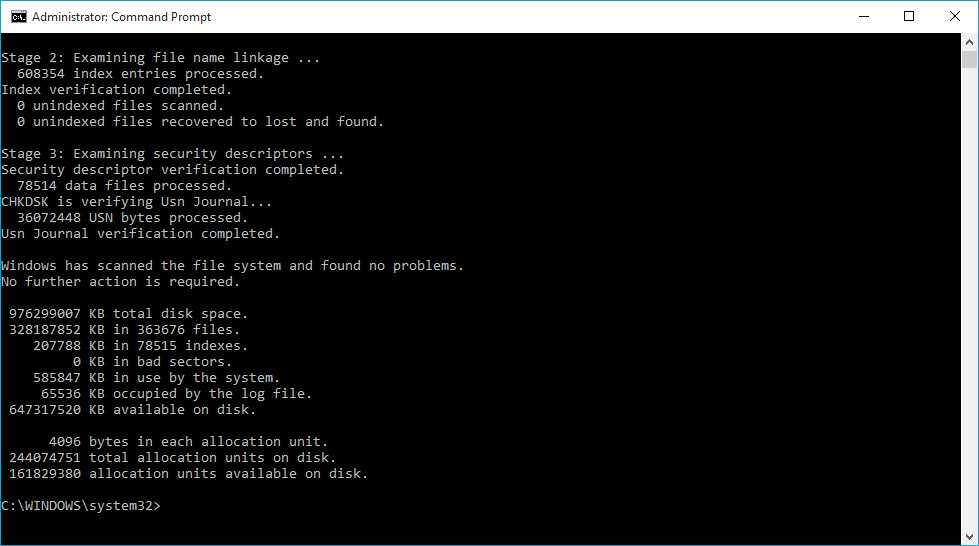
To detect and repair these issues, you can use the Microsoft Windows chkdsk tool. It’s a command-line utility that scans the disk drive and fixes logical errors, making corrupted sectors usable again.
- To use the CHKDSK tool, open Command Prompt. Type cmd in the Start Menu’s search bar to find it.
- When the Command Prompt window opens up, type this command and press Enter:
chkdsk C: /F /R /X
where C is the drive letter of the disk you wish to scan. This will run CHKDSK and recover any corrupted sectors discovered. Note that Check Disk is limited in its data recovery capabilities, mostly meant as a way to repair a corrupted file system.
5. Install a Third-Party Disk Checking Tool
If you don’t have an issue with downloading third-party apps, it can often be the easiest way to get a detailed look into your HDD’s health. Dedicated hard drive scanning software provides much more information about the status of the hard disk than built-in Windows tools.
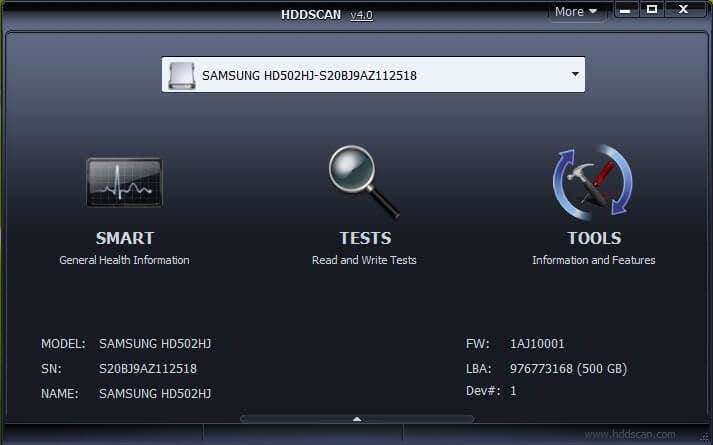
We have already talked about CrystalDisk Info, but it’s not the only option for reading all S.M.A.R.T. information from your drive. There is Hard Disk Sentinel and HDDScan, that can diagnose all types of disk drives, from SSDs to complex RAID setups. The reports generated by these apps are far more detailed than basic Windows diagnostics and can help you catch a failing hard drive much sooner.
What Is the Best Method to Check Hard Drive Health?
For most users, getting a basic S.M.A.R.T. status check is enough to see if their hard disk is on the verge of failing or not. If you want more details, you can always use third-party tools like CrystalDisk Info or HDDScan to get a complete report.
Things get trickier when your HDD doesn’t support S.M.A.R.T. technology. While running a CHKDSK scan on the hard drive is always a good idea to root out file system errors, you ultimately need something else to diagnose hardware faults.
This gives you two main options – testing the disk drive in BIOS or getting hold of the manufacturer’s own hard disk scanning tool. The BIOS option has the advantage of working on every operating system for both SSDs and traditional hard drives. On the other hand, using the tool specialized for the product is the best way to get the most accurate information.
Related Posts
- Preparing for Windows 10 End of Support: Upgrading to Windows 11
- How to Fix a “This file does not have an app associated with it” Error on Windows
- How to Fix an Update Error 0x800705b4 on Windows
- How to Resolve “A JavaScript error occured in the main process” Error on Windows
- How to Fix the Network Discovery Is Turned Off Error on Windows
Levin Roy is a software engineer who loves writing about technology. Whether it is Windows tips-and-tricks or in-depth guides about application development, Levin uses his practical experience and technical skills to create articles that can help solve tricky problems. Read Levin’s Full Bio
