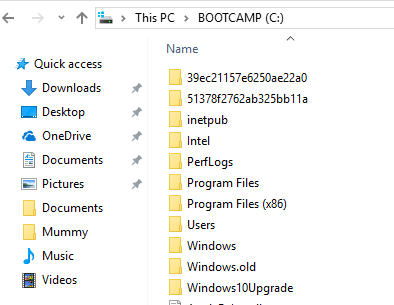
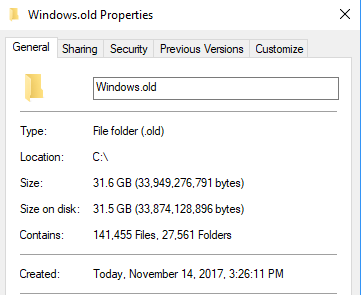
If you have tried upgrading your Windows PC and it has failed a couple of times due to various annoying reasons, you’ve probably come to realize that there is a large chunk of disk space being eaten up by a folder called Windows.old.
Windows.old is automatically generated whenever you perform an installation of Windows with a previous version of the OS already installed. It creates this Windows.old folder in the root of the Windows partition and stores the previous operating system files and data.
In case you try to upgrade from Windows Vista to Windows 7 or Windows 7 to Windows 10 and it fails, you can always revert back to Windows Vista or 7 safely. The only issue with this is that every time the install fails, another copy of the previous OS is copied into Windows.old.
So, if your upgrade install failed 2 or 3 times, that Windows.old folder can become very large, very fast! On top of that, the folder is not automatically deleted once you are up and running with the newer version of Windows, so you have to get rid of it yourself.
Note: Removing the Windows.old folder will result in your inability to be able to revert back to the previous OS installed. You will have to stick with the new version of Windows. Also, the Windows.old folder gets created when you install those big bi-annual updates for Windows 10.
Remove Windows.old Folder
So how do you get rid of the folder? Well, you have to use the Disk Cleanup utility! Here’s how to go about it. The first method will describe how to delete the Windows.old folder on Windows 7/8/10. If you are in Windows Vista still, follow the second set of instructions.
Windows 7/8/10 Instructions
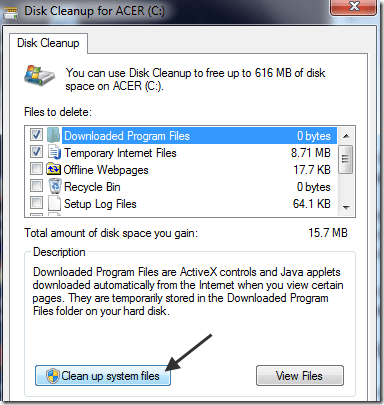
If you are in Windows 7/8/10 and want to delete the Windows.old folder, the process is fairly straightforward. First, open Disk Cleanup via the Start Menu (click Start and type in disk cleanup) and when the dialog pops up, choose the drive that has the .old files on it and click OK. This is normally just the C drive. If that’s the only drive on your computer, it won’t even ask you to choose.
The system will perform a scan and another dialog will pop up with the selection. Now click on the button Cleanup system files button at the bottom.
Now choose the drive again that has the .old files on it. The system will perform a second scan of files that need to be cleaned up and will take a bit longer.
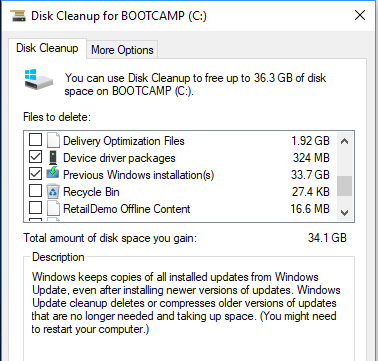
Finally, a dialog will pop up with another set of checkboxes. Scroll down until you find one labeled Older versions of Windows or Previous Windows installations and click OK.
As you can see, it’s normally quite a large amount of data that gets taken up by previous installations of Windows.
Windows Vista Instructions
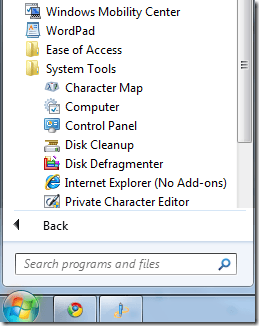
Click on Start, then All Programs, Accessories, System Tools, and then Disk Cleanup. Make sure you right-click on Disk Cleanup and choose Run As Administrator.
In the Disk Cleanup Options dialog, make sure to check the Files from all users on this computer box.
Then in the Disk Cleanup – Drive Selection dialog, click on the hard disk where the the Windows.old folder is and click OK. The system will then scan the drive for unnecessary files.
Click on the Disk Cleanup tab and look for a checkbox that says Previous Windows installations. Check it and click OK. Then click Delete Files when prompted.
That’s it! That should get rid of those space-hogging .old folders forever! If you have any problems getting rid of them, post a comment here and I’ll try to help. Enjoy!
