
I recently bought a second wireless router for several reasons, but one was to control how my kids connect to the Internet. For one thing, I wanted to restrict just how much bandwidth they could use in a given period of time. After that, the Internet connection would cut off and they would have to ask me if they wanted to reconnect.
I set it up so that normal browsing and streaming would work fine, but if they started massive movie downloads or something crazy, then I would quickly figure it out since the bandwidth limit would quickly be exceeded. Luckily, my Netgear router has a built-in feature to restrict traffic and limit the bandwidth usage.
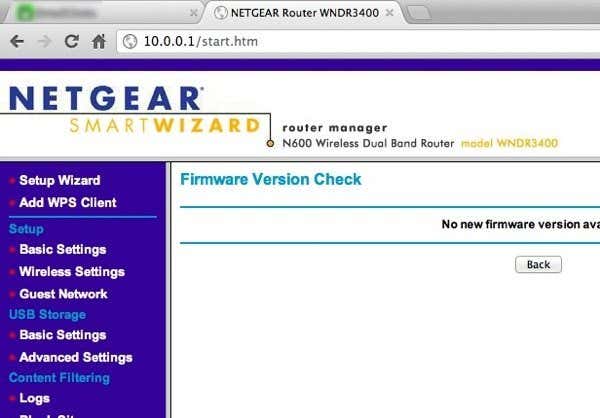
To get started, log into your router via a web browser and the Netgear Smart Wizard web interface should appear:
Now scroll down the left-side panel and look for Traffic Meter under Advanced.
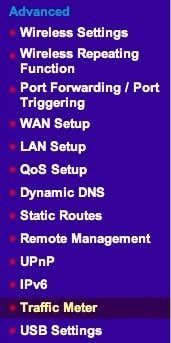
On newer versions with Netgear Genie, you need to click on the Advanced tab first, then Advanced Setup and you’ll find Traffic Meter close to the bottom.

The first thing you want to do is to enable traffic meter by checking the box at the very top.
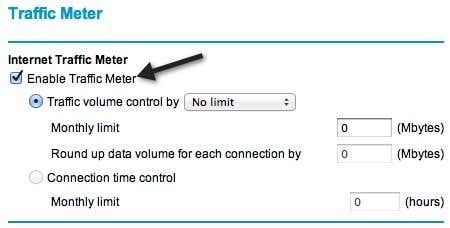
Then you have two options: limit bandwidth by volume, i.e. megabytes of data in a month or limit by time. For Connection time control, it will only work for PPPoE, PPTP, and L2TP connections. So it’s better to use the Traffic volume control by option. By default, it’s set to No limit, so the router will record traffic usage going through the router. You can leave it like that if you just want to record bandwidth statistics and not limit the Internet usage.
Otherwise, go ahead and click on the drop down box and you’ll see that you can limit downloads only or downloads and uploads (both directions):
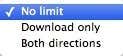
In my case, I just wanted to limit the amount of downloading, so I chose Download only. If you want to limit how much can be uploaded also, then choose Both directions. If you choose Both directions the amount of data downloaded and uploaded will count towards the monthly MB limit. After this, you need to type in a number for the monthly data limit. It may be a good idea to first enable the traffic meter and see how much bandwidth is being used over a week or two and then decide the monthly limit. If you don’t know how much data you’re using with normal activity, you may set the limit too high or too low.
After this, there are a couple of more options to configure:
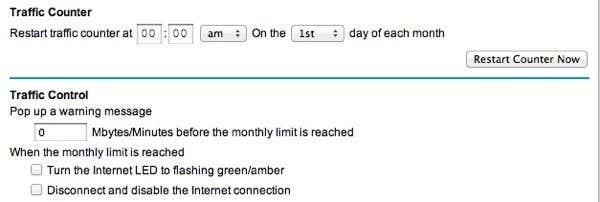
Under Traffic Counter, you need to pick a time and also a day for the traffic counter to reset. This is up to you and really doesn’t matter as long as you remember it yourself. Under Traffic Control, you can now choose whether you want to actually disable the Internet connection if the limit is reached or if you just want to pop up a warning message and/or turn one of the LEDs on the router a flashing green and amber. Since I never look at my router, the flashing LED wasn’t very useful. Disabling the Internet connection is exactly what I wanted to do.
That’s pretty much it! Once you go back to the page, at the bottom you will see traffic usage statistics for your Internet connection:
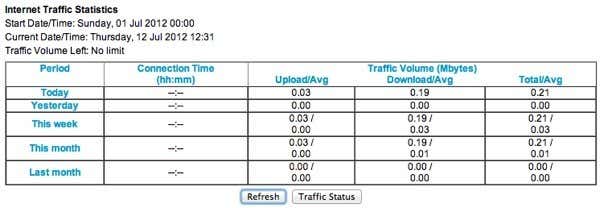
Note that this is only Internet traffic, not local traffic. So if you copy a file from one computer to another on the same network and it passes through the router, it will not log that against the monthly limit or count it towards the traffic statistics. Enjoy!