Most of the time, the Killer Ethernet driver that comes prepackaged with your motherboard is a reliable ethernet driver.
However, like all drivers, you may occasionally run into problems with it. If your version of Killer Ethernet driver stops working, it may be due to your driver being outdated or to a recent network change which is causing unexpected behavior.
If you do come across this problem, there is fortunately an easy fix to get things up and running again. Basically,
For this fix, you will need another device that can connect to the internet and a reasonable way to transfer files to your PC. The easiest way would be to use your smartphone and a USB cable. You could also use a laptop and a USB drive.
Uninstall Problem Killer Ethernet Driver
To begin with, you must first remove Killer Ethernet Driver from your PC. To do this, follow the steps listed below.
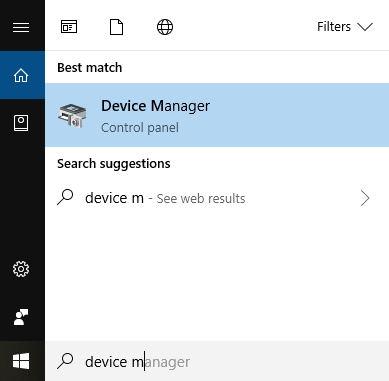
- Step 1: Press the Windows Key
- Step 2: Use the search box and type in Device Manager
- Step 3: Click on the Device Manager application that appears
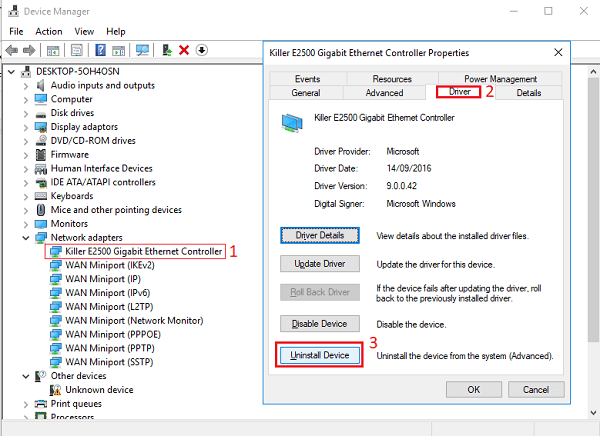
- Step 4: In Device Manager, open the Network Adapters dropdown option in the list
- Step 5: Double click on Killer E2xxx Gigabit Ethernet Controller
- Step 6: In the new window that opens, click on the Driver tab
- Step 7: Finally, click the Uninstall Device button
- Step 8: Restart your PC so that it’s prepared for the next steps
Your network driver will now be disabled. For the next step, you’ll need your secondary device that has an Internet connection.
Install New Working Killer Ethernet Driver
Now that you’ve removed the old Killer Ethernet driver, you’ll need to go online on another device to download a new driver.
You’ll need to transfer the driver installation application over to your PC after you’ve downloaded it, so make sure you have a data cable or a USB drive ready.
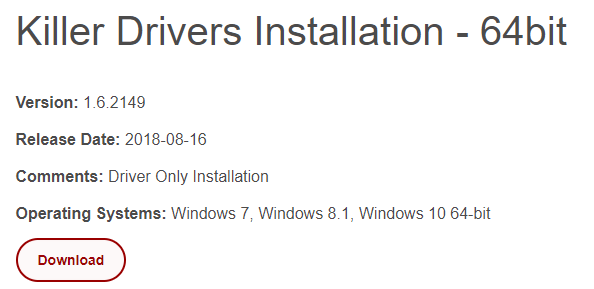
To download the new driver, visit one of the following pages, depending on whether your PC is 64 bit or 32 bit.
When on the correct page, click the Download button. This is a link to an .EXE file. Once you have downloaded it, transfer that file to the PC you originally removed the driver from.
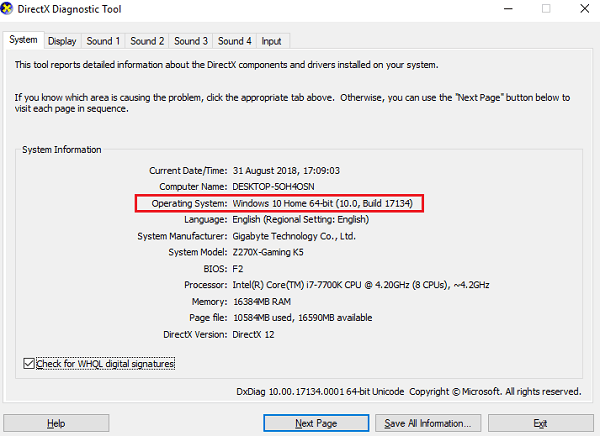
Don’t know which version your PC is running? Go back to your PC without the Internet and follow the steps below:
- Press the Windows key
- Search for dxdiag
- Open the dxdiag application
- On the system tab, look at the Operating System line
- This information will tell you what version of Windows you are running (32-bit 0r 64-bit)
Once on your new PC, simply double click the .EXE file you downloaded and go through the installation setup.
Your network connection should be restored and you’ll be connected to the Internet via the new working Killer Ethernet driver.
Hopefully this quick fix has proven to be useful. Still running into problems? Let us know and we’ll try to help.
Related Posts
- Preparing for Windows 10 End of Support: Upgrading to Windows 11
- How to Fix a “This file does not have an app associated with it” Error on Windows
- How to Fix an Update Error 0x800705b4 on Windows
- How to Resolve “A JavaScript error occured in the main process” Error on Windows
- How to Fix the Network Discovery Is Turned Off Error on Windows
Ollie stumbled upon writing online whilst participating in a mobile network forum back in 2011. Since then, he has developed an incredible passion for writing about all sorts of tech from smartphones, PC hardware, software, and everything in between. Read Ollie’s Full Bio
