Linux, it’s a word that makes many a non-geek’s eyes glaze over almost immediately. However, desktop Linux offerings are now pretty much on par with the big names such as Windows and MacOS.
Thanks to decades of community work and support from organizations like Canonical, you can download something like Ubuntu Linux today and do almost all the things you can with Windows. All without needing a degree in computer science. Modern desktop Linux distros look good, work well and are suitable for average users.

However, they have one huge difference compared to commercial operating systems – Open Source licensing.
This means we have full access to all the inner workings of Linux. You don’t have to pay to use it and you can customize it in just about any way you like. That’s great for power users who like to tinker with the nut and bolts, but what if you just want to preserve your own tweaked custom Linux installation?
You can actually create a fresh install of Linux, set it up just the way you want it and then turn it into a live, bootable installation. This is super-useful for a few reasons. First of all, it means you won’t have any downtime if you have to reinstall your operating system.
All your settings and software will already be waiting right from the start. It also makes it very easy to create custom installations for distribution. Let’s say you have to install Linux on a whole computer lab full of PCs and then install educational packages. Using a custom distribution tool means you only have to do that customization once and then simply install as usual.

One of the easiest tools out there is called Linux Live Kit and we’re going to look at exactly how you can change an existing Linux installation back into a custom distro.
Setting Up The Machine
In order to use the Linux Live Kit, you need an installation of Linux to customize. While you can go ahead and do it with your main installation, it’s not the most practical approach if you want to create customized distributions for something other than your main computer.
So what we’ll be doing is installing Ubuntu Linux to a VirtualBox virtual machine. That gives us a clean, controlled installation environment. It also means you can make custom Linux distros from a Windows machine if you like. Finally, it’s a good way to test the distro you’ve just created, to make sure it works properly.
We are going to use the following components:
- Windows 10
- VirtualBox
- Ubuntu 18 LTS
Remember, the process works exactly the same if you use the Linux Live Kit on a Linux installation that running as normal on a computer, rather than in a virtual machine.
Installing Linux

The first thing to do is install Linux. Obviously if you want to use an existing installation, you can skip this step.
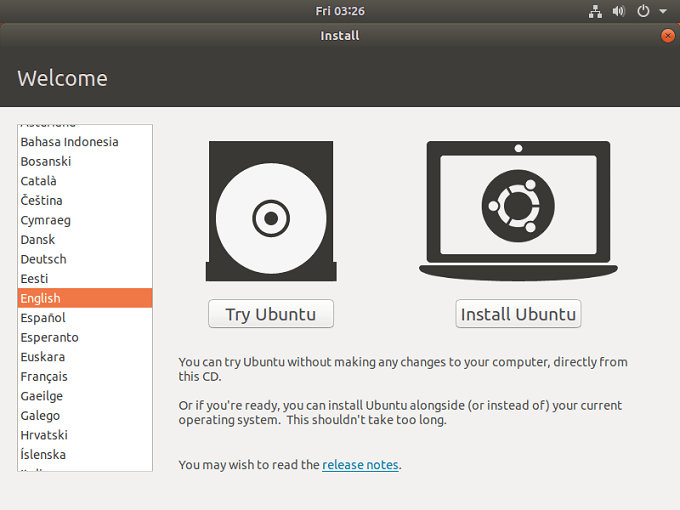
Installing Linux the usual way simply requires that you boot from the DVD or USB installation media. Because we’re using VirtualBox, we just have to create a new virtual machine and then point it towards the Ubuntu disc image we downloaded. Here are the steps you need to follow.
Taking Care of Dependencies
Since Linux Live Kit is just a clever collection of scripts, it needs certain other software packages to be present on your Linux machine. In many cases they will already be a default part of the version of Linux you have chosen, but you’ll have to verify this either way.
You need to make sure that aufs is supported by the kernel used by your chosen Linux distribution. You can check which kernel versions supports aufs here. If your chosen kernel does not support aufs, you’ll need to look at an alternative solution to Linux Live Kit.
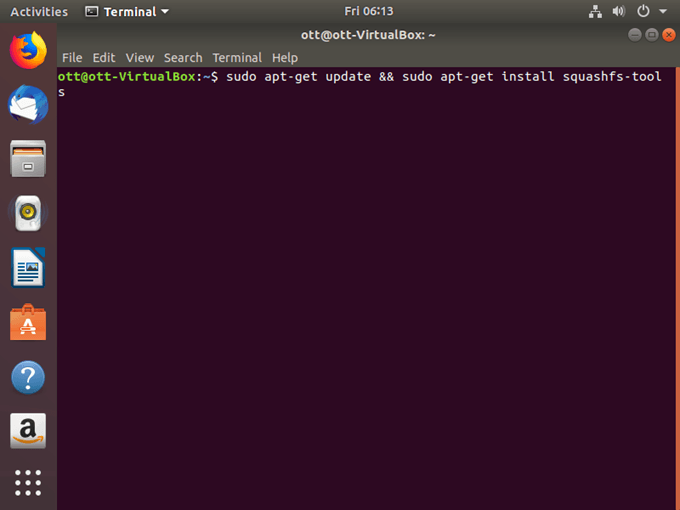
Now we need to make sure that Squashfs is installed on the system. This is the compression technology used by Linux Live Kit. To install it, here’s what to do.
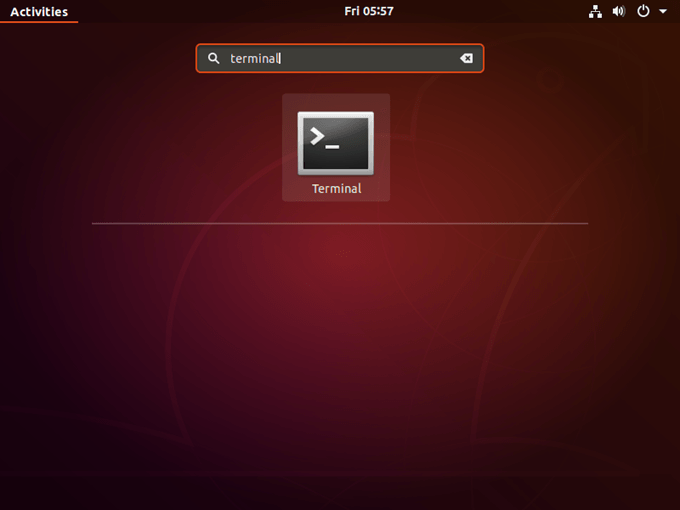
First, open the Terminal. In Ubuntu you can do this by clicking the “Show Application” button at the bottom left of the screen. This will bring up a search bar. Search for “Terminal” and click it when it comes up.

Now, in the terminal, type the following:
sudo apt-get update && sudo apt-get install squashfs-tools

If all goes well the package will be installed. If you run into trouble, you’ll have to refer to your version of the OS documentation. Troubleshooting repository and installation issues are outside our scope for this tutorial.
Trimming the Fat
Since your live distro iw going to have all the same content as your installed one, you should remove any files you don’t need from your installation. You don’t have to do this and storage is cheap these days if you’re using a flash drive. If you don’t know what’s safe to remove, skip this part for now.
Customizing
Now you can go ahead and make the changes you want for your live distro. Install applications, tweak settings and so on. Once you are done with that, we can move on to the Live Kit itself.
Download Linux Live Kit
Now it’s time to download the scripts we need. You can find it on GitHub. Pay special attention to the tips in the README here. Some of them may be relevant to your needs or situation. For example, there are specific instructions if you want to make a bootable live CD.
Save the downloaded files to /tmp. In the download you’ll find a folder named “/DOC/. This is filled with additional readme information to help you in case you hit a snag.
Generating Your Live OS
Now that the script files are where they should be, we want to actually run the script. To do this, we’ll have to switch from being a regular user to being a Super User. In Ubuntu, open the terminal and type the following:
cd /tmp
This switches you to the TMP folder where we unpacked the Live Kit files.
The last thing we need to do is run the script, so type:
sudo ./build

Now just wait until the script is done!
Running Your Live Distro
So how do you get your live distro? The script generates two version in the /TMP folder. There’s an ISO image that you can burn to a disc or load up in a virtual machine to test. Most people are however going to care about the bootable USB files. These are also in the /TMP folder.
Copy them to your flash drive, remember to unzip them in the process. Once they are on there, use the Terminal and navigate to the /boot directory. Then run the “bootinst.sh” script to make that flash drive bootable.
If all goes well, you’ll now have your own live OS!
Related Posts
Founder of Help Desk Geek and managing editor. He began blogging in 2007 and quit his job in 2010 to blog full-time. He has over 15 years of industry experience in IT and holds several technical certifications. Read Aseem’s Full Bio
