Teredo is a networking protocol. It’s used to initiate a secure connection between a client and server, such as with devices that use network address translation (NAT). If Teredo isn’t working it means that the Xbox Live app, for example, is unable to establish connections with other devices and you won’t be able to use party chat or multiplayer gaming on Xbox Live.
There are many things that can cause the “Teredo is Unable to Qualify” error in Windows 10. In this article, we’ll cover several possible fixes for this problem so that you can get back to gaming.
Note that some of these fixes involve making changes to the registry. We recommend making a backup of the registry in case problems occur during this process.
Check Your Internet Connection
An internet connection is necessary for Teredo to work, so check this first of all. To check your internet connection:
- Press the Windows + I to open Settings.
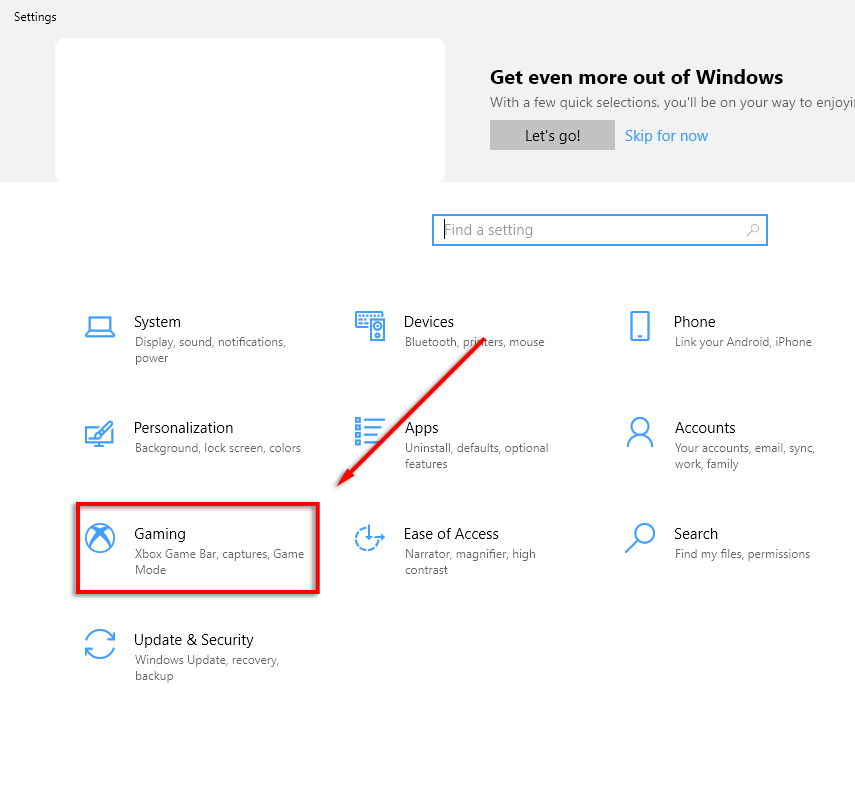
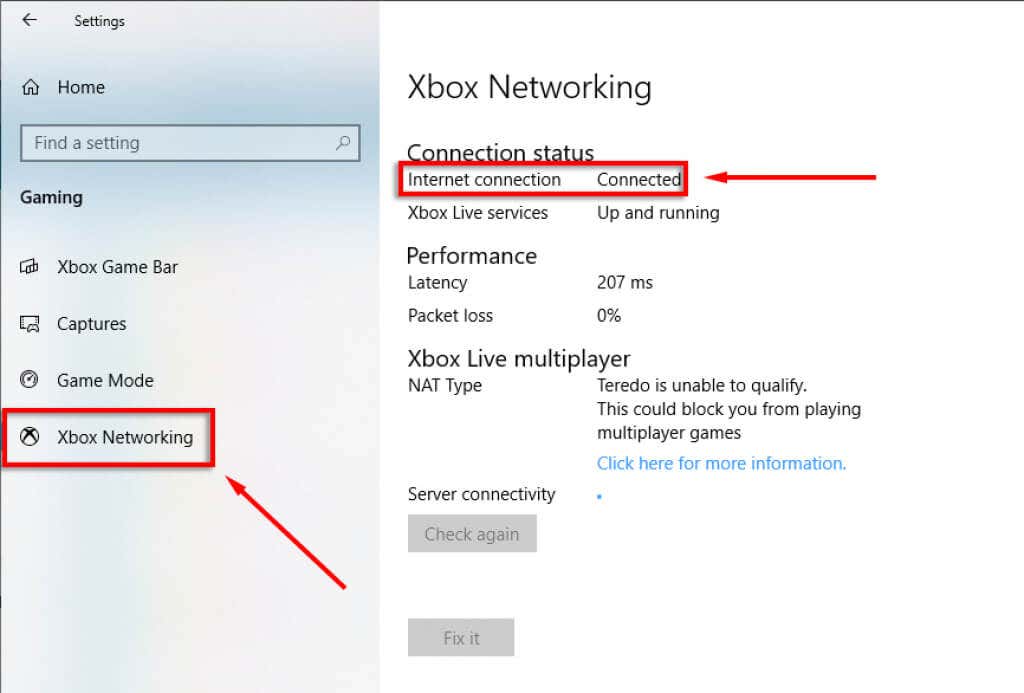
- Select Gaming > Xbox Networking.
- Under Connection status check to see that Internet connection is Connected.
If your internet is not connected, you will need to troubleshoot this issue prior to any other fixes.
The “Fix It” Option
There is an automatic troubleshooting option under Xbox Networking that can solve known errors with Teredo.
- Press the Windows + I to open Settings.
- Select Gaming > Xbox Networking.
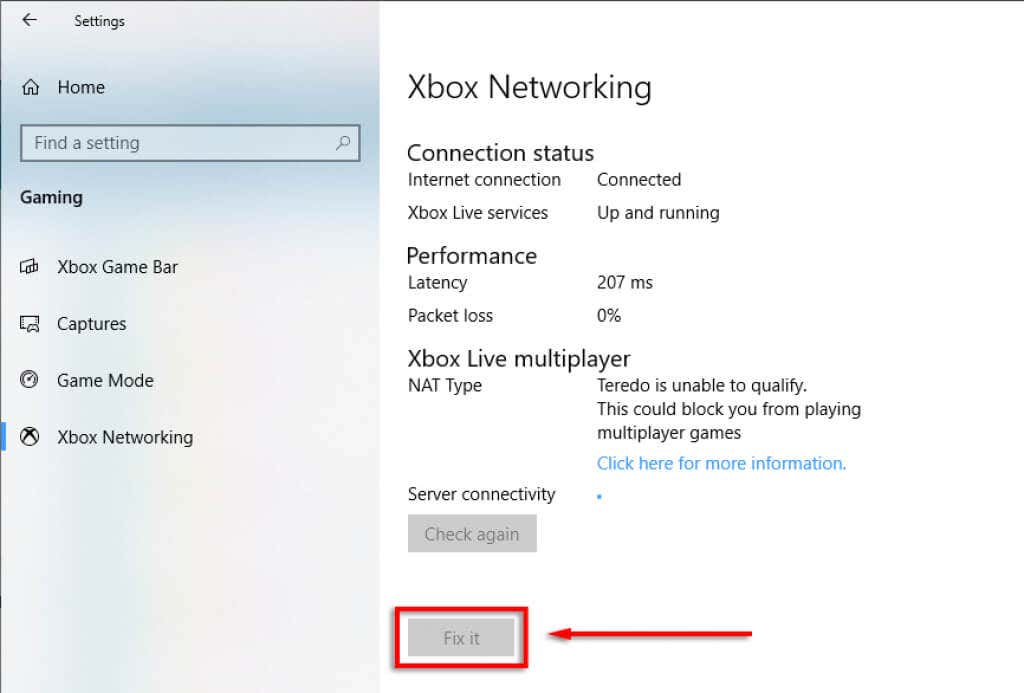
- Select Fix It.
- Follow the troubleshooting wizard and then restart your PC if any changes are made.
Ensure Teredo Is Enabled
Teredo can sometimes be disabled in the registry. To check if this is the case, do the following:
Check the iphlpsvc Registry Path
- Press the Windows key and type “Command Prompt”.
- Right-click Command Prompt and select Run As Administrator.
- Enter this line:
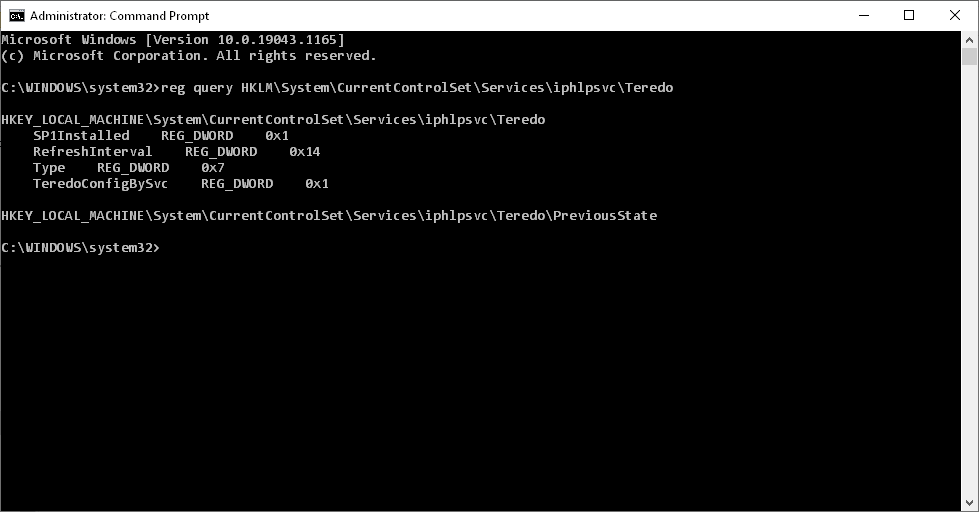
reg query HKLM\System\CurrentControlSet\Services\iphlpsvc\Teredo
- If Teredo is disabled, it will return a line including the following:
Type REG_DWORD 0x4
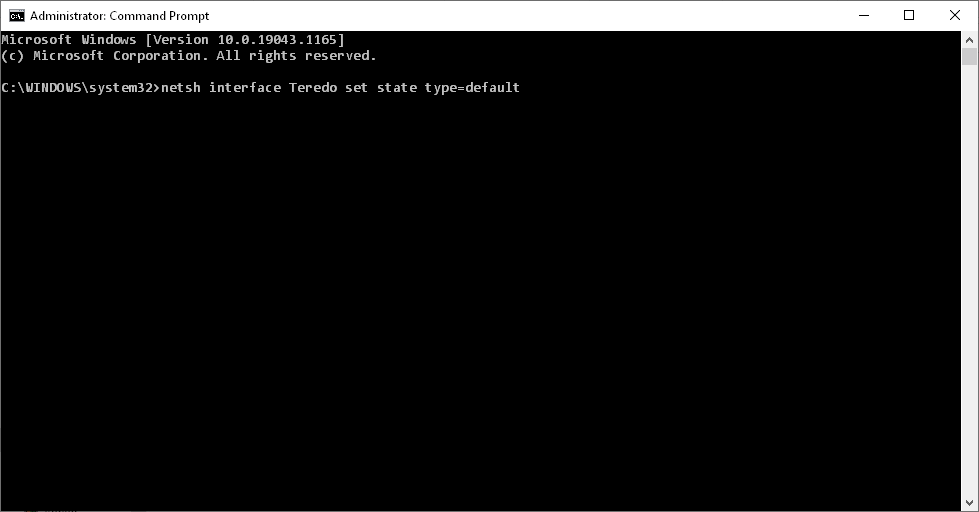
- To re-enable Teredo, enter the following command:
netsh interface Teredo set state type=default
- Check if the issue is resolved.
Check the Tcplp6 Registry Path
- Press the Windows key and type “Command Prompt”.
- Right-click Command Prompt and select Run As Administrator.
- Enter this line:
reg query HKLM\System\CurrentControlSet\Services\TcpIp6\Parameters
- The following output means that Teredo may be disabled:
DisabledComponents REG_DWORD 0x8e
- To enable Teredo once more, type and enter the following command:
reg add HKLM\System\CurrentControlSet\Services\Tcpip6\Parameters /v DisabledComponents /t REG_DWORD /d 0x0
Check IP Helper Service
The IP Helper service is necessary for Teredo to run and function as designed. To ensure this service is running:
- Press Windows + R to open Run.
- Type services.msc and press Enter.
- Find and double-click IP Helper.
- Set Startup type to Automatic.
- Click Start to start the service.
- Select Apply.
If your IP Helper won’t start due to issues with dependent services, try the following:
- Press Windows + R to open Run.
- Type services.msc and press Enter.
- Find and double-click IP Helper.
- Switch to the Dependencies tab.
- Under This service depends on the following system components section, note all of the listed components.
- Go back to the Services window and ensure that these components are all running. If they’re not, enable them. Most often it’s the WinHTTP Web Proxy Auto-Discovery Service.
- Now try enabling IP Helper once more.
Check Teredo Server Name
Teredo needs a valid server name to function correctly. To check and fix this issue:
- Press the Windows key and type “Command Prompt”.
- Right-click Command Prompt and select Run As Administrator.
- Run the following command:
netsh interface Teredo show state
- If it returns “failed to resolve server name” then you likely have an invalid Teredo server name or Teredo is being blocked.
- To revert the server name to its default, enter the following command:
netsh interface Teredo set state servername=default
If this didn’t fix the issue, Teredo may be being blocked by an application. To check this:
- Press the Windows key and type “Command Prompt”.
- Right-click Command Prompt and select Run As Administrator.
- Run the following command:
netsh interface Teredo show state
- Note the server name value, for instance, win1910.ipv6.microsoft.com.
- Open the hosts file by running the following command:
notepad.exe c:\WINDOWS\system32\drivers\etc\hosts
- Press Ctrl + F to open the find box.
- Type the server name that you noted down and press Enter.
- If this entry is found, delete it and save the hosts file.
- Check if the error is fixed.
Check the Home Router
Some routers will block Teredo connections if they aren’t configured correctly. Update your router to the latest firmware and determine how to enable Teredo tunneling (check your router support documentation for how to do this as it varies between models).
Check Your VPN
Some virtual proxy networks (VPNs) disable Teredo connectivity. To check if this is the case and fix the problem, you need to remove any VPN adaptors from your PC.
- Right-click the Start menu and select Device Manager.
- Select View > Show hidden devices.
- Select Network Adapters.
- Search for TAP-Windows Adaptor V9 or any similar names.
- Right-click the adaptor and select Uninstall.
- Check if the Teredo is unable to qualify error has been fixed.
Note: This will most likely affect your VPN software. If the VPN is causing issues with Teredo connectivity, you may need to consider moving to another provider.
Reinstall Teredo
If none of the above have worked, try reinstalling Teredo from scratch.
- Press the Windows key and type “Command Prompt”.
- Right-click Command Prompt and select Run As Administrator.
- Type and enter the following command:
netsh interface Teredo set state disable
All Done!
Hopefully, this guide has helped you fix the “Teredo is unable to qualify” error and you can head back to the game.
If any of these fixes helped you, or you have a fix that isn’t listed here, let us know in the comments below!
Related Posts
- Preparing for Windows 10 End of Support: Upgrading to Windows 11
- How to Fix a “This file does not have an app associated with it” Error on Windows
- How to Fix an Update Error 0x800705b4 on Windows
- How to Resolve “A JavaScript error occured in the main process” Error on Windows
- How to Fix the Network Discovery Is Turned Off Error on Windows
Jake Harfield is an Australian freelance writer whose passion is finding out how different technologies work. He has written for several online publications, focusing on explaining what he has learned to help others with their tech problems. He’s an avid hiker and birder, and in his spare time you’ll find him in the Aussie bush listening to the birdsong. Read Jake’s Full Bio
