The hard drive is an essential component of your computer, storing all the important data and programs you need to run your machine. But what do you do when your old hard drives are no longer useful?
Instead of throwing them out or letting them collect dust in a drawer somewhere, why not put them to good use? There are many exciting ways to use the old hard drive, whether it’s working or not. And if you no longer have any use for them, we’ll teach you how to dispose of them properly.
Note that if you decide to sell your old hard drives, you need to make sure to wipe all your data securely before doing so. You can earn some money by listing a working hard drive on auction sites dealing with computer parts, or on general websites such as eBay.
Repurposing the Old Hard Drives
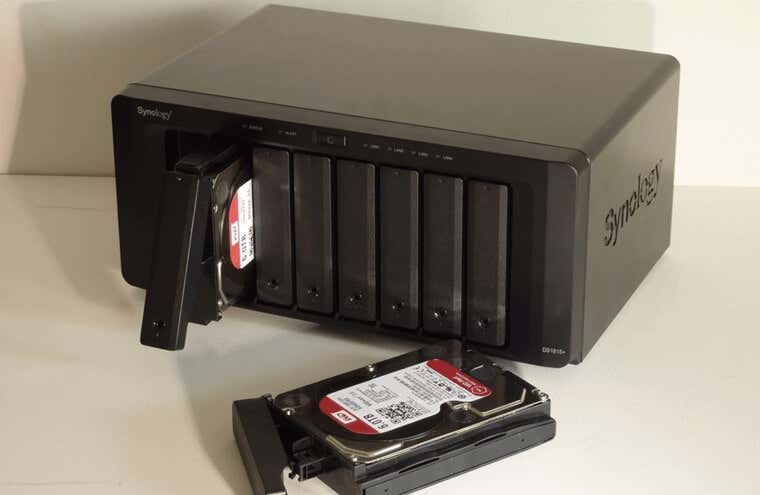
There are many great ways in which you can repurpose your old hard drives, but what you do with them will greatly depend on whether they’re working or not. You can reuse them as an external hard drive, use them to store your archived files, or create a Network Attached Storage device, also known as NAS. Reusing the old hard drives will save you some money in the long run, as you won’t have to invest in new external storage or an actual NAS.
If your old hard drive is broken, don’t worry, you can still use it. Numerous fun do-it-yourself projects involve using the whole hard drives, or their parts. All you’ll need is a bit of imagination, basic household tools, and your nimble fingers. This article lists several DIY ideas, and they might inspire you to come up with your own projects and create something new.
Working Hard Drives
You probably got a new solid-state drive these days, but if your old hard drive is still in good condition, there’s no need to get rid of it. Instead, find a new use for it.
1. Portable Drive
If you work as a content creator, photographer, videographer, or digital artist, you probably know that whatever storage space you have, is not enough. The more you create the more storage you need because let’s face it, deleting your old work is out of the question. Even if you’re not a creator and just need storage for your family photos, converting your old hard drive into a portable one is a minimum investment.
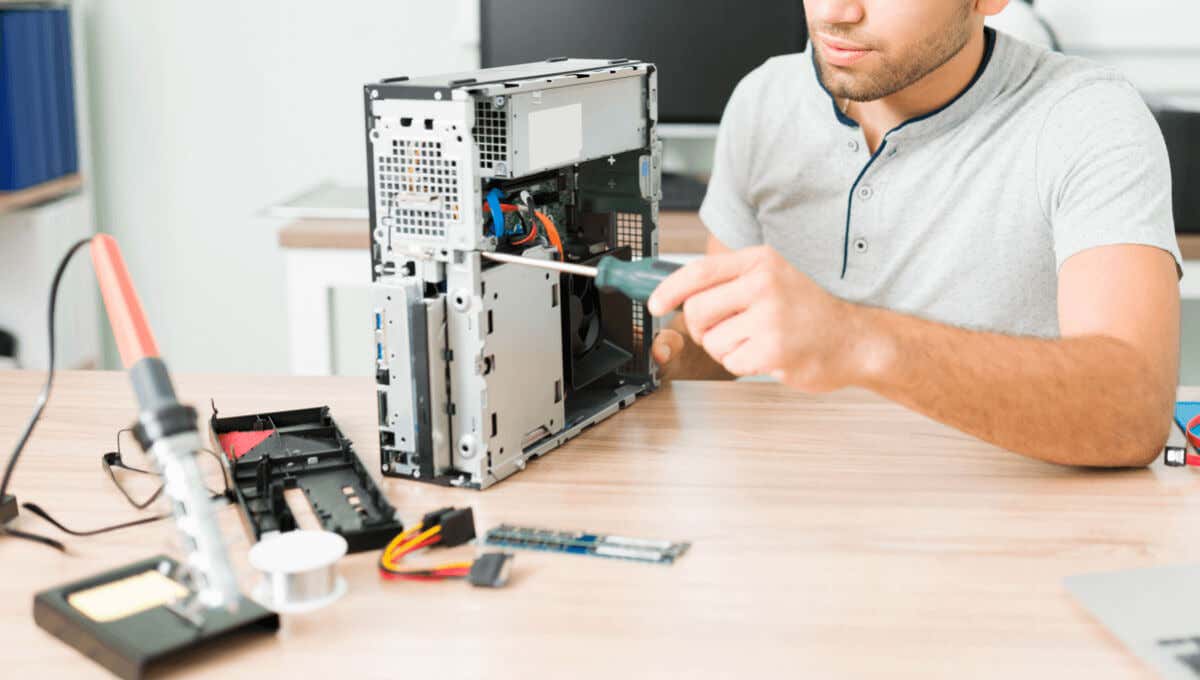
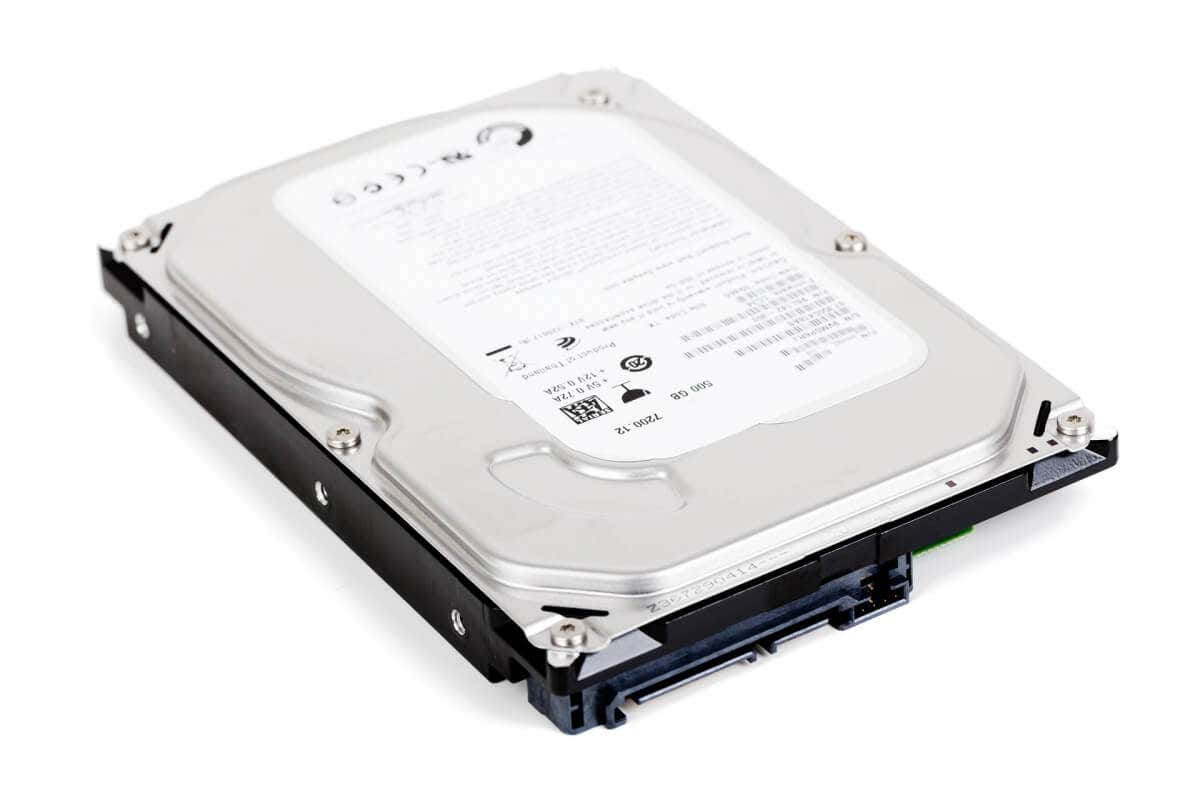
All you have to do to make portable drives is to pull out your old hard drives from your PC or laptop, and place them inside a case. When it’s inside the computer, a hard drive is protected by the computer casing. That’s why you’ll need to find a protective shell once you pull it out. Follow these steps to convert your HD into a portable drive:
- Figure out the size of your hard drive so you know what type of casing you’ll need to get. They typically come in 2.5 or 3.5 inches.
- Buy a casing. They are easily found online in marketplaces such as Amazon. Search for SATA HDD Hard Drive Enclosure, but make sure you buy the right size. 3.5-inch ones typically come with a power adaptor, while the 2.5-inch ones usually don’t need them. Alternatively, you can have one 3D-printed!
- Remove all the screws and brackets still attached to the hard drive.
- Slip it inside the casing you previously bought.
2. Create a NAS
You can go even further and after you convert the old hard drive into a portable drive, you can make all the files stored on it wirelessly accessible. Essentially, you can make a network-attached storage (NAS) server. It might sound intimidating if you are less tech-savvy, but rest assured anyone can do it. All you need is a couple of more components. You probably already have a router, but you’ll need to buy a NAS adapter.
Once you have your hard drive turned into a portable one, a router, and a NAS adapter, the set-up process is very simple:
- Plug the NAS adapter and connect the hard drive to its USB port.
- Attach the adapter to a router with an ethernet cable.
- After the connection is established, and the IP address is automatically detected, you’ll be able to set up login credentials. You’ll also be able to create different user profiles.
- Set up a shared network drive so that all computers on the wi-fi network have access to the files stored on your old hard drive turned into a NAS.
3. Storage for Archived Files
Motherboards typically have excess SATA ports. You can use them to connect your old hard drive and use it as an archive or a backup drive. Everything you use frequently, such as games, apps, and software, you should install on your solid-state drive or main hard drive. Use your old hard drive to store everything else on it or backups.
If you are on a budget, and can’t afford a high-capacity solid-state drive (SSD), consider combining a high-quality low-capacity solid-state drive with a high-capacity hard drive. This way you’ll save some money and get a great way of managing your PC’s storage.
Dead Hard Drives
You have a completely non-functional hard drive and you feel creative? Stick around and get inspired with these fun DIY projects. You don’t have to be tech-savvy to understand and be able to build a beautiful knife block, a mirror, or a neat little safe to keep your money in.
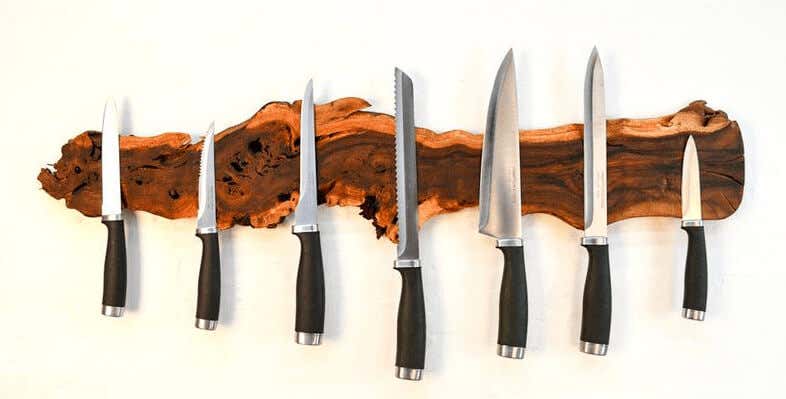
1. DIY Magnetic Knife Block
Hard disk drives have magnets in them. In fact, they have two large neodymium magnets which you can remove and continue using for various other projects. But you’re going to need several tools to extract the magnets:
- Flat-head screwdriver.
- Precision or Torx screwdriver set.
- Pliers or vice grips.
To remove the magnets:
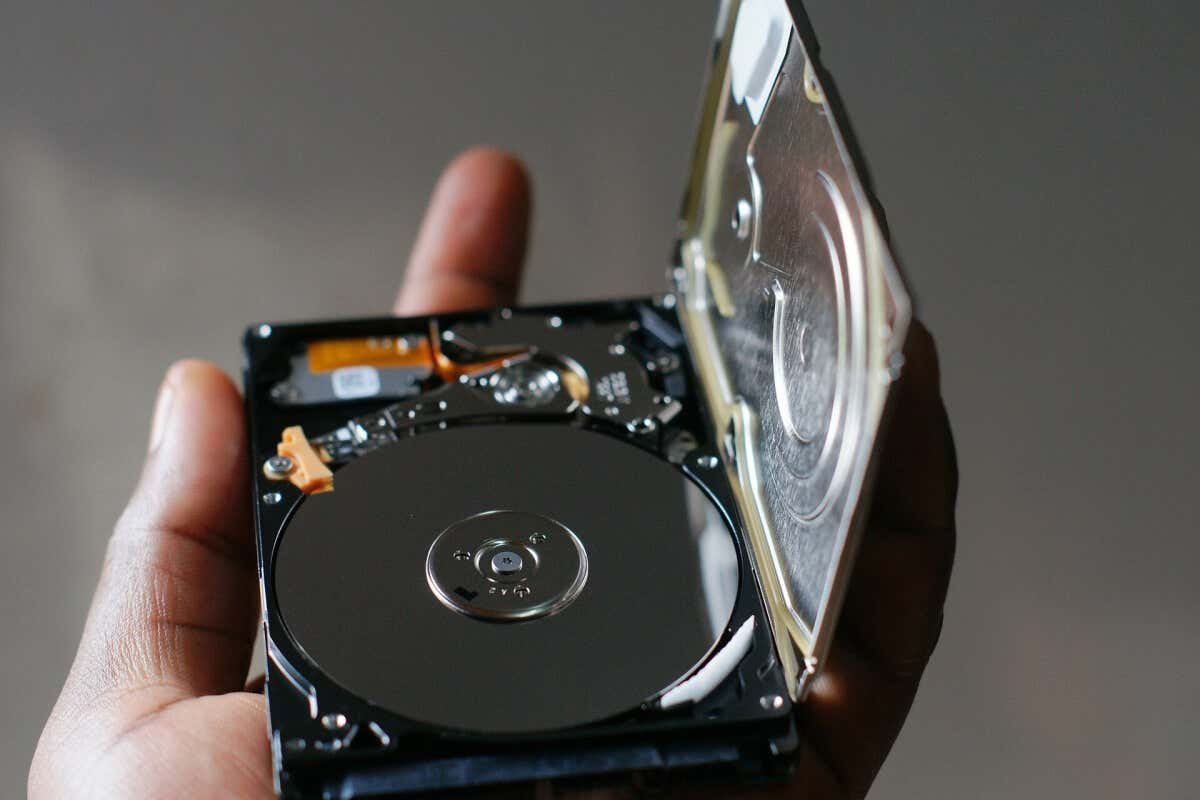
- Unscrew all the screws and remove the top part of the hard drive case.
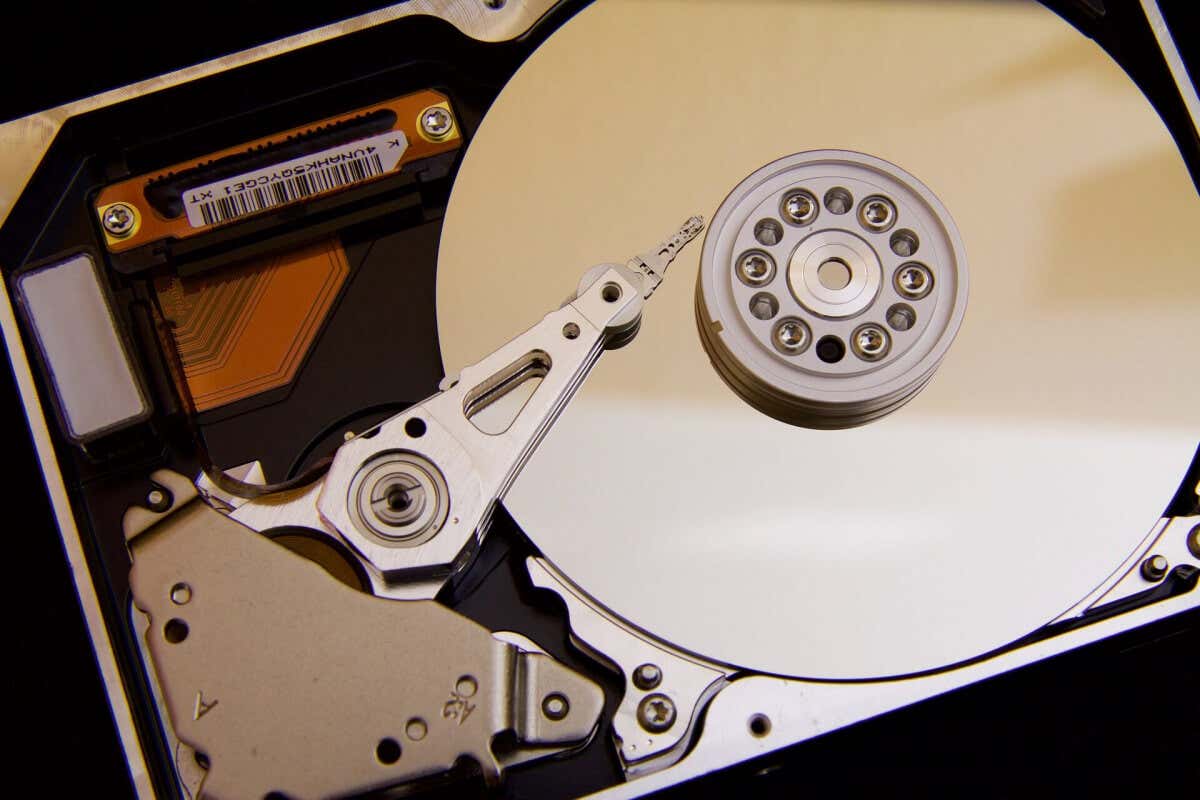
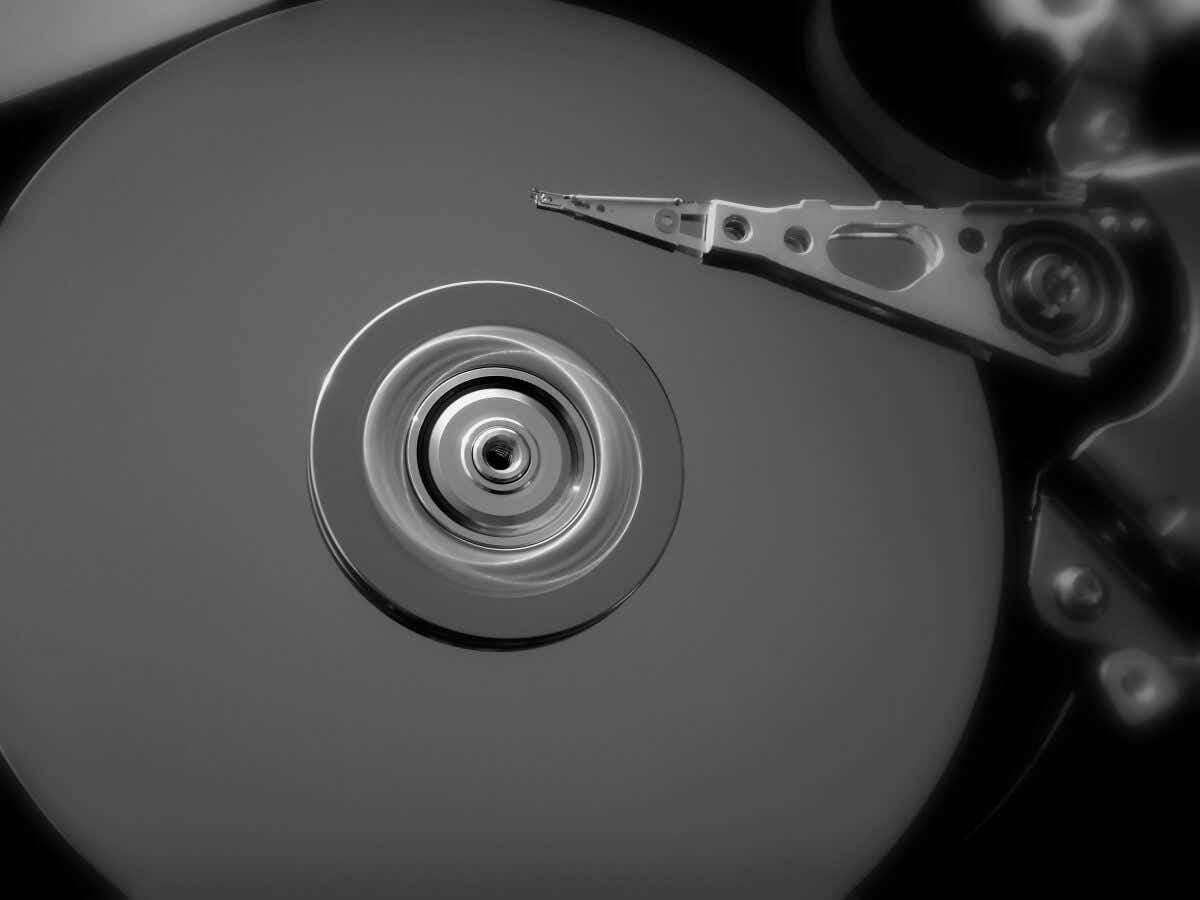
- Locate the magnets. They are around the actuator, a little arm above the platter (disk), that resembles the tonearm on a vinyl record player.
- Use the flat-head screwdriver to remove the top magnet and the actuator.
- The second magnet will be under the actuator, and you’ll need a Torx screwdriver to remove it.
- Proceed to remove the backing plate from the magnets. The magnets might be glued to the plate, so it won’t be easy removing them. Use the pliers for better grip, and bend the backing plate until the magnets are free.
You’ll also need tools to build a magnetic knife block, but they’ll depend on the design and materials you choose to use. You can use wood, granite block, plastic, leather, or whatever other material and design you want. Let’s leave that to your imagination.
2. Make a Mirror
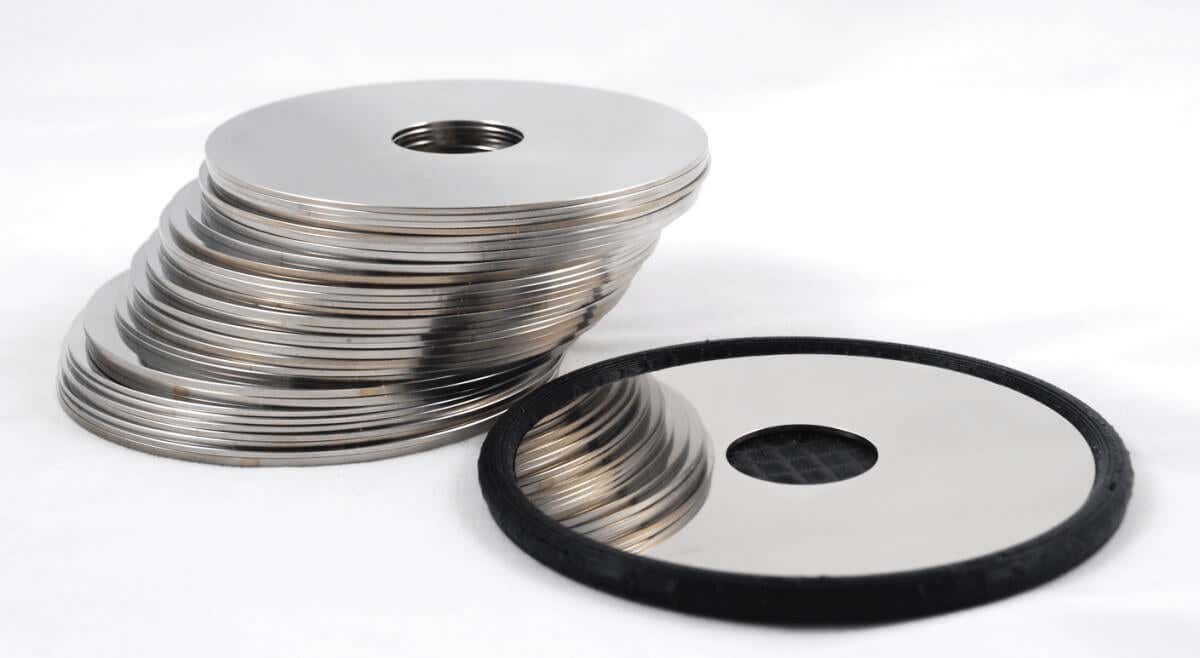
The platter inside the hard drive is very reflective and can be used as a polished mirror. You’ll have to take it out, and use your creativity to make a pocket mirror, cubicle rear-view mirror, or a signal mirror. But, you’ll have to be very gentle while removing the platter as you don’t want cuts and scratches to ruin its perfectly reflective surface.
You can just attach it to a wall, or secure it inside a plastic casing. Use clamps to attach the mirror to your monitor, or a cubicle wall. You can even use multiple hard drive platters and attach them to a big board to create a larger artsy mirror.
3. Create a Sculpture or a Wind Chime
Have multiple hard drive platters that you don’t know what to do with? How about being artsy and making sculptures? You can use it to decorate your living room, or connect some LED lights and use it as a lamp. You can be imaginative and use whatever materials and tools you have handy. Cut the platters, paint on them, or carve them out and see where your imagination takes you.
Multiple hard drive platters can also be used to create geeky wind chimes. This is a very simple DIY project. All you need to do is connect the platters with a firm string, and attach them to a disk mounting ring which you can also salvage from an old hard drive. Hang the disks at a different level from each other for better aesthetics.
4. Portable Safe
You can create a little portable safe for your valuables, and hide them in plain sight. All you have to do is open your old hard drive, remove all the insides, and use the casing to hide money, valuable memories, pictures, and even jewelry. What would a thief want with a piece of junk hard drive gathering dust on a shelf?
Unscrew all the screws so you can get inside the hard drive, but make sure not to lose any screws. You’ll need them later. One screw-hole at the corner should be unaltered. It’ll act as a hinge to open and close your new safe. Once you remove the guts of the hard drive, use a drill to widen the rest of the screw holes on the casing. Slide the saved screws into the widened openings, and use super glue to keep them in place. This way the casing will be securely closed without you having to unscrew it every time you want to open it.
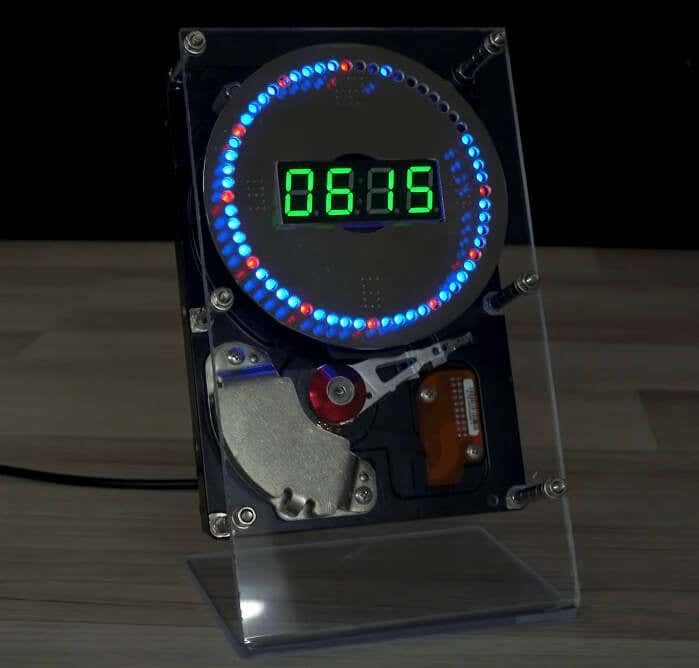
5. Clock
With a few additional items you can easily turn your old hard drive into a clock. You can keep it as simple as you want, or get creative and incorporate LED lights. You’ll need a clock gear or a clock movement kit. Make sure to take the magnets out of the old hard drive before turning it into a clock. You don’t want them to interfere with the mechanism.
Clock kits are incredibly affordable so this DIY project will be very cheap. If you feel more capable, you can create your own clock mechanism and make a cool-looking HDD LED clock.
Safely Dispose of Your Old Hard Drives
Hard drives are e-waste and they are environmentally detrimental products. That means that if you won’t reuse them or repurpose them, you’ll need to recycle them. But before you dispose of your old hard drive, you’ll have to destroy it. That way you’ll make sure your personal data will never be accessed by anyone. In fact, all electronic waste should be destroyed before recycling.
Destroying your old hard drive is a matter of security. Wiping, erasing, or reformatting them never removes the data on them completely. The best way to ensure your hard drive is unreadable is to physically destroy the platter. You can do this by grinding its surface, or shredding it into tiny pieces. Once the device is completely unusable, take it to your nearest e-waste recycling center.
Also, if you’re stuck with other old components, here are some ideas on what you can do with old RAM and how you can use an old Router for cool projects.
Related Posts
Nicolae is a Jack of all trades technology writer with a focus on hardware, programming languages, and AI image-processing software. Over the last five years, he has ghostwritten numerous tech how-to guides and books on a variety of topics ranging from Linux to C# programming and game development. Nicolae loves everything that has to do with technology and his goal is to share his knowledge and experience with others. Read Nicolae’s Full Bio
