
If you’ve ever wished Excel could just read your data back to you – so you can catch typos without staring at the screen – you’re not alone. Excel’s Speak Cells feature reads your selected cells aloud using text-to-speech, which is especially useful when you’re proofreading data and your eyes need a break. It’s buried in the Quick Access Toolbar settings by default, but it takes less than a minute to surface it.
How to Enable Speak Cells in Excel
Step 1: Add Speak Cells to the Quick Access Toolbar
- Open Excel and click File > Options > Quick Access Toolbar.
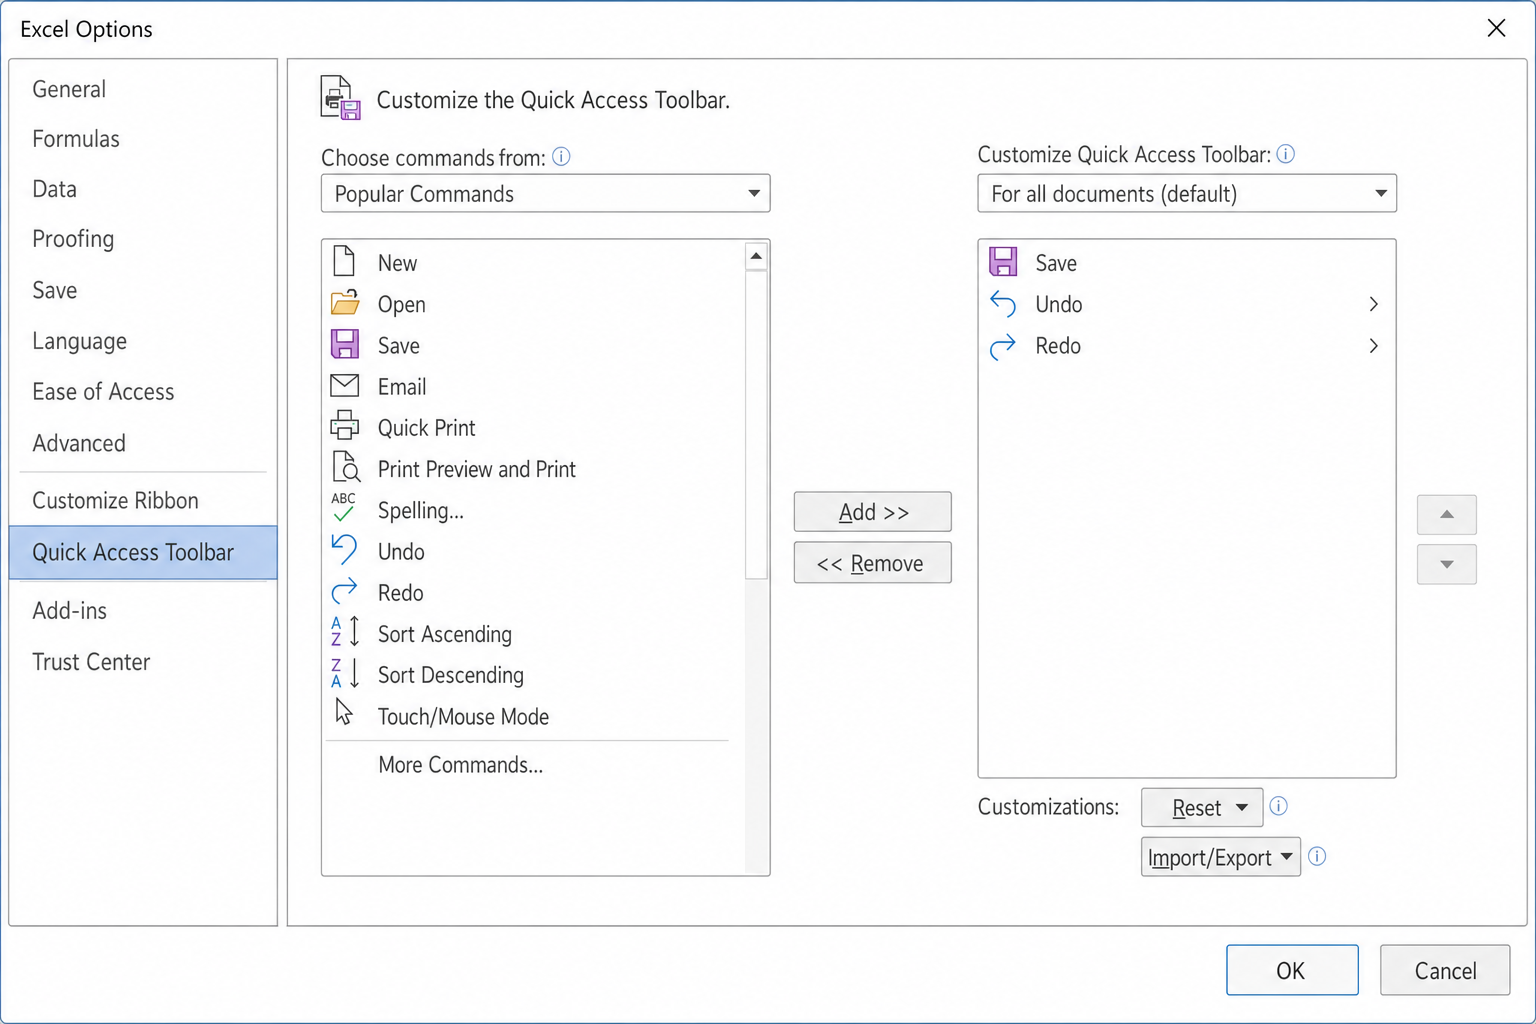
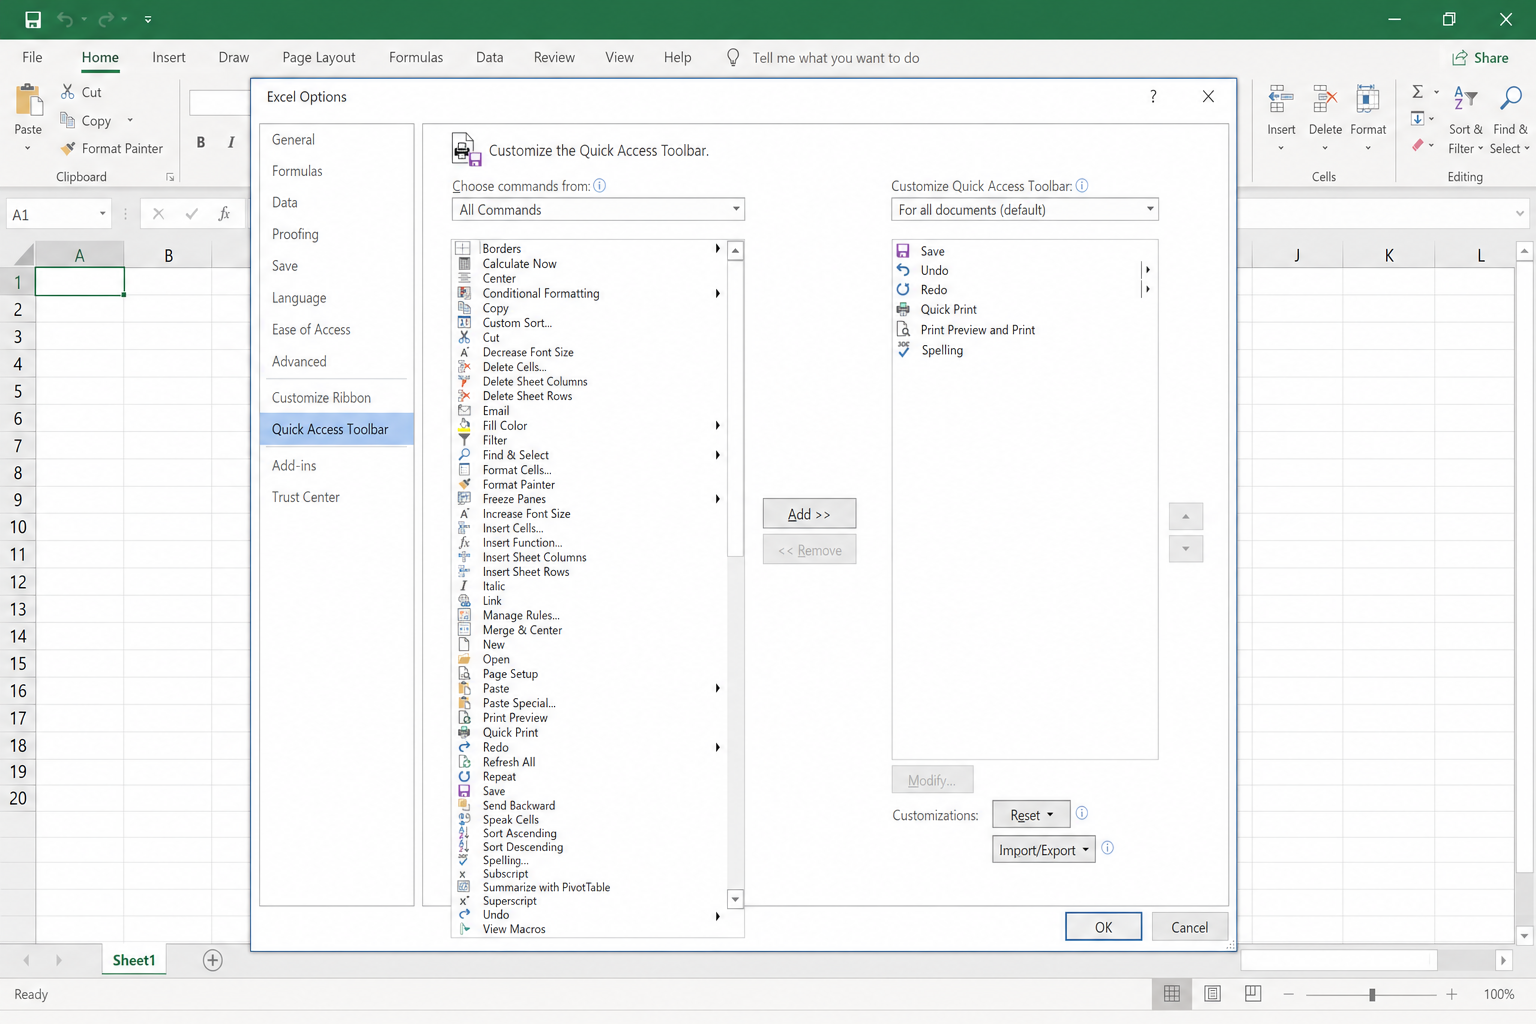
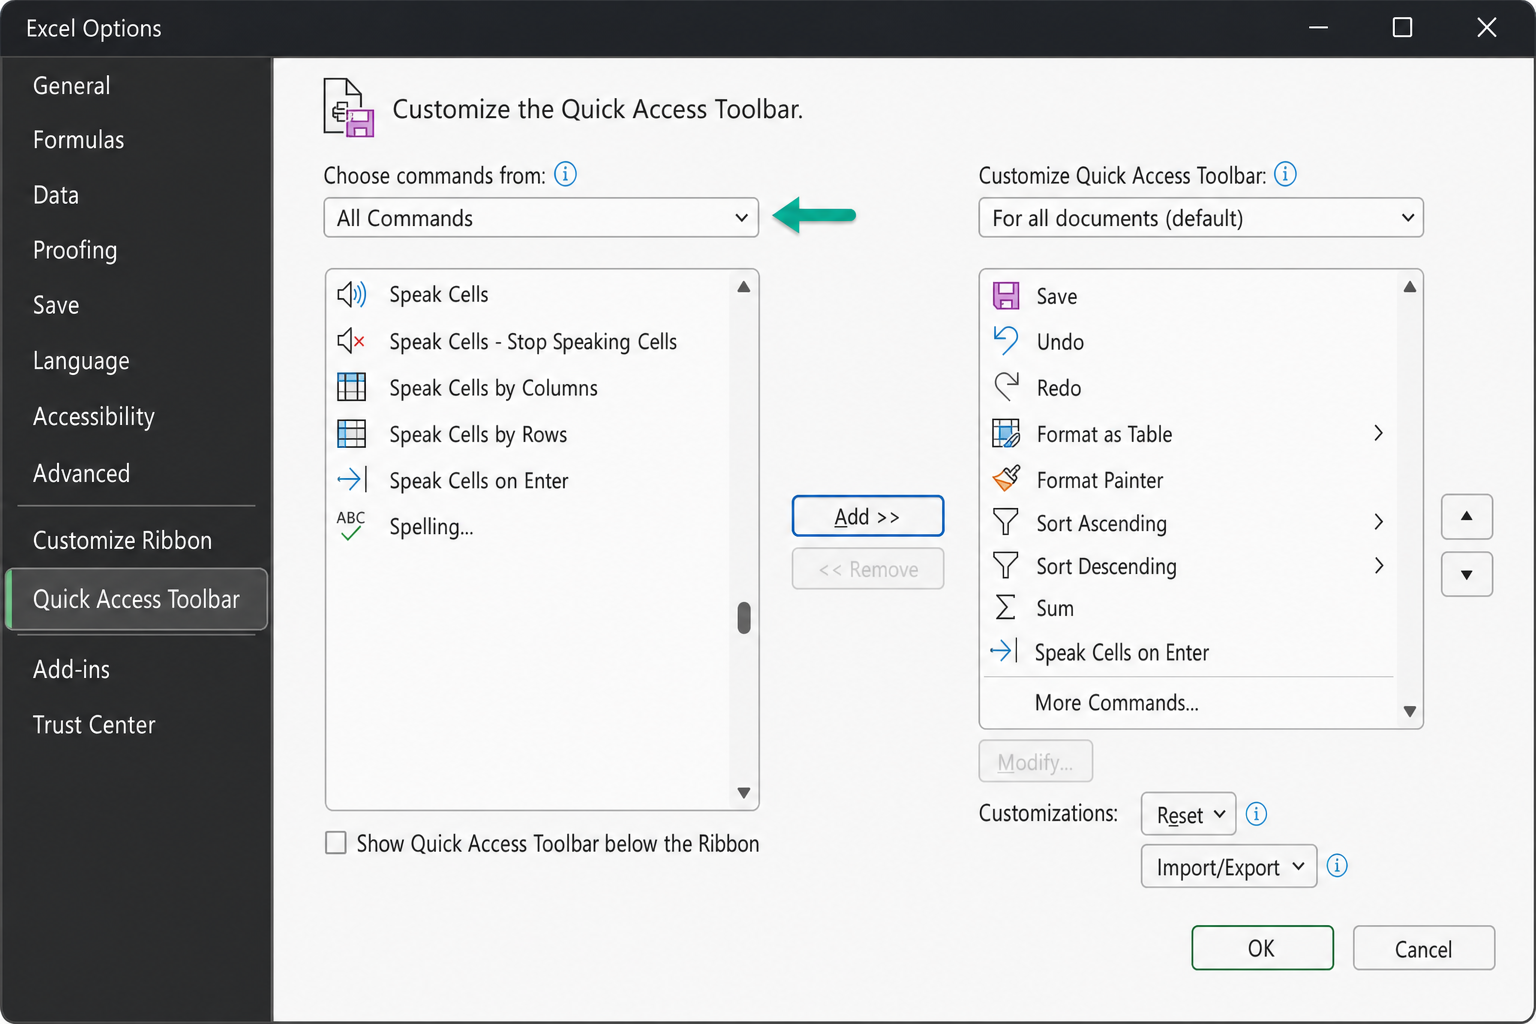
- In the Choose commands from dropdown, select All Commands.
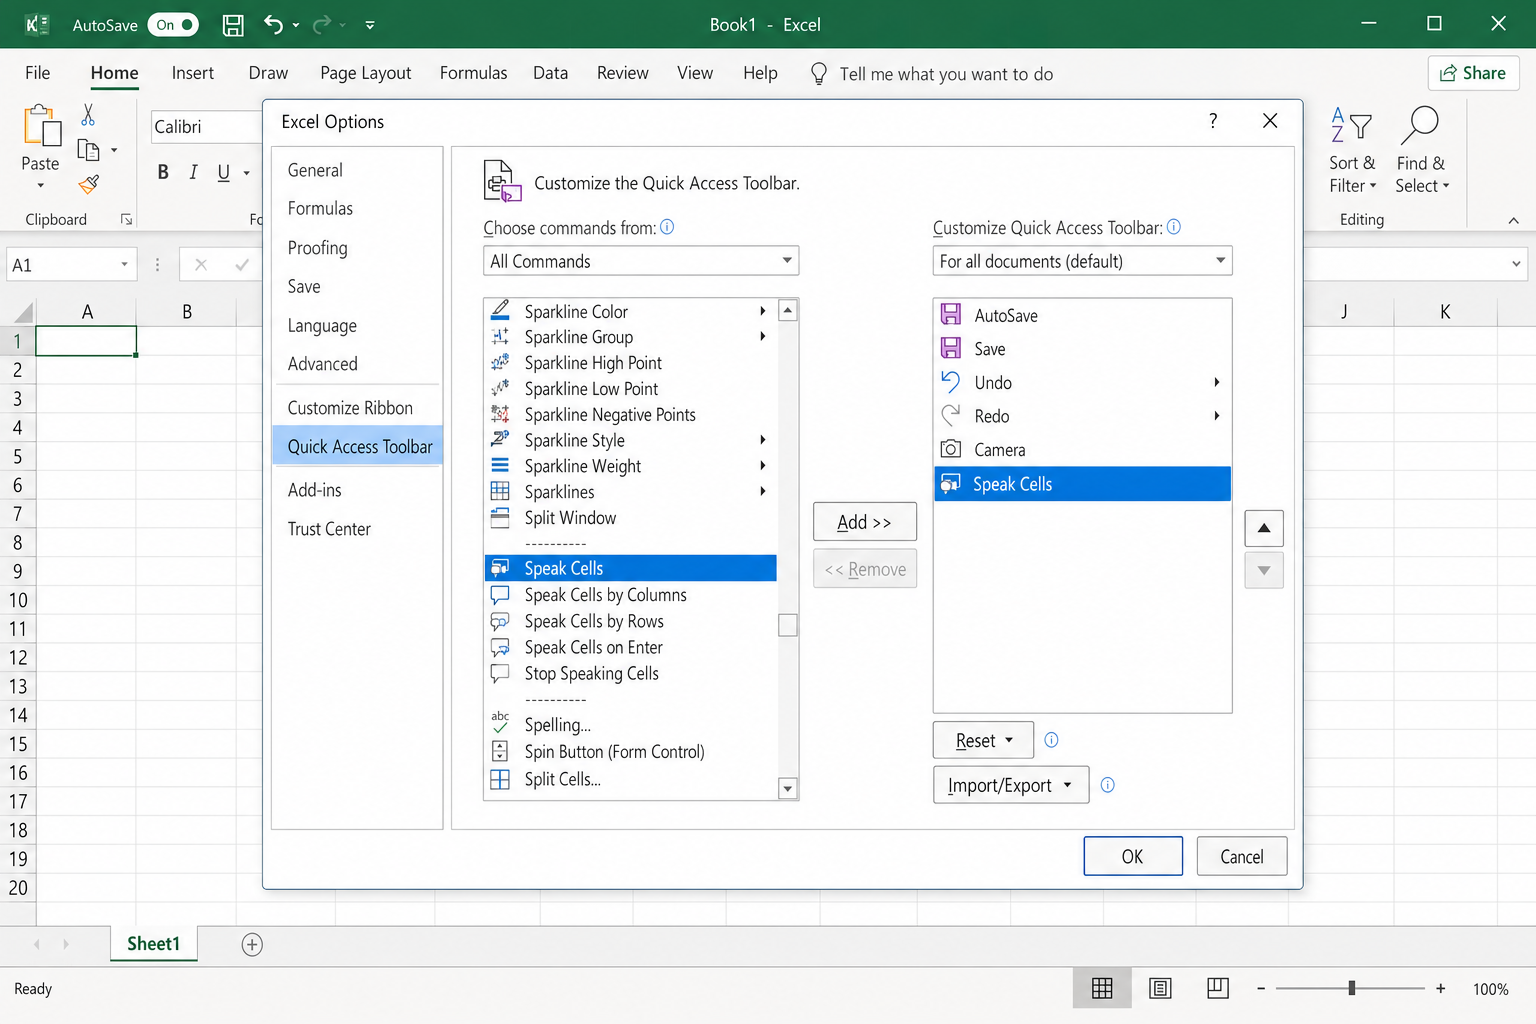
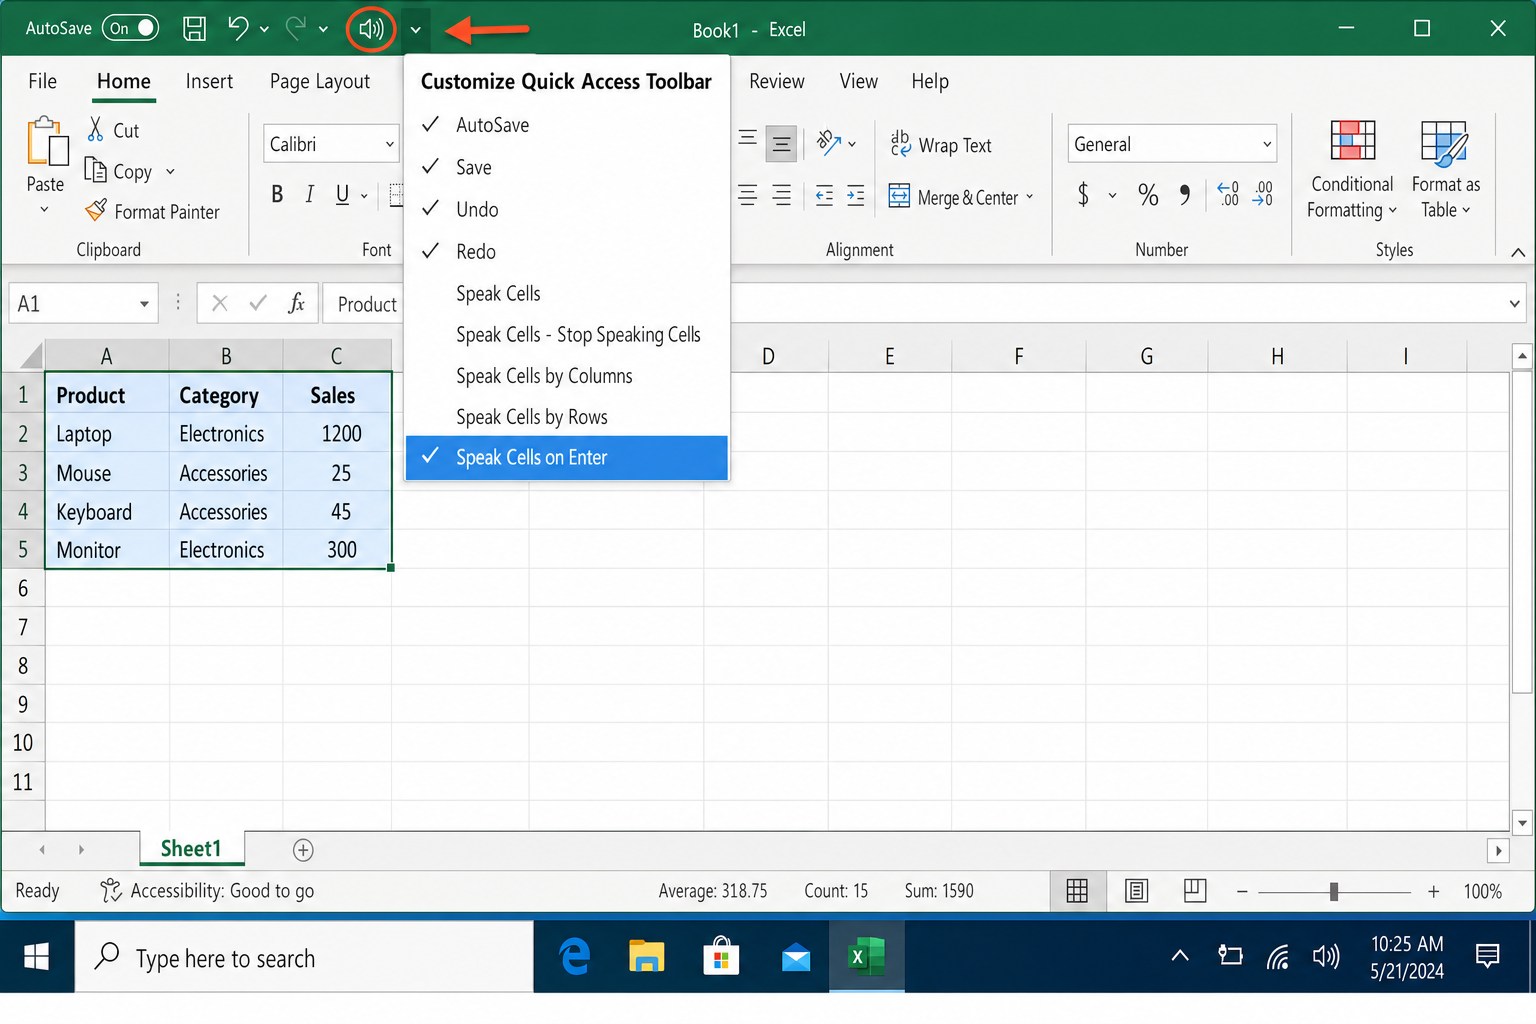
- Scroll down the list and select Speak Cells on Enter.
- Click Add >> to move it to the right-hand column.
- Click OK to apply.
You’ll now see the Speak Cells button appear in your Quick Access Toolbar at the top of the Excel window.
Step 2: Use Speak Cells to read your spreadsheet
- Select the cells you want Excel to read aloud.
- Click the Speak Cells button in the Quick Access Toolbar.
Excel will read the values row by row using Windows’ built-in text-to-speech voice. If you added Speak Cells by Columns, you can switch between row and column reading using those buttons, only one direction is active at a time.
Step 3: Enable Speak Cells on Enter (optional)
The Speak Cells on Enter button works as a toggle. When it’s active, Excel reads each cell aloud every time you press Enter, handy for data entry validation.
- Click the Speak Cells on Enter button in the Quick Access Toolbar to toggle it on.
- Click it again to toggle it off when you’re done.
Important: Removing the Speak Cells button from your toolbar does not disable the feature. If Speak Cells on Enter is active, it will keep reading cells when you press Enter even after you’ve removed the button. Always toggle it off before removing it from the toolbar.
Alternatives to Speak Cells in 2026
Speak Cells still works, but Excel now has more capable options for reading and interpreting your data:
- Microsoft Copilot (Agent Mode) — Available on Excel for Windows (and rolling out to Mac), Copilot can read, summarize, and explain your spreadsheet data conversationally. It’s more flexible than basic text-to-speech for complex datasets.
- Windows Narrator — The built-in Windows screen reader works across all apps, including Excel, and doesn’t require any toolbar setup.
- Read Aloud in Word — If you paste your data into Word, the Review > Read Aloud feature uses a higher-quality voice than Excel’s Speak Cells engine.
For simple data validation lie checking that a column of numbers matches what you typed, Speak Cells is still the fastest option. For understanding what a spreadsheet means, Copilot is now the better tool.
Conclusion
Adding Speak Cells on Enter to your Quick Access Toolbar (Step 1) is the fix most people are looking for as it takes under a minute and works immediately. Just remember to toggle it off when you’re finished, or Excel will keep reading every cell you confirm with Enter. If you need something more powerful for accessibility or data review, Copilot’s Agent Mode is worth exploring.