Google revolutionized the office landscape with the cloud-based Google Docs, challenging the supremacy of Office apps like Word and Excel with reasonable success. One little-known tool in the Google Docs arsenal, however, is a Google draw tool called Google Drawings.
What is Google Drawings? It isn’t a full-featured Photoshop replacement, but if you’re looking for a quick and easy-to-use drawing tool to create new diagrams or charts on the web, Google Drawings could be the tool you need. To draw with Google using Google Drawings, all you need is a Google account–it’s totally free to use.
What Is Google Drawings?
Google Drawings isn’t new—it’s been around since 2010. It allows you to create diagrams, shapes, and other drawings that you can then use in other Google Docs apps like Google Slides. You’re also free to share, publish, and export your images on the web or to other software on your PC or Mac.
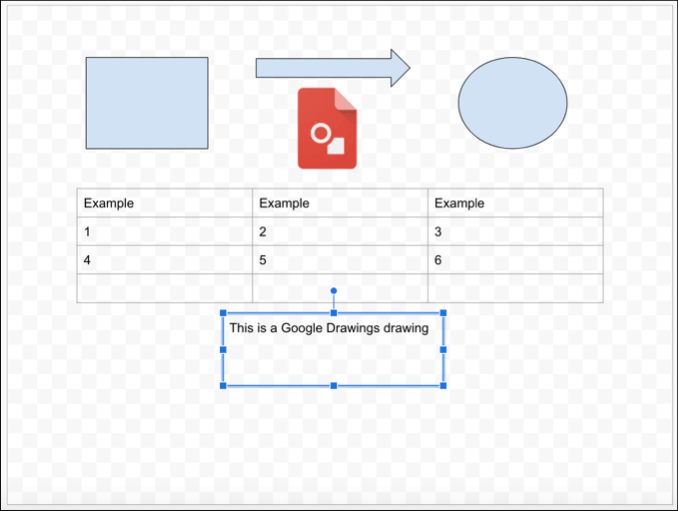
Don’t expect a full set of image-editing tools in Google Drawings, because it isn’t a full image-editor like GIMP or Photoshop. Google Drawings just doesn’t have that kind of functionality—everything is pretty basic, with similar image-editing features to those found in Google Sheets, for instance, but with its own design canvas.
It’s more of a like-for-like replacement for Microsoft Visio, the diagram software included with Office, than anything else. The difference between Visio and Google Drawings, however, is the cost—you can use this Google draw app for free.
How To Draw With Google Using Google Drawings
Thankfully, there isn’t a steep learning curve with Google Drawings. If you’ve ever used a tool in the Google Docs suite, the interface will seem very familiar as it uses the same menu bar style that you’ll see in Google Sheets, Slides and other Google apps.
To start using Google Drawings, head to the Google Drawings website and sign in using your Google account.
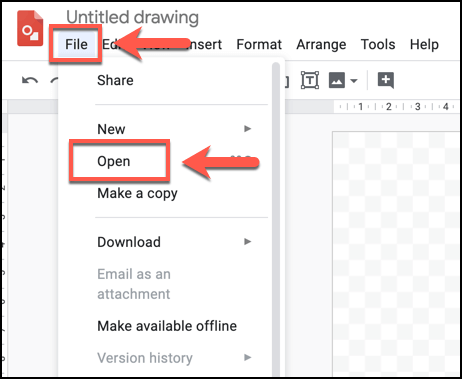
- If you’ve never used Google Drawings before, a blank drawing will appear automatically. You can open existing drawings by clicking File > Open and selecting a previous drawing from your Google Drive storage.
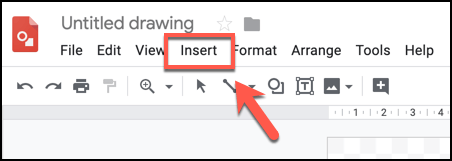
- Google Drawings allows you to insert text boxes, various shapes, tables, diagrams, charts and graphs, to name but a few. To insert any of these, you’ll need to click the Insert tab and select one of the options.
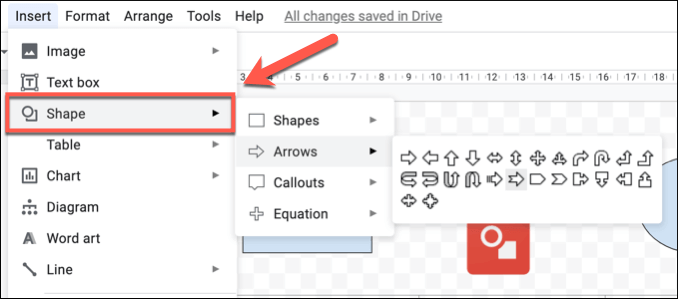
- Adding a new shape, for instance, will require you to click Insert > Shape, choosing a type of shape (for instance, Arrows) and clicking one of the visual styles. You can then draw the shape using your mouse or trackpad.
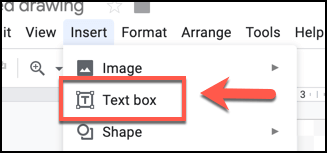
- To add a basic text box, click Insert > Text Box and draw the text box using your mouse or trackpad. Once the text box is created, you can then add text to it using your keyboard.
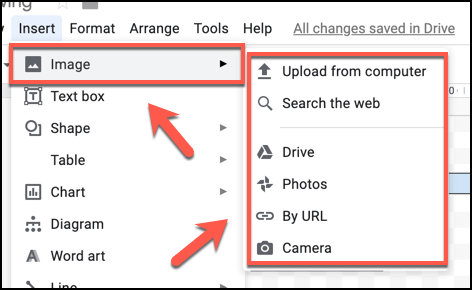
- You can also insert outside images into your drawing, allowing you to manipulate or use it alongside your text, shapes, and other objects. To do this, click Insert > Image and choose one of the available options. You can upload an image from your PC, select one from your Google Drive storage, as well as search online using Google’s built-in image search.
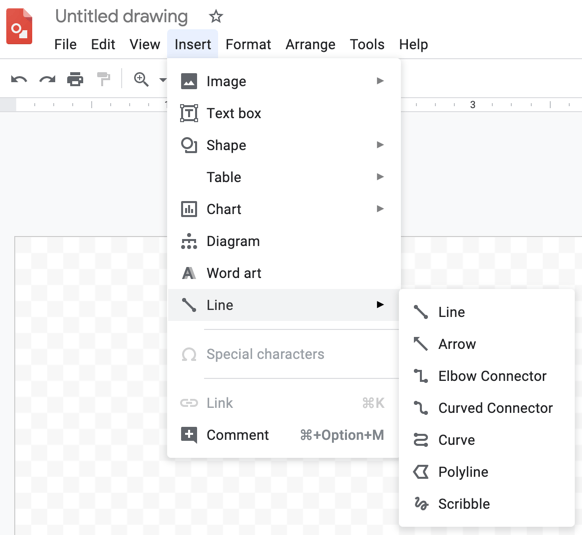
- You can use line objects to link images or objects together. To do this, click Insert > Line and use your mouse or trackpad to create a line object in your chosen location.
- To save your drawing, you’ll need to give it a name. Click on the gray Untitled drawing box at the top of the Google Drawings window and type in a memorable name. Your drawing will then be saved automatically with this name in your Google Drive storage.

Creating Advanced Diagrams & Drawings In Google Drawings
While it also has basic shapes and image editing capabilities, Google Drawings can be used to create more advanced drawings that use diagrams, tables, and charts.
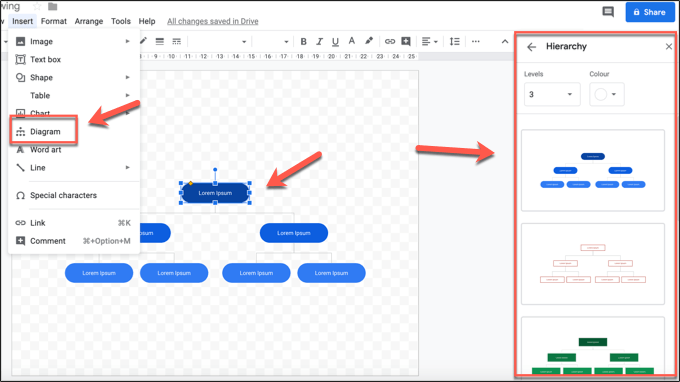
- To insert a new diagram into Google Drawings, click Insert > Diagrams, then select your diagram style from the menu that appears on the right-hand side, confirming the number of levels, as well as the color. You can then edit the diagram once it’s been inserted into your drawing.
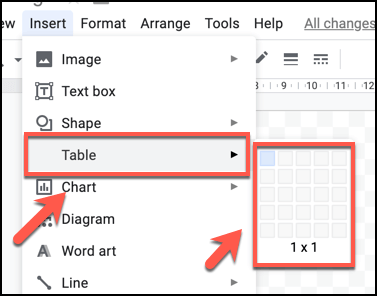
- To insert a table, click Insert > Table and select the number of columns and rows you need. The table will be inserted into your drawing automatically, where you can then move it and begin to add data.
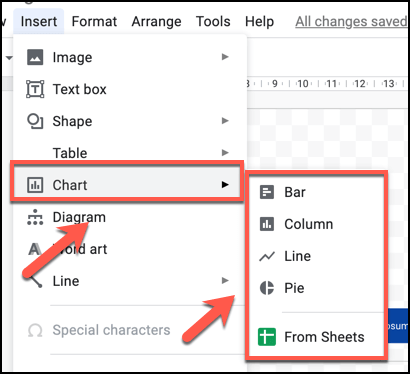
- You can also import graphs and charts from Google Sheets or create them in Google Drawings directly. Click Insert > Charts to do this, then select the type of chart or graph you want to create. Press From Sheets to insert a chart from an existing Google Sheets spreadsheet.
Sharing & Exporting Drawings On Google Drawings
Like other Google apps, Google Drawings allows you to extensively share and export your diagram with others. You can share the file to be viewed or edited by other users, publish your drawing to the web, or export it to your computer as an SVG, PNG, JPEG, or PDF file.
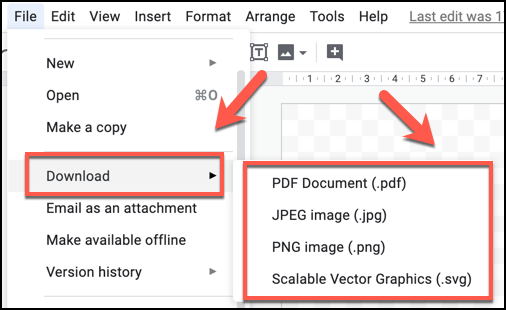
- If you want to export your drawing to your PC, click File > Download and select one of the file format options.
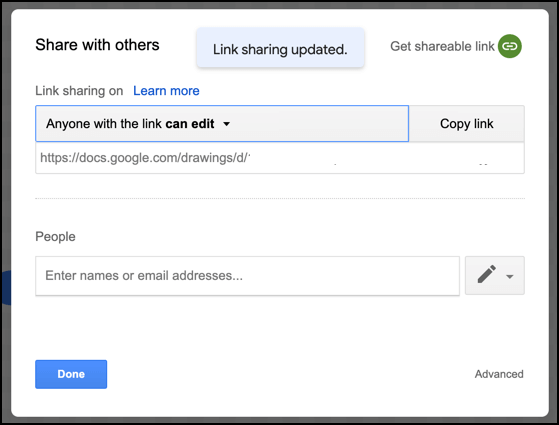
- To share your image with others, click the Share button in the top-left, then type in their email addresses in the People box that appears afterward. Alternatively, click the Get shareable link button to copy a direct link to your image for users to view or edit your drawing anonymously. Click Done once you’re finished.
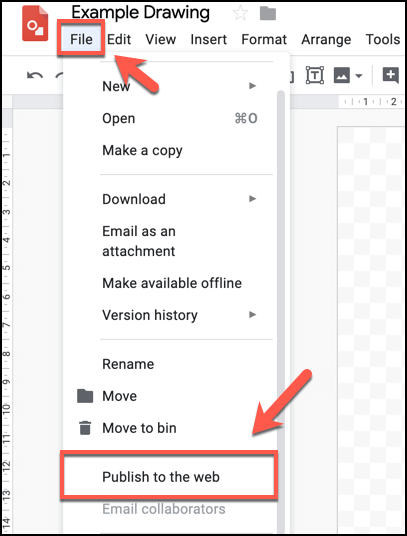
- To publish your drawing as a publicly-accessible file on the web, allowing it to be embedded on other web pages, click File > Publish to the web.
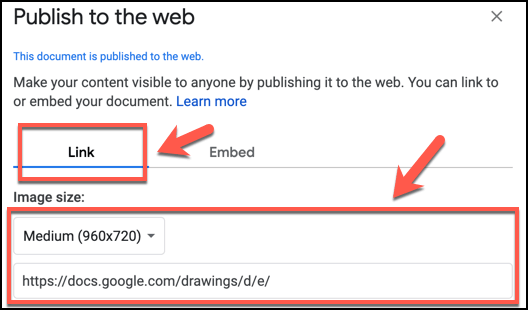
- You can select the size of your published drawing image under the Link tab by selecting a size under the Image Size drop-down menu, then copy the direct URL to your drawing in this size.
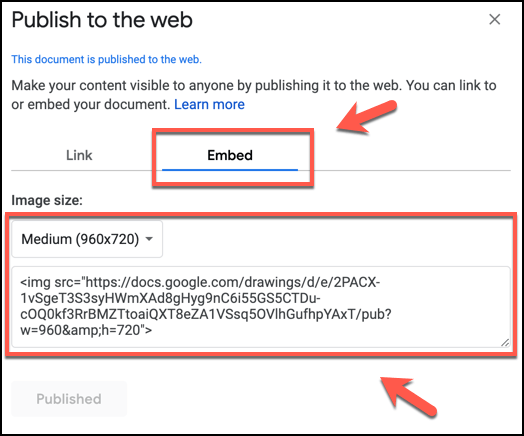
- To embed your published image on the web, click the Embed tab in the Publish to the web window. You can then select and copy the HTML code shown to be able to insert it onto a web page correctly.
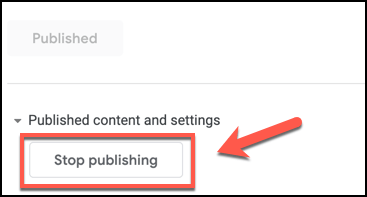
- Click the Stop Publishing button to remove your drawing from the web at any point in the future.
Exploring Your Creativity With Google Docs
All of the apps in the Google Docs arsenal allow you to edit photos and images, but only Google Drawings allows you to draw with Google on a drawing canvas like you would with a true photo editing tool like Photoshop. It’s more of a replacement for Microsoft Visio than Photoshop, but it’s still worth taking a look at.
There are other ways you can use Google Docs, of course. You can use it to build a new resume using Google Docs templates, and even use the built-in sharing tools to create a simple web page for free.
What are your favorite apps in the Google Docs suite? Let us know in the comments below.