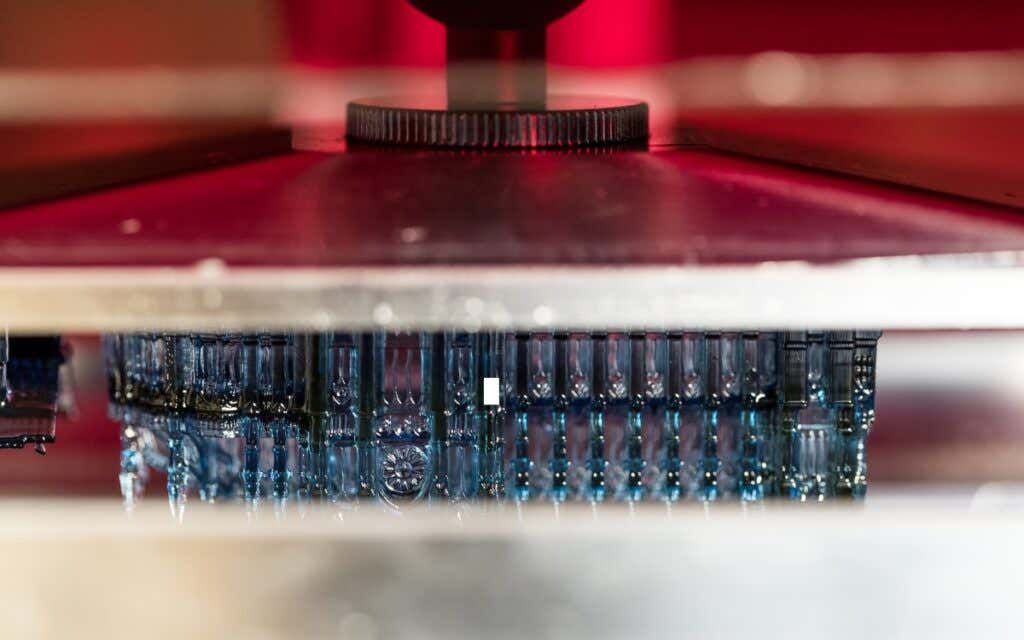
In the last few years, 3D printers have finally become widely available for the masses. They’re no longer tools just for professionals and businesses. You can even find great 3D printers for under $500 including SLA printers. So getting a 3D resin printer isn’t difficult, but creating a professional-looking print can still be challenging.
Resin printers like the AnyCubic Photon Mono X 6K are ideal if you’re a beginner who wants to quickly get started with 3D printing or an artist looking to create detailed art pieces. That said, 3D SLA prints can go wrong just like FDM prints, so let’s explore the most common problems and fix them through some basic 3D printing troubleshooting.
1. Use Clean Resin
You can prevent a lot of 3D printing issues and failed prints by making sure you use a high-quality, clean type of resin without any residue contaminating it. Always check your resin before starting a new project.
You might find cured resin particles inside the bottle, especially if you buy large quantities. Solid residues can prevent the printer from working properly and your print might go awry halfway through the process. Also, you can contaminate the resin accidentally with alcohol or other liquids if you leave the bottle open. Inspect the resin and keep a well-ordered working environment.
2. Check the Ambient Temperature
You might ignore the ambient temperature in your home, garage, or workshop simply because you’re used to it. However, it can impact how well the resin sets. This is particularly a problem if you live in a colder environment because most resins require an ambient temperature of between 22℃ and 25℃ and preferably even higher. Check the manufacturer’s recommendation and heat your workspace or move the printer to a warmer part of your house.
Before getting started, you should also let the resin reach room temperature. If you just received a new batch of resin, it’s probably colder or warmer than the temperature in your workspace. Let it sit for a few hours. You want a stable temperature during the printing and curing process.
3. Keep the LCD Screen Clean
One of the most common reasons for failed 3D prints is a dirty LCD screen. Any type of residue on the screen can prevent your printer from working properly or cause print deformations. Your printer’s UV light has to go through the screen without anything blocking its path otherwise you’ll get gaps in your model and other defects.
The most common residue you’ll have to deal with is cured resin because things rarely go perfectly in 3D printing. To clean it off, use a plastic scraper. You can also use a sharp razor blade, but please use it carefully and gently or you might damage the screen. Most of the residue should come off easily. If the screen is still somewhat dirty afterward, wipe it with a microfiber cloth and isopropyl alcohol.
4. Don’t Print So Fast
A common cause of ruined 3D resin prints is a high printing speed. 3D resin printing usually involves the use of a UV light that hits the resin to harden it. The resin needs to be hit by the correct amount of light or you won’t get any results. Printing too quickly means your print is underexposed, or in other words, the resin doesn’t get enough UV light. As a result, your printer won’t print anything and if it does, you’ll have a frail model that breaks easily.
Go into the slicer software and adjust the print settings, especially the printing speed. Slow the printing down in small increments and try again. Also, remember to check the resin and the temperature first.
5. Print Diagonally at 45 Degrees
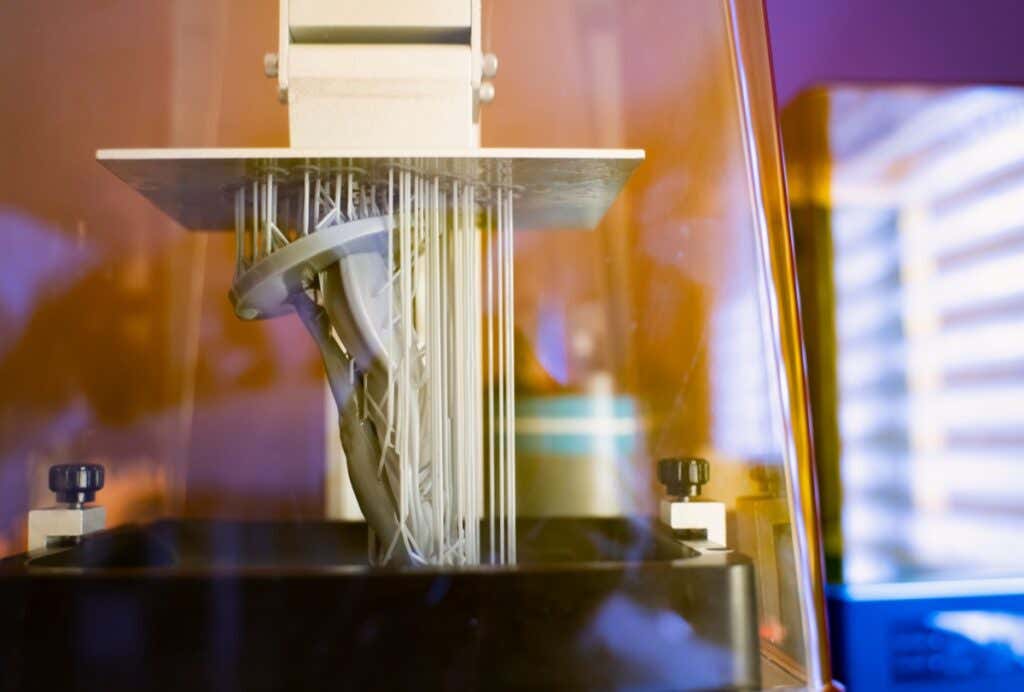
The unwritten rule of 3D resin printing is to print your model oriented at 45 degrees. Why? Printing at an angle results in fewer failures and better print quality, especially when a lot of support structures are needed due to a large print model.
When you print vertically, the model’s weight presses harder on the supports because the weight isn’t distributed well. Everything flows vertically. By printing diagonally, the weight is spread more evenly so you risk fewer support problems. As an added bonus, you’ll also have an easier time removing the printed model from the build plate.
6. Don’t Overload the Print Bed
Printing can take a lot of time, so you probably decided at some point to fill the build plate with as many models as possible. After all, why not save time and money by printing everything at once? Well, you might end up with nothing but a print failure and waste a lot of resin.
If you’re a beginner and make a mistake, all of the models on the print bed can go awry. Depending on the model, your 3D resin printer might not even operate well with an overloaded build plate. So stick to printing one 3D model at a time, or a couple at most, and remember to keep them at a 45-degree angle to increase your chances of success and the print quality.
7. Check the FEP Film and Replace It
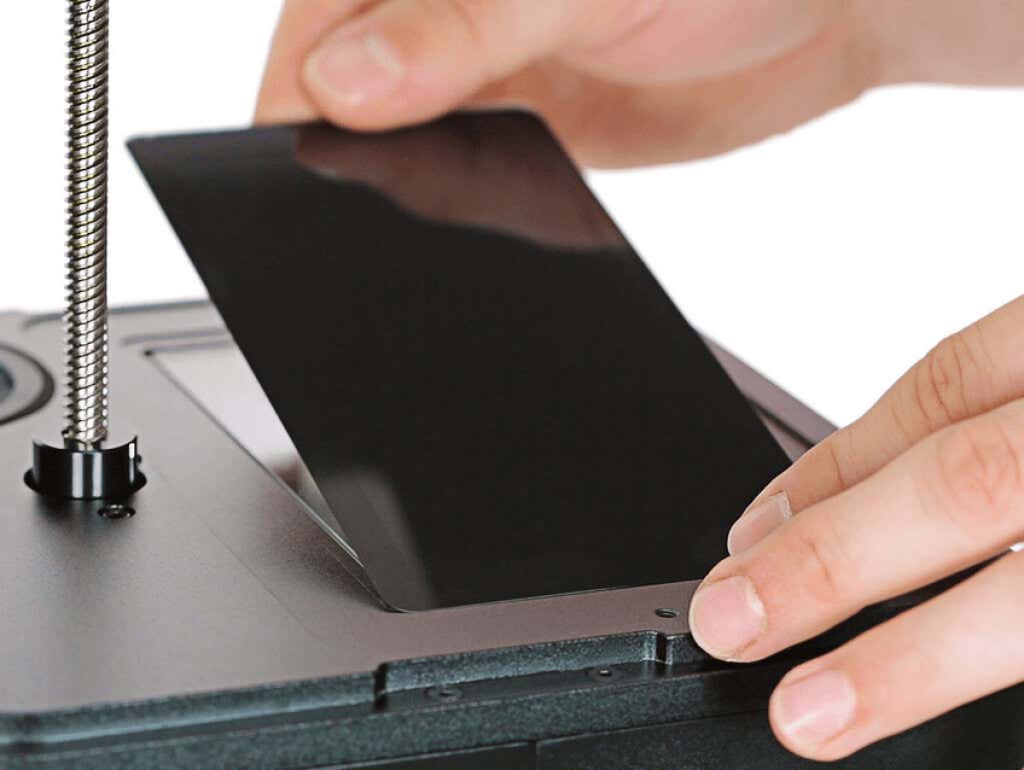
The FEP film is a special foil used to create an optimal path for the UV light source to cure the resin. It’s a vital component of the printing process. If your prints are suddenly turning into failures, you need to check the film. It’s often overlooked, especially by beginners.
After a certain amount of printing, the FEP film will warp or suffer some kind of damage. When you spot such signs of wear and tear, it’s time to replace it. Small scratches won’t affect the quality of your print, and if you spot smudges you can ignore them or wipe them with a paper towel and isopropyl alcohol.
8. Recalibrate the Build Plate
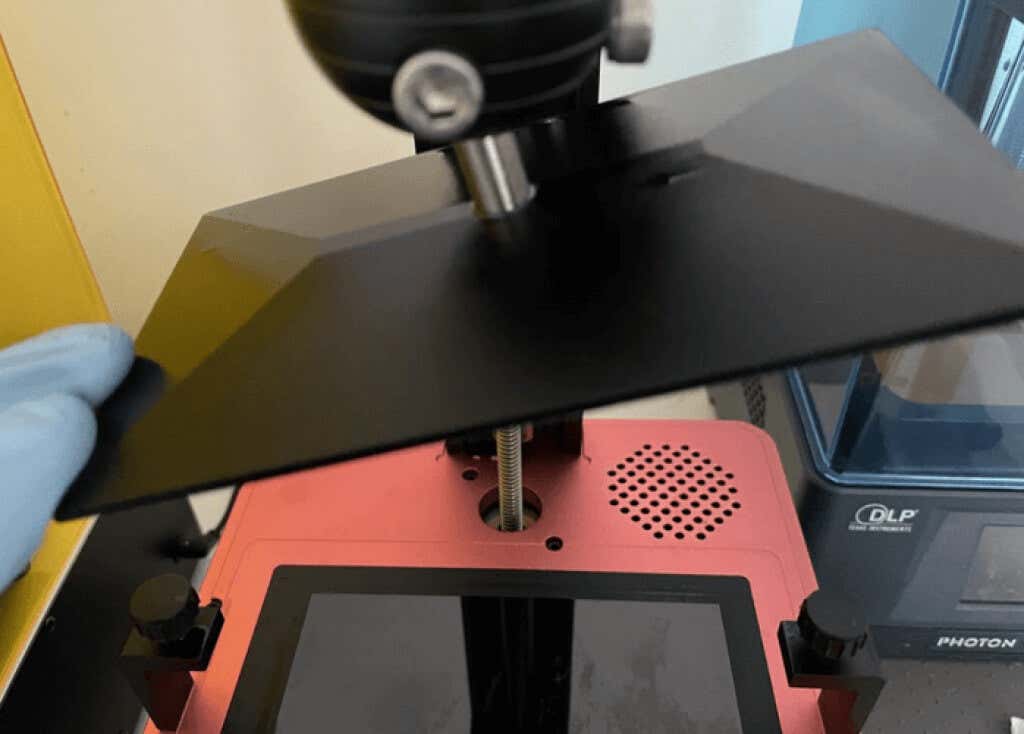
If your print turns out bad at the first layer, the lower layers, or it completely fails halfway, the build plate might be slightly inclined. You need to level it and repeat this operation whenever necessary as part of your printer’s maintenance routine. Whether you’re using a resin 3D printer or FDM printer, calibration is key to avoid most 3D printing problems.
Depending on the quality of your printer, it might require recalibration more often than others. That said, all 3D printers need some calibration every now and then. Check the manual for your 3D resin printer on how to level the print surface and bring it back to its optimal position.
9. Dealing with Delamination
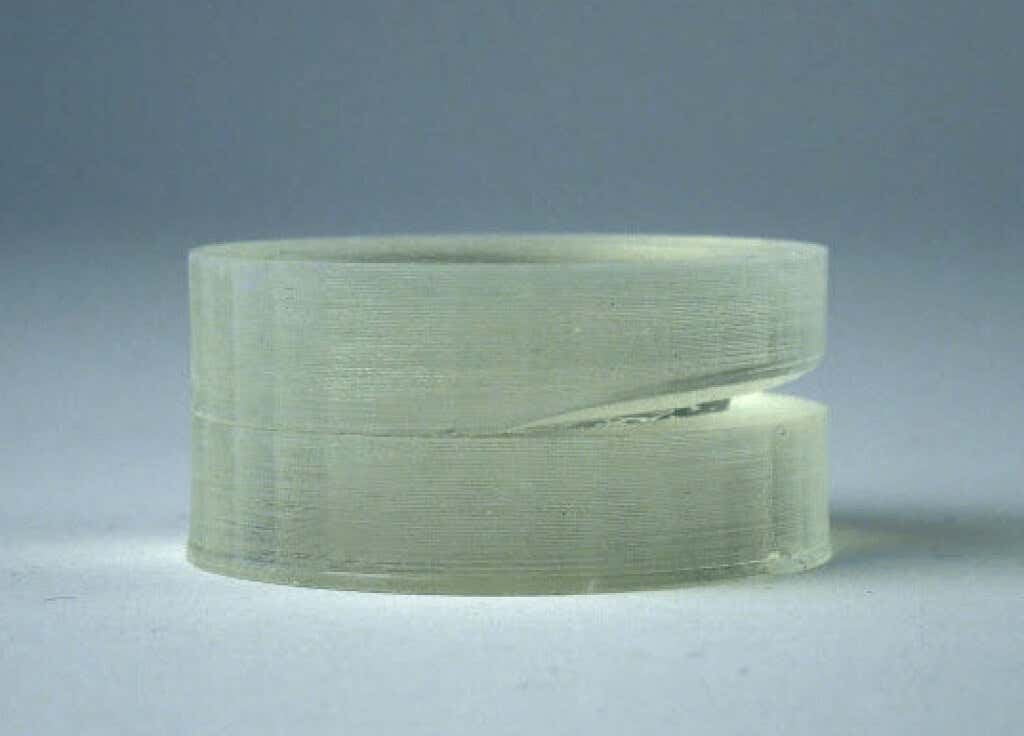
Filament prints aren’t the only ones that can end up looking deformed. For example, the layers of resin needed to build models might not bond well and they shift in separate ways looking as if they’re pulling apart from each other. This layer separation is known as delamination and it will definitely ruin the looks of your print because it’s too obvious not to notice. Fortunately, you have 2 solutions.
Generate More Support Structures
Many things can go wrong with a resin print if it’s not properly supported. So make sure you have enough supports to hold the parts of your model that are at a drastic angle. Also, remember to orient your model diagonally at 45 degrees to increase the resilience of your supports and the quality of the print.
Look for Obstructions
Layer separation also occurs when something is blocking the UV laser’s path. First, you need to make sure the resin itself is clean, without any debris blocking or interfering with the light. You can use a filter to remove any solidified resin if you noticed any. Afterward, look at the FEP film and the LCD screen for any markings, imperfections, or debris. Clean all contaminants and replace the film if it’s damaged.
10. Dealing with Ragging
Ragging is another 3D print deformation problem that turns your model into an ugly mess full of blobs. Oozing-like shelves that look like thin flaps stem horizontally from your print. These thin structures are often partially cured and break away inside the resin vat, thus obstructing the UV laser and ruining the print beyond salvage. Here’s how to troubleshoot this problem.
Check the Resin
Is the resin expired? Are you using too-cheap-to-be-true resin from shady sources? Depending on the resin, it has a limited lifetime that can range from 1 to 2 years. Expired resin isn’t reliable and will react differently to the UV laser, ambient temperature, and other variables. Improper storage can also degrade the resin.
In either case, print deformation like ragging is a common result of bad resin so make sure you inspect it.
Look for Obstructions
Same as with delamination, an obstructed laser can be the cause of the ragging problem. Check the resin vat for debris. Clean the print bed thoroughly with a plastic scraper. Remove the resin from the tank and filter it in case there’s any cured resin inside it. Also, inspect the FEP film and clean all optical surfaces.
Reduce the Number of Supports
Too many supports can be a bad thing and ruin your print. Ragging is a symptom of high support density, so check the settings in the slicer software to reduce the number of supports. Make your supports more effective by also reorienting your model. As mentioned earlier, a 45-degree angle will reduce the number of supports you need.
What problem do you have with your resin 3D printer? Did any of our troubleshooting tips help solve them? If not, please let us know in the comments below and we’ll do our best to help you find a solution.
