Have you ever visited a web page only to find that none of the pictures on the page load? Images not loading in Chrome can have several causes.
In this article, you’ll learn some of the first things to check that should fix this problem quickly. If those don’t, there are some more advanced options to try toward the latter part of the article.
Why Images Aren’t Loading in Chrome
There could be many reasons images may not load in web pages when you’re using Chrome.
- Your internet connection is down, and Chrome is loading a cached page.
- A Chrome setting is blocking images.
- There are problems with the site you’re trying to load.
- A browser extension could be interfering with the page load.
- Your antivirus software is blocking the images.
As you can imagine, with so many causes, finding the actual problem isn’t always easy. However, this step-by-step guide should help you resolve the issue.
1. Try a Different Browser
The first thing to check is whether the issue is only with your Chrome browser or any browser. Why does this matter? Each browser uses its own browser engine to process incoming web page code.
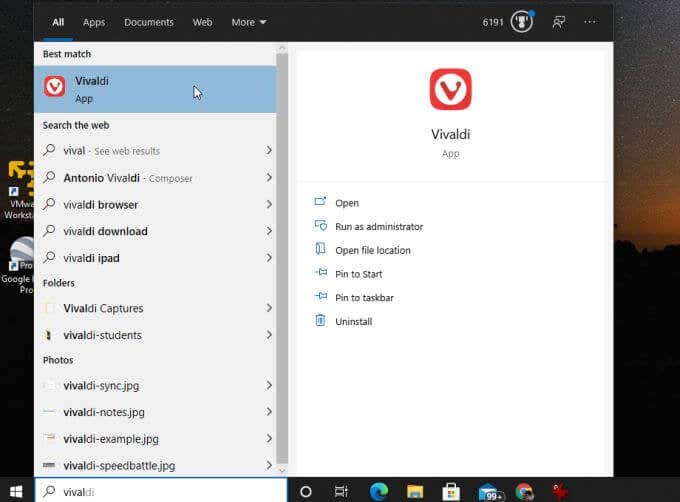
Chrome uses the Chromium engine. So, the first test to try is using another Chromium-based browser like Vivaldi.
If images aren’t loading in Vivaldi, it could either be your internet connection or something to do with the Chromium engine on your PC.
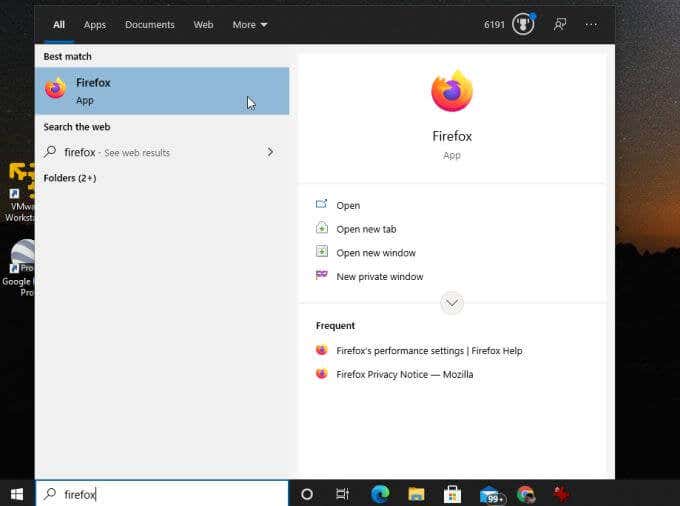
Another good test to try is launching Firefox and visiting the same web page.
Firefox uses a completely different browser rendering engine called Gecko, running a new code-named Quantum.
If Firefox doesn’t load images either, your internet connection could be the issue. If this is the case, you’re going to need to work on troubleshooting your internet connection.
2. Check the Show All Images Option
If other browsers work fine, then it’s most likely that the issue is with Google Chrome. Therefore it’s time to start troubleshooting Chrome.
First, check that the settings that can stop images from loading are improperly configured. The first setting to check is the Show All Images Chrome setting.
To find this:
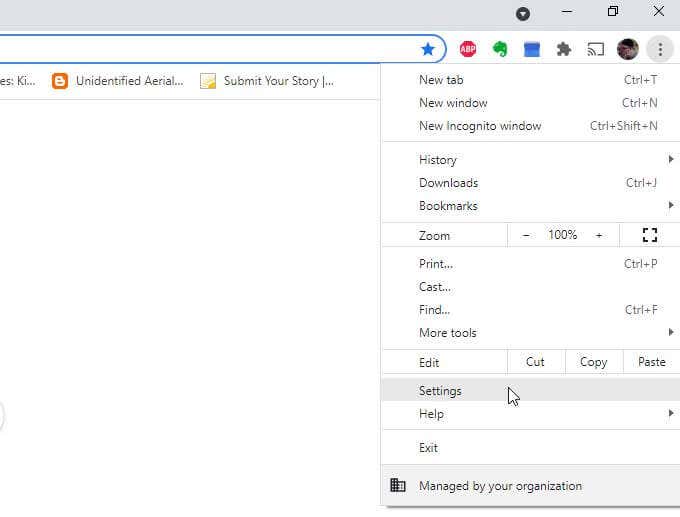
1. Select the three dots on the right to open the menu and select Settings.
2. Scroll down to the Privacy and security section and select Site Settings.
3. In the Site Settings menu, scroll down to the Content section and select Images.
4. In the Images menu, make sure that Sites can show images is enabled.
This setting is one of the most common reasons people see broken image icons when opening web pages. Hopefully, this setting has fixed your issue.
3. Check JavaScript Settings
Some web pages use JavaScript code to load images on the web page. Because of this, if you’ve disabled JavaScript in Chrome without realizing it, images won’t load on that web page.
You can make sure JavaScript is enabled in Chrome to see if this is the problem. To do this, use the same process above to open Chrome settings. Scroll down to the Content section and select JavaScript to see Chrome JavaScript settings.
In JavaScript settings, make sure Sites can use JavaScript is enabled. This will ensure that if the web page does use JavaScript to load images, it’ll work in Chrome.
Restart your Chrome browser and then try to reaccess the page. If this setting was the issue, the web page should load the images now.
4. Test No Extensions with Incognito
Another issue that can cause problems with images loading in Chrome are browser extensions. It’s difficult to troubleshoot which extension is causing the issue, especially if you’re running a lot of them.
The easy way to test this is to run Chrome in Incognito mode. This will launch the browser without any extensions loaded. To do this, just select the three dots at the upper right to open the Chrome menu and select New incognito window.
Try loading the problematic web page in this new incognito window. If the pages load, then the issue is most likely one of your extensions. If this is the case, close incognito mode and open a regular browser window.
Access the extensions menu by opening settings, select More tools, and then select Extensions.
Disable the active extensions one at a time and keep testing the web page.
Once you disable one and the web page can load images, you know that extension is the issue. Consider selecting Remove to delete it completely from Chrome.
5. Clear the Google Chrome Cache
Google may have cached a version of the web page when the images weren’t working. Until the cache is refreshed, the cached version of the page will continue to load.
Clear the cache to pull the newest version of the web page to see if the Chrome cache is the problem.
1. Type chrome://history/ into the URL field of your browser and press Enter.
2. In the left menu, select Clear browsing data.
3. This will open the Clear browsing data window. Make sure at least Clear images and files is selected and select Clear data.
4. Another way to do this is to select the Advanced tab. Make sure Cached images and files is selected and select the Clear data button.
Either of these will work. Once the cached images and files are deleted, restart the browser and then try reloading the page. If the Chrome cache was the issue, the web page should now load all images.
6. Make Sure Chrome is Updated
An out-of-date Chrome browser could easily lead to issues loading web pages, including loading images. This is especially true if the web page has been recently updated and uses the latest web code that requires the latest version of the Chromium rendering engine.
It’s quick and easy to update Chrome. Just select the three dots at the upper right and select Help from the menu. Then, select About Google Chrome.
When the About Chrome page opens, Chrome will automatically reach out to check if it’s fully updated.
If it isn’t, it’ll automatically update itself with the latest build. Wait for the Checking for updates message to change to Google Chrome is up to date. Once you see this message, restart the browser and test the web page again.
7. Try Renaming the Chrome Data Folder
According to many Chrome users, an issue with Chrome’s data folder (files are deleted or corrupt) can cause images to not load in Chrome.
You can test if this is the problem and fix it by renaming the default data folder.
1. Select the Start menu, type Run, and select the Run app.
2. In the Open field, type %localappdata% and select the OK button.
3. In the Windows Browser window that opens, navigate to //AppData/Local/Google/Chrome/User Data.
Rename the Default folder to anything else. Then, relaunch Chrome. Chrome will recreate a new Default folder inside of User Data.
If the old Default folder was causing the problem, then you should now see images when you visit the problematic web page.
8. Reset Your Chrome Browser
If you’ve tried all settings adjustments above and nothing seems to work, resetting all Chrome settings back to default could fix the problem.
Open the Chrome settings window, select Advanced, and scroll down to the Reset and clean up section. Select Restore settings to their original defaults.
This will reset all Chrome browser settings. Restart the Chrome browser and try the web page again. If images load then you know that one of the many Chrome browser settings was causing the problem.
9. Try Different DNS Servers
A final thing you can try is a test by connecting to the internet using different DNS servers. When a web page attempts to load images, it uses a URL link to those images. If the site you’re visiting uses a Content Delivery Network (CDN) service (which serves images from different servers worldwide), the DNS server you’re using matters.
If your current DNS servers have the incorrect IP address for your local CDN servers, your browser won’t load the images.
To test if this is the issue, try changing your DNS servers to Google DNS servers.
- Open the Windows Control Panel and select View network status and tasks under Network and Internet.
2. In the left navigation menu, select Change adapter settings.
3. You will see all network adapters listed. Right-click on the active network adapter that you’re using and select Properties from the menu.
4. In the Wi-Fi Properties window, select Internet Protocol Version 4 (TCP/IPv4) under This connection uses the following items. Select the Properties button under this.
5. Select Use the following DNS server address. Enter 8.8.8.8 for the Preferred DNS server and 8.8.4.4 for the Alternate DNS server.
Select OK. Restart your computer to make sure these settings take effect. Then, relaunch Chrome and test the web page again.
Images Not Loading in Chrome
As you can see, the issue causing images not to load in Chrome isn’t always straightforward. But hopefully, by carefully working through the steps in this guide, you’ve discovered and resolved the issue.


