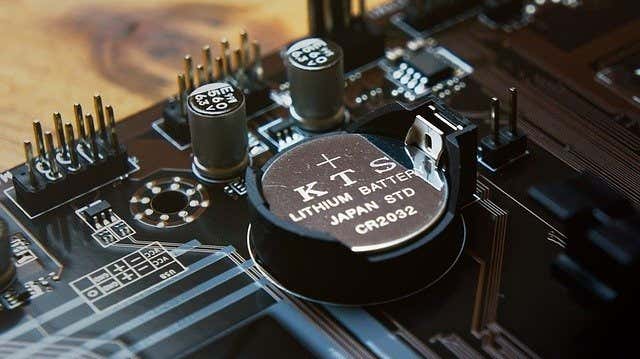
In Windows, CMOS stands for Complementary Metal-Oxide Semiconductor. It is a battery-powered memory located on your computer’s motherboard. The term also describes a memory technology that helps the Basic Input/Output System (BIOS) program on your PC store vital system data like date & time settings, boot sequence, disk drive information, and other system configurations.
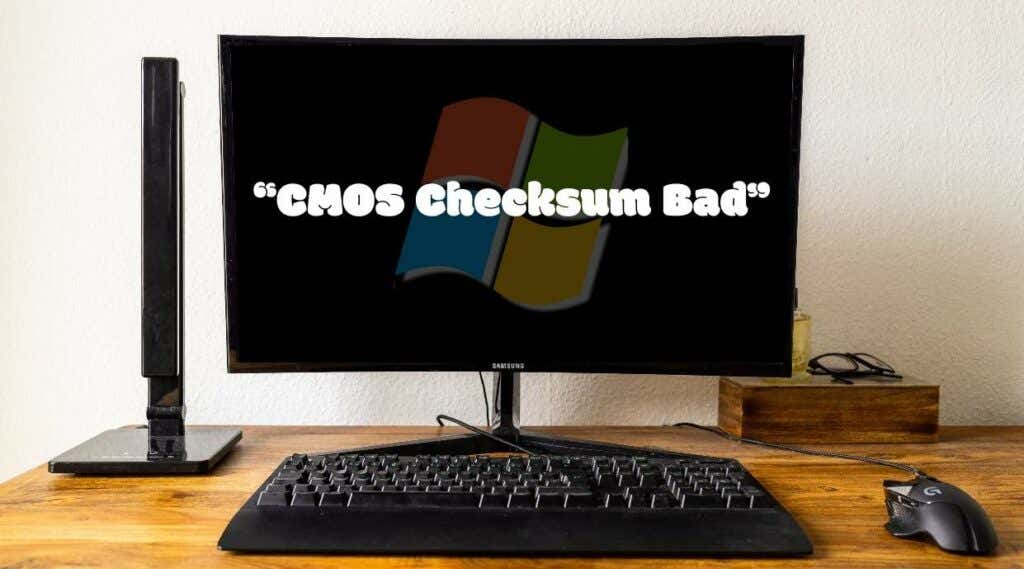
If there’s a problem with this memory, your PC will display a “CMOS Checksum Bad” error before it boots Windows. In this guide, we’ll show you what causes the error and how to get it fixed.
What Causes CMOS Checksum Error in Windows?
“Checksum” describes a value (number or letter) used to monitor or verify the integrity of files in a storage device. You’ll get the “CMOS Checksum Bad” error on your PC if values in the CMOS memory are corrupt. This could be due to installing an incorrect or corrupt BIOS update. The CMOS itself is powered by a dedicated battery, so you might also get the CMOS checksum error if the CMOS battery is weak, bad, or old.
Power surges or improperly disconnecting your PC from a power outlet can also cause the CMOS checksum error. Despite having numerous causative factors, the “CMOS Checksum Bad” is easy to fix.
Fun Fact: CMOS is also referred to as Real-Time Clock (RTC), Complementary-Symmetry Metal-Oxide-Semiconductor (COS-MOS), or Non-Volatile RAM (NVRAM).
How to Fix CMOS Checksum Bad Error
If your Windows PC displays a “CMOS Checksum Bad” error when booting up, the troubleshooting solutions listed below should resolve the problem.
Perform an Automatic Repair
You can also use the Start-Up Repair tool to fix issues preventing Windows from booting correctly. Shut down your computer and follow the steps below.
- If your PC is powered on, head to Settings > Update & Security > Advanced startup > Restart Now.
If Windows won’t boot, shut down your computer and power it back on. When the screen lights up, press the F8 or F11 key repeatedly until the advanced startup menu comes on the screen.
Another way to load the advanced startup menu is to restart your PC in three successions. That is, power on your PC and hold the power button immediately until your PC goes off. Repeat that three times and your PC should load the advanced startup menu on the third try.
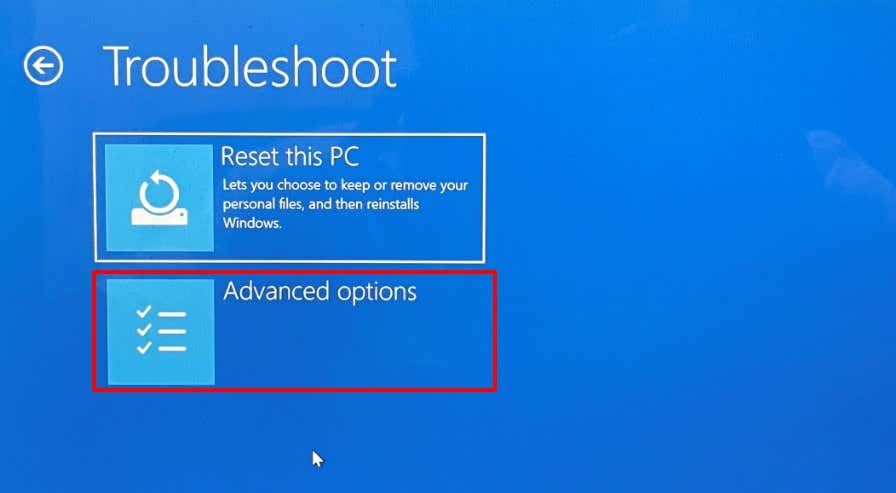
- Select Troubleshoot.
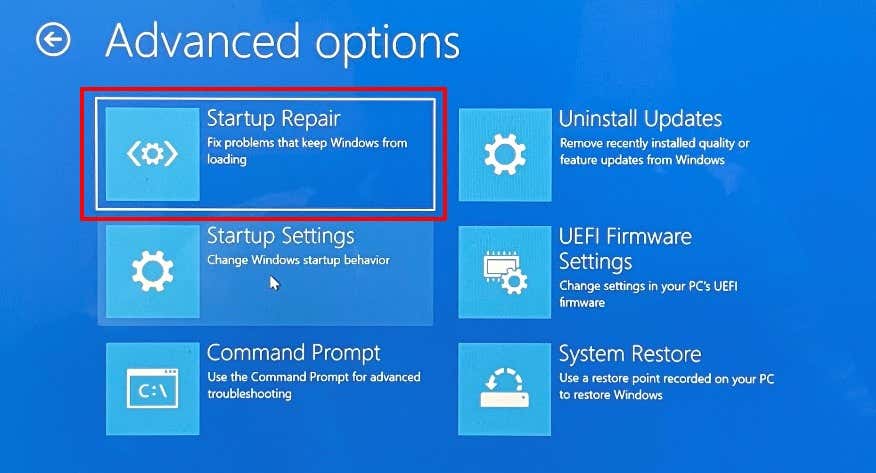
- Select Advanced options.
- Select Start-up Repair.
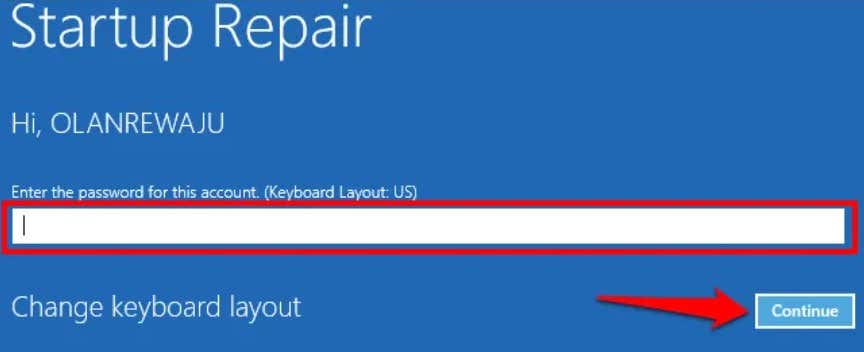
- Enter your account’s password click Continue. Leave the dialog box empty and click Continue if your account isn’t password-protected.
The tool will diagnose your PC and attempt to fix all system errors preventing it from booting correctly. Restart your computer when the operation reaches completion and check if that fixes the CMOS checksum.
Reset BIOS to Factory Default
Performing a BIOS reset will erase all information saved in the CMOS. On the positive side, the operation will also remove corrupt data and incorrect BIOS values. How you access your BIOS and reset it to factory default would depend on your motherboard and your PC’s brand.
Refer to our tutorial on resetting BIOS in Windows for more information. Ensure you reboot your computer after resetting BIOS. That’ll rebuild the checksum values and fix the CMOS error.
Press F1 or F2 on the error page to enter the BIOS setup page and select Load Defaults, Load Set Defaults, or whatever option is assigned to restoring BIOS to default.
Some computers may require you to press a different key (usually Del or F8) to enter the Windows BIOS setup page. Check the instructions on the error page to be sure.
If you exited the error page, you can reset the BIOS from the Windows Advanced Startup menu. Power off your PC and wait for about 20-30 seconds for it to shut down completely.
- Press the power button and hold the F8 or F11 key as your PC boots up, precisely before the Windows logo appears on the screen.
- Select Troubleshoot.
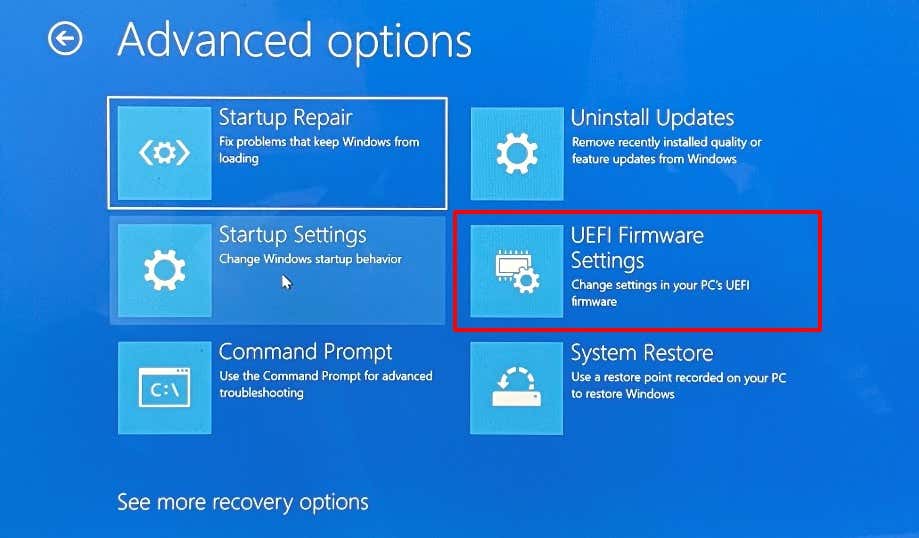
- Select Advanced options.
- Select UEFI Firmware Settings.
- Click Restart to boot your PC to the BIOS setup utility.
The BIOS setup interface will vary based on your PC’s brand. Nonetheless, you should find the option to reset BIOS in the “Exit” section of the BIOS utility.
- Go to the Exit, use the arrow-down key to move the selector to Load Default Settings, and press Enter.
If you don’t find the option to reset the BIOS settings to default, contact your PC’s manufacturer or check your device’s instruction manual.
- Select Yes and press Enter.
- Move the cursor to the Exit Saving Changes and press Enter.
That will restore your PC’s BIOS to default settings and boot Windows. To confirm if that fixed the problem, shut down your PC and turn it back on. Try the next troubleshooting step if you still get the “CMOS Checksum Bad” error when your PC comes on.
Update BIOS
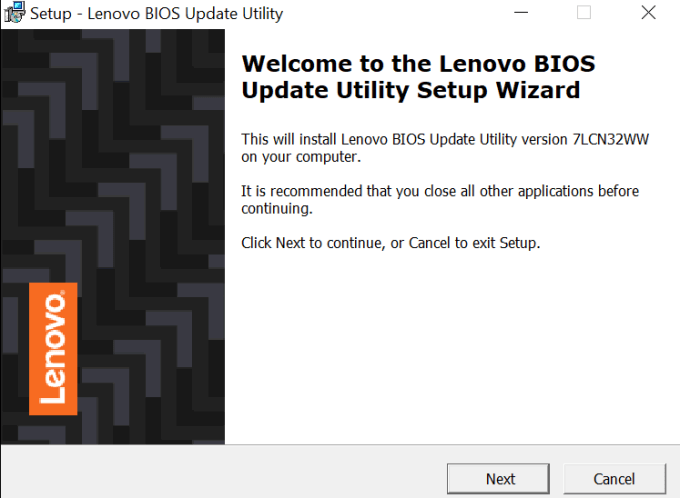
You should perform a BIOS update if your PC’s BIOS version doesn’t correspond with the latest version on the manufacturer’s website (check the “Driver Download” or “BIOS” section). Download the BIOS utility containing the update that matches your PC model, run it with administrative privileges, and let the tool automatically update your device’s BIOS.
Before you proceed, understand that the BIOS is a delicate component of your PC’s motherboard. Installing the incorrect update, or updating BIOS wrongly, can do permanent damage to the motherboard. Follow the PC manufacturer’s instructions to the letter so you don’t ruin your device.
That said, we strongly advise that you download BIOS files only from your PC manufacturer’s website. Also, be extra sure that the BIOS update belongs to your PC model. Installing another device’s BIOS file on your PC will brick the motherboard.
Finally, do not power off or restart your PC during the BIOS update. Any interruption (e.g., power surge or outage) during the operation can damage the BIOS or motherboard.
Replace the CMOS Battery
As mentioned earlier, your computer may be unable to verify the integrity of BIOS files if the battery powering the CMOS is weak. Signs of a failing CMOS battery include incorrect data & time, unresponsive peripherals, problems connecting to the internet, etc.
If you still get the CMOS checksum error after trying these troubleshooting fixes, the CMOS battery is probably bad. Or perhaps, it’s displaced from its position.
You should only attempt to readjust or replace the CMOS battery if you’re a skilled computer technician. Otherwise, visit a nearby repair center or contact your PC manufacturer.
Check for Hardware Damage
Partial or complete damage to your PC’s motherboard can also trigger the “CMOS Checksum Bad” error. Take your PC to a repair center to get your motherboard examined for physical damage.
Related Posts
- Preparing for Windows 10 End of Support: Upgrading to Windows 11
- How to Fix a “This file does not have an app associated with it” Error on Windows
- How to Fix an Update Error 0x800705b4 on Windows
- How to Resolve “A JavaScript error occured in the main process” Error on Windows
- How to Fix the Network Discovery Is Turned Off Error on Windows
Sodiq has written thousands of tutorials, guides, and explainers over the past 4 years to help people solve problems with Android, iOS, Mac, and Windows devices. He also enjoys reviewing consumer tech products (smartphones, smart home devices, accessories, etc.) and binge-watching comedy series in his spare time. Read Sodiq’s Full Bio
