There are as many BSOD (Blue Screen of Death) errors than we can count, yet some of them will show up with more frequency and vengeance than others.
The WHEA (Windows Hardware Error Architecture) uncorrectable error is one of those unwelcome visitors and can be incredibly frustrating to solve, but with some systematic sleuthing you can track down the source of the problem and troubleshoot your PC sooner rather than later.
What Is WHEA?
As mentioned above, WHEA is short for Windows Hardware Error Architecture. It’s a software system built into Windows that lets the operating system communicate with hardware and interpret errors from that hardware when things go wrong.
WHEA lets the computer log and organize errors from your hardware, with standardized report formatting and content and plenty of technical detail. Of course, none of this is helpful to the average user.
The most important bit of information you need to take from all of this is that a WHEA error happens when the physical hardware of your computer reports an error, which is then detected by WHEA.
In the case of the uncorrectable BSOD, the error is so serious that the computer has to stop in order to protect your data and hardware. Now that we have a clear idea of what this BSOD is and why it happens, let’s look at some steps you can take to try and fix it.
Update or Roll Back Drivers Using Safe Mode
If you’re lucky, the “hardware” error is actually the result of faulty drivers. So you can try booting into Safe Mode, which loads basic safe drivers and then roll back the last drivers that were installed for your major hardware components.
Check out How to Restart Windows in Safe Mode in case you don’t know how and also How To Roll Back A Driver In Windows 10 for the sequence of steps you need for this fix.
Turn Back the Clock on Windows Updates
One of the worst things about Windows 10 is that every major update feels like a roll of the dice. It’s not that uncommon to go to bed with a working computer, but wake up to a broken one thanks to an overnight update.
While there’s no guarantee that your latest update is related to your new hardware error, you can uninstall Windows updates to see if that makes the issue go away. If it does, then you should wait for a fix from Microsoft before updating again.
Test Your RAM
One common reason for this BSOD is the presence of one or more faulty RAM modules. This is particularly likely if the error is seemingly random and intermittent. That’s because the specific memory module that’s failed won’t be asked to store data every time you use your computer or repeatedly under the same workload.
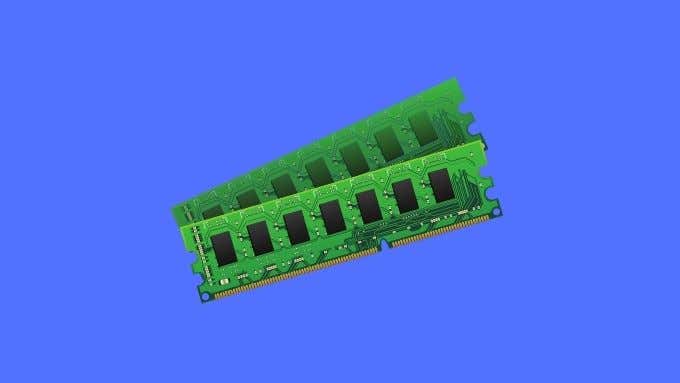
The good news is that you can test your RAM in a systematic way that’s guaranteed to uncover any memory chips that have gone bad.
Read How to Diagnose, Check, and Test for Bad Memory for the exact info you need to detect bad memory.
Undo Overclocking and Other Mods
If you have a computer that’s been modified or is running out of spec in terms of its settings, your first step should be to undo that. The exact method will vary from one computer to the next, but generally you’ll enter the BIOS by pressing a keyboard shortcut at boot. The specific keyboard shortcut will be detailed in your motherboard’s manual.
Once in the BIOS, simply select the option to reset the BIOS to default and then reboot. Sometimes an issue with your hardware may prevent you from booting into the BIOS to reset the settings. You may be forced to manually reset your BIOS. Some motherboards have a physical button or switch that you can use to reset BIOS settings.

As a last resort, you might consider removing the CMOS battery (a circular battery cell on the board) with the computer unplugged. This will make the BIOS lose its settings and you can then replace the battery after a minute or two and attempt another boot.
Disable Performance Enhancing Features
While this is not a final fix, it seems that the built-in turbo modes in modern CPUs can cause this error, most likely because they push it past a point where other hardware should have still supported that performance level.
If turning off your processor’s automatic turbo mode in the BIOS makes the error go away, that’s a clue that another component isn’t taking the strain of those higher performance levels.
Check Your Computer for Cooling Issues or Damaged Components
With a WHEA uncorrectable error it’s worth cracking open your computer and giving it a good inspection. Check that every connector is properly inserted. Make sure that there’s no obvious damage on cabling or components. Look out for swollen capacitors or anything else that looks out of place.
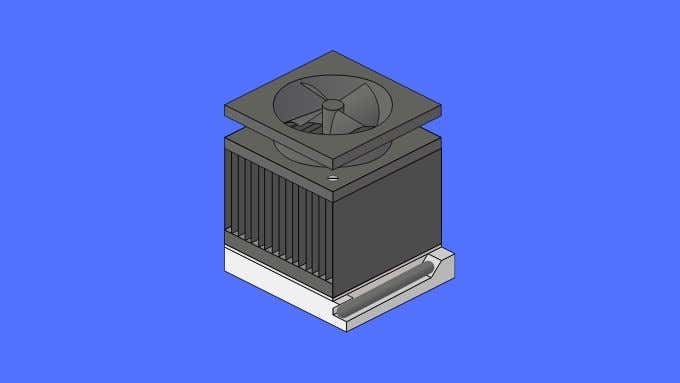
While most physical hardware damage is invisible to the naked eye, sometimes it’s something you can see as plainly. If a component looks damaged, you’ll need to get it checked out by a professional.
Start your computer up with the cover off and check that every fan is spinning properly. Are any heatsinks loose? Fans that are not spinning need to be checked to see if their power connection is good. If a fan has failed, it needs to be replaced.
Make Sure Your CPU, GPU and RAM are Connected Properly
In some cases, a bad connection between major components is to blame for hardware errors. The simplest way to check for this, is to remove and reseat these components. That means taking your GPU, CPU and RAM out of their sockets and then putting them back properly.
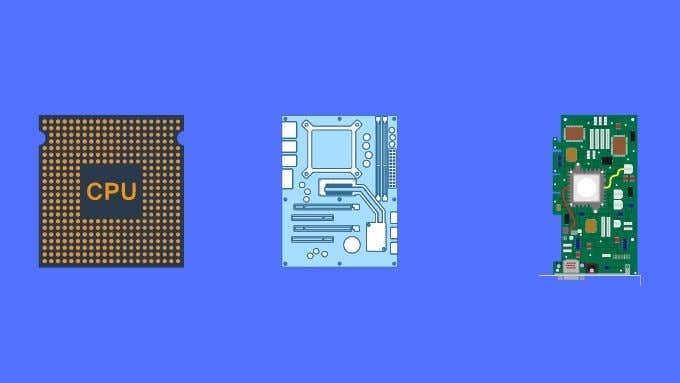
This is simple enough when it comes to your graphics card or RAM, but it’s trickier with your CPU. To remove the CPU and reseat it, you need to remove the heatsink. Whenever you remove your CPU heatsink, you need to clean off both the top of the CPU and the bottom of the heatsink. Then apply new thermal paste before putting it all back together.
Look for an instructional video showing the process for your particular CPU or get an experienced technician to do it for you. Since you can damage the CPU during this process, we don’t recommend trying it without help.
Beating the BSODs
Being blindsided by a BSOD is never fun, especially when it suggests that one of your precious hardware components has gone bad. While the tips above are likely to help resolve a WHEA uncorrectable error, no one can ever provide an exhaustive list of fixes that will work for everyone.
If you’ve tried the most likely solutions in this article and still can’t get to the bottom of the issue, it’s time for more detective work. A good place to start is our Blue Screen of Death Troubleshooting Guide for Windows 10, which will equip you with the sleuthing abilities you need to handle any type of BSOD.
Related Posts
- Preparing for Windows 10 End of Support: Upgrading to Windows 11
- How to Fix a “This file does not have an app associated with it” Error on Windows
- How to Fix an Update Error 0x800705b4 on Windows
- How to Resolve “A JavaScript error occured in the main process” Error on Windows
- How to Fix the Network Discovery Is Turned Off Error on Windows