

“Windows can’t open this file” appears when you double-click an MDI file because Windows 11, Windows 10, and current Microsoft 365 apps don’t support the format. You needed the document, so fingers crossed: converting it to TIFF usually gets it open.
Fix #1: Convert the MDI file to TIFF with Microsoft’s converter
Microsoft’s MDI to TIFF File Converter is the most direct option for current Windows PCs. It runs from Command Prompt rather than a regular app window.
- Download MDI to TIFF File Converter from Microsoft’s website.
- Install the converter, then note its installation folder.

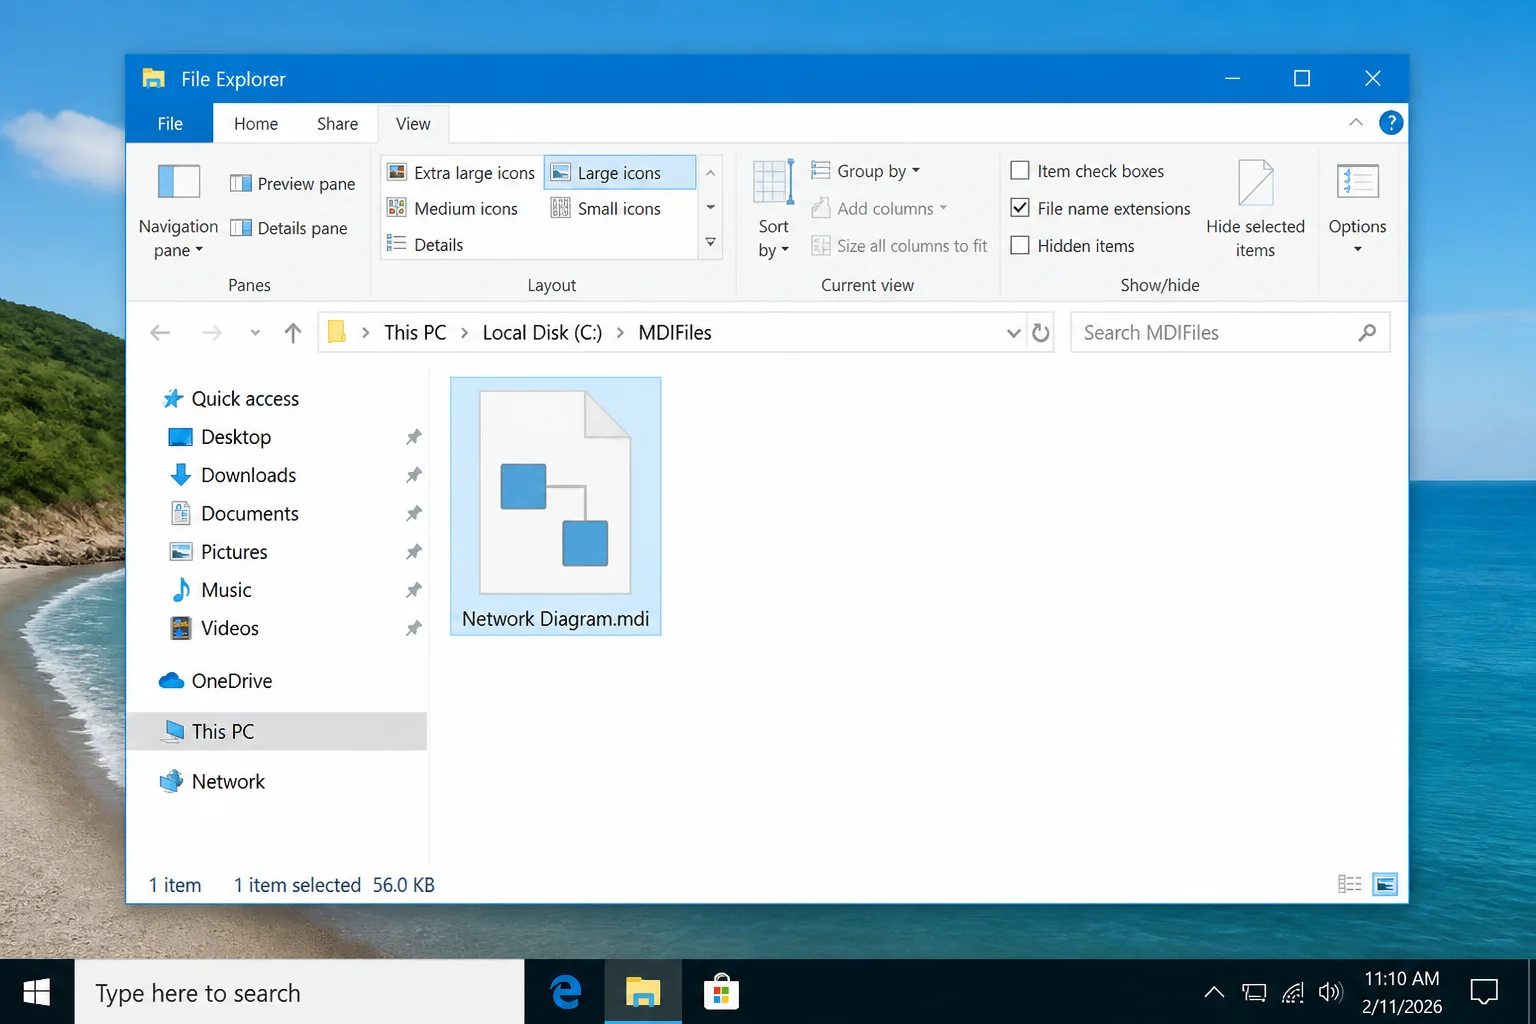
- Copy your MDI file to a short, writable path such as
C:\MDIFiles. Don’t place it insideProgram Files, which may cause permission errors.
- Open Start, type
Command Prompt, and select Run as administrator.
- Select Yes when User Account Control asks for permission.
- Change to the folder containing
mdi2tif.exe. The exact path depends on where the converter was installed. For example:
cd "C:\Program Files (x86)\modiconv"- Run the converter, replacing both paths with your actual file names:
mdi2tif.exe -source "C:\MDIFiles\input.mdi" -dest "C:\MDIFiles\output.tif"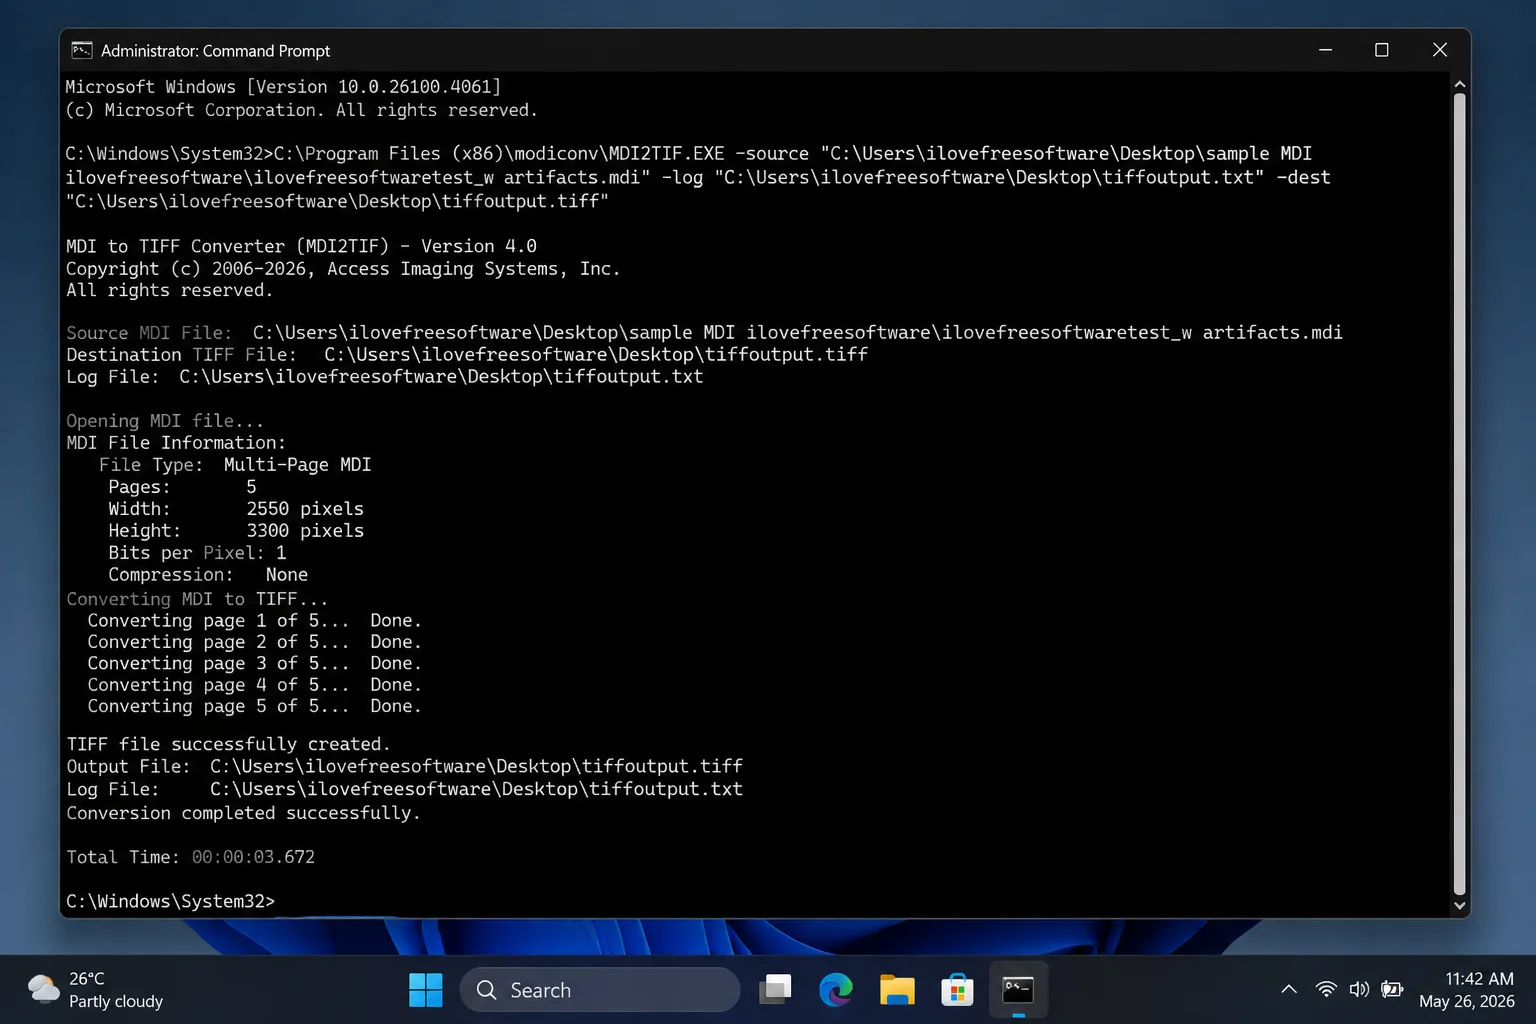
- Open
C:\MDIFilesin File Explorer and double-clickoutput.tif.
The converted document should open in Photos or your default TIFF viewer. If no output appears, run mdi2tif.exe -help to check the converter’s supported syntax.
Fix #2: Convert a folder of MDI files
Converting files individually gets old fast. The converter can process a folder and include MDI files stored in its subfolders.
- Create a source folder such as
C:\MDIFiles.
- Create a separate output folder such as
C:\ConvertedMDI.
- Copy the MDI archive into
C:\MDIFiles.
- Open Command Prompt as an administrator.
- Change to the converter’s installation folder.
- Run this command:
mdi2tif.exe -source "C:\MDIFiles" -dest "C:\ConvertedMDI" -subfolders- Open
C:\ConvertedMDIin File Explorer.
You should see TIFF versions of the MDI files. Open several of them and check every page before deleting or archiving the originals.
Fix #3: Use a third-party MDI converter
The Microsoft converter can be confusing, especially when it refuses one damaged file without a useful explanation. A third-party viewer or converter provides a graphical Open or Convert command.
- Choose an MDI converter or viewer that supports export to TIFF or PDF. Check its publisher, license, and recent security reputation before installing it.
- Scan the installer with Windows Security before opening it.
- Install and launch the converter.
- Select Open, then choose your
.mdifile. The command’s location and wording vary by app.
- Select Convert, Export, or Save As.
- Choose TIFF for the closest match to the scanned document, or PDF for easier sharing.
- Save the converted file to a new folder.
- Open the exported file and inspect every page.
The document should now open in Photos, Microsoft Edge, Adobe Acrobat, or another app associated with the selected format. OCR text and MODI-specific annotations may not remain usable after conversion, so keep the original MDI file.
Fix #4: Convert the MDI file online
An online converter avoids installing software, but your file must be uploaded to someone else’s server. I’d skip this method for medical records, contracts, financial documents, or anything confidential.
- Open Zamzar’s MDI-to-PDF converter in your browser.
- Select the option to add a file.
- Choose the MDI file from your PC.
- Select PDF or another available output format.
- Start the conversion.
- Download the converted file when processing finishes.
- Open the downloaded PDF and confirm that every page is readable.
The conversion has worked if the PDF opens normally and matches the original scan. Delete the uploaded job from the service if that option is available.
Fix #5: Open the file with MODI on a legacy Office PC
Microsoft Office Document Imaging, or MODI, opens MDI files directly. It was included with Office XP, Office 2003, and Office 2007, but it isn’t included with Office 2010 through Office 2024 or Microsoft 365.
Use this method only on an existing legacy PC where MODI is already installed. Installing unsupported Office components on an internet-connected Windows 11 PC creates avoidable security and compatibility problems.
- Open Microsoft Office Document Imaging from the Microsoft Office tools folder.
- Select File > Open, or press
Ctrl + O.
- Select the
.mdifile.
- Confirm that every scanned page, annotation, and OCR layer appears.
- Select File > Save As.
- Choose TIFF as the output format and save a new copy.
The TIFF copy should open on a current Windows PC. For a PDF, open the TIFF and print it through Microsoft Print to PDF.
What Is an MDI File?
MDI stands for Microsoft Document Imaging. MODI created these proprietary files for scanned pages, OCR text, and annotations.
Current versions of Windows and Microsoft Office can’t open MDI files directly. Photos can open the TIFF produced during conversion, while browsers and PDF readers can handle a PDF copy.
If the Converter Fails
Right-click Command Prompt and run it as an administrator, then try the command again using short local paths. If one file remains stuck while others convert, test it with a reputable third-party converter or on another Windows PC.
A file that fails in several converters is probably damaged. Recovery may be impossible, especially if no MODI-equipped legacy system can open it.
Use PDF or TIFF for Future Scans
Save new scanned documents as PDF or TIFF. PDF is easier to search and share, while TIFF is a better fit for high-quality multipage image archives.
For old collections, keep the original MDI files until you’ve checked every converted page. Some MODI annotations and OCR metadata don’t transfer cleanly.
Conclusion
Fix #1, converting the file to TIFF with Microsoft’s converter, usually gets the document open. If that command-line tool leaves you stuck, a carefully vetted third-party converter can provide the breakthrough, but repeated failures point to a corrupted MDI file.