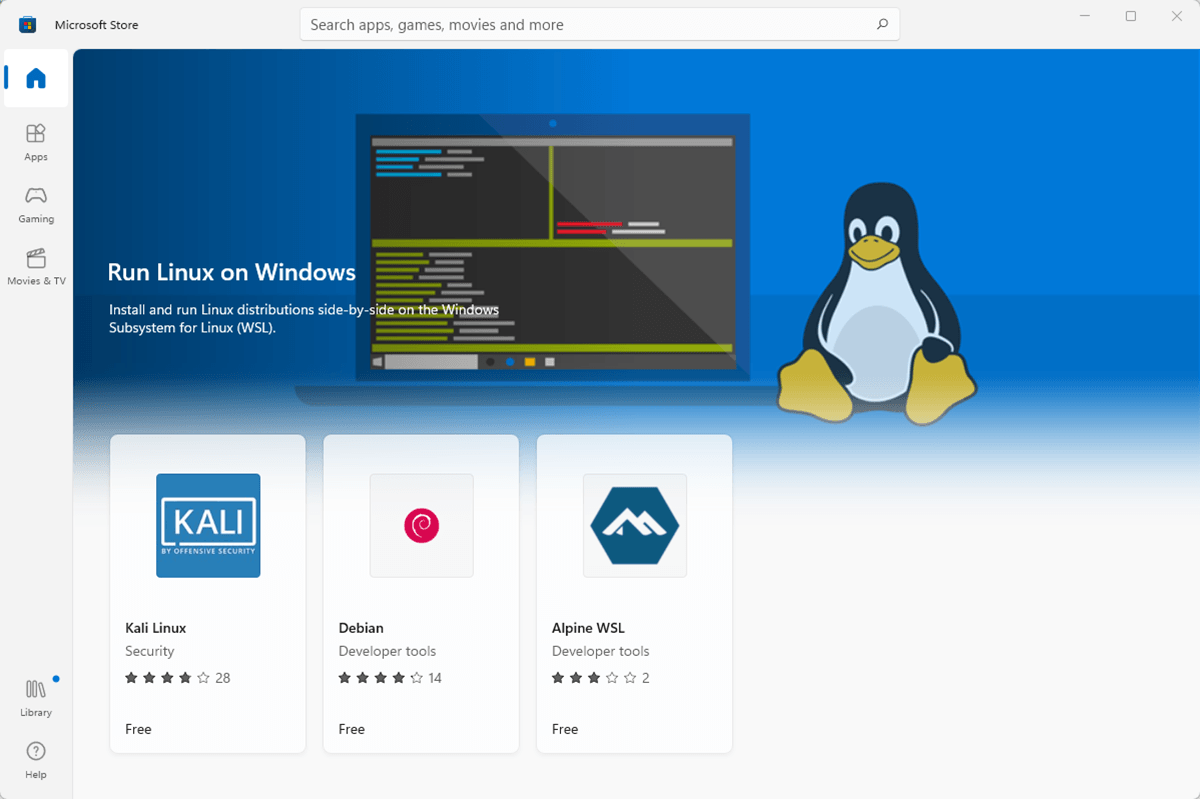
You’ve got the Windows Subsystem for Linux (WSL) running on your Windows 11 or Windows 10 for trying some bash commands, and maybe running some of the best Linux apps. It’s much easier than using a dual boot to have both operating systems.
Some things only work in certain versions of WSL though, and you’re not sure which one you have. So, we’ll show you how to check the WSL version on both Windows 11 and Windows 10, plus a few other tricks.
What’s the Difference Between WSL Versions?
There are only two versions of WSL; WSL 1 and WSL 2. The primary difference is that WSL 2 has the full Linux kernel whereas WSL 1 does not. Think of WSL 1 as WSL lite. If you’re a committed Linux user or serious about learning Linux, use WSL 2. It runs as a complete virtual machine with all the functionality that virtualization brings.WSL 2 will increase file system performance and supports full system call compatibility.
WSL 2 is available only on Windows 11 or Windows 10, Version 1903 Build 19362 or newer. If you’re on Windows 10 and you’ve been keeping it up to date, you’re good. If you’re unsure, we’ve got an article to help you find out what version of Windows you have. Older versions of Windows 10 only have compatibility with WSL 1.
How to Check WSL Version in Windows
If you install WSL in PowerShell or the command line using the wsl.exe –install command, you have the default version of WSL. That means you have the Ubuntu 20.04 LTS Linux distro and its version WSL 2.
Suppose you’re not sure you did the default WSL install, or you’ve added several different Linux distributions and you want to know what version they are. In that case, that’s easy to check too.
- Open the Command Prompt or Powershell and run the command wsl –list –verbose or wsl -l -v.
- The output shows the distro name as NAME, whether it’s running or stopped under STATE, and the WSL version under VERSION. Note the asterisk. The WSL distro with the asterisk is the default distro for you.
That means if you run WSL without telling it which distro to use, it will run the default. Try it to see the default distro’s command line interface (CLI).
How Can I Change the WSL Version?
Let’s change openSUSE-42 from WSL 1 to WSL 2. The same method works to change any distro from WSL 2 to WSL 1.
- Open the Command Prompt or PowerShell and run the following command: wsl –set-version [name] [wsl version number] where name is the distro name and wsl version number is the version you want. In this case, it is wsl –set-version openSUSE-42 2.
It will show the message Conversion in progress, this may take a few minutes… With a fresh install of the distro, it can take as little as 20 seconds. It’s done when you get the message, Conversion complete.
- To make sure you set the WSL version correctly, run the wsl –list –verbose or wsl -l -v command again.
How Can I Check the WSL Defaults or Last Update?
Before looking at changing the default WSL version or default Linux distro, you should check what the current defaults are. This will also show you the last time WSL was updated.
- Open the Command Prompt or PowerShell and run the following command: wsl –status.
You’ll see the defaults, the last time WSL was updated, as well as the kernel version.
How Do I Update WSL?
You checked the last update time for WSL and it’s been a while. You’d like to update it to make sure you have the latest version.
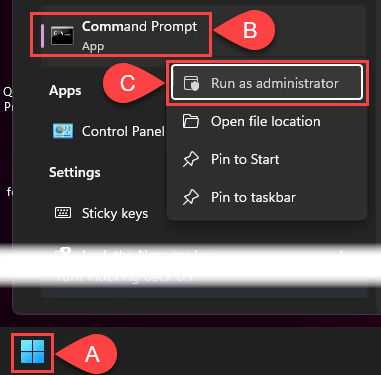
- Open the Command Prompt or PowerShell as administrator. Do this by finding Command Prompt or PowerShell in the Start menu, then right-click on it and select Run as administrator.
- Run the command wsl –update. If there’s an update available, it will download and install.
- Once the update finishes, you can see the updated kernel version at this point. Now run the command wsl –shutdown to make the change take effect.
How Can I Get Automatic Updates for WSL?
Did you check your WSL status and see the message that reads, “…automatic updates cannot occur due to your system settings.”? Here’s how to fix that.
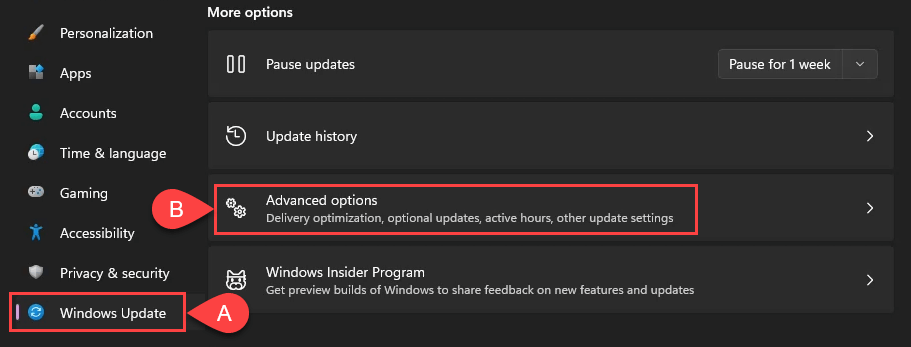
- Open Windows Settings and go to Windows Update then Advanced options.
- Switch on Receive updates for other Microsoft products. Now you’ll always have the latest version.
How Can I Change the Default WSL Version?
Perhaps you want to only have WSL 1 for future Linux distro installs. That’s quickly changed. This can also be used to set WSL 2 as the default.
- Open the Command Prompt or PowerShell and run the following command: wsl –set-default-version [wsl version number] where wsl version number is the version you want. In this example, it is wsl –set-default-version 1. You’ll see the operation completed successfully when it’s done.
- Run the wsl –status command to confirm the default WSL version has changed.
How Can I Change the Default Linux Distro?
Maybe you want to run a different Linux distro than Ubuntu when you open the Windows Start menu and select WSL. That’s ok, it’s easy to change.
- Open the Command Prompt or PowerShell and run the command wsl –set-default [name], where name is the distro name as shown by the list command. In this example, let’s change it to kali-linux.
- It only takes a second for the change to happen and the command prompt to show again. Use the wsl –list –verbose or wsl -l -v command to confirm the default distro has changed.
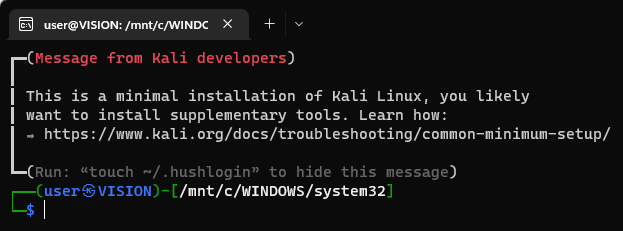
Now when you run WSL from the Start menu, it opens Kali Linux.
Learn More About the WSL Commands
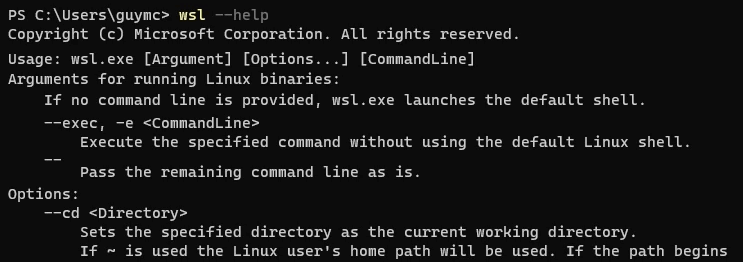
To see the built-in help docs for WSL, use the command wsl –help.
Also, check out our articles on installing WSL and using bash on Windows 11. Come back again and we’ll surely have more WSL-related articles for you.
Related Posts
- Preparing for Windows 10 End of Support: Upgrading to Windows 11
- How to Fix a “This file does not have an app associated with it” Error on Windows
- How to Fix an Update Error 0x800705b4 on Windows
- How to Resolve “A JavaScript error occured in the main process” Error on Windows
- How to Fix the Network Discovery Is Turned Off Error on Windows
