So you’ve heard that you can build a PC, but you have no idea how to do it, if you should do it and what (literally) goes into creating your own computer. The good news is that building your own computer is both very easy and quite rewarding, but it isn’t for everyone.
Under the assumption that you have never built a computer before, we’re going to approach this rather weighty topic in as logical a way as possible.
Desktop Or Laptop?
If you didn’t know, the world of computers is being taken over by laptops. The appeal is completely understandable. We live a more mobile life now and simply buying a complete, portable computer in a single package is the easiest way to simply get on with your life and get some work done.
Should you opt to buy a laptop instead of building a desktop computer? To be honest, if you buy a decent mid-range laptop, most users are going to be perfectly happy with a modern laptop. Even more budget-oriented laptops have more than enough performance in reserve for office work, browsing the web and playing casual video game titles. It’s one of the reasons some people are even dumping laptops for tablets. General purpose computing just doesn’t take any sort of special computer anymore.

High-performance computers are still the domain of desktop machines, especially since high-performance laptops are super expensive and come with plenty of compromises. For most people then, a laptop is going to be perfectly fine.
That being said, there are some good, compelling reasons to build a PC. Here are some of the most important ones:
- It’s generally less expensive than a laptop of similar specifications.
- Some computers, such as home media servers or shared computers don’t need portability.
- You can build a basic computer now and expand it later.
- You can swap out and upgrade single components over time, to extend the life of the computer or repair it.
- You can customize the computer exactly to your needs.
If that’s a list of reasons that sound appealing to you, then prepare yourself for a journey of discovery as we get down to the business of building a computer.
In the Beginning: Deciding on Your Vision
Computers come in all shapes and sizes, and that should be determined by the purpose you envision for your computer.
- Do you want an office machine that will run applications like Word and do some web browsing?
- Are you going to use your PC for some sort of media work, such as video or audio editing?
- Maybe you want to build a media PC connected to your TV, nestled next to your console and AV receiver?

Whatever you want to do with your future computer will have an influence on which parts you choose and how your budget is allocated. So before you make any decisions that require a financial commitment, take the time to think about what job this computer is meant to do.
Bear in mind that this guide is aimed at users who want to build general-purpose computers, but you can tweak the baseline advice to fit your needs. If you’re specifically looking for a guide to build a butt-kicking gaming PC, do yourself a favor and have a look at our specialized guide for gamers.
Setting Your Budget
This is quite possibly the most important part of the PC building process. The total amount of money you have to spend on your PC build is everything. It determines what overall level of performance you can afford, how many sacrifices you need to make and whether you’ll have to rely on used parts in some cases.

Decide on your budget first and then allocate it to various components according to your priorities. We’ll talk about sensible budget decisions with each component individually.
Using a PC Build Planning Tool
Thankfully, there are now quite a few very intuitive online tools where you can “build” your computer on paper and make sure all the parts will work together.
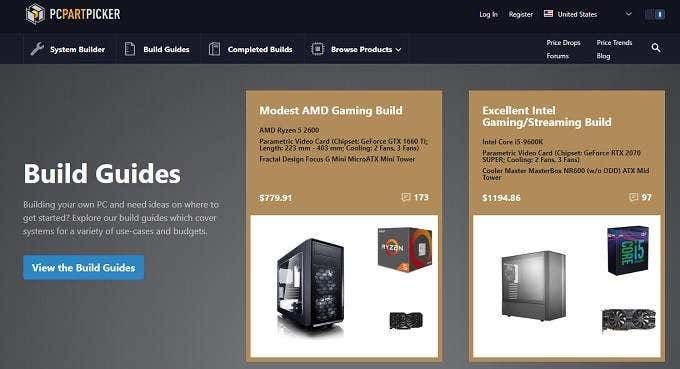
For our money, PC Part Picker is the premiere choice. Using this tool you can play around with your build, make sure your components will actually work together and get the best prices for each component.
It’s also a great way to show your prospective build to a friend who can help you make good decisions. In fact, for the example system in this guide, we’re going to use their budget home office build.
The Shopping List: Every Component Edition
Now you’re armed with a good idea of what sort of system you want to build, and have a tool to help you organize the parts before you buy them and start assembly. Now we have to actually choose the parts that will make up the computer.

We’ll go through them in a logical order and discuss key considerations for the various needs you may have. The suggested part in each section is taken from the PC Part Picker build mentioned above.
The Case
The case (sometimes referred to as the chassis) is the physical framework of your computer. All the parts of the device are mounted within this item. Why are we starting with the case? We think there are a few good reasons to choose a case before you pick anything else.
First of all, you need to pick a case that’s the right size and shape for your needs. You don’t want a hulking full tower case just to act as a media server or office machine. You also don’t want a case that can’t handle future expansions you’re likely to need.
Cases come in different standards, which dictate what type of motherboards they are compatible with. We’ll explain what you need to know about motherboards next, but a given PC chassis will support specific motherboard sizes. The three you’ll most likely encounter (from largest to smallest) are ATX, Micro ATX and Mini ITX. There are other variations on these size standards, but they aren’t relevant to typical home users.
Cases designed to house ATX motherboards are generally larger than those designed to house the smaller standards. This doesn’t have to be true, but it’s a good rule of thumb. Sometimes ATX cases will also have mounting points for smaller board standards, although there’s not much reason to put a tiny motherboard in a giant case.
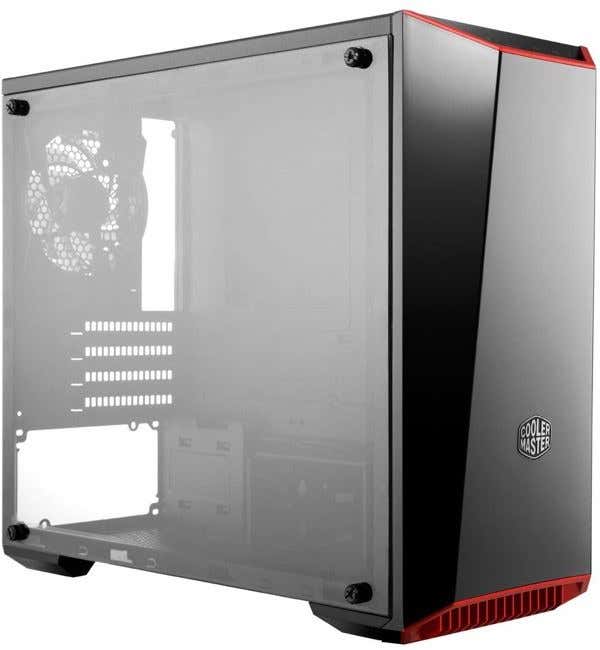
In terms of the actual case size classes, the most popular style to build a PC is the mid-tower case, such as this one.
Mini ITX systems are also becoming popular, especially since you can buy one that takes full-sized expansion cards and has great cooling.
There are lots of considerations when choosing a case, but we’ve boiled it down to the following:
- Shortlist cases that will fit in the space you have and look good in that specific environment.
- Make sure the case has enough drive bays and expansion slots to accommodate your immediate and future needs.
- Features such as tool-less design and modular drive bays are a nice feature, but not essential.
The final piece of advice we have for you when it comes to PC cases, is to avoid cases that come with a power supply. We’re going to deal with power supplies in their own right a little later in the article, but it’s worth mentioning this here. It’s better to buy the power supply separately so that it fits your needs exactly and the ones included with cases are more often than not a poor investment.
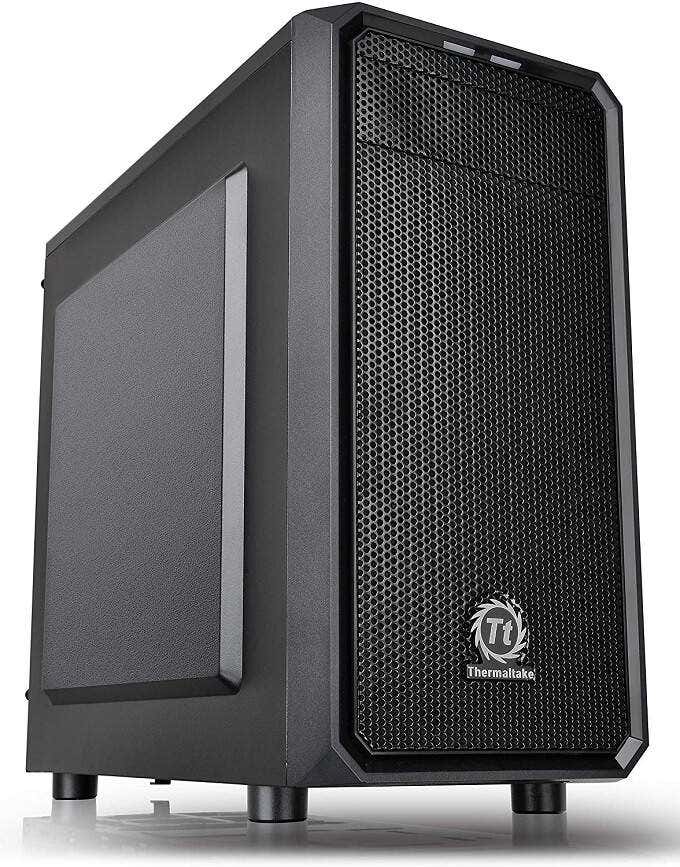
The suggested case here is the Thermaltake Versa H15.
The Motherboard
The motherboard is the component that connects all of your other computer components together. Since you’ve already chosen a case above, the first major filter when narrowing down your motherboard selection is which motherboard types your chosen case can accommodate.
Next we want to look at which brand of CPU your motherboard will support.These days the choice is between motherboards that accept AMD CPUs and ones that work with Intel. At the time of writing, AMD offers the best performance-per-dollar value and is challenging Intel to the outright performance crown.
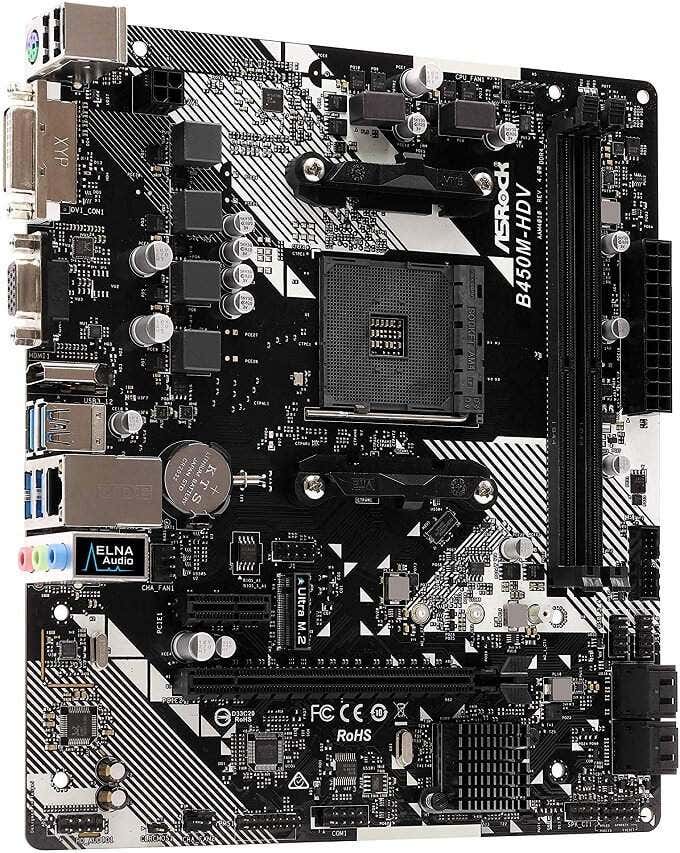
Most of the important performance components that used to be on the motherboard is now on the CPU itself, so the most important decisions you need to make have more to do with how much expansion the board allows. In other words, how many USB ports does it have? What types are they? How many PCI Express expansion slots are there? Choose a motherboard that:
- Fits the case you’ve chosen
- Supports CPUs as recent as you can afford
- Has enough expandability to leave you with an upgrade path
For general purpose computing (and even high-end tasks, such as gaming) there’s not an important difference in performance between cheaper and more expensive motherboards.
You don’t have to spend money on features that relate to overclocking, fancy light or any of those decorative features. You may want to spend a little more to have a motherboard with a thicker PCB (printed circuit board), solid capacitors and more power phases. On balance however, any motherboard from a good brand will do.
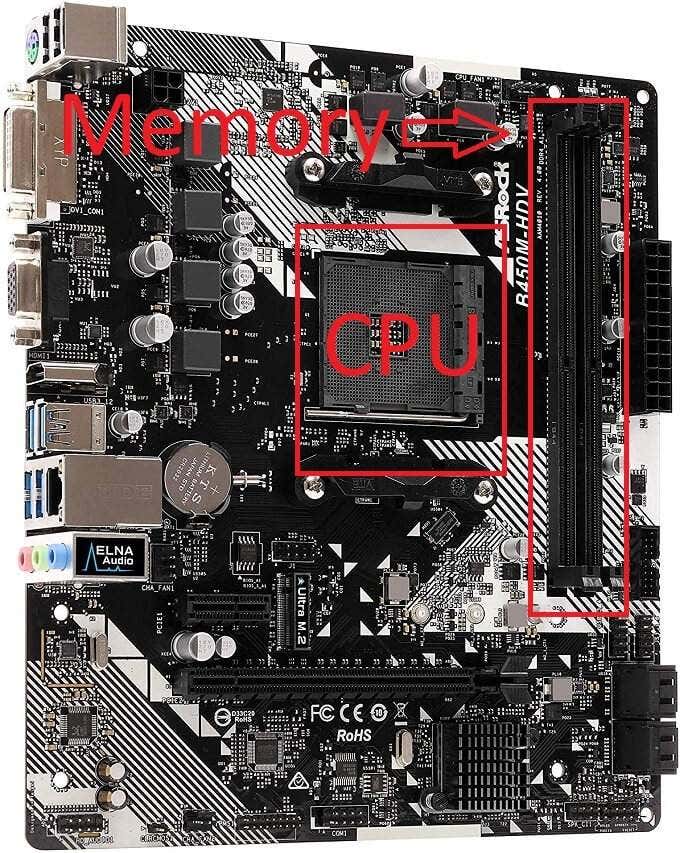
The suggested motherboard here is the ASRock B450M-HDV R4.0.
The CPU
The CPU is the main brain of your computer and the key performance component. Modern CPUs are multi-core, which means they actually consist of multiple CPUs in one. Quad-core CPUs are now considered the mainstream standard for general computing. Your budget may even allow for a six- or eight-core CPU. Especially if you’ve chosen to go with AMD’s latest Ryzen CPUs.
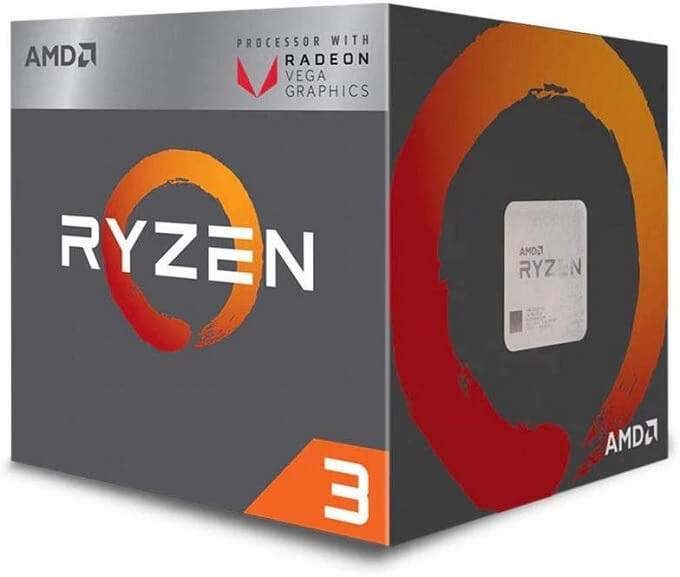
The clock speed (measured in Ghz) isn’t all that important these days, as even entry-level quad-core CPUs can dynamically ramp up their speed to match the task at hand. Just make sure you pick a CPU that’s on your chosen motherboard’s supported list. Your CPU should also come with a stock cooler, which will be perfectly fine for most people.
The suggested CPU here is the AMD Ryzen 3 2200G Quad Core.
Memory
RAM – Random Access Memory, is the high-speed storage space that your CPU accesses directly. Having lots of RAM means the CPU doesn’t have to wait for slower storage to catch up. But how much should you have?
These days the absolute minimum is 8GB of RAM. regardless of what you use your computer for. That’s going to be as low as you’ll want to cut it. 16GB is however the mainstream amount to aim for. Modern operating systems are very good at using idle memory to speed up the system, so you won’t be wasting any of it.
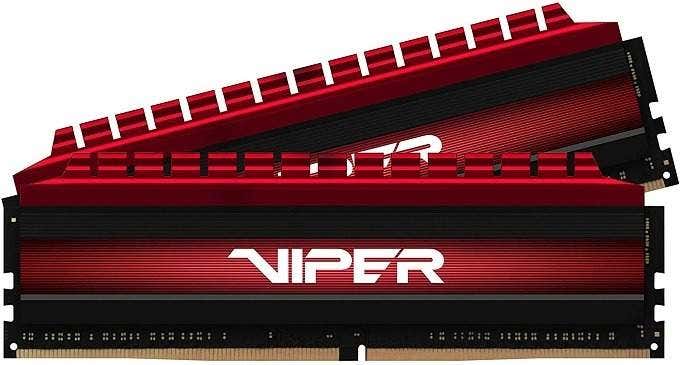
What memory should you get when you build a PC? If the price differences aren’t large, it’s worth buying the fastest memory that your chosen motherboard supports. Your motherboard will support a specific range of memory modules and also have a fixed number of slots within which to put them. Most motherboards use a “dual channel” memory configuration, which means modules work in pairs to improve performance.
Triple- and quad- channel setups also exist, where you need to install memory modules in sets of three and four respectively. It’s preferable that all your memory modules be the same brand, capacity and model to make sure it all works smoothly. At the very least each matched set of modules should be the same.
You can run a single module in your computer to save money at the cost of some performance. This makes the most sense when you only have two slots on your motherboard, because you can then later double your memory capacity by adding another module to the open slot.
The suggested memory here is this 8GB Patriot Viper dual-channel kit.
Internal Storage
Internal storage describes the drives that hold your operating system, applications and frequent data. The norm these days is to use an SSD or solid state drive. They are much faster and robust than mechanical drives and give even modest computers a massive performance boost.
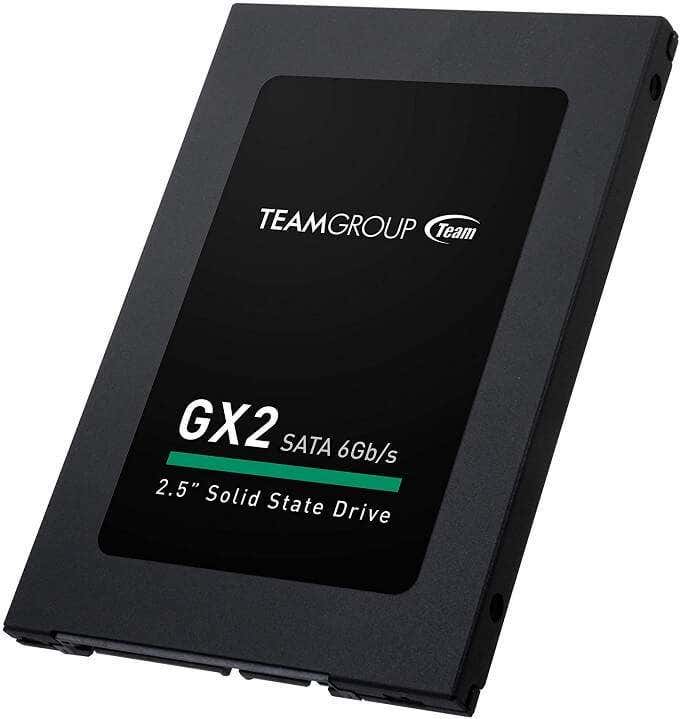
They are also pretty affordable now, so get an SSD as your main drive and, if you need mass storage, add a cheap mechanical drive as your secondary. For example, you could get a 500GB main drive and then add a 4TB mechanical drive for the best of both worlds.
The suggested internal storage for this particular build is the TEAMGROUP GX2 512GB 2.5 Inch SATA III Internal Solid State Drive SSD.
The GPU
A GPU is a dedicated processor that handles the pretty pictures you see on screen. You can buy a CPU that has an integrated GPU, and also shares the same pool of RAM. If you don’t need to use applications that use detailed 3D graphics and just want to do general work and maybe watch some Netflix, the integrated GPUs you get these days are quite good. Especially on AMD CPUs.
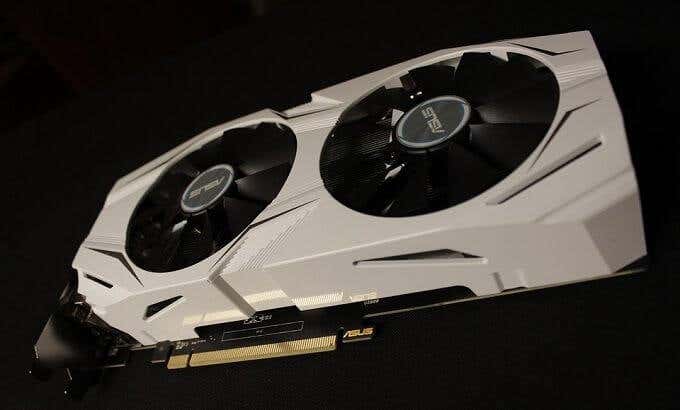
If you do need the power of a dedicated GPU card, then have a look at our detailed guide on the subject.
Since the build we pulled from PC Part Picker uses the built-in GPU on the CPU, there’s no separate part here.
The Power Supply
The last component you should decide on is the power supply. Why? Because this part needs to have enough juice to power everything safely, with enough overhead.
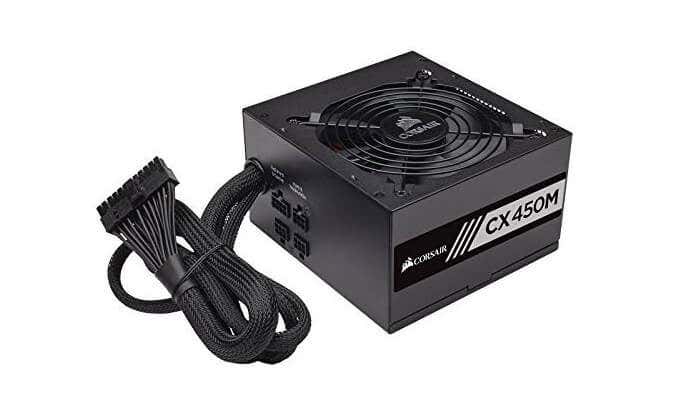
The easiest way to do this is by using a power supply calculator and then buying a good-quality power supply that matches or exceeds the recommended amount of power. Especially if you want to add components in future without having to replace the power supply.
The Build: I Love it When a Plan Comes Together
Now that we have all our parts, here’s how to put them together.
First, install the CPU and CPU cooler as per the manufacturer’s instructions, into the motherboard. You should also install the RAM modules at this point. If your motherboard supports M.2 SSDs, which also slot directly into the motherboard, you should also attach them now, before the motherboard goes in the case.
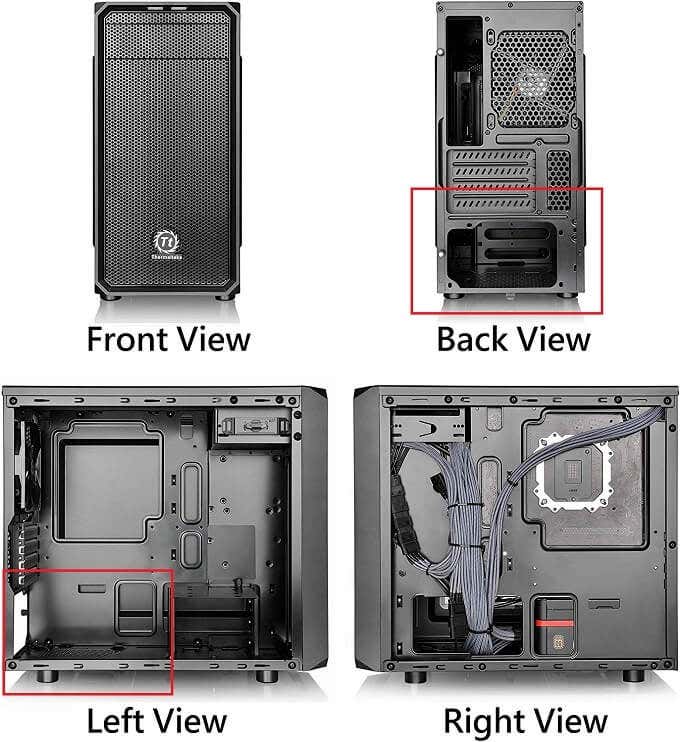
Install the power supply into the case, it should only take a few screws to secure it. This is where the power supply goes.
Now you should have a case and power supply on one hand and a motherboard with its main components on the other.
Now that all these components are on the motherboard, we can put it into the case. First, screw in the included motherboard standoffs, in line with the corresponding holes on your motherboard.
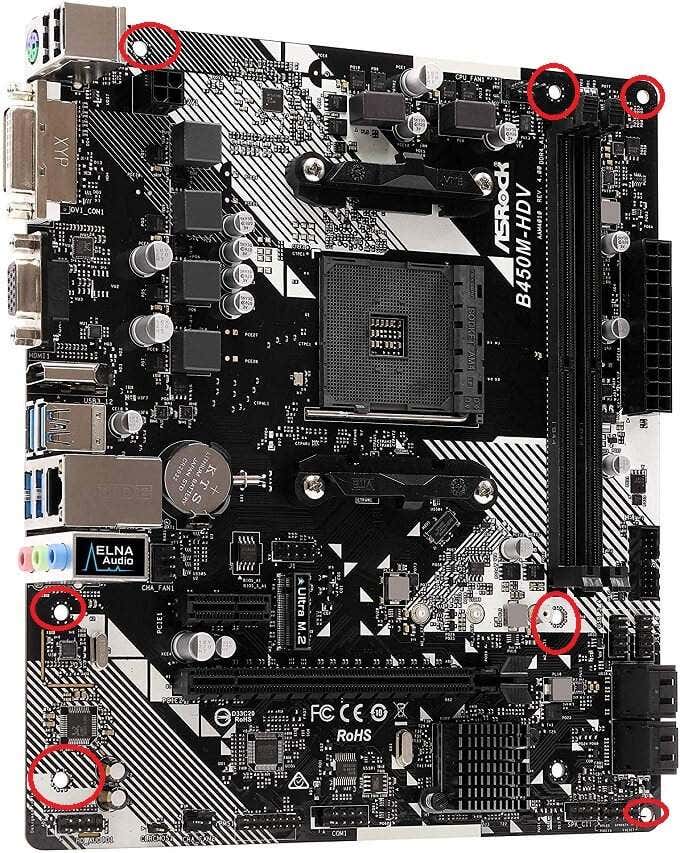
Then all you have to do is install the IO shield that came with your motherboard into the case. Then line up the IO ports with it. Now line up the screw holes on the motherboards with your standoffs and secure the board.
Next, you need to hook up the motherboard headers to the case. This is where they should be:
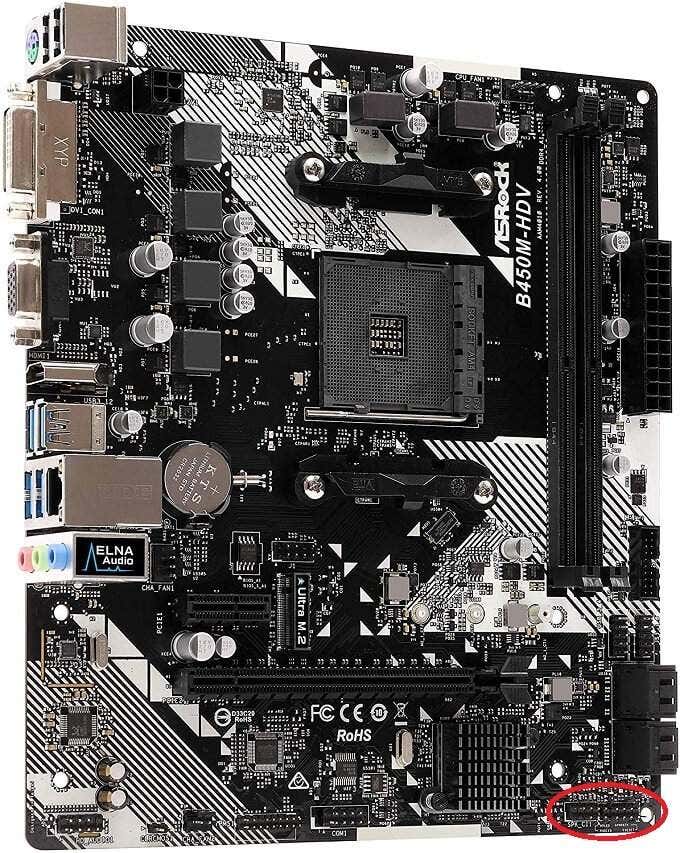
Check your motherboard manual and case manual for the locations of these. Then plug in the case USB, power switch, reset switch, LED indicator lights and additional audio connectors.
Now, hook up the power connectors from the power supply to the motherboard. This should consist of the main power connector which usually consists of 24-pins. It will also usually include a 12-pin power connector for the CPU. Here’s an example:
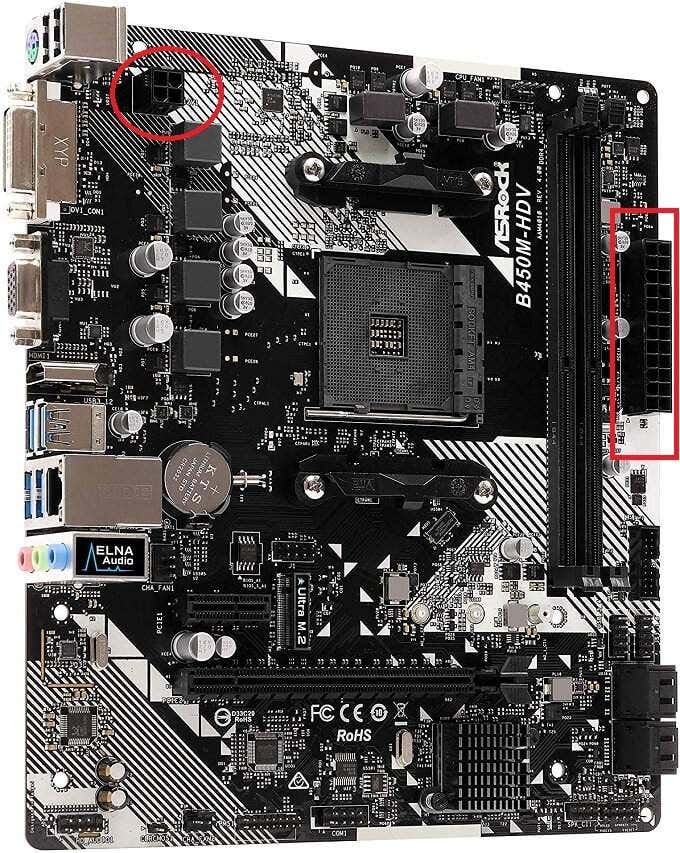
Finally, we need to install any storage drives, connect them to the motherboard and also connect their power connectors. If you also need to install a GPU card, head over to our detailed guide here.
That should be it! After connecting a screen, mouse, keyboard and power cable, the computer should boot up and be ready for its operating system to be installed. If it doesn’t start up, open it up again and make sure everything is plugged in where it’s meant to be. When you build a PC, it can be easy to miss one small cable that’s crucial to everything.
Related Posts
- How to Repair a Corrupted User Profile in Windows 11
- Preparing for Windows 10 End of Support: Upgrading to Windows 11
- How to Access and Change Your WiFi Router Settings (2025 Edition)
- How to Install the Latest Large Language Models (LLMs) Locally on Your Mac
- How to Find Circular References in Microsoft Excel