New PCs and laptops are released regularly, but that doesn’t necessarily mean you need to rush out to upgrade to the latest model. Older computers still have the power needed to perform most of the typical, day-to-day office tasks that most users will be looking for, even if they aren’t suitable for the latest PC games.
If Windows seems a little slow on your laptop, you could think about switching to a Linux distro with lighter resource usage. But if you’re a Google user, there’s a better option: Chromebooks. You could buy a new Chromebook, but there’s a way you can turn an old laptop into a Chromebook for free. Here’s what you’ll need to do.
What You’ll Need (and Potential Limitations)
If you want to turn a laptop into a Chromebook, then there are some things you’ll need to know before you begin.
You can’t replicate the full Chromebook experience on an old laptop, but you can get pretty close. ChromeOS, the operating system that runs on Chromebooks, is restricted to Google-approved hardware. To get around this, you can install ChromiumOS, the open-source version that uses much of the same code.
You’ll be missing some key features, however. The biggest is a lack of support for Android apps and games, which is available for newer Chromebooks. Another lacking feature is Chromebook powerwashing, but you can reset your device in the same way by reinstalling ChromiumOS manually.
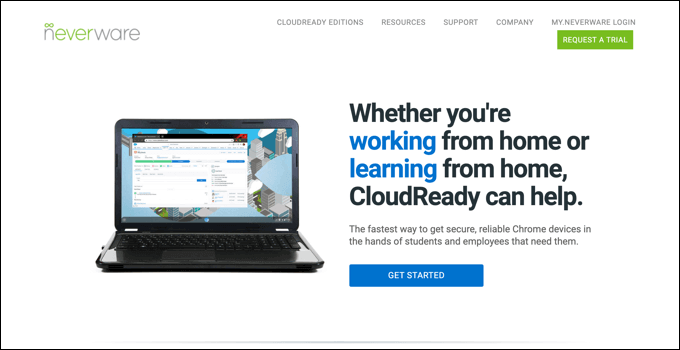
To install ChromiumOS, you can use a project called CloudReady. This offers the ChromiumOS experience, but with additional features and improvements to help you run the software on older devices. While a free version is available, you can pay extra for tech support if you’re in a business, education, or non-profit setting.
CloudReady has a certified models list for devices that it knows work well with it, but you should be able to install CloudReady on other devices, so long as you have a minimum of 2GB of RAM and 16GB of storage available. Devices that were manufactured before 2007 are also not recommended.
You’ll also need a 8GB (or larger) USB flash drive to use for the installation. SanDisk -manufactured drives aren’t supported, however, due to some incompatibility issues that can cause the installation to fail.
Make sure you backup your old laptop first before you begin installing CloudReady, as the hard drive will be wiped during the installation process.
Creating the CloudReady Installation USB Drive
To turn a laptop into a Chromebook using CloudReady, you’ll first need to download the installation files. You can do this automatically using the CloudReady USB Maker, which will download the files you need and automatically turn a USB flash drive into a CloudReady installer for your laptop.
Alternatively, you can download the CloudReady image file and flash it to your USB flash drive using the Chromebook Recovery Utility extension for Google Chrome. Most users will find it easier to use the CloudReady USB maker, but if you’re a Mac or Linux user, you can use the Chrome extension method instead.
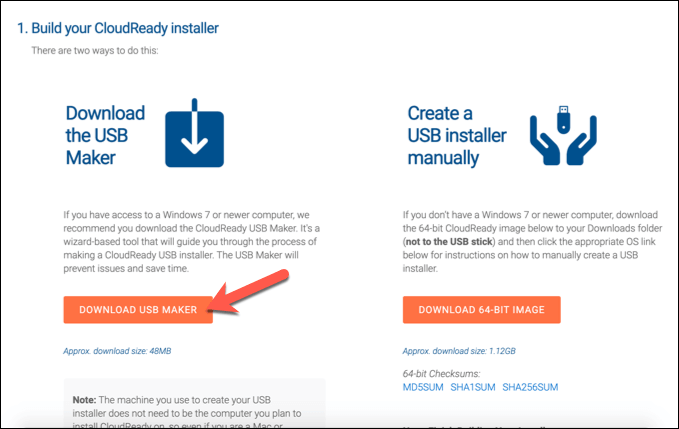
- To use the CloudReady USB maker, click the Download USB Maker button on the CloudReady installation page. Once downloaded, open the app to begin the installation process.
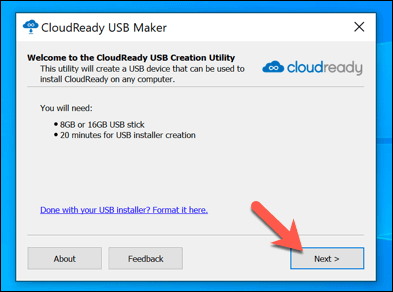
- In the CloudReady USB Maker window, you’ll be informed of the minimum requirements (a 8GB or larger drive). Insert your USB drive at this point, then select Next to continue.
- Select your inserted USB flash drive in the next menu, then select Next.
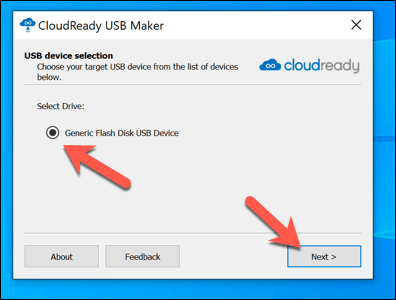
- The CloudReady USB Maker will begin downloading the installation files. This will take some time to complete, depending on your internet connection speeds. Once this has finished, the installer will begin to wipe and flash the USB drive to create the installer.
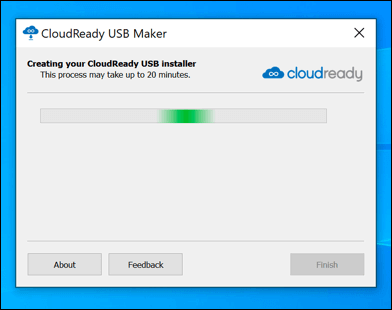
- Once the process of creating the installer is complete, press Finish. You’ll need to safely eject your USB flash drive, then insert it into your old laptop to begin installing CloudReady and creating a new Chromebook in the process.
Installing CloudReady on an Old Laptop
When you connect your USB flash drive to your old laptop, you’ll need to make sure to change the boot order in your BIOS so that your USB flash drive is selected first. Once it is, you’re ready to begin the installation.
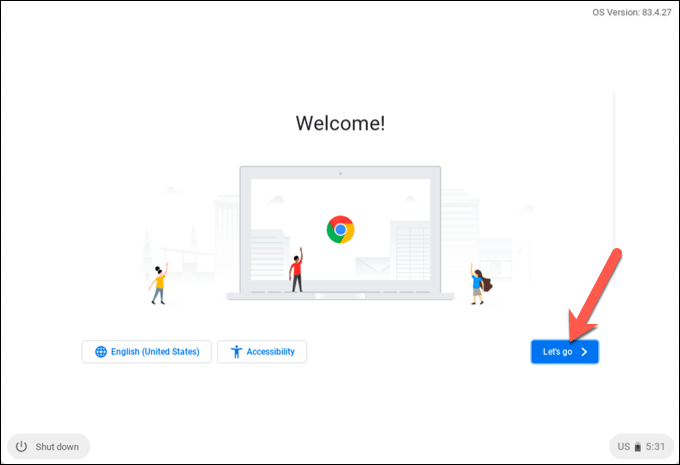
- If the USB drive was flashed correctly, you should see the CloudReady logo when you boot up your laptop. Select Let’s go to begin the installation.
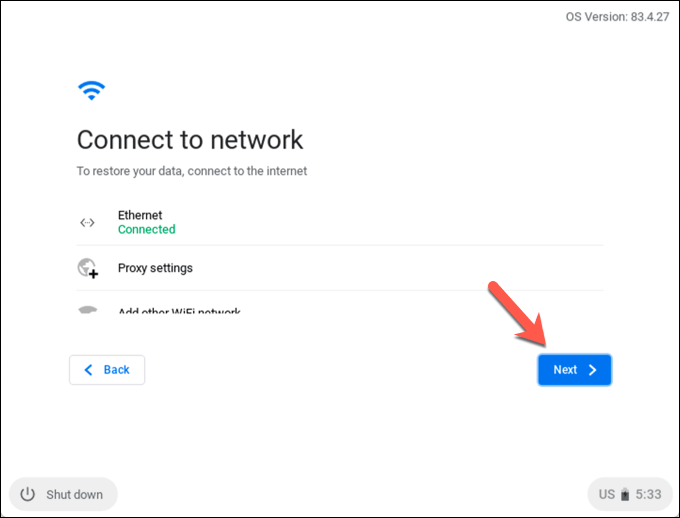
- At the next stage, confirm your network settings. If you’re connecting to a wireless network, do this now by clicking on your WiFi network and providing the correct password, then select Next to continue.
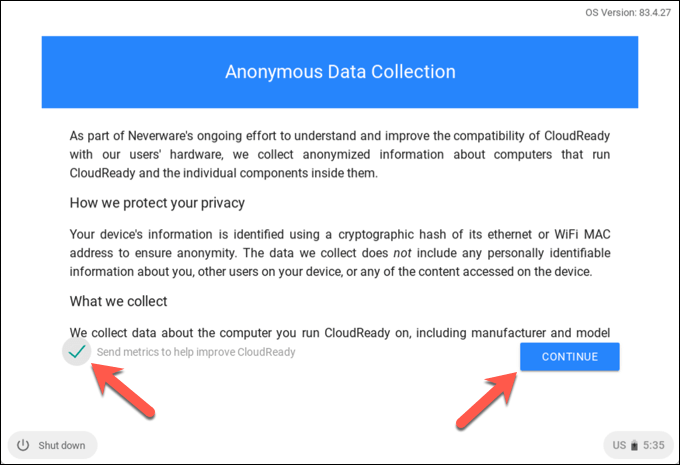
- CloudReady will ask you if you want to accept anonymous data collection to help improve the service. Enable or disable the Send metrics to improve Cloudready checkbox, then select Next.
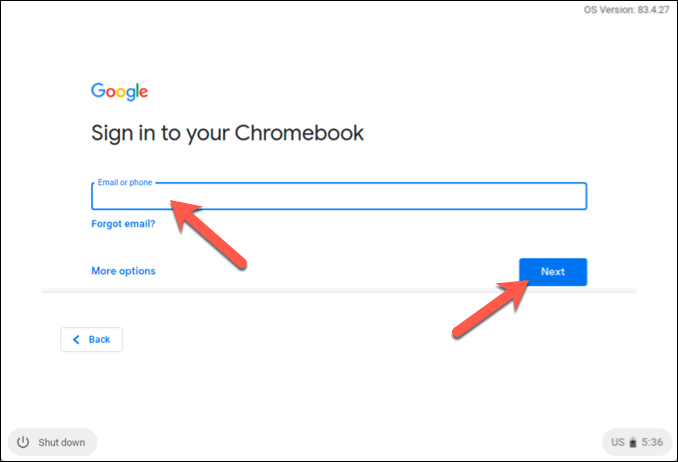
- At the final stage, you’ll need to sign in using your Google account. Provide your username and password here to sign in.
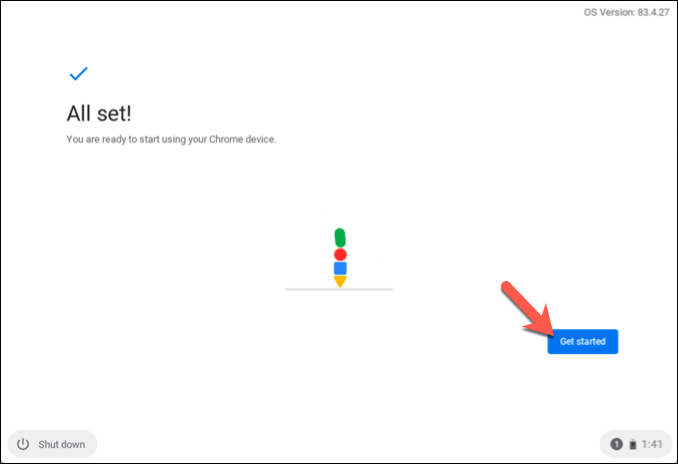
- CloudReady will take a few moments to finish the installation and set up process once you sign in. Select Get started to begin using your new CloudReady-powered Chromebook once this is done.
Using a CloudReady Chromebook
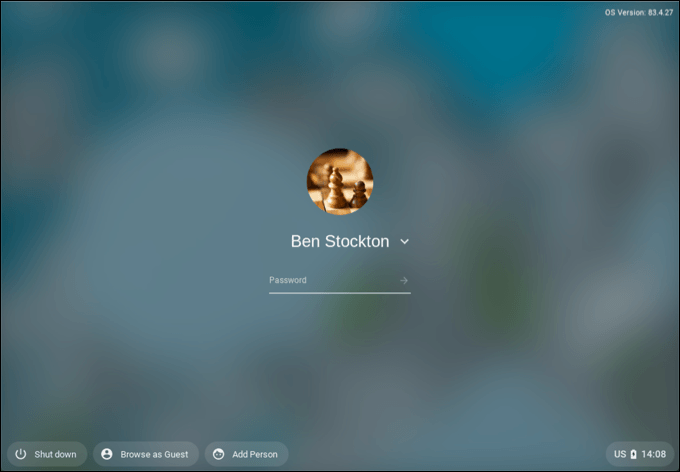
You’ll be free to use CloudReady as soon as the installation is complete. If you already use Google Chrome, then your existing extensions, bookmarks, and other settings will be synced over to CloudReady for you to use without any additional set up.
Other than a lack of Android app support and some missing proprietary media features, your CloudReady Chromebook will work exactly like any other Chromebook, centered around web apps and your web browser.
Many of the apps you can use in CloudReady are Google-based. For instance, you can immediately access Google Drive, as well as the Google Docs suite of productivity apps.
While CloudReady doesn’t include Google Chrome, it does include the open-source Chromium browser which Chrome is based upon. If you want to use other services, you can access them directly via the Chromium browser or by installing a suitable Google Chrome extension (which Chromium supports).
Most apps will require internet access to work, but others (including Google Docs) will allow you to work offline, syncing the data when you next connect to the internet.
Giving an Old Laptop New Life with CloudReady
With an old laptop using CloudReady, you can check your emails, use Google Docs to get some work done, take advantage of numerous Chrome extensions for work and fun, and more. If you want to try before you install, you can install ChromeOS in a virtual machine to see how CloudReady compares to a real Chromebook.
There are other ways you could repurpose an old PC, too. If you’re a gamer, you could think about playing games on older hardware. Although, don’t expect high-end gameplay without using a game streaming platform like GeForce Now. If speed is an issue, there are also things you can try to speed up an old PC before you replace it.
Related Posts
Ben Stockton is a freelance technology writer based in the United Kingdom. In a past life, Ben was a college lecturer in the UK, training teens and adults. Since leaving the classroom, Ben has taken his teaching experience and applied it to writing tech how-to guides and tutorials, specialising in Linux, Windows, and Android. He has a degree in History and a postgraduate qualification in Computing. Read Ben’s Full Bio
